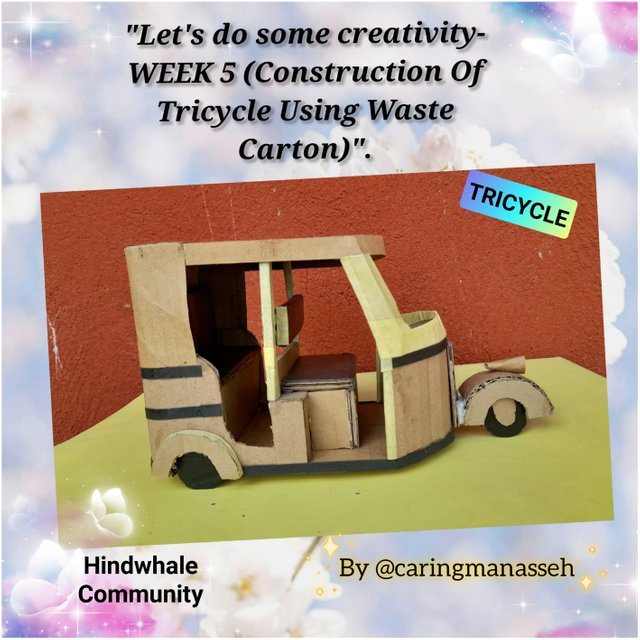
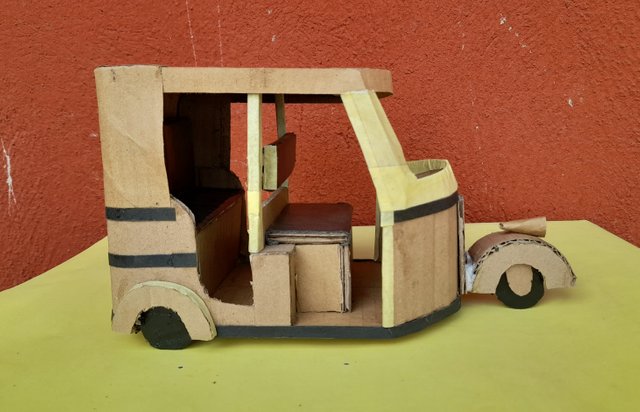
"Let's do some creativity- WEEK 5 (Construction Of Tricycle Using Waste Carton)".
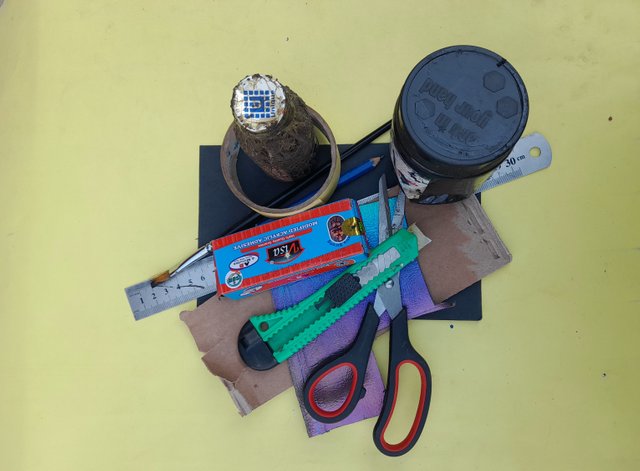
Materials For Construction
- Waste carton
- Black embossed paper
- Scissors
- Paper cutter
- Pencil
- Evostik gum
- Ruler
- Leather skin
- Maskin tape
- Black Acrylic colour
- Brush
- Acrylic Adhesive
- Iron
- binding wire
- copper wire
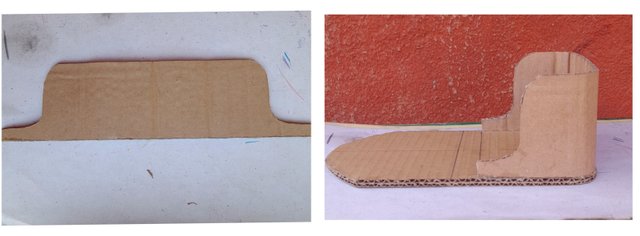
Step 1
I began my construction by measuring and cutting the bottom panel. I measured the bottom panel to be 5 inches wide and 8.5 inches long. I designed the front of the tricycle to have a curve and after that, I cut it out using my paper cutter

Step 2
I constructed the back panel. The back panel is measured 3 inches high. I cut the carton measuring 3 inches high and gummed it at the back of the bottom panel.
Step 3
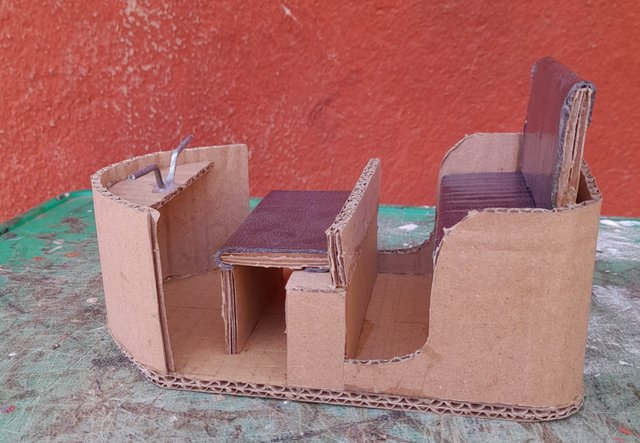
I constructed the demarcation between the rider's space and the passenger's space. The demarcation measures 2 inches wide and I gummed it using evostik gum.
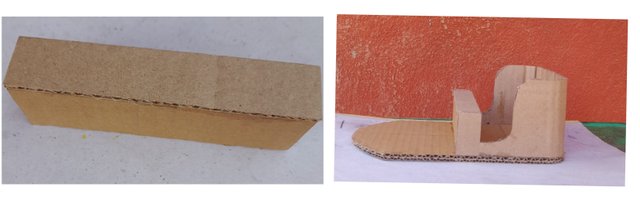
Step 4
Here, I constructed the passenger seat. The seat is two inches high and 1.5 inches wide. I also make provisions where the passengers will rest their backs. Here, I make use of a leather skin for the seat. After the construction, I mount it on the bottom panel using Evo-Stik gum.
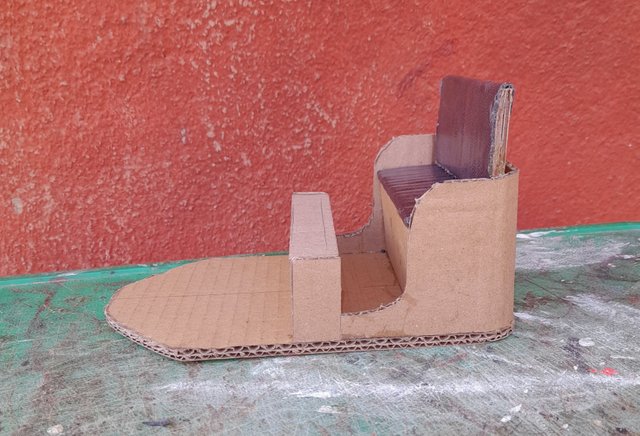
Step 5
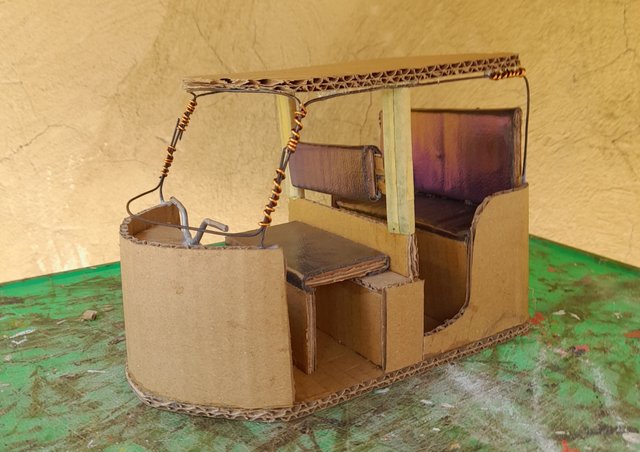
At this step, I constructed the rider's seat using a carton and leather skin. The seat is also two inches high like that of the passengers.
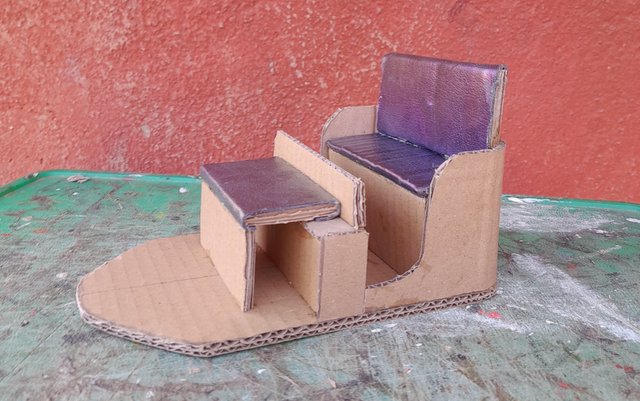
Step 6
In this step, I constructed the front panel, which is 3 inches high and 7.5 inches long and mounted it using Evostik gum. I also constructed a dashboard using a carton and a steering using a small iron. I gummed the dashboard using Evo-Stik gum and the steering using acrylic adhesive.
Step 7
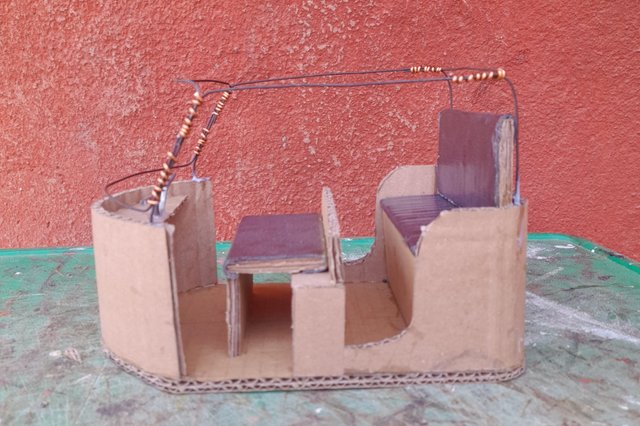
I formed the top frame of the tricycle using bidding wire and fastened it with copper wire.
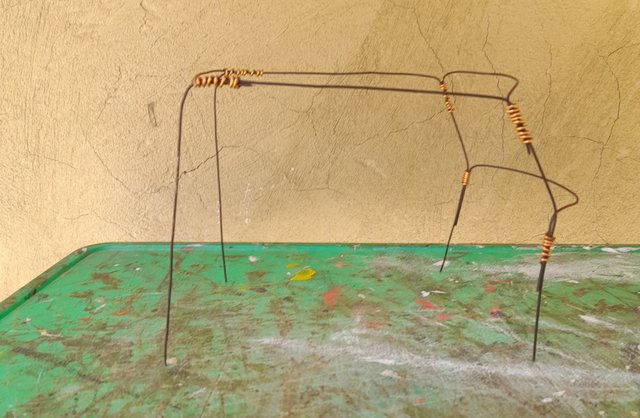
Step 8
I mount the iron frame on the construction using acrylic adhesive.
Step 9
I formed the top panel using a carton and mounted it using acrylic adhesive
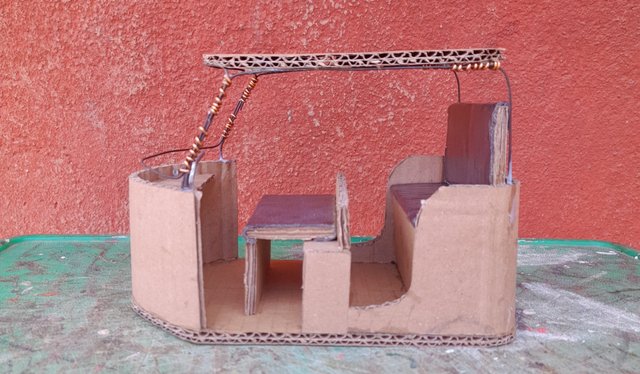
Step 10
I fixed the rider's seat back support using leather skin, carton and evostik gum. I also fixed two pillars to support the construction.
Step 11
I cover the back of the tricycle and the other part of the iron frame. I measured the carton and peeled one side to enable it to fold easily and smoothly. Having done that, I used evostik gum to do the gumming.
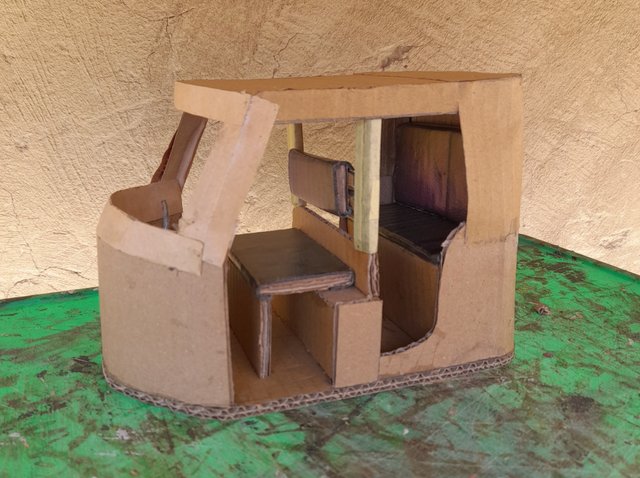
Step 12
I constructed the wheel of the tricycle using a container cover and coloured it black with acrylic colour. I constructed the headlight using peeled cartons and I also cut black embossed paper and used it to make some rough edges and to also beautify the tricycle. Finally, I used masking tape to cover some rough edges of the construction.
My Selfie

Conclusion
These are the steps for my creativity for this week. I appreciate you all for reading my article and for your support. I once again appreciate @jyoti-theligh for giving me this opportunity to explore. I would also invite @josepha, @chant, @zisha-hafiz, @arjinarahman and @tammanna to participate in this precious contest.
10% beneficiary support to @hindwhale
Manual Curation of "Seven Network Project".
#artonsteemit
ᴀʀᴛ & ᴀʀᴛɪꜱᴛꜱ
0.00 SBD,
0.02 STEEM,
0.02 SP
X Share (Twitter) Link
https://x.com/Manasseh3600/status/1902284582587687083?t=SeRtvlhbfjOQ0DaQbq86fw&s=19
Wow this drawing is an exception you are really good at what you are do Best wishes dear
Thank you ma'am
We support quality posts and good comments Published in any community and any tag.
Curated by : chant
Thank you
Greatings @caringmanasseh!
You really surprise us every time with an amazing skills. You are really expert in every work may Allah grant you success. Good luck.
Thank you much.
Thank you so much for mentioning me. It looks so nice. You made a car and made it out of cardboard paper. I really like it. The works you make are definitely beautiful and they carry a great meaning. You made this car that looks
Your post has been upvoted. Share with us posts related to economic activity and transactions related to our lives. Acquire business activities and new business ideas. Add prosperity by sharing business activities on the Steemit platform.
Subscribe Steem4Entrepreneurs community