Installing PHP and Web Application(Froxlor) on a DigitalOcean droplet
Greeting Steemit Family
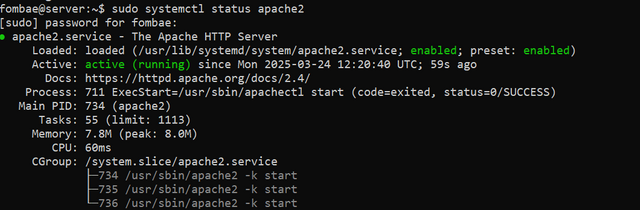
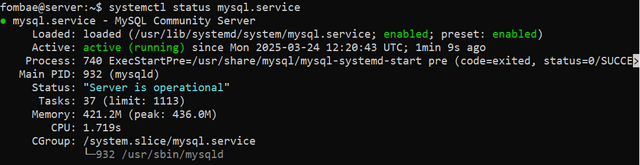
Okay, we have come a long way. I have learned a lot during this process. At this point, we have a droplet on DigitalOcean. Log in to the droplet using Putty or BitviseSSH client and install Apache and MySQL. Each service is active and running as of this post.
Create a droplet( server) DigitalOcean
Installing Apache Web Server (DigitalOcean droplet)
Installing MySQL Web Server (DigitalOcean droplet)
Our next task is to install PHP on our droplet, and I will go ahead and install Froxlor.
sudo apt-get update -y
Just like we did for the previous services, install Apache and MySQL. We always start by updating the local package to make sure we are working on the latest version.
sudo apt -y install software-properties-common
Next, we install the package which will provide tools to manage additional software sources on the system.
sudo add-apt-repository ppa:ondrej/php
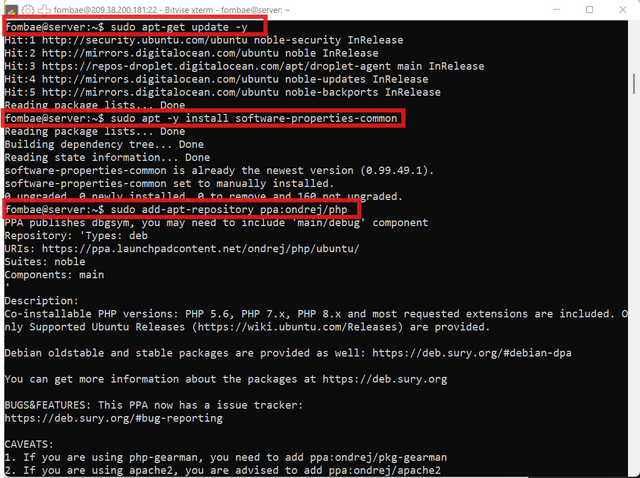
Adding a new Personal Package Archive (PPA) to the system’s list of repositories. Here we will go ahead to get the latest PHP versions and their related modules.
sudo apt-get update
sudo apt upgrade
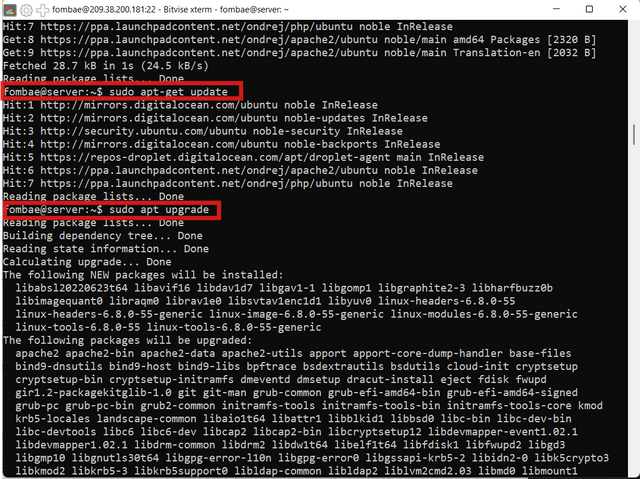
After adding the PPA, now we have to update the package again and this time upgrade to the latest version.
sudo apt install php8.0 -y
Since we will be setting up Froxlor, that is the reason I specify the version of PHP I will be installing. I'm sure I have mentioned why we have the -y and the end of the command. It is just to avoid the stop where I will need to type Yes to continue the installation.
sudo apt install php8.0-xml php8.0-mbstring php8.0-curl php8.0-bcmath php8.0-zip php8.0-mysql php8.0-common php8.0-mysql php8.0-xml php8.0-xmlrpc php8.0-curl php8.0-gd php8.0-imagick php8.0-cli php8.0-dev php8.0-imap php8.0-mbstring php8.0-opcache php8.0-soap php8.0-zip php8.0-intl -y.
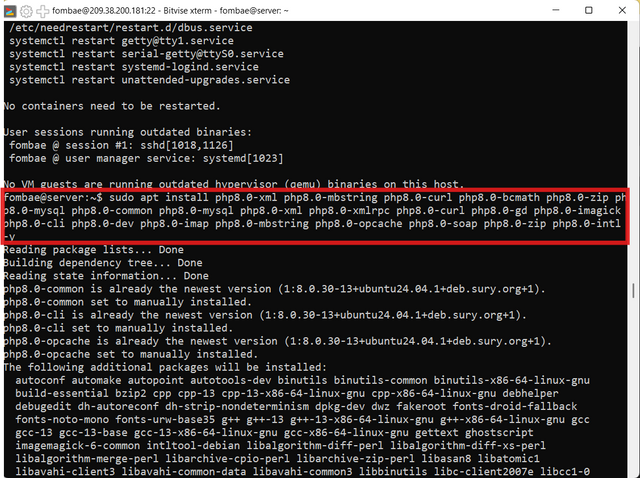
Here is the command to install the modules needed for PHP to function well as I will be moving toward setting up Froxlor. Each of the modules has its functions and if any are missed, I will have to separately install them.

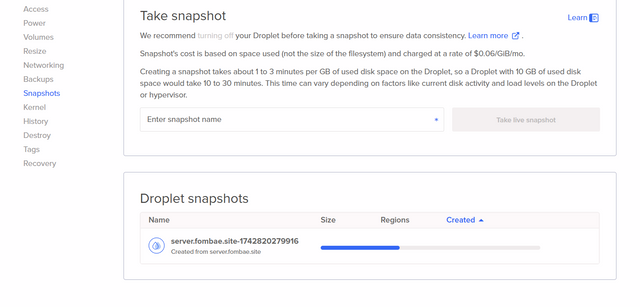
It is advised when working on the server at some point, to create a snapshot. In case you have a problem, you can easily row back without starting from afresh. After restarting Apache, everything seems to be working okay.
I log back to Digital Ocean and create a snapshot of the current state of the droplet.
Install Froxlor
Now I have succeeded in installing Apache, MySQL, and PHP. Remember I mentioned I will be installing PHP and the web application Froxlor. Froxlor is a web application that helps in the management of web hosting servers. With Froxlor an administrator can manage multiple websites, databases, and email accounts. I will give it step-by-step when I will host a website in the days ahead.
Okay, let's start. We will continue working from the command. We start by moving the default directory for holding web files /var/www/html. So since Froxlor is a web application, we will be placing the files here too.
sudo wget https://files.froxlor.org/releases/froxlor-latest.tar.gz
The wget in the command is used to download files online and link to get the latest version of Froxlor.

sudo tar -xzvf froxlor-latest.tar.gz
Now tar will help to unzip and extract the files to the current location. So always make sure you are currently in the /var/www/html
sudo mv froxlor/* /var/www/html
While extracting, the Froxlor directory was created and held all the files. The above command will move all the files from the Froxlor directory into the /var/www/html directory.
sudo chown -R www-data:www-data /var/www/html
Here, we set the ownership of the file to the default user www-data to be able to read the files.
sudo rm -rf froxlor froxlor-latest.tar.gz
This is optional, but then why keep the directory which we will not be using? We still have the directory and tar.gz file, which is of no use. The -rf will delete both the directory and files inside.
sudo rm -rf index.html
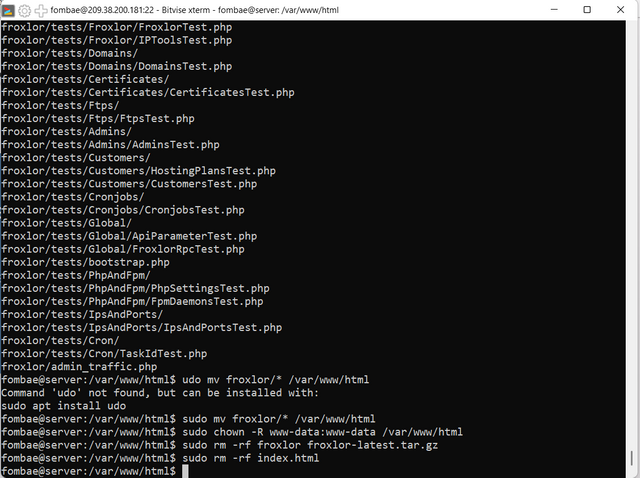
Finally, we have Froxlor so no need for the Apache index.html file. This command will
I had to configure my DNS to point to my droplet. http://server.fombae.site/
We have the files ready and in the right spot, time to install Froxlor.
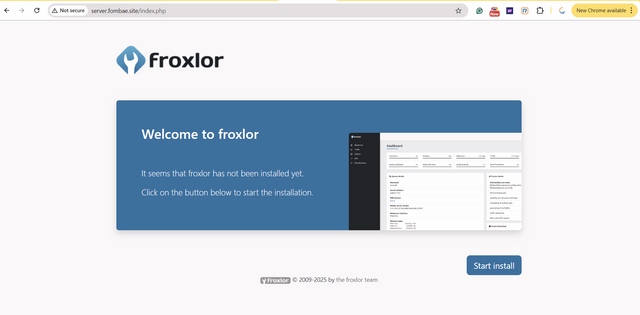
Click Start install

This is to make sure everything is compatible, especially the modules. You now see why I had to install the modules when installing PHP. Froxlor can identify the PHP version, but two modules are lacking. I will go back to my terminal console.
sudo apt update
It should be a habit to always update your packages before running any installation.
sudo apt install php-gmp

sudo apt install php-gnupg

sudo systemctl restart apache2
The commands above will install the two extensions and restart Apache. If you encounter any problem, you can specify the version of the php. At this point, we are all good.
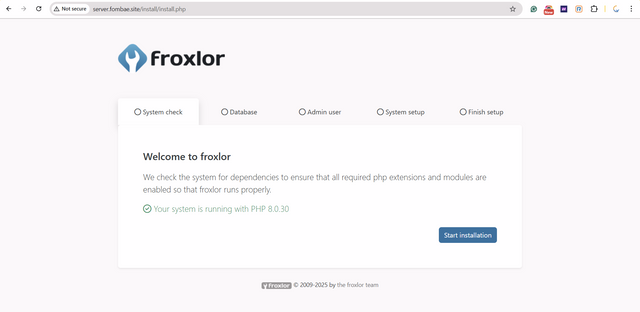
Start the installation by clicking the blue button.
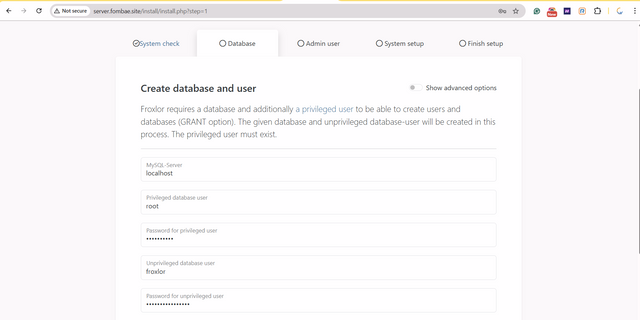
The privileged user is the root, which assigns a password when installing MySQL. That is the password I will be using here. Next, is the unprivileged used froxlor users. You generate the password, complete the rest, and click next.
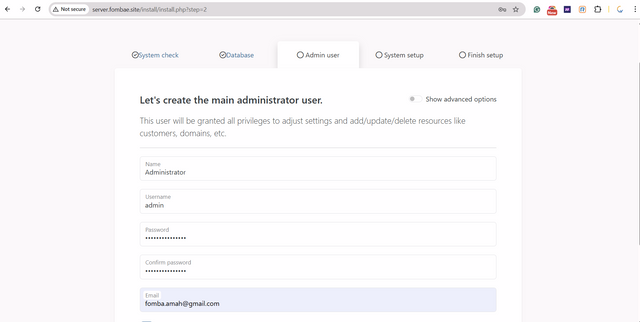
As an administrator, here I will assign my username and password, and recover email. Click Next.
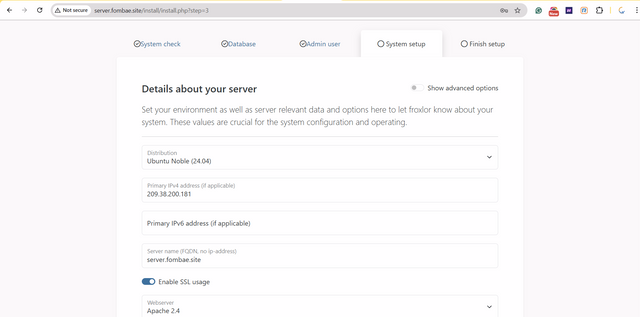
System setup, check all is and permit you to complete the installation. Sorry, I noticed I did not take screenshots when I was trying to make the post. At this point, the configuration is not complete. There are two ways to handle this, either by logging to the terminal as root or continuing on the Froxlor dashboard.
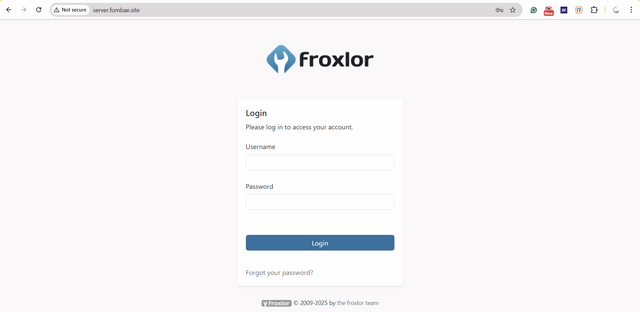
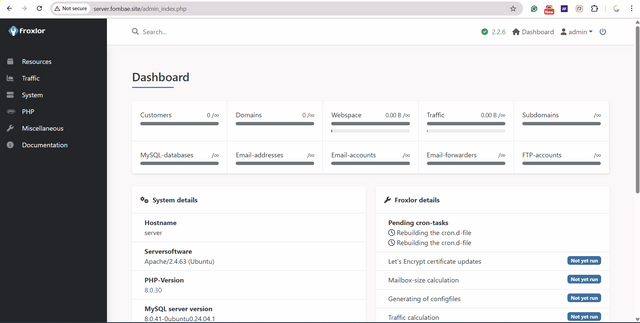
Let's log in to the Froxlor dashboard.
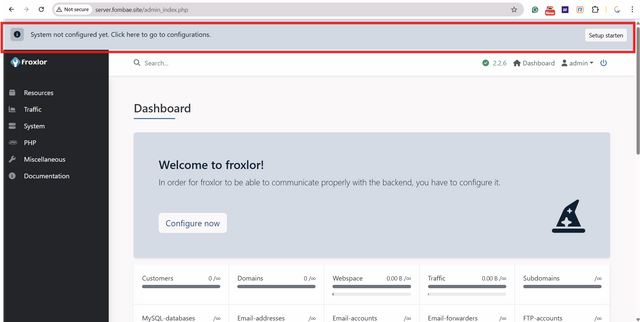
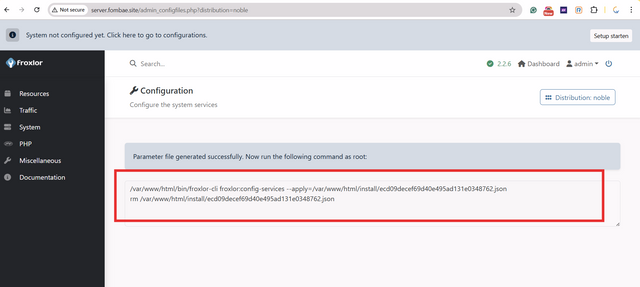
We are on the dashboard, and the notification is to click and move to the configuration section.
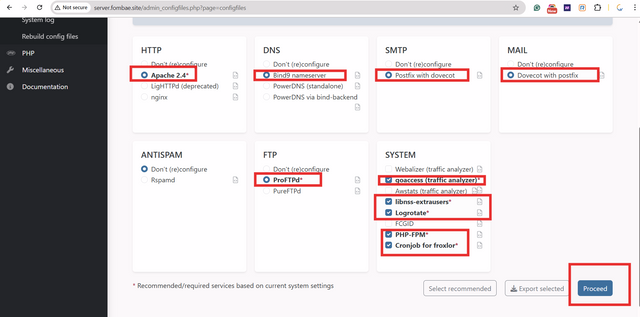
I manually select what I will need and which is compatible with the modules I install and click Proceed.
An instruction is given with parameters to run on the terminal as root.

After running the command, I to the vhost file and changed * in /etc/apache2/sites-enabled/000-default.conf to the IP of my droplet.
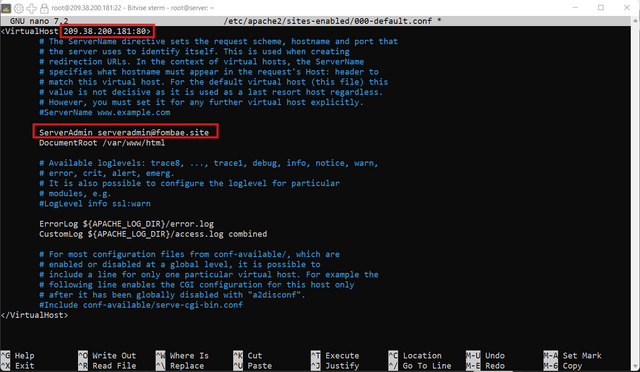
Finally, as a routine. Restart Apache

All done, I have installed both PHP and Froxlor web applications. Here, the Froxlor server is Cpanel to manage websites. It was a learning process, I did skip sections not showing screenshots because of the lengthened nature of the installation.
I hope next I will be giving the step to host a web project starting from Froxlor.
Cheers
Thanks for dropping by
@fombae
Upvoted! Thank you for supporting witness @jswit.