CREATING TEXT REFLECTIONS IN ADOBE PHOTOSHOP CS6 !!!
We have always seen beautiful text reflections all over the web !
Ever wondered how they are designed ? Let me tell you in this Blog :) !
What we will cover today ?
- We will learn how to create basic text reflections in Adobe Photoshop !
In my next writing I'll be covering how to make perspective text reflection, but in this blog lets stick to basic reflections
Getting started
- Open your Adobe Photoshop and make a new document by pressing
CTRL+n
- Once this dialogue box appears, add in the following values for length and width and hit enter ! There will be a small T located on the left side of the Photoshop screen, click on it to add text, You will make the Reflection of the text which you're going to type in here !
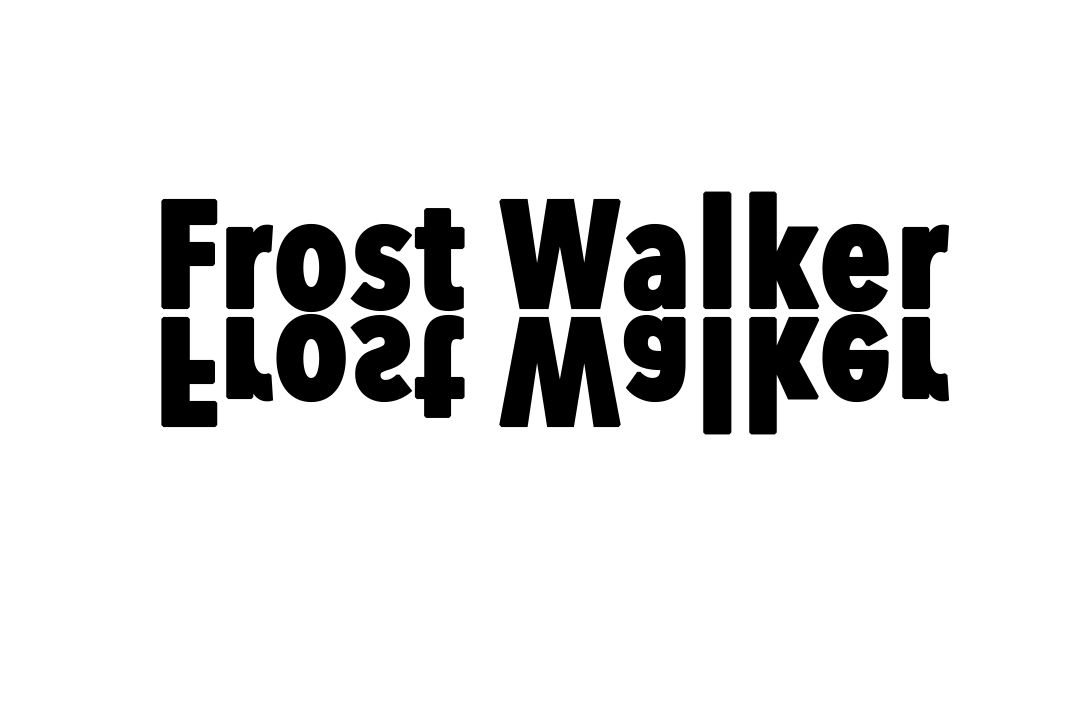
- Once you click on this T, a text box will appear in which you will type your text, I have added my text which says Frost Walker , you can add yours !
- In the next step, right click on the text layer and select rasterize type. It will make the layer able to be treated as an image ! Once you rasterize text, it is no longer text. It becomes an image of text !
- Once you have rasterized the layer, right click on the rasterized layer and select duplicate layer by pressing its shortcut command key which is
CTRL+j
- Once you have made the copy of your text layer, select the new layer which is a duplicate of the first layer. In short select the top layer. You will find edit panel on the top left in the middle of file and image panel ! Go to Edit, find transform and select rotate 180 Degree
- Okay ! Okay, don't freak out lol :P, This is exactly what it looks like, We're gonna fix this right now !!
- Move the first layer down, below our original layer. You can move it by move tool !
- Again go to edit, transform and this time select flip Horizontal.
- Aaaaannnndd Voila, we have the perfect mirror of our actual text !!! B)

- Once you've flipped the layer horizontally, select the flipped layer and decrease its opacity to like 60% ! The opacity is encircled with red in the Screenshot below :), Just click on it and adjust the slider !
- Select eraser from the bar on the left side of your photoshop screen !
- Once you've selected the eraser, Erase the lower part of the text, which is flipped and has decreased opacity ! You can erase it in a perfect straight line while holding
SHIFTwhen using the eraser !
- Decrease more opacity of the erased layer to 40%, This is an adjustment reduce in the layer opacity :) !
- After reducing the layer opacity, Select both of the layers which are the actual text and the reflected shadow, you can select then by
CTRL+CLINKINGboth of the layers !
Do not leave the
CTRLkey while pressing any of the two or else only one layer would be selected !
- Right click on any of the layers and select merge layers to merge both of the layers together or use shortcut command
CTRL+Ewith an active selection on the both layers !
- Both of the layers will me merged into one single layer, select that layer by clicking on it. Double click on the selected layer to open layer style, go to color overlay and check it ✅, Click on the color box , change the color to anything you want and hit OK !!
- Yaaay ! We have changed the colors ! Lets bevel and emboss it

- We have to bevel and emboss our image in order to give it more 3D like effects ! To do so double click the layer once again and open Layer Style, Check bevel & emboss and Contour, Adjust Bevel & Emboss settings as shown in the ScreenShot below !
- Hit OK once you're done and yaaay, we're done with reflections !