Indigenous Microorganisms 3 aka IMO 3
- The following post is from my blurt blog
- https://blurt.blog/ecoblurt/@dynamicgreentk/indigenous-microorganisms-3-aka-imo-3
INDIGENOUS MICROORGANISM 3 aka IMO 3
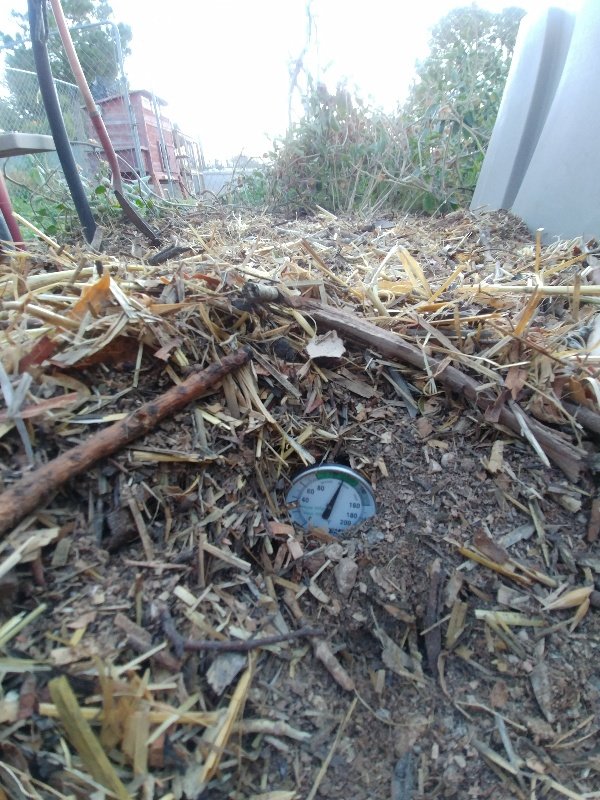
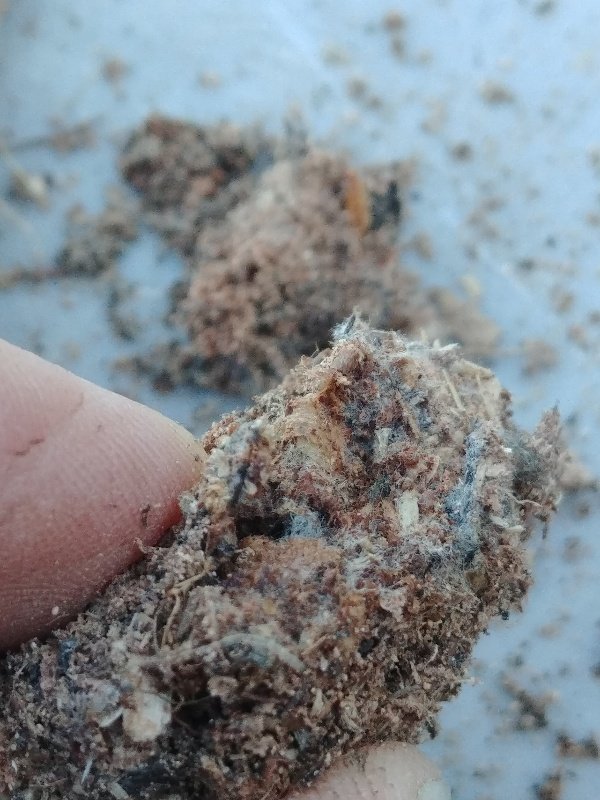
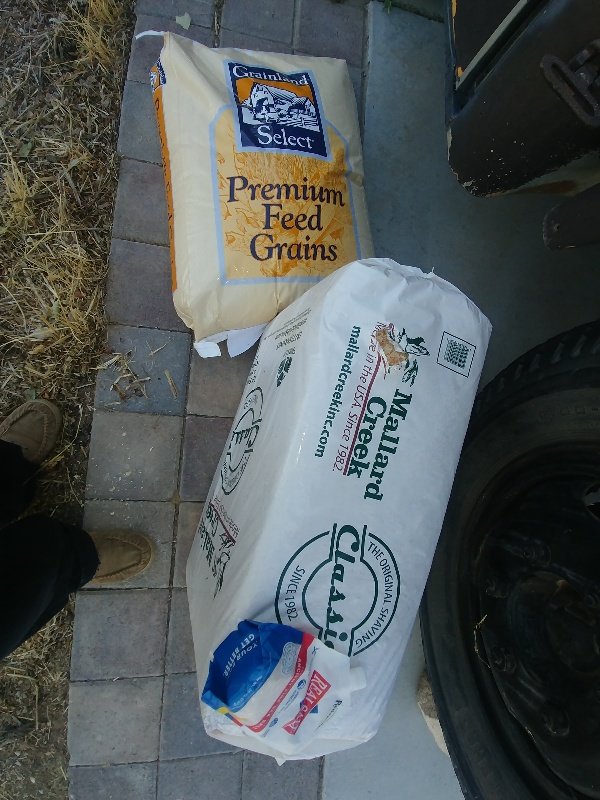
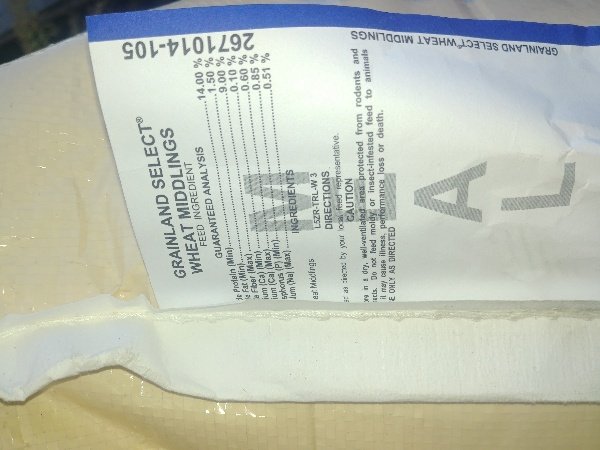
Using my IMO 2, I inoculated two parts Milled Wheat Bran(carbohydrate) to 1 part sawdust(carbon) and 1 part wood chips/shavings(carbon) with my IMO2. 1:1 carbohydrate to carbon materials is needed here. Sourcing local materials from a milling yard is optimal. I sourced my materials from a local livestock feed store and my friends woodshop (for the sawdust).
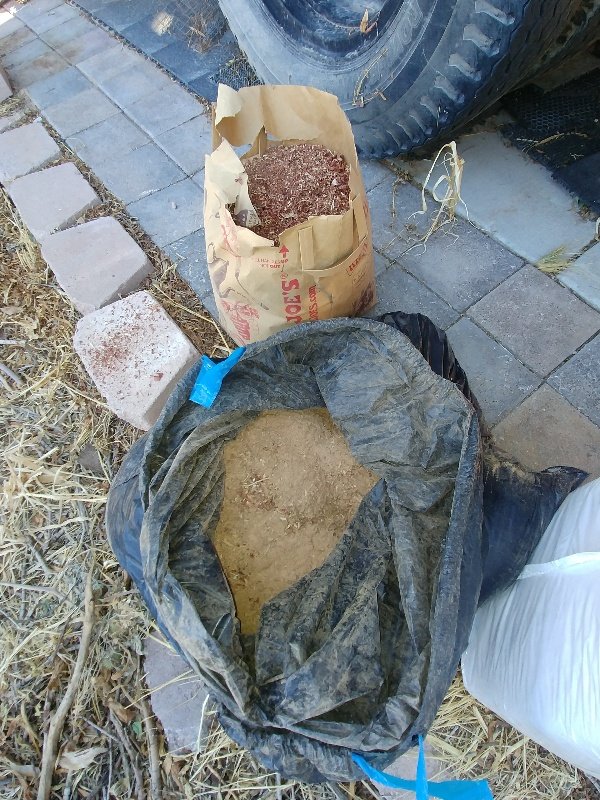
This is a cool process that proliferates the beneficial bacterias, yeasts and namely, the funguses found in my IMO collections.
Before I get started sharing my experience I would love to direct you to a couple of videos on IMO 3 from the knf master Chris Trump. In these videos you will also see the way a cedar storage box is built, said box will be briefly mentioned later.
IMO 3 Materials Needed:
- IMO 2
- Carbohydrate Materials (rice bran, wheat bran, rolled or steel cut oats)
- Carbon Materials (rice hulls, wood chips, saw dust, peat moss)
- IMO 3 Solution
- Shovel, pitchfork and rake
- Two- 5 gallon+ containers for IMO3 solution
- Leaves or straw to cover
- Covered area with earthen floor
- 12 inch Compost Thermometer
- Measuring devices
- Moisture Meter
IMO 3 How To:
- Mix IMO 3 Solution
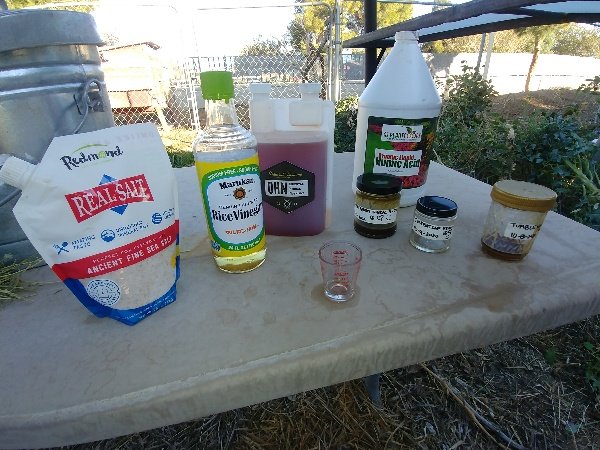
IMO 3 Solution:
In one container mix:
- Fermented Plant Juice (FPJ)- 7.5 mls per gallon
- Brown Rice Vinegar (BRV)- 7.5 mls per gallon
- Oriental Herbal Nutrient (1 year old)- 3.7 mls per gallon
- Salt Water or Sea Salt- 5 oz or 0.2-0.3 oz
- Humic Acid- 15mls per gallon leachate/ vermicompost sourced. 7.5 mls per gallon for store bought.
In another container, I mixed my IMO2 separately with water still using the ratio above. For example if you need 4 gallons of imo3 solution just take 1 gallon of water and set aside for imo2, still use ratios for 4 gallons in each container. I will add the imo 2 water solution first And then imo3 solution nutrients.
- IMO 2- 7.5 mls per gallon
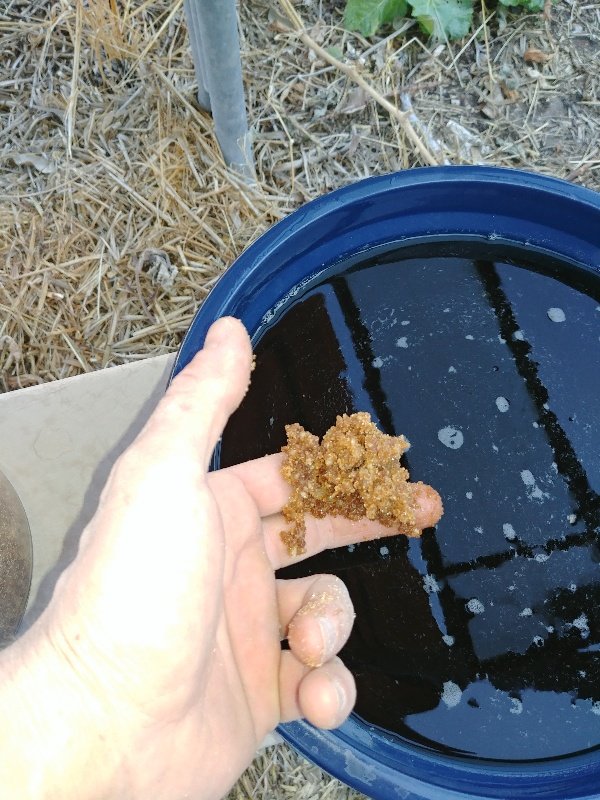
- Never add just water to your IMO 3 pile!
If your environment is hot (≥80°F) and arid (≤20 RH) the IMO3 pile may take up to 8+ gallons of solution. Always add imo3 solution if needed.
If the environment is cold (≤50°F) and humid (≥60° F) you may need as low as 6 gallons of solution.
average 40 - 50 lb (5 cu ft) about 2 - 4 gallons of solution
average 80 lb (8 cu ft) about 6 - 8 gallons of solution
- Prepare your source materials
by mixing them very thoroughly first. 50 - 75% carbohydrate (rice or wheat bran) and 25 - 50% carbon (wood chips and sawdust) by volume. Percentages will vary due to environmental conditions and materials sourced. Mix your source materials well, and shape into a pile on the earth, not on cement, or wood, but the dirt.
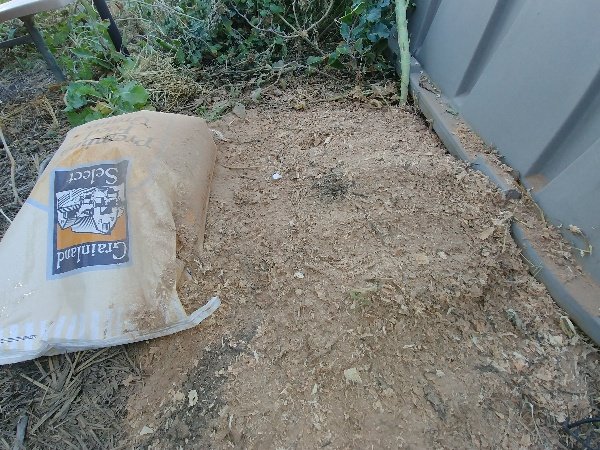
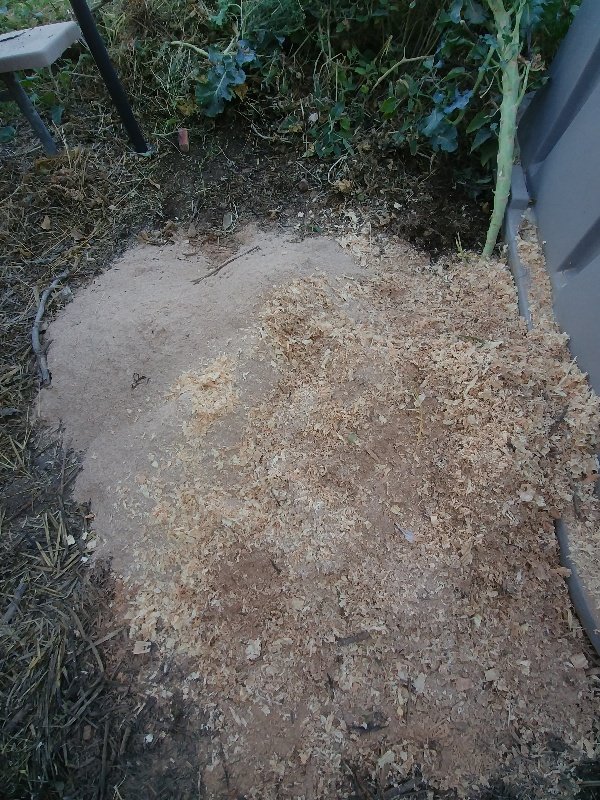
- Create a divot
about 12 inches in diameter, and 6 - 8 inches deep in the top center of your carbohydrate:carbon materials. Pour about 25% of the solution into the divot, and blend thoroughly, to ensure moisture is evenly distributed. Repeat until the IMO 3 pile is about at a 60 - 70% moisture level. Moisture Meter was key for me here.
- Shape pile to a height
approximately 18 inches high. The higher the pile the hotter it will get. The lower in height the imo3 pile will become lower in temperature.
- Cover pile
with leaves or straw until 70% shade and 30% light is achieved, aiding in heat and moisture retention.

- Cover from rain with a tarp, if necessary. If the IMO 3 gets extra wet at this stage, it could go anaerobic and fail.
Turn, Turn, Turn
Always turn the imo3 pile at the first 24 hours, even if it doesn't heat up. Which was exactly what I experienced here.
You may eventually need to turn the pile twice a day to keep heat below 130°F. Make sure you get the center bottom. This was the case for me on day 3/4.
Turn the pile every day, to keep the temperatures at 125°F or lower. Imo3 Piles that reach 130°F almost always are bad, imo3 piles at 135°F is a fail. IMO 3 should be complete in about 5 - 7 days, when the temperature drops around ≤80°F
This is exactly why a compost thermometer is crucial. I was constantly monitoring the temperatures.
The first day I only saw 80° F temps. After turning at the 24 hour mark I saw daily peak temperatures in between 116°F to 125° F. On day 6 the IMO3 pile seemingly died down to 80°. But overnight the temperatures peaked to 118° F one last time.
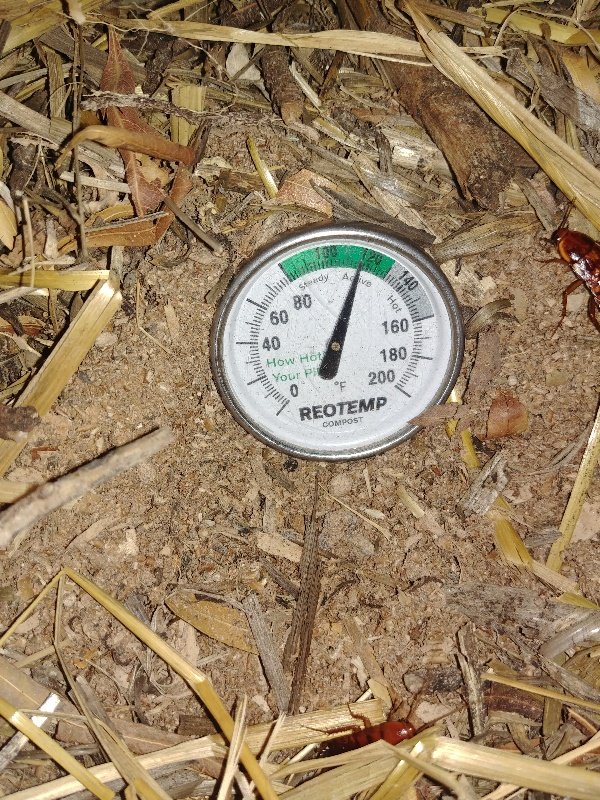
Once the temperatures stabilized to 80°F, I let the IMO 3 sit for 5-7 days before using for the IMO4 process and liquid IMO.
The finished product!
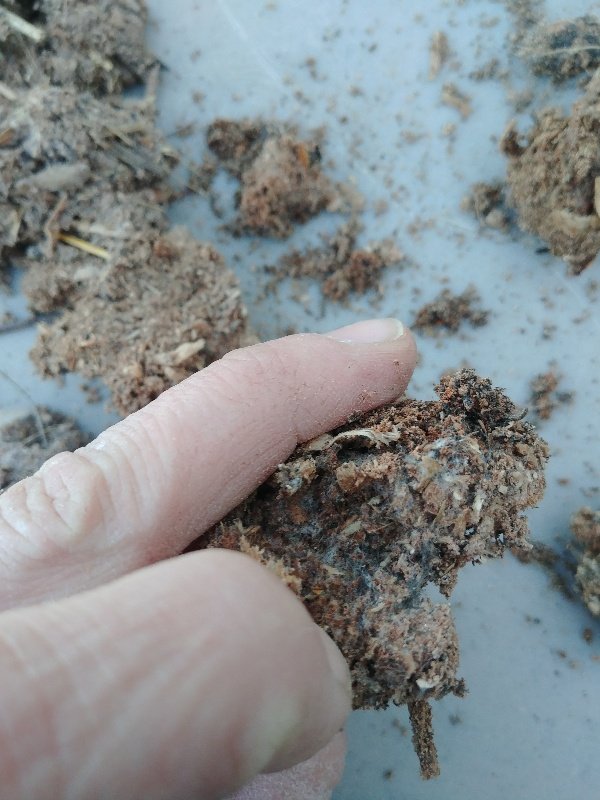

IMO 3 Notes:
If the pile does not reach a temperature of 80° - 100°F it probably needs more imo3 solution.
Adjust the imo3 pile height from 12 - 24 inches to control temperaturesCover your pile in a building or tarp to keep the rain out, and make sure your pile is NOT in a low spot that accumulates water.
If too moist add more Carbon
Do not break up clumps
a common mistake is missing the center bottom of the pile when turning
IMO 3 Storage
Store your IMO 3 for 6 months to a year in a cedar box, or something similar with slight air gaps. Jute sacks, stacked off the ground to allow airflow under a covered building also works.
If using box storage continue to turn for an additional week if temperatures have not stabilized
IMO 3 Storage Notes
Never use Redwood or Western Red Cedar, too antimicrobial
Untreated Cedar Fence boards are great to make a storage box
Best materials have a very high carbon to nitrogen ratio, such as hardwoods
Softwoods, jute sacks, etc. may have limited storage life
IMO 3 Application
Apply liquid IMO 3 about 2 hours before sun down.
Use for IMO 4
Do Not apply IMO 3 directly to the soil
Sprinkle on our compost pile to really kick it off
My Instagram
Most up to date progress on my Korean Natural Farming
Discord for Natural Farming
(*Formerly Dynamicsteemians)
- Inter Natural Farmers