For our Dear Mr. Ned Scott (+ Full 3D Smudge Tutorial)
Hey there! Meet Mr. Ned Scott, the co-founder of steemit.
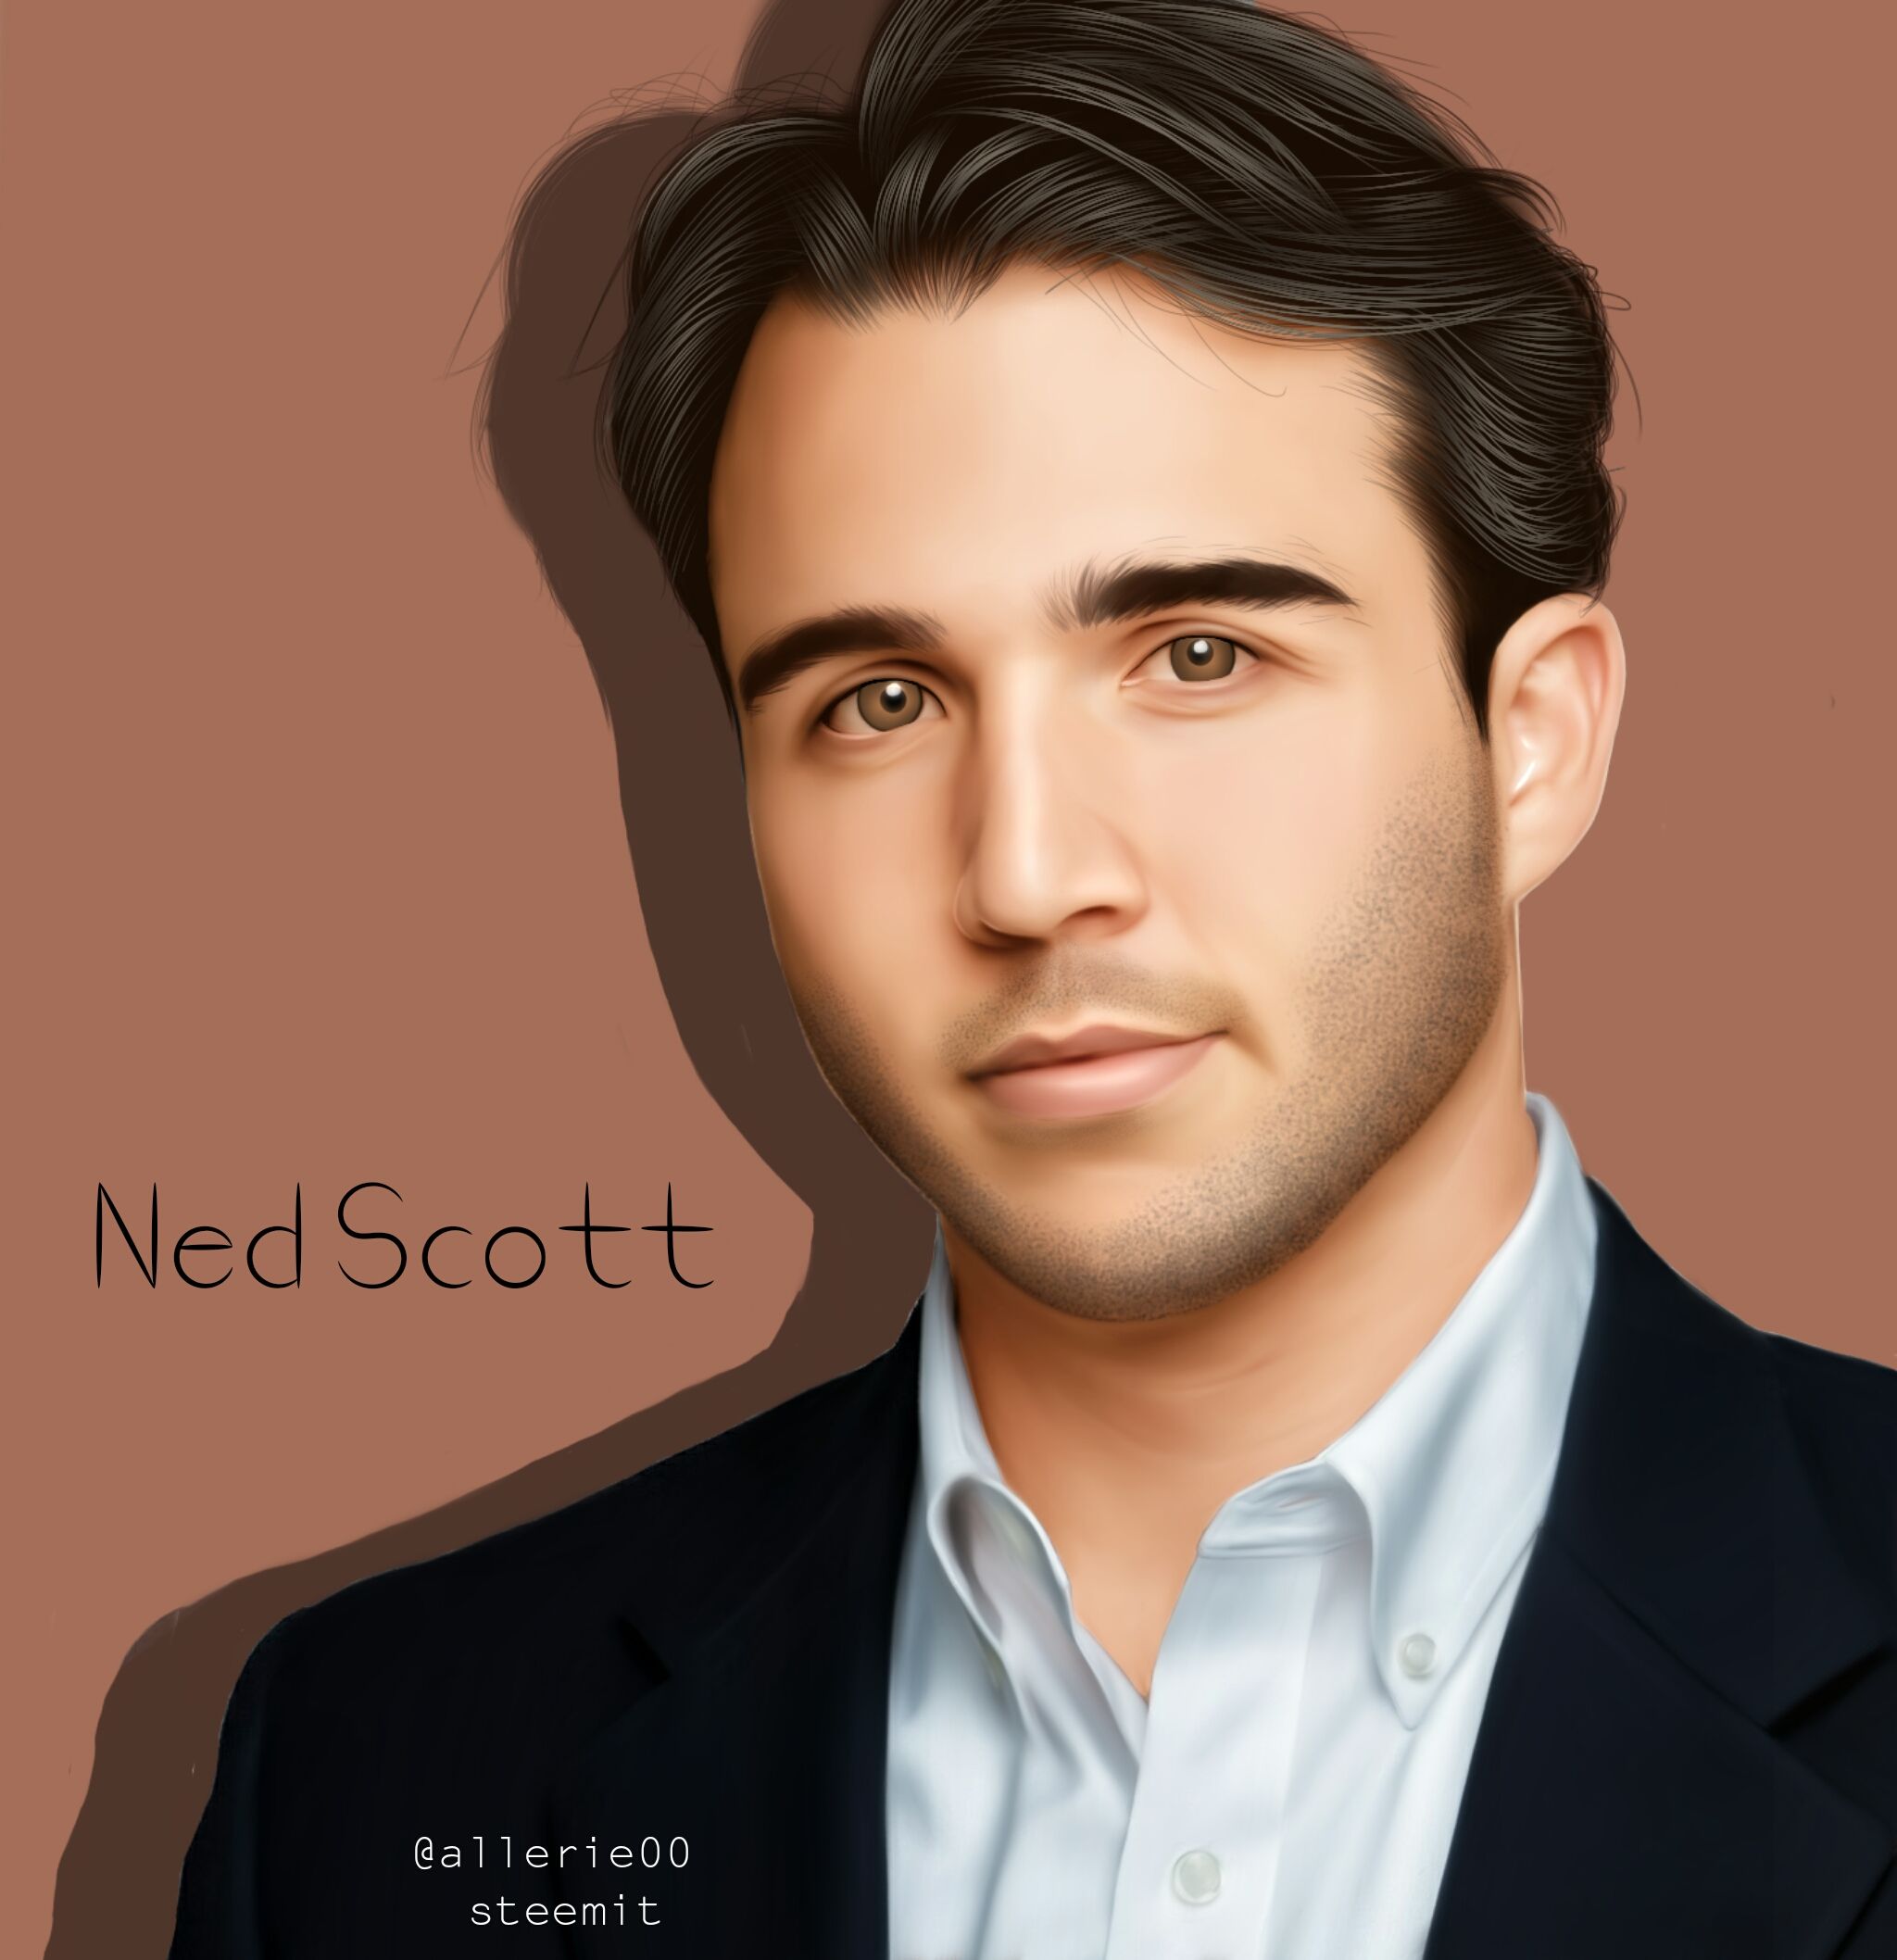
As my way of giving thanks to him for creating the social media site that we are enjoying now, I made a 3D smudge for him with a tutorial for you guys to know how it is done.
First, I looked for a good reference of him in google.

Source
then I imported the reference in the app called Autodesk Sketchbook where I am going to make the art.
Let us make the hair!
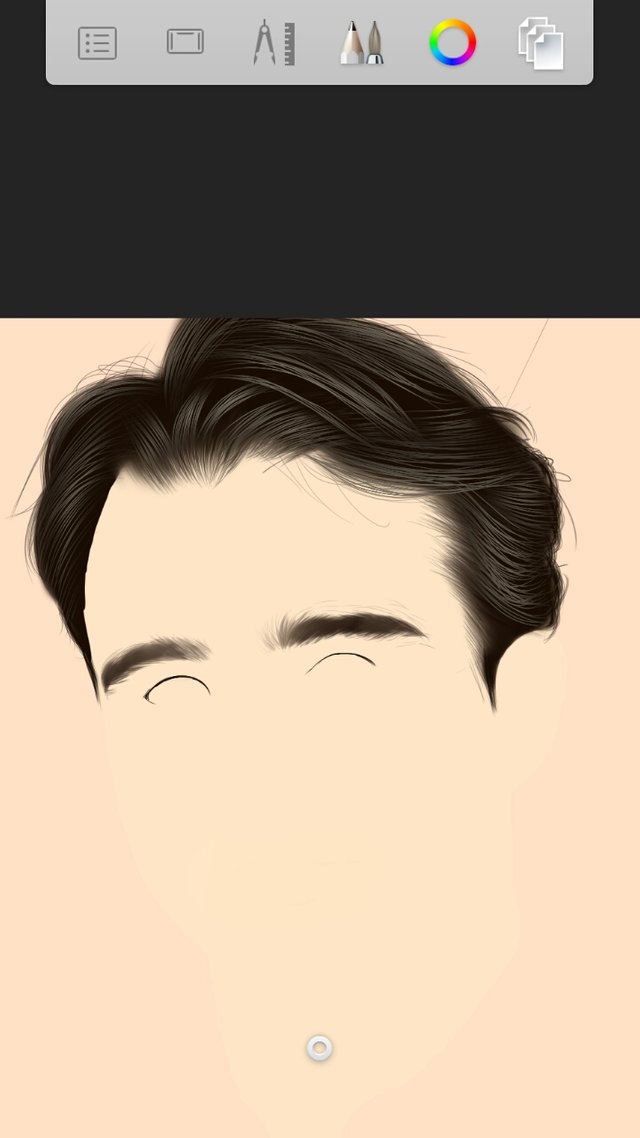
First, I picked a black hair palette and made the base. I used pencil in drawing the outer strands of the hair and filled it with a brush.
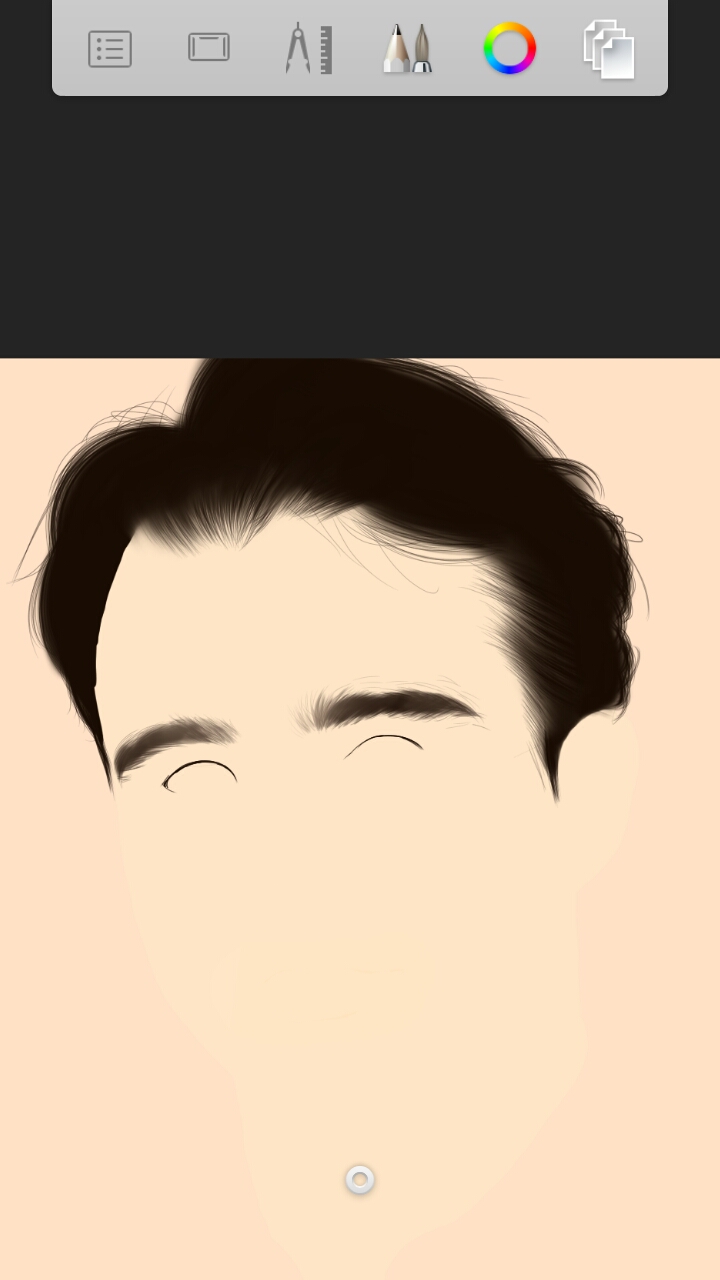
Next is I color picked the 1st shade of the trands and followed the flow of the hair in the reference using a pencil. I made a thick strands by drawing a lot of lines following the hair's flow. Erase the ends of the lines using the soft eraser.
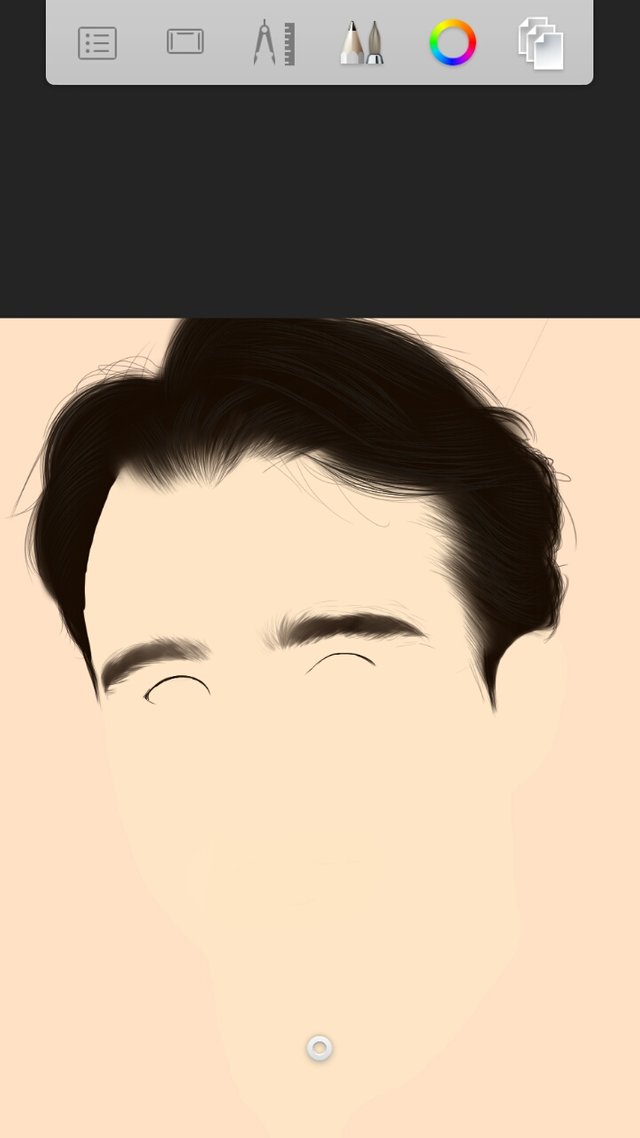
Now I repeated the process in making the strands but this time, I draw only strands on the part of the hair which looks really thick.
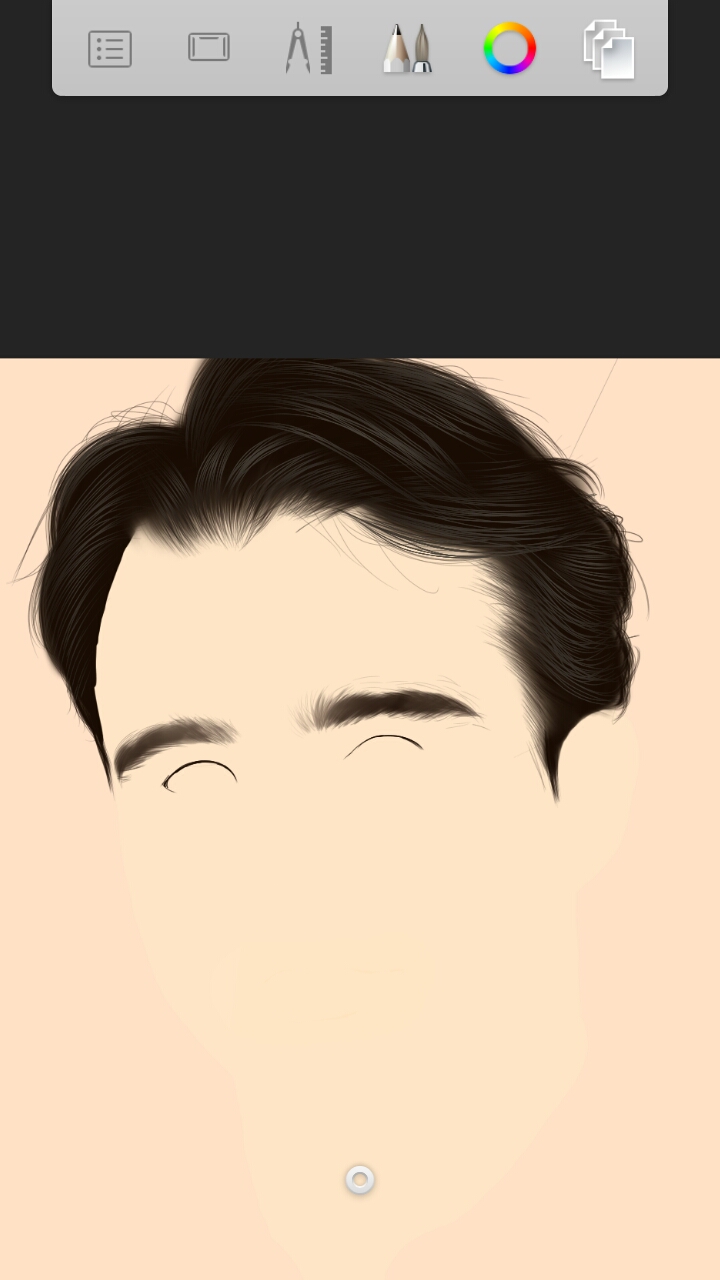
Last step for the hair, I draw strands of highligts. I made only a few just to emphasize the lights on the hair.
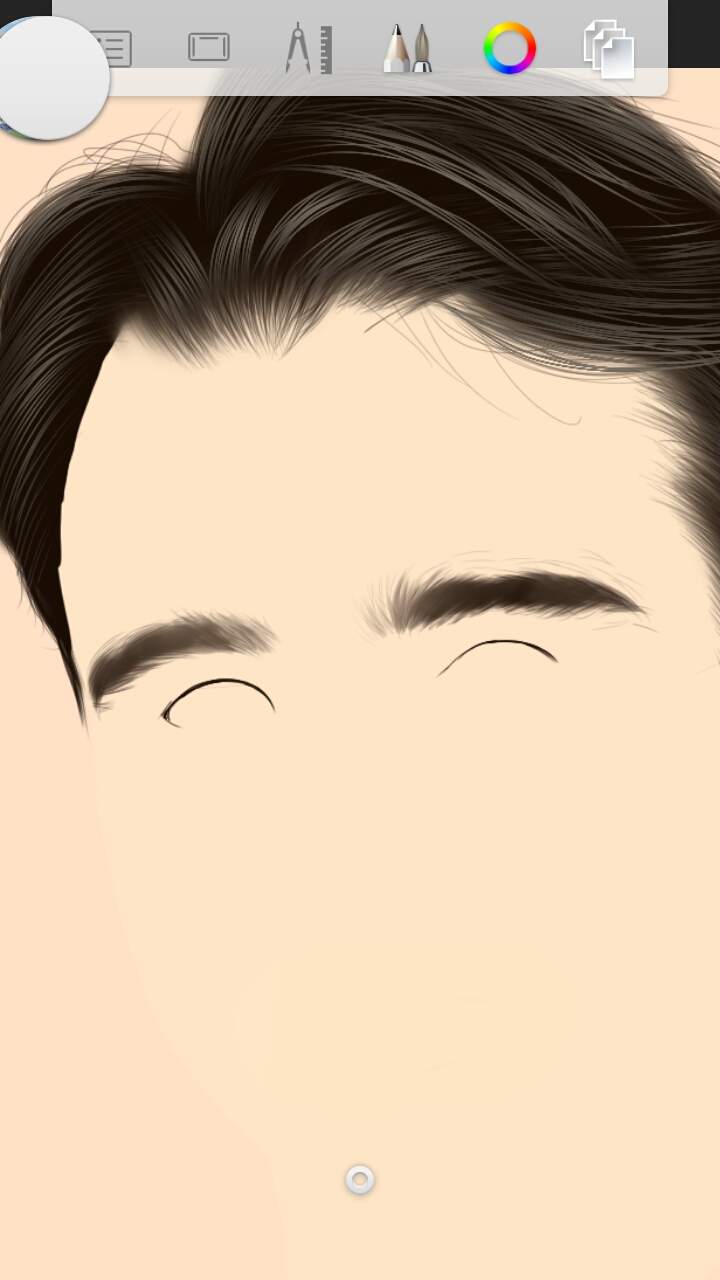
Let us make the eyebrows!
This is very easy! You just need to draw strands of the eyebrows. So for this, I used a pencil and a color black then followed the reference's eyebrows. To thicken it, I used brush with a small size.
Let us make the eyes!
I decided to use the reference's sclera so I directly made the iris. First is I draw a black circle.
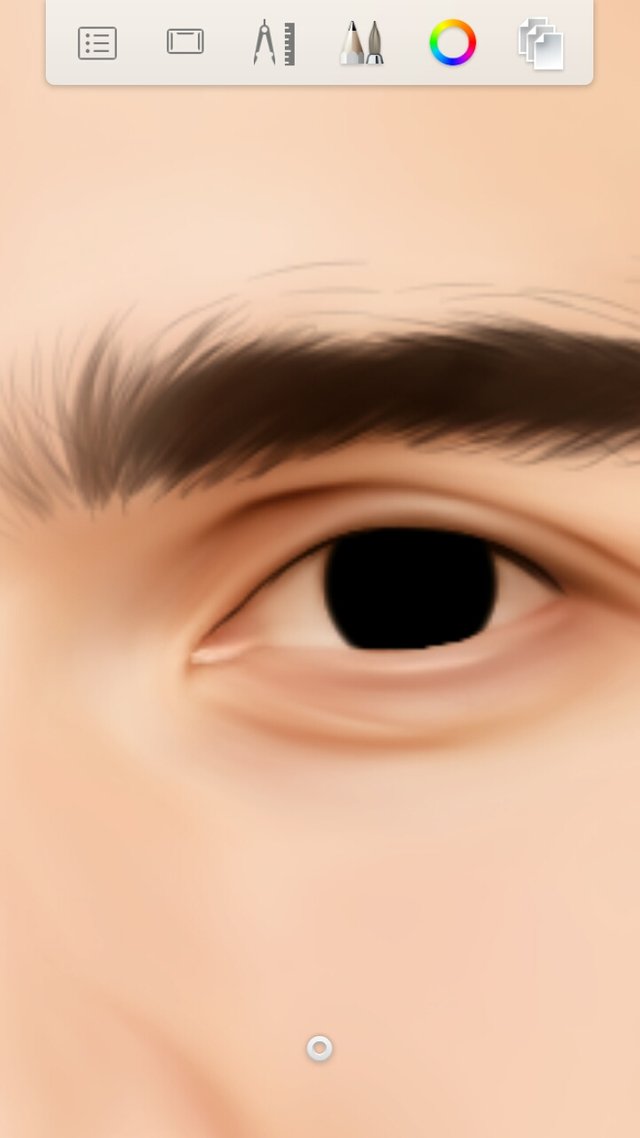
Then another smaller circle with a brown color.
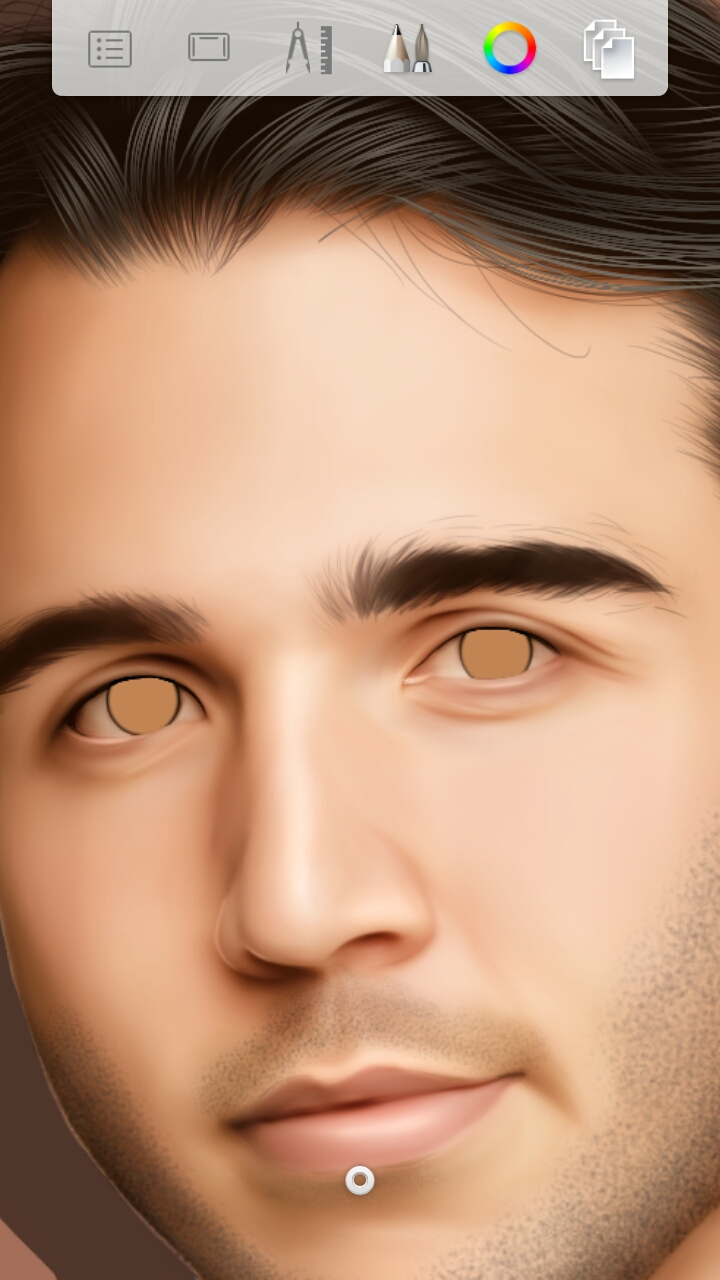
I soft erased the outer edge part of the brown circle and it resulted to this:
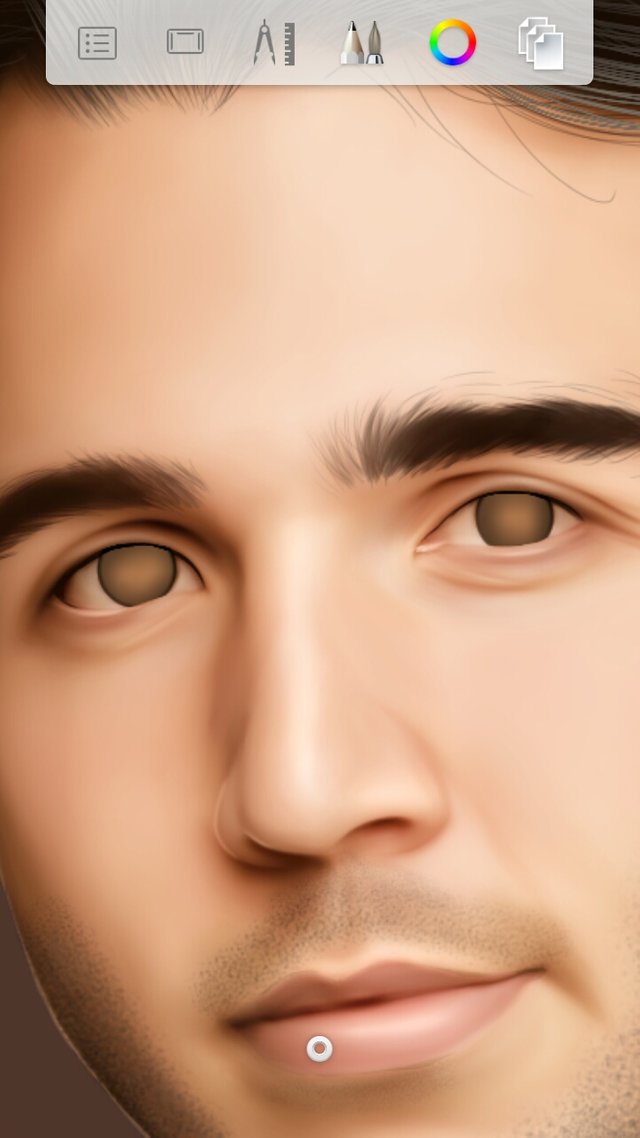
Now I draw another circle for the pupil and there! You now have the eyes!
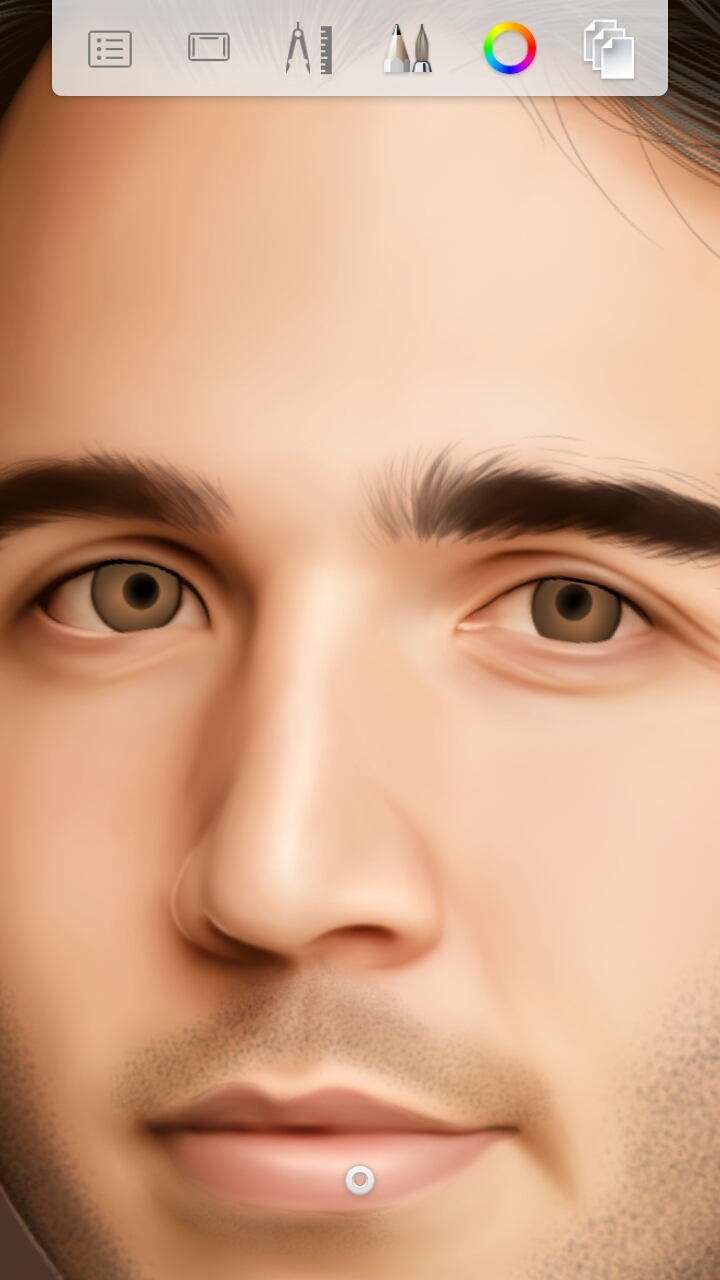
To add detail, I added a layer and set the blending into soft glow and draw a little circle on the eyes using a brush with a white color.
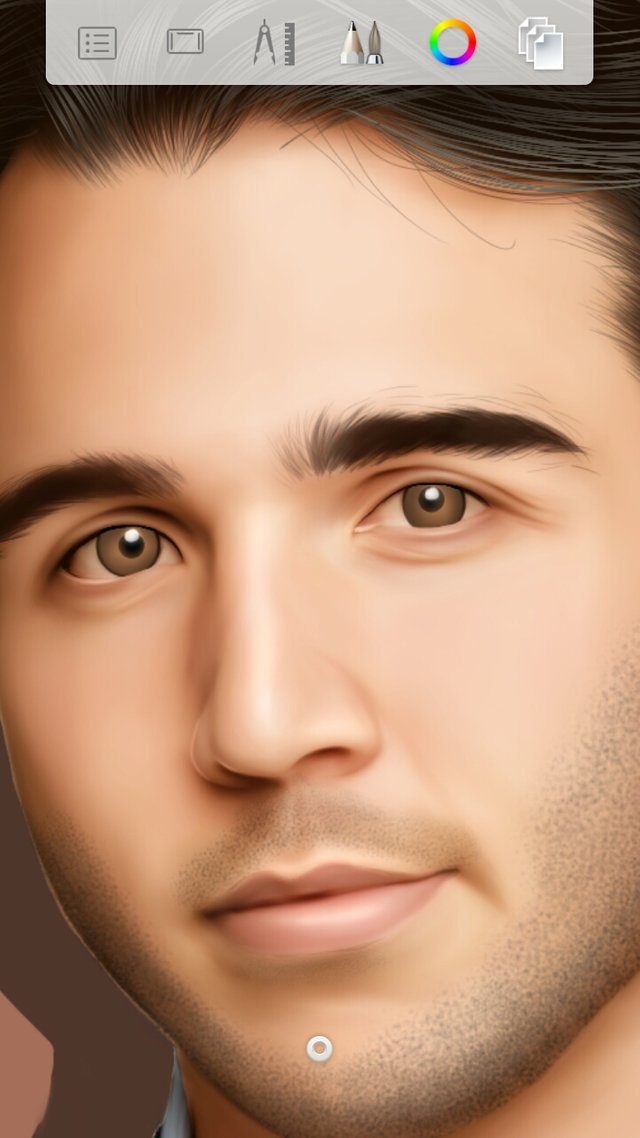
This will serve as the reflected light on the eyes.
Let us color the skin!
So I randomly picked a color and applied to the whole skin excluding the lips.
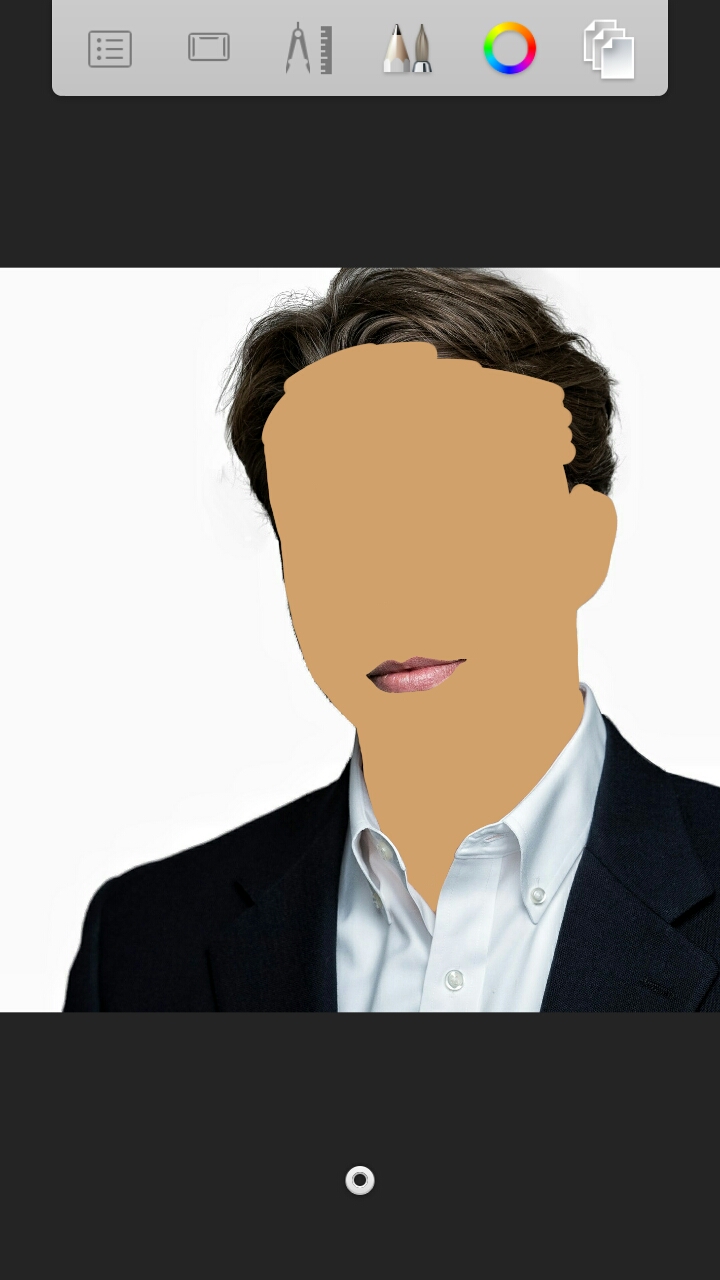
I duplicated the layer then set each layers into color, soft light, and everlay.
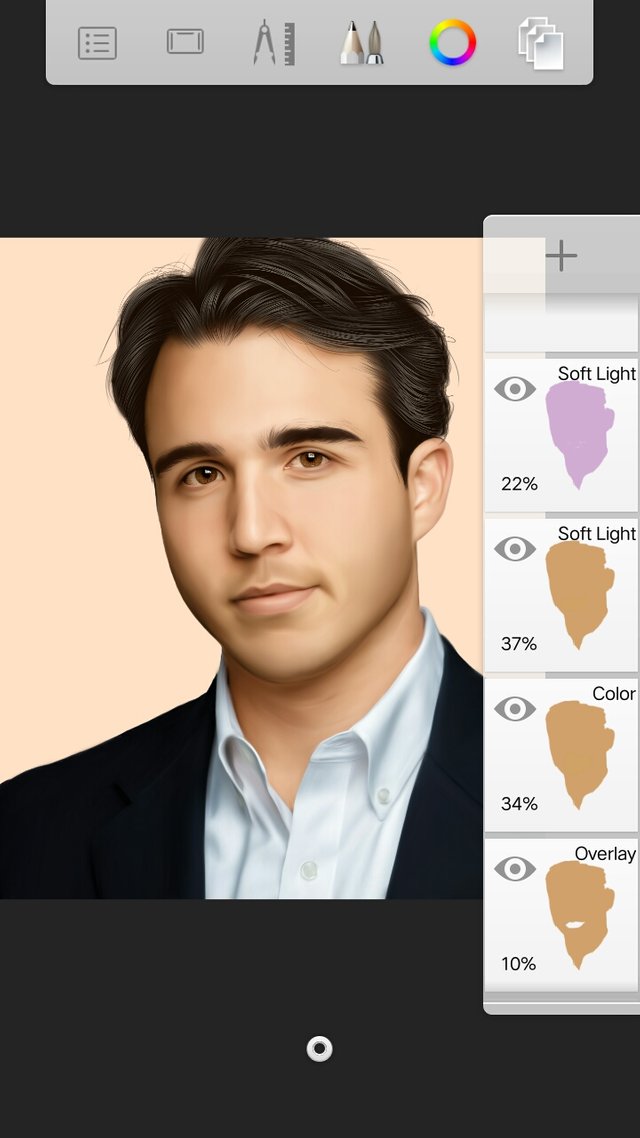
Now adjust the opacity of each layer until the skin looks okay to you.
There is no fixed color to use and opacity to set. You can experiment depending on your reference as to which of those looks great.
Let us smudge the skin!
I have made a video tutorial so you can see how I smudge the skin. Please watch it and learn.
Now since my reference has beard and mustache and it was gone during smudging the skin, let us make him a new one using this tool.
To do it, just apply it on the part which has a beard and mustache.
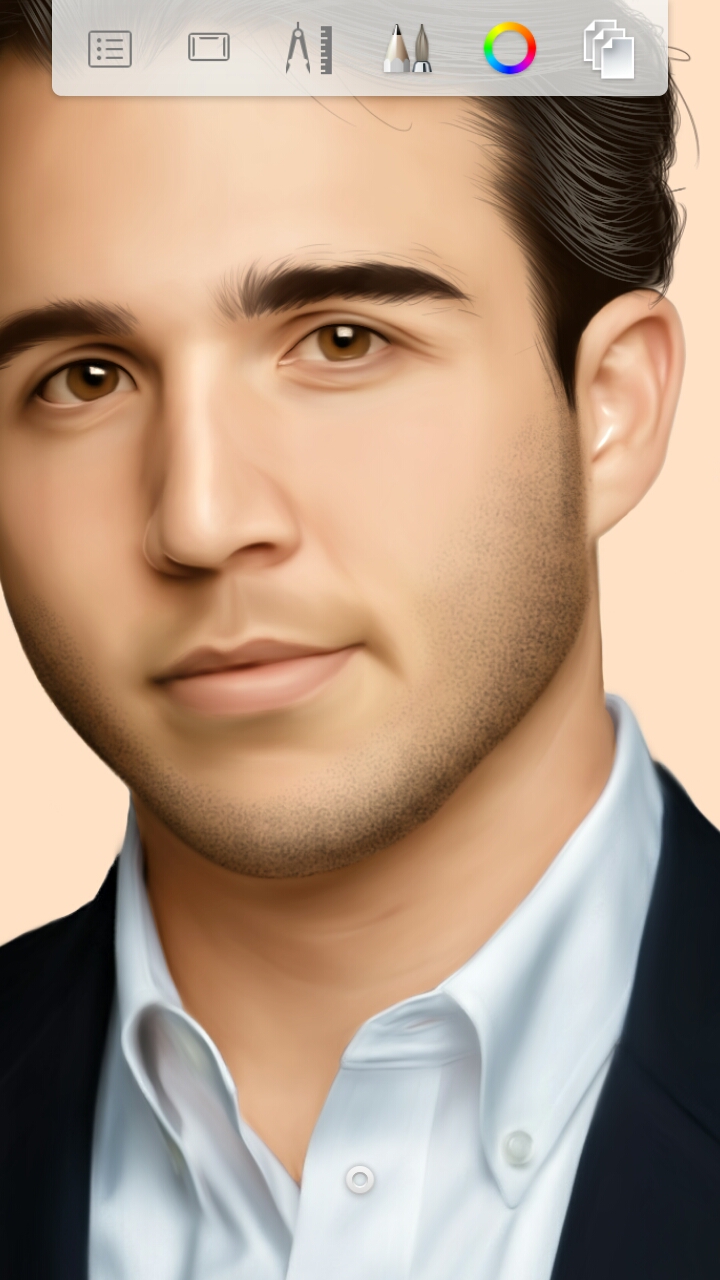
If it looks too light, apply more.
Smudge also the clothes and there!

Remember that every artist was once an amateur so don't worry if you can't make it easily because sooner or later you will learn through your first hand experiences while you practice. Don't be in a hurry in making an artwork. It should be done slowly by heart.
Thank you everyone for dropping by! I hope this can reach Mr. Ned Scott haha but I know there's only 0.01 chance. lol
Amazing!
ang galing m naman miss:-)
Mr. Ned Scott needs to see this :O :O :O
You never know hahaha he might see it and you get a huge upvote
I really like this great job doing this!
ang husay talaga. same with ate hadie. keep it up ^_^
You are talented!!!!!
O so wow! smudge pa more...
I resttemed this post bcz you did a very good art work
Thumps up
Maganda na Talented pa.
Major award for this girl