D.I.Y. Domino Table
Over the summer I decided to build a domino table for my brother in laws birthday. He grew up in Puerto Rico and it was one of his favorite things to play as a child. Now that he and my sister have a new home, I thought it would be a nice addition and something the entire family could enjoy.
It's been many years since I've built anything from scratch. I have done a lot of remodeling work recently but that's quite a bit different than building from the ground up. I did a bit of research on what domino table dimensions typically are and had a design in mind. I did do a bit of sketching just to be sure I had correct dimensions, however I tend to fly by the seat of my pants on projects and sort of let it flow as I go.
I am pretty happy with the result. My brother in law was thrilled!
I used basic dimensional lumber. In fact the project is 2x4s, 1x4, and 1x1s. You could get away with using lighter boards, this table is extremely heavy. I used what I happened to have on hand and I know the table will last for years, so that is a consideration.
On a side note, since I used heavy lumber, I used screws and glue just to be on the safe side. I also pocket drilled the majority of the screws because it gives a stronger grip and also hides the screw.
The following are pictures of each step. I did miss getting pictures of the legs being built. At this point it was about 120 degrees in my garage as it was summer in Florida and I was just about getting it done.
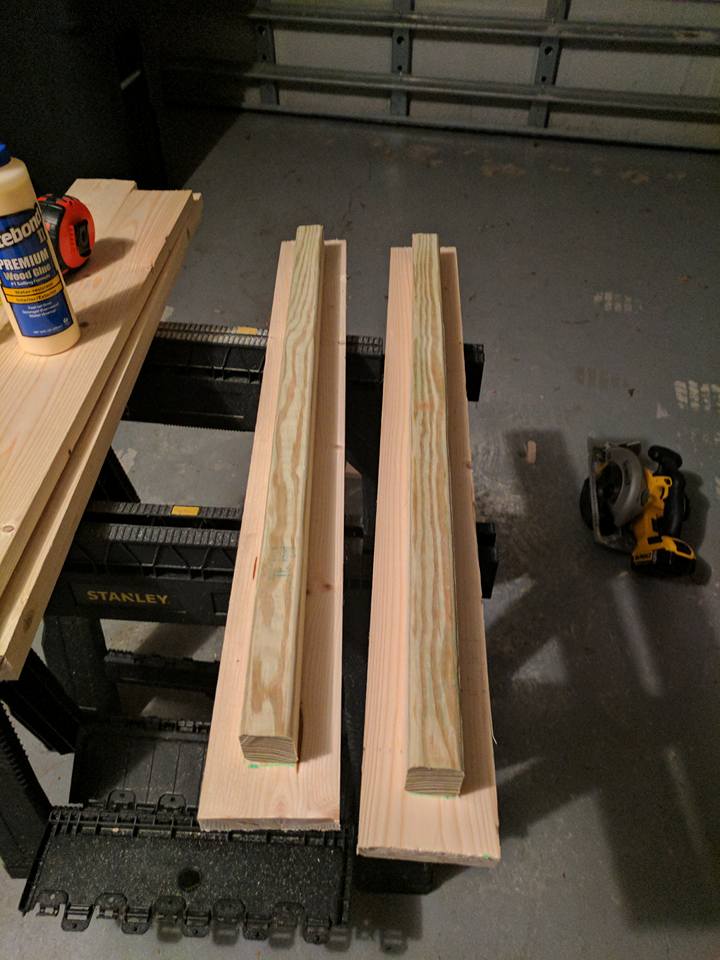
This photo shows the start of the table top. Basically I took the 4 sides which are 1x4s and attached 1x1 to each centered in such a way that the actual top boards would be slightly inset as you will see in the next photo.
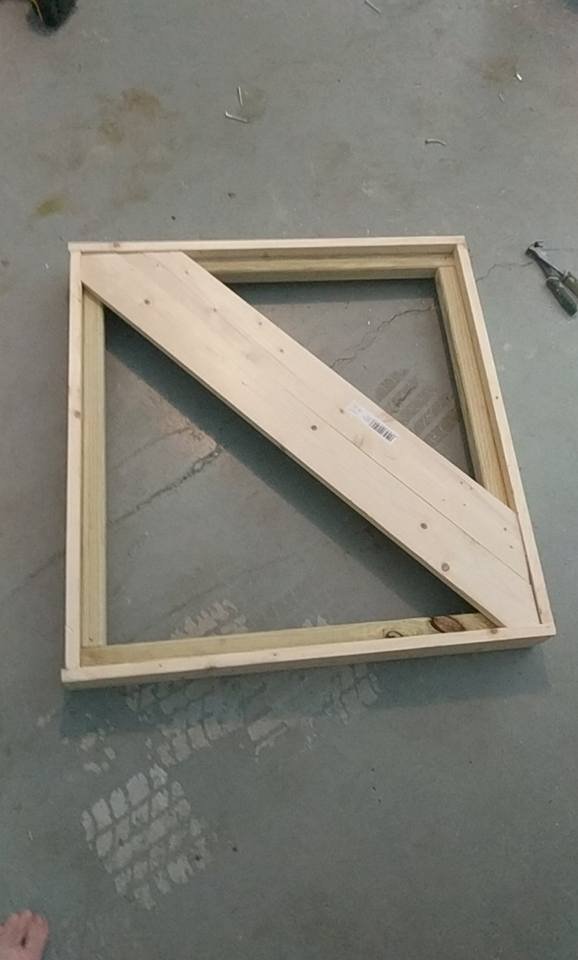
Here the 4 sides are completed and I have begun attaching the actual table top.
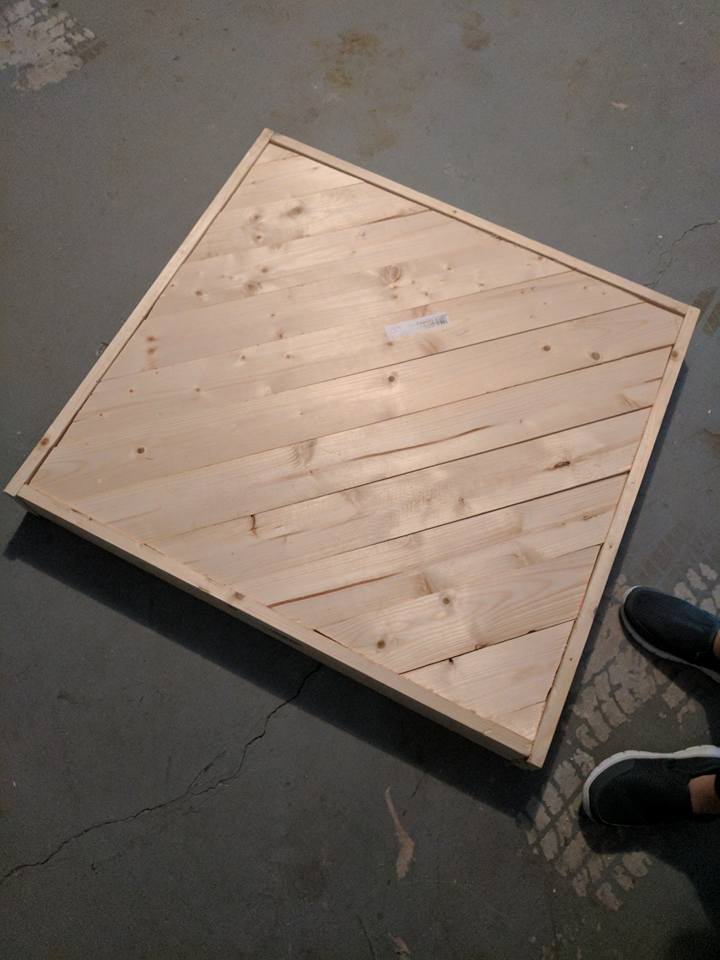
This is the completed top, now it's ready for the legs.
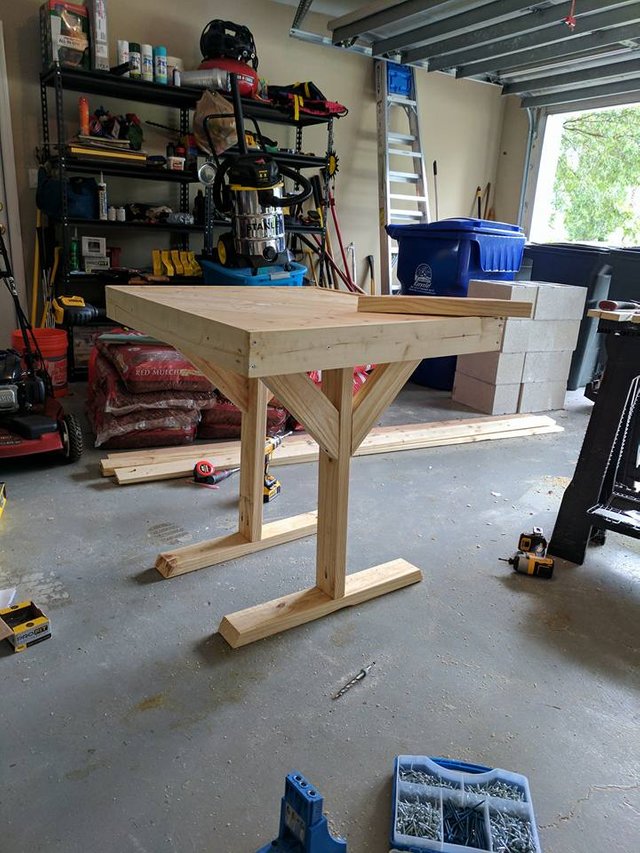
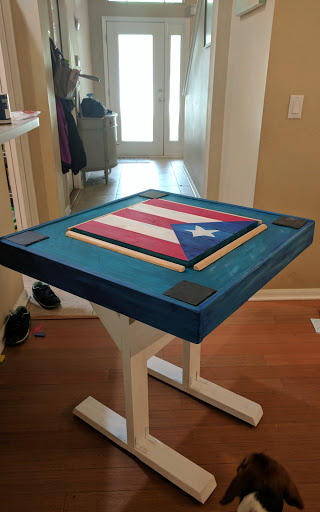
Boom! We have legs! Actually I wish it were that simple...the legs are made out of 2x4s and I was going for sort of a picnic table style. After building and attaching the legs, I also attached 4 levelers to each foot so that the table will set level regardless of the surface it's sitting on.
Now that the table is complete, the sanding begins. Since I used rough dimensional lumber instead of finishing lumber, I now have hours of sanding and prepping to get it ready to take paint and finishing.
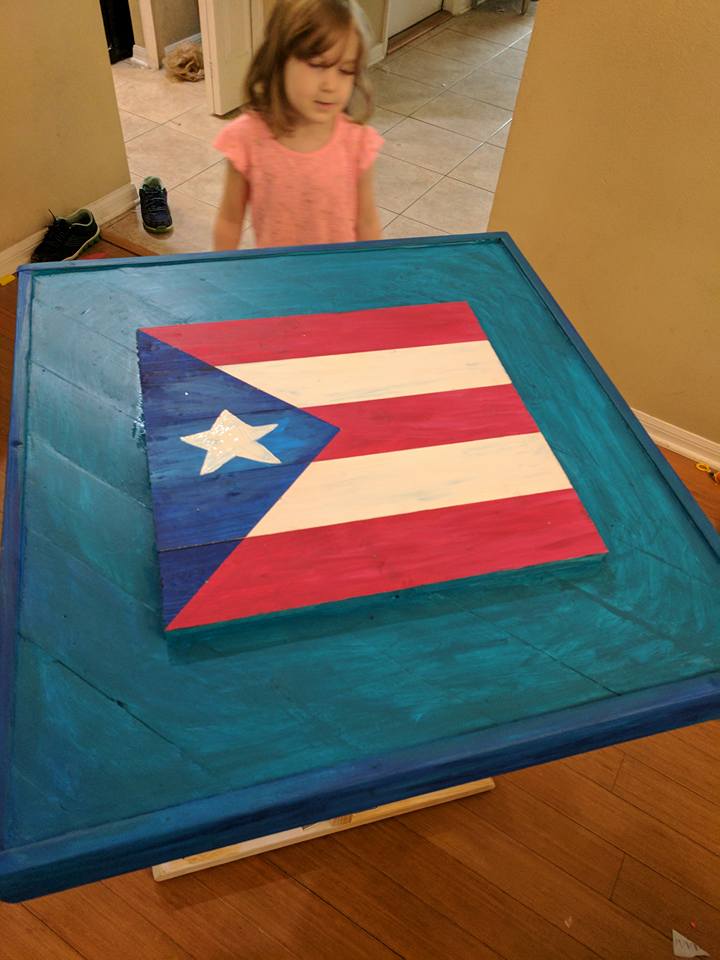
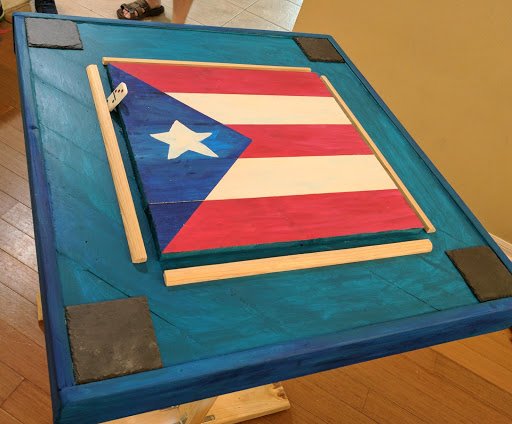
As you can see here, for the center flag and the domino board I used 1x4, cut and nailed with finishing nails. This is also where I painted the flag of Puerto Rico. I then attached slate coasters in each corner for drinks to sit on, and also attached the benches for the dominos to lean on. I painted the top in vibrant colors and the legs were painted a crisp white to finish it off.
I hope you enjoyed seeing this build! Perhaps you will give it a try yourself!!
Nice creativity 👍👍. Will appreciate if you follow back
Thanks! Followed!!