DIY - denim bracelet
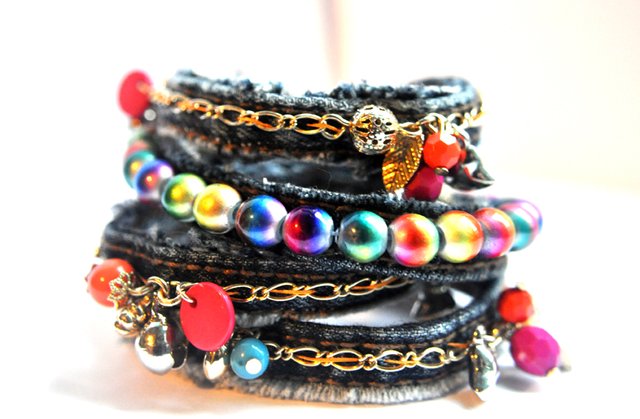
I wrote this tutorial a few years ago for my blog and it became very popular so I thought I would post it here to.
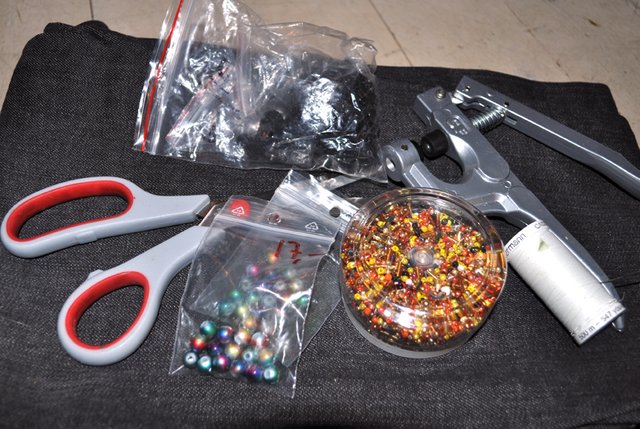
What you need to make these bracelets are as follows:
A worn out pair of jeans
Scissors
Strong thread
Needle
Beads
Push buttons (I’m using a KAM press with buttons that I god from E-bay.)
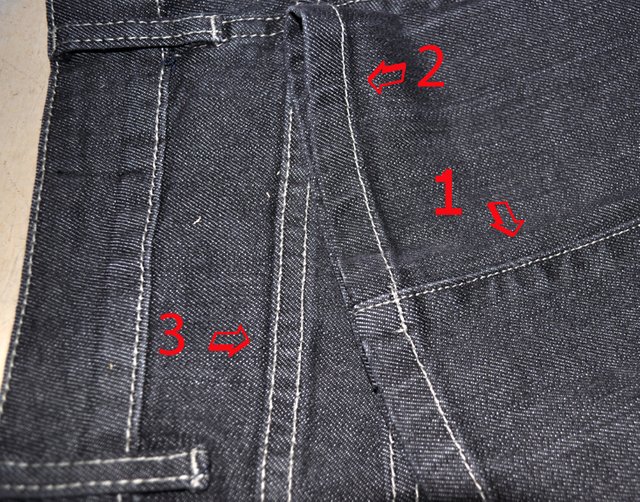
- Select the seam you want to use. You will find several different ones on one pair of jeans. On mine there were 3 different ones.Number one is of no use for this project; whilst no 2 and 3 is ok. Personally I prefer no 3.
- Cut out the seam.
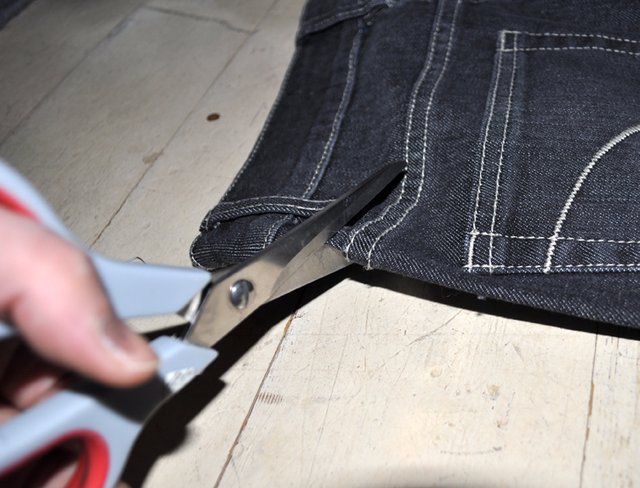
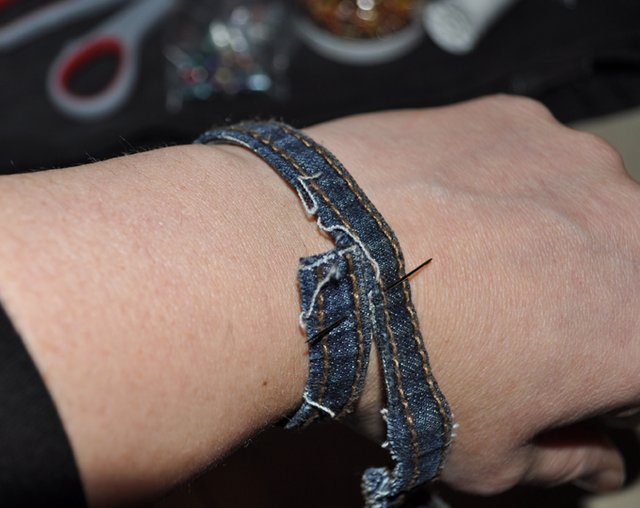
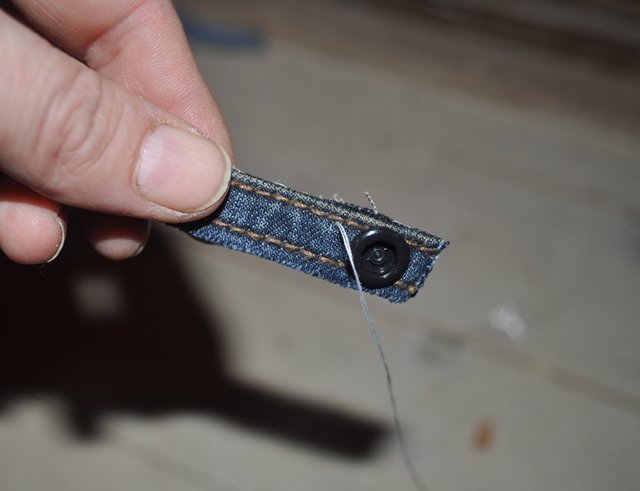
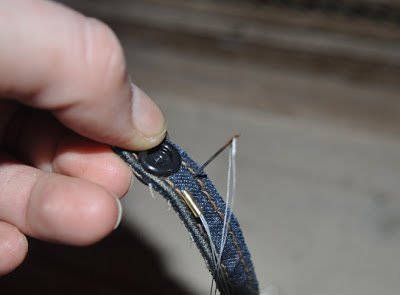
- Measure the length of the bracelet and add a little extra where the push buttons will be attached. Don’t be tempted to cut it a little shorter because if you use a stretchy denim, because if will not stretch when the beads have been attached. (The needle is only there to hold the seam in place for the picture since I managed to misplace my third hand :)
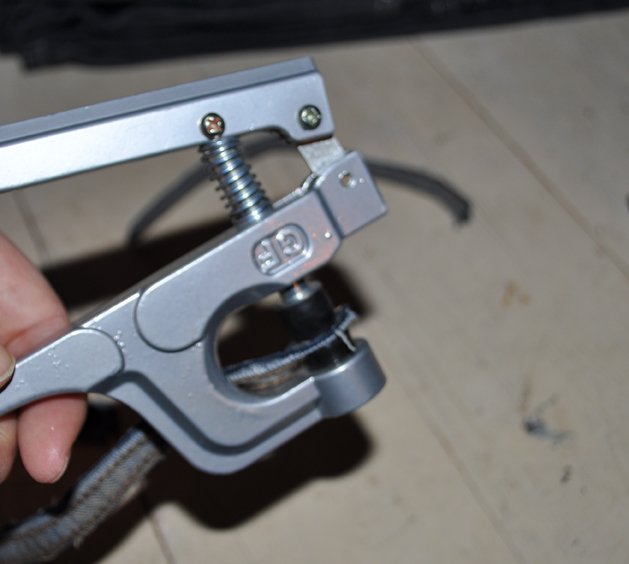
- Now it’s time to attach the push button. Follow the instructions for the type of button you decide to use. Mine probably look a lot more complicated than it is. 2 plastic pieces squashed together with the thong in the picture.
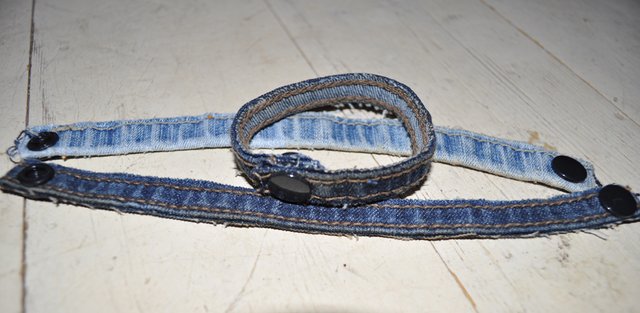
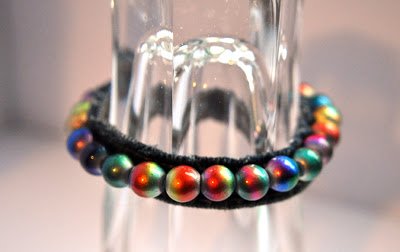
- Now your bracelet is finished and all you have to do is decorate it. I’ll show you two different ways to get you started, but I’m sure that all of you creative people out there can come up with several more. (When you do I would love to see so please let me know)
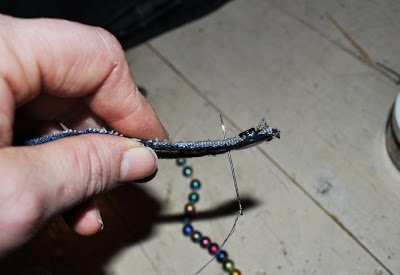
- For my first option you need a piece of thread about 2 ½ times the length of the bracelet that you attach to the needle.I could not find my fishing line so I’m using regular thread, but is highly recommended to use something stronger if you want to wear the bracelet more than ones.
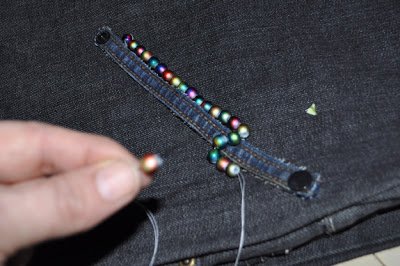
- Start by threading beads on the string in the length of the bracelet.
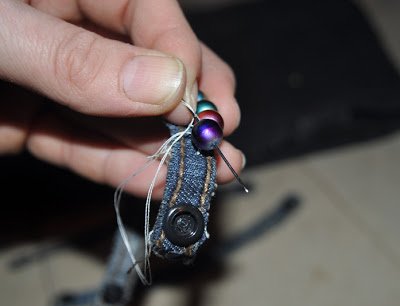
8.Push the needle trough the bracelet from the front.
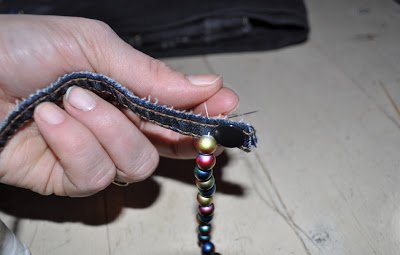
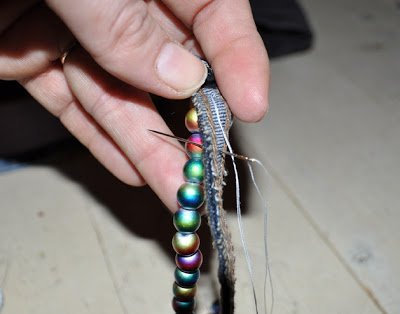
- Go back up after about two beads and down on the other side. Continue this for every two beads till you get to the ends.
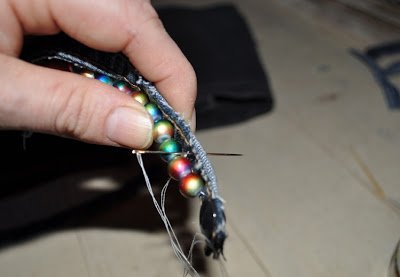
- When you reach the last bead put the needle trough it before you go through the bracelet and fasten the tread on the back.
The second one that I’ll show you is a little more time-consuming, but just as easy to make.
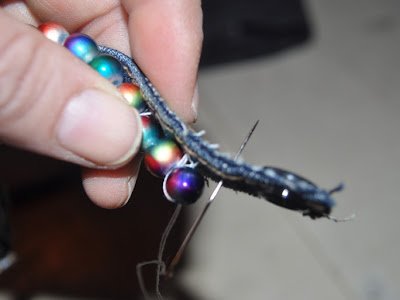
1 You will need a longer thread for this, but because it’s very easy to get I tangled up I would recommend changing when you’re half way finished. You start by putting the needle trough the bracelet from the back. (There should be a knot on the end of the tread to secure it.
2 I’m using some tube shaped beads for this and thread one to the string before I push the needle trough the bracelet to secure it.
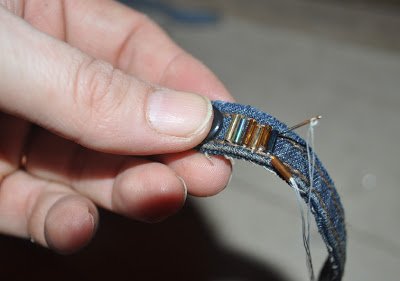
3 Move the needle a little to the side before pushing it back up, attaching a new bead and pushing it back down. Continue this one bead at the time till you get to the end. Fasten the tread on the back and you have now finished your second bracelet.

Truly fantastic!
Thank you :)