*Balfore's Builds* Steampunk Top Hat Part 4
Let's finish up our Steampunk Top Hat, shall we?
If you would like yo know how we got to this point, here are the links to help you out:
Part One
https://steemit.com/cosplay/@balfore/balfore-s-builds-steampunk-top-hat-part-1
Part Two
https://steemit.com/tutorial/@balfore/balfore-s-builds-steampunk-top-hat-part-2
Part Three
https://steemit.com/cosplay/@balfore/balfore-s-builds-steampunk-top-hat-part-3
Here is where we left off...
You have just coated and sealed your top hat with a / mix of ModPodge and black acrylic paint:

Go ahead and brew a cup of coffee, and grab the Aces from a deck of cards (you can use whatever embellishments you like for this part) Then crumble them up like so:
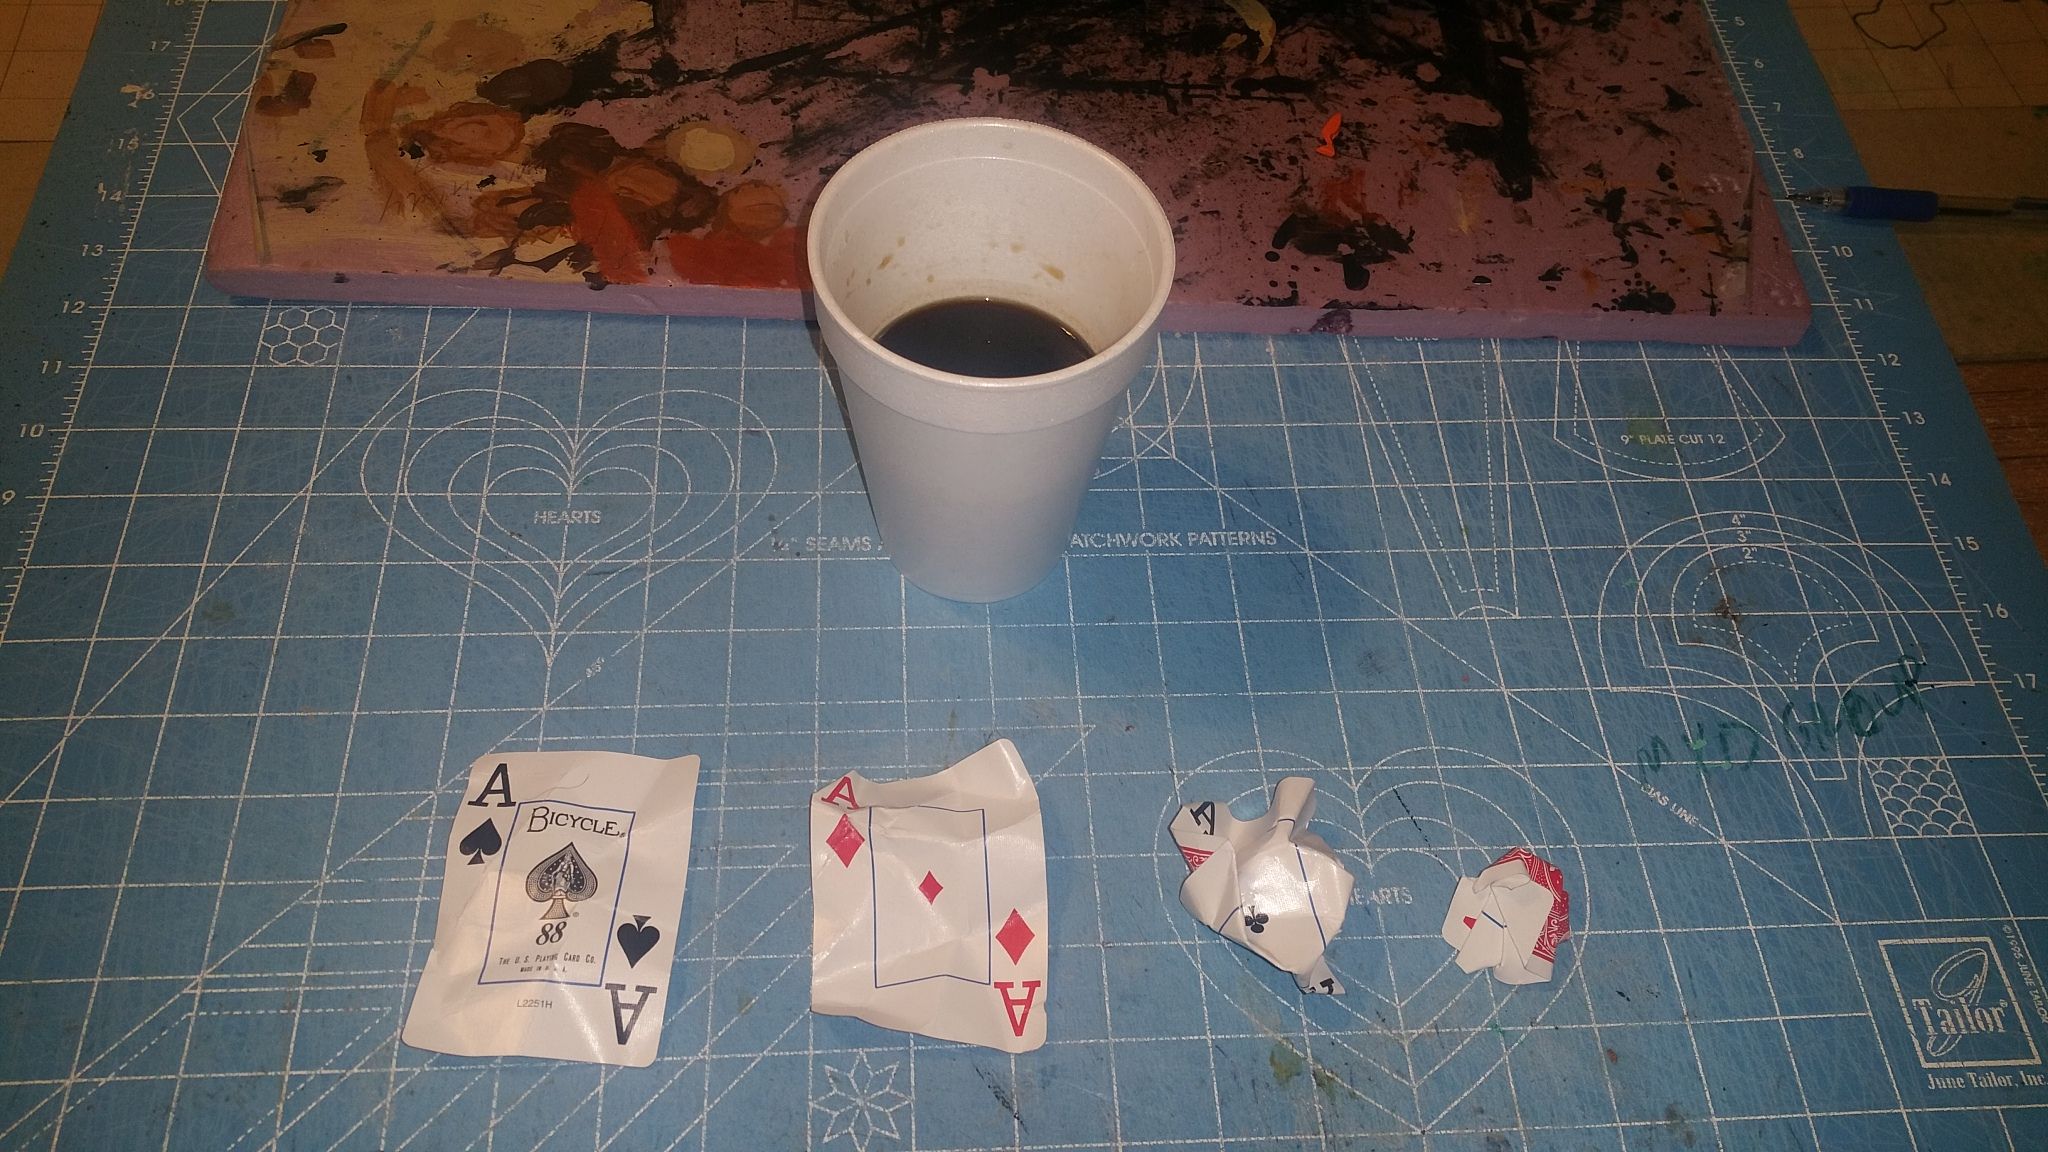
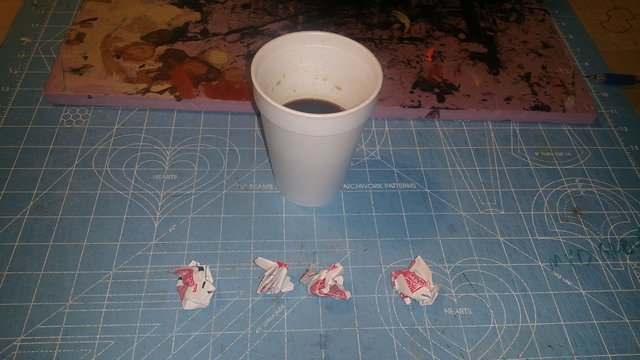
Next, drop them in the coffee... LOL... you thought you were going to drink the coffee? NOooooo....
This is a technique used yo make paper look weathered and old. LOL...
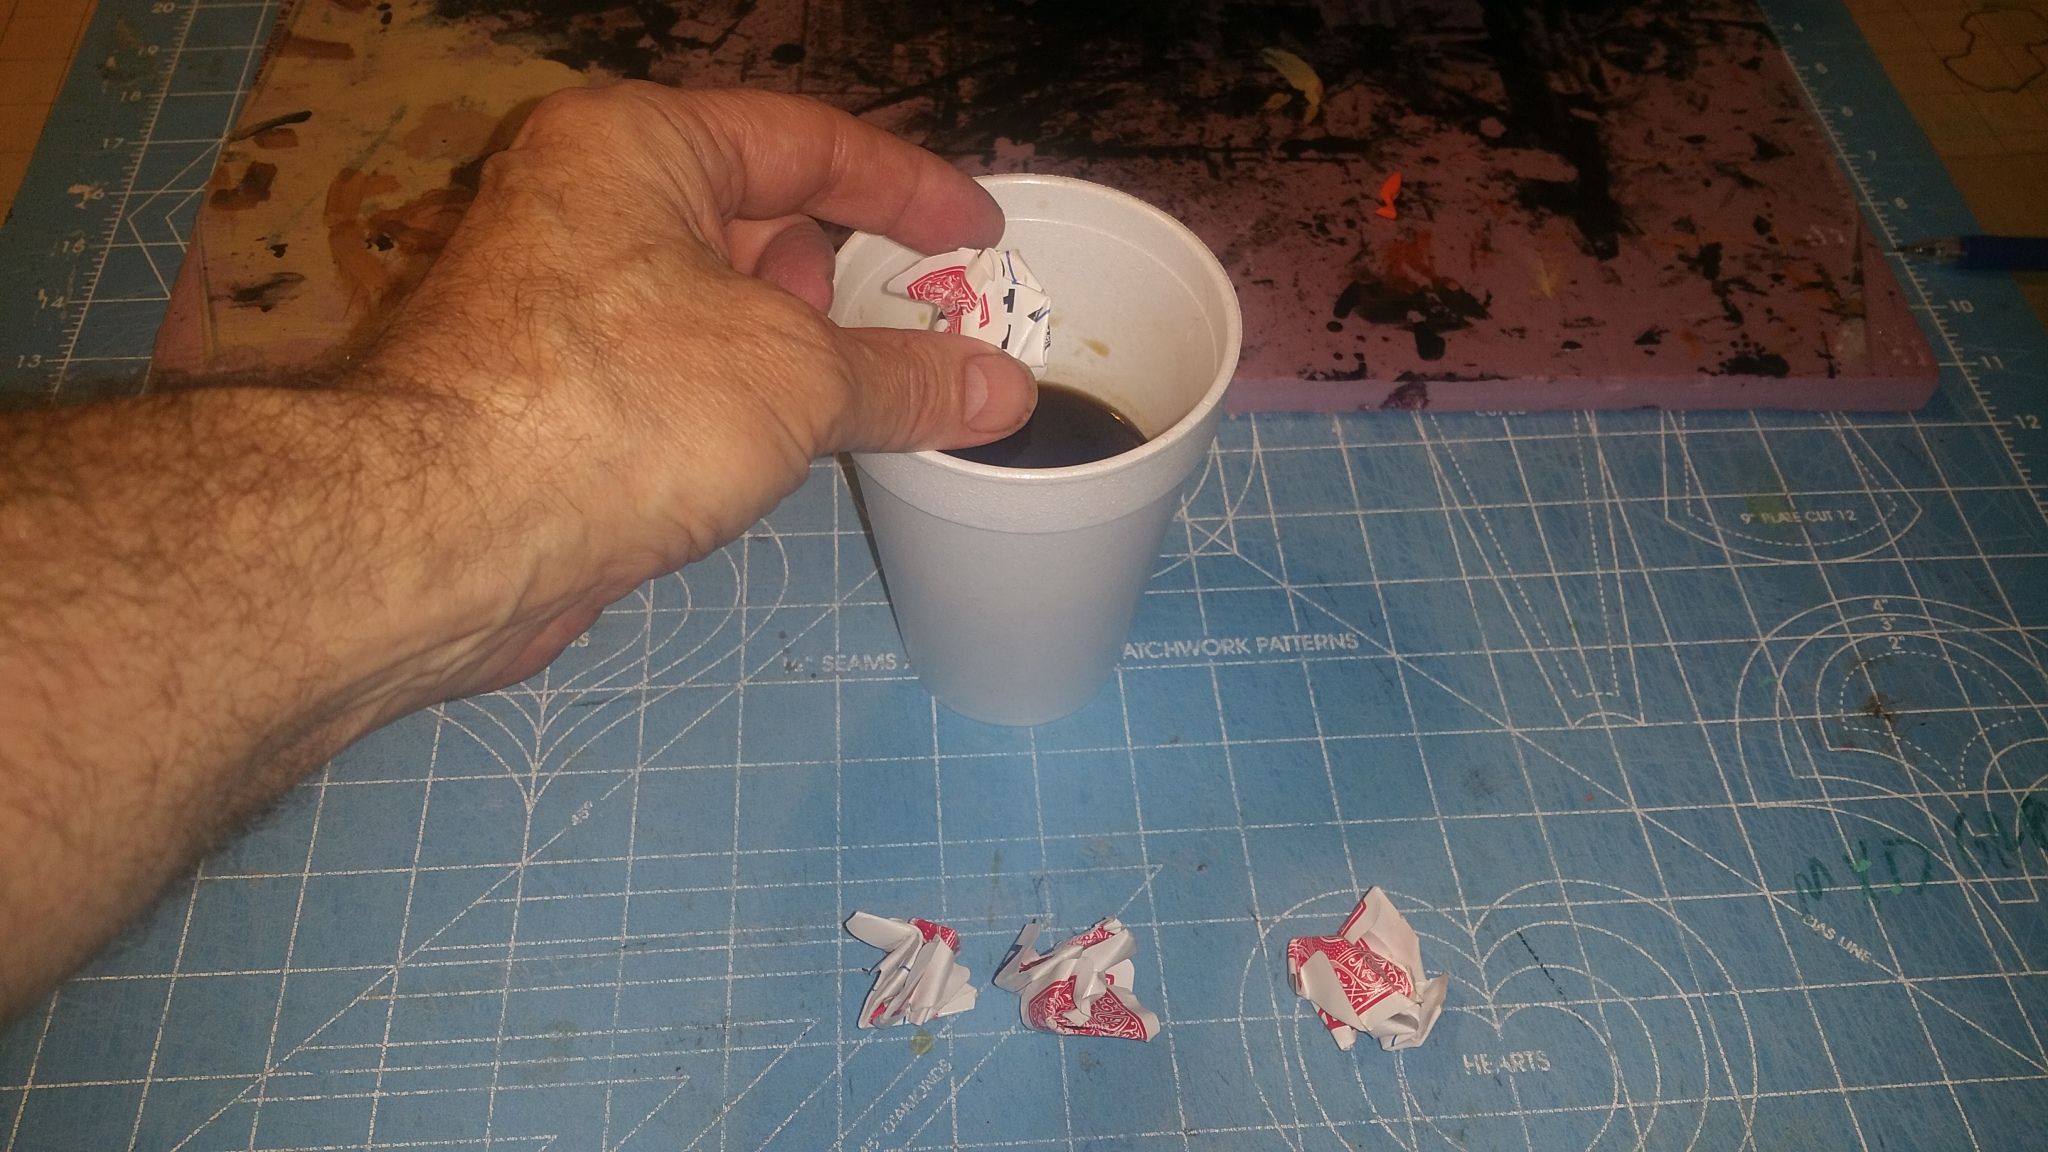
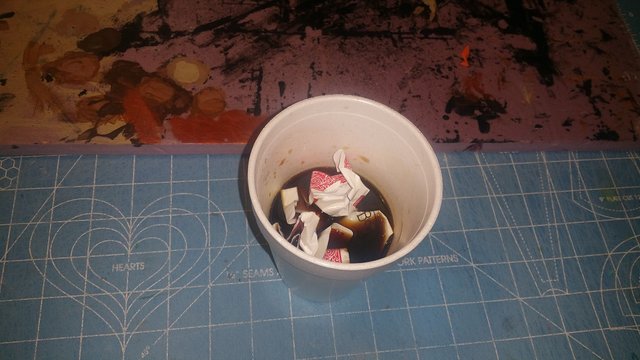
Let them soak.
NOTE: Depending on the brand of cards you use, they may fall apart. Some are coated with a plastic sheen that protects them. I used Bicycle brand. Yes, the backs of the cards came off... but I still used them. Please tell me which brand you used...
would know to know your results 
Soak them for about minutes to an hour, then lay them out to dry:
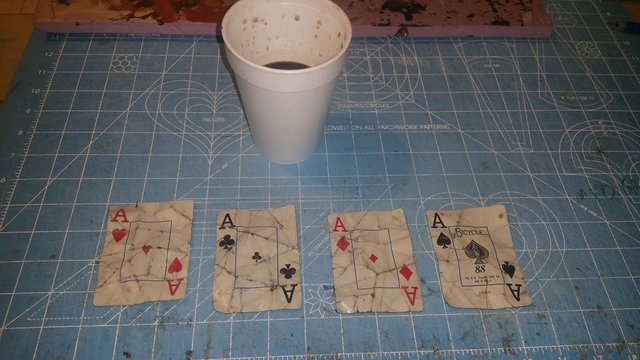
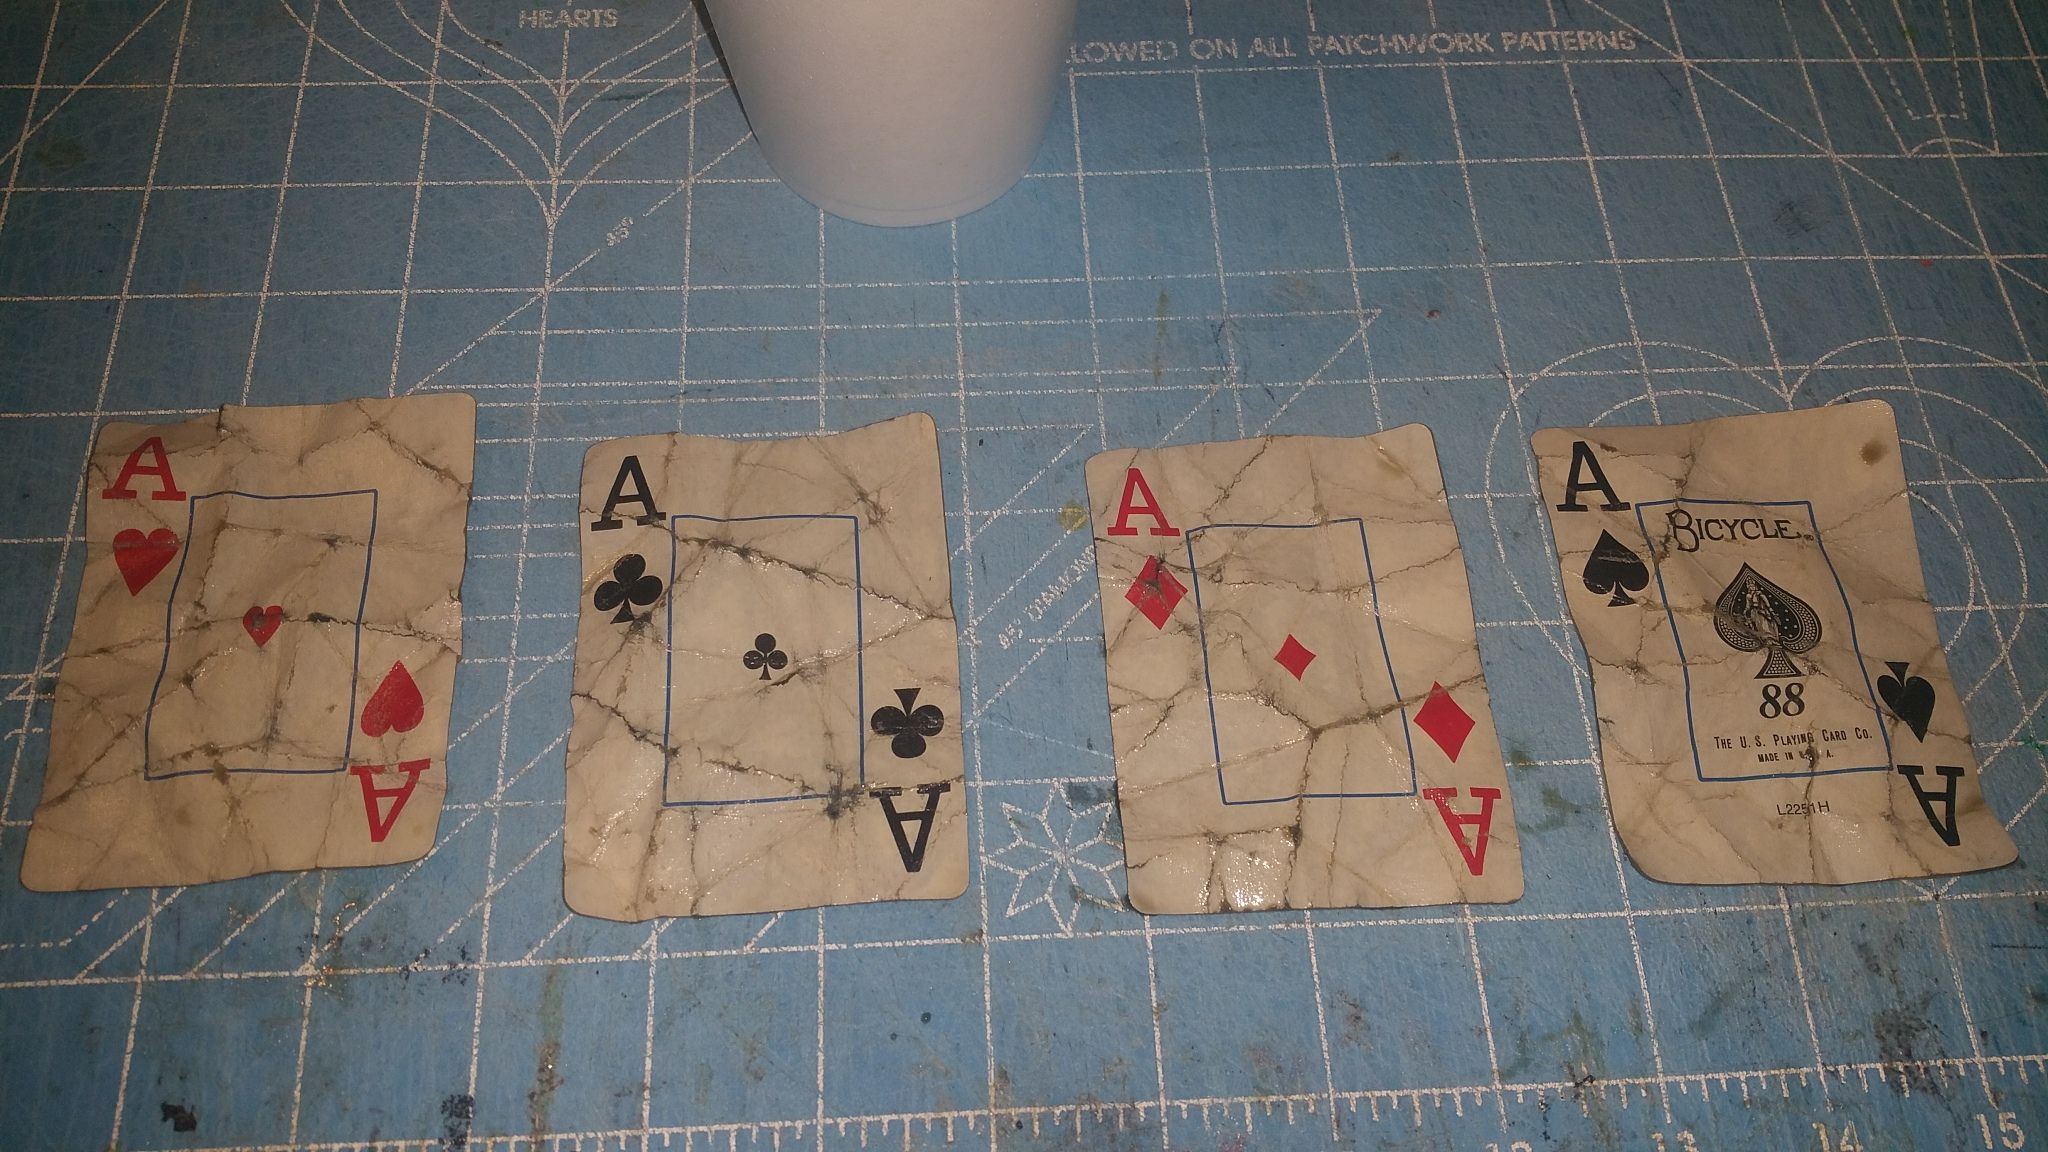
While the cards are drying, lets work on the hat...
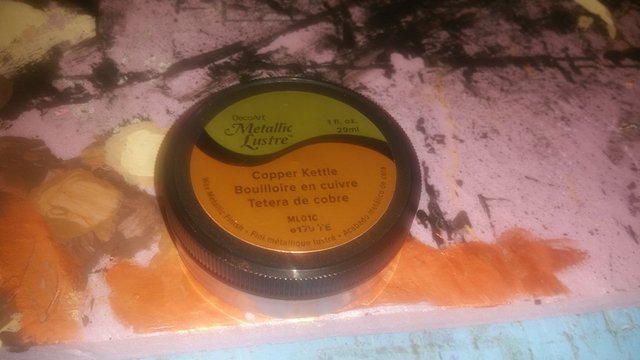
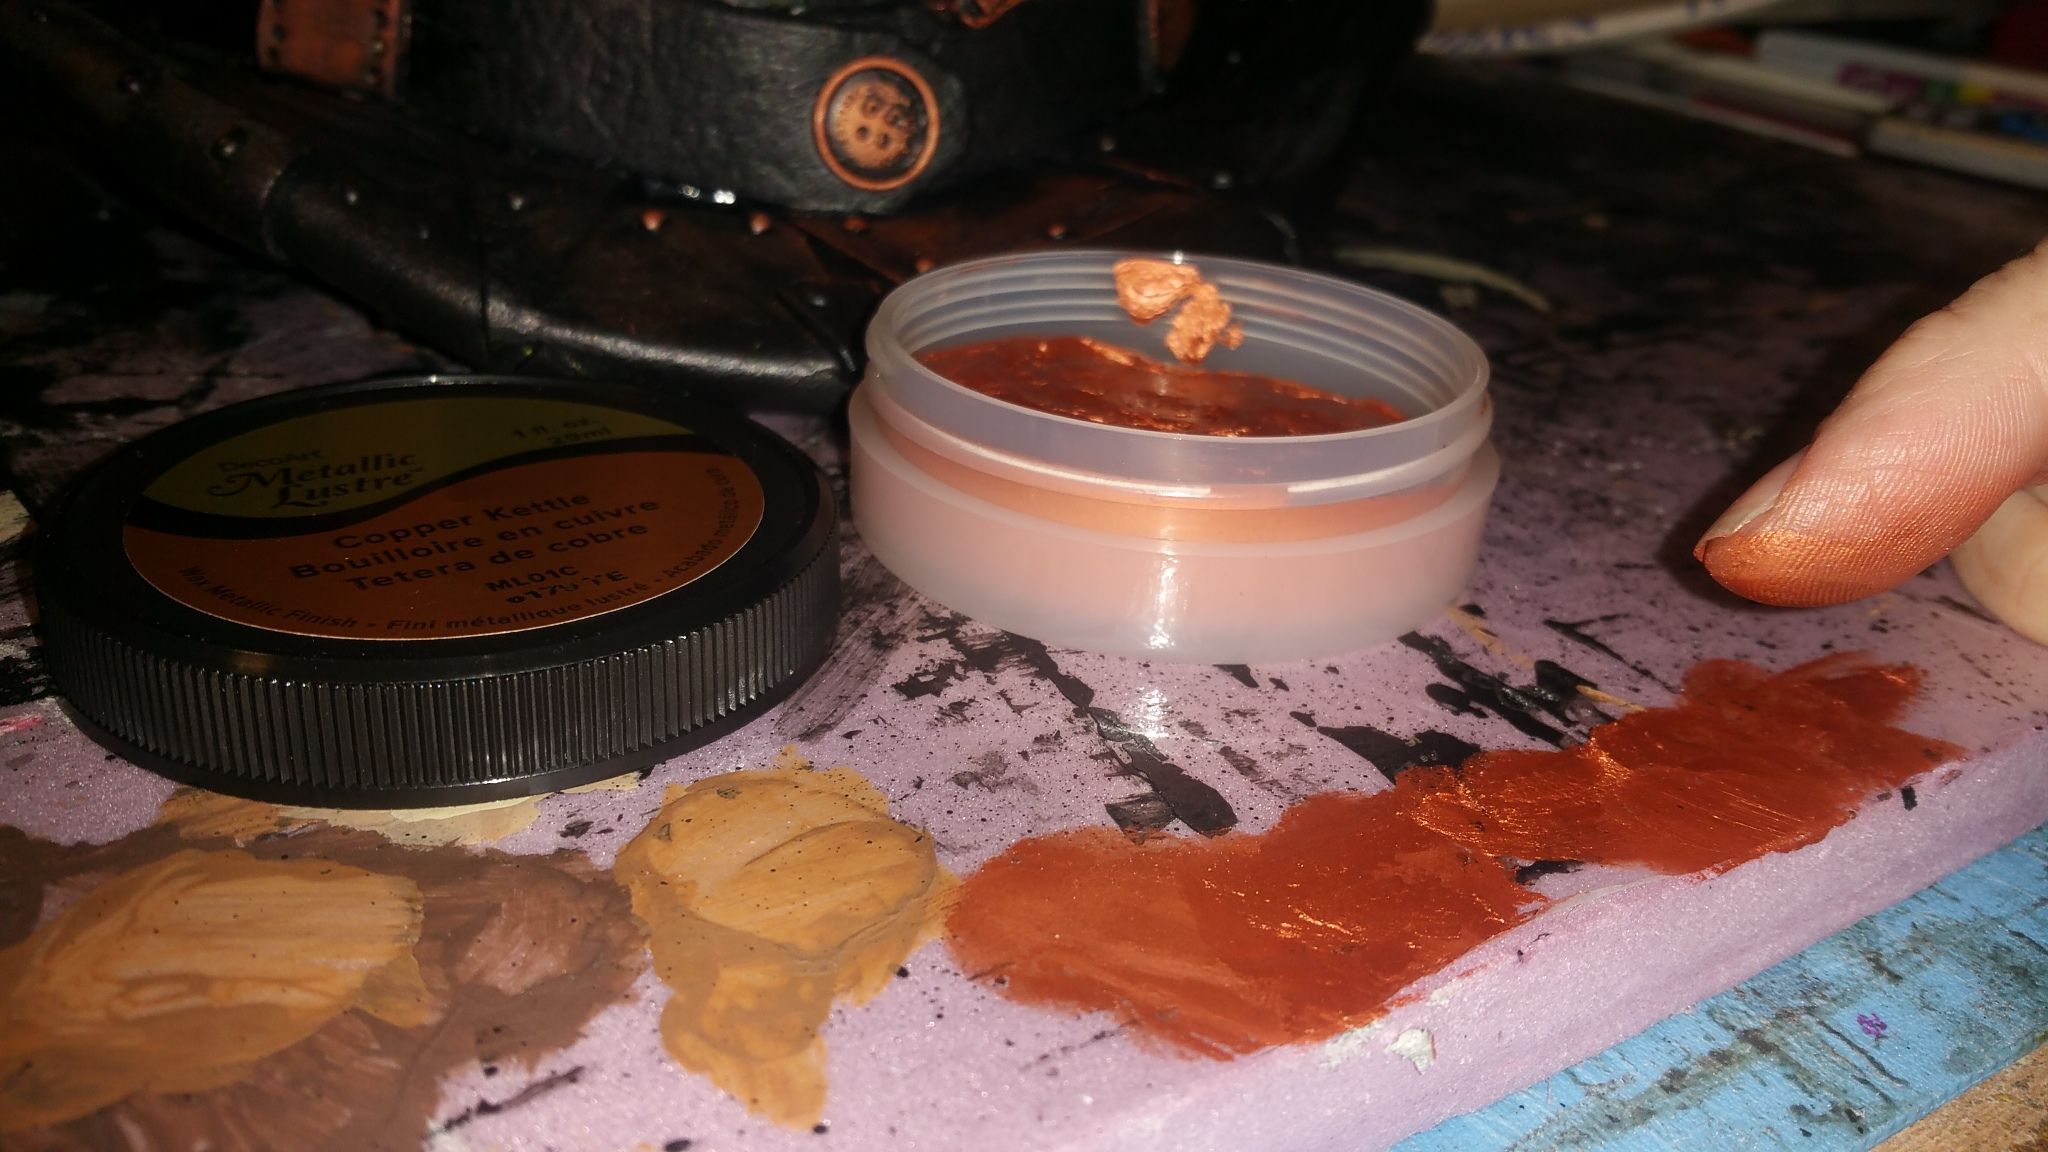
I used some of this metallic bronze compound:
Using a tiny bit, on your fingers, I dabbed it all over the top hat, giving it that cool rusty look:
NOTE: Use a little at a time, you DON'T want to "CAKE it on". It needs to be lightly applied
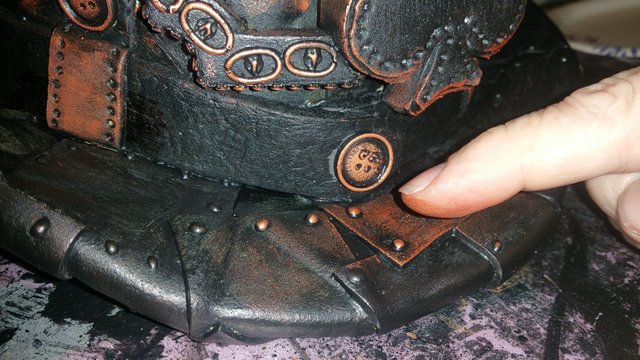
Here's what I ended up with... I think it was a bit too much "bronze"...
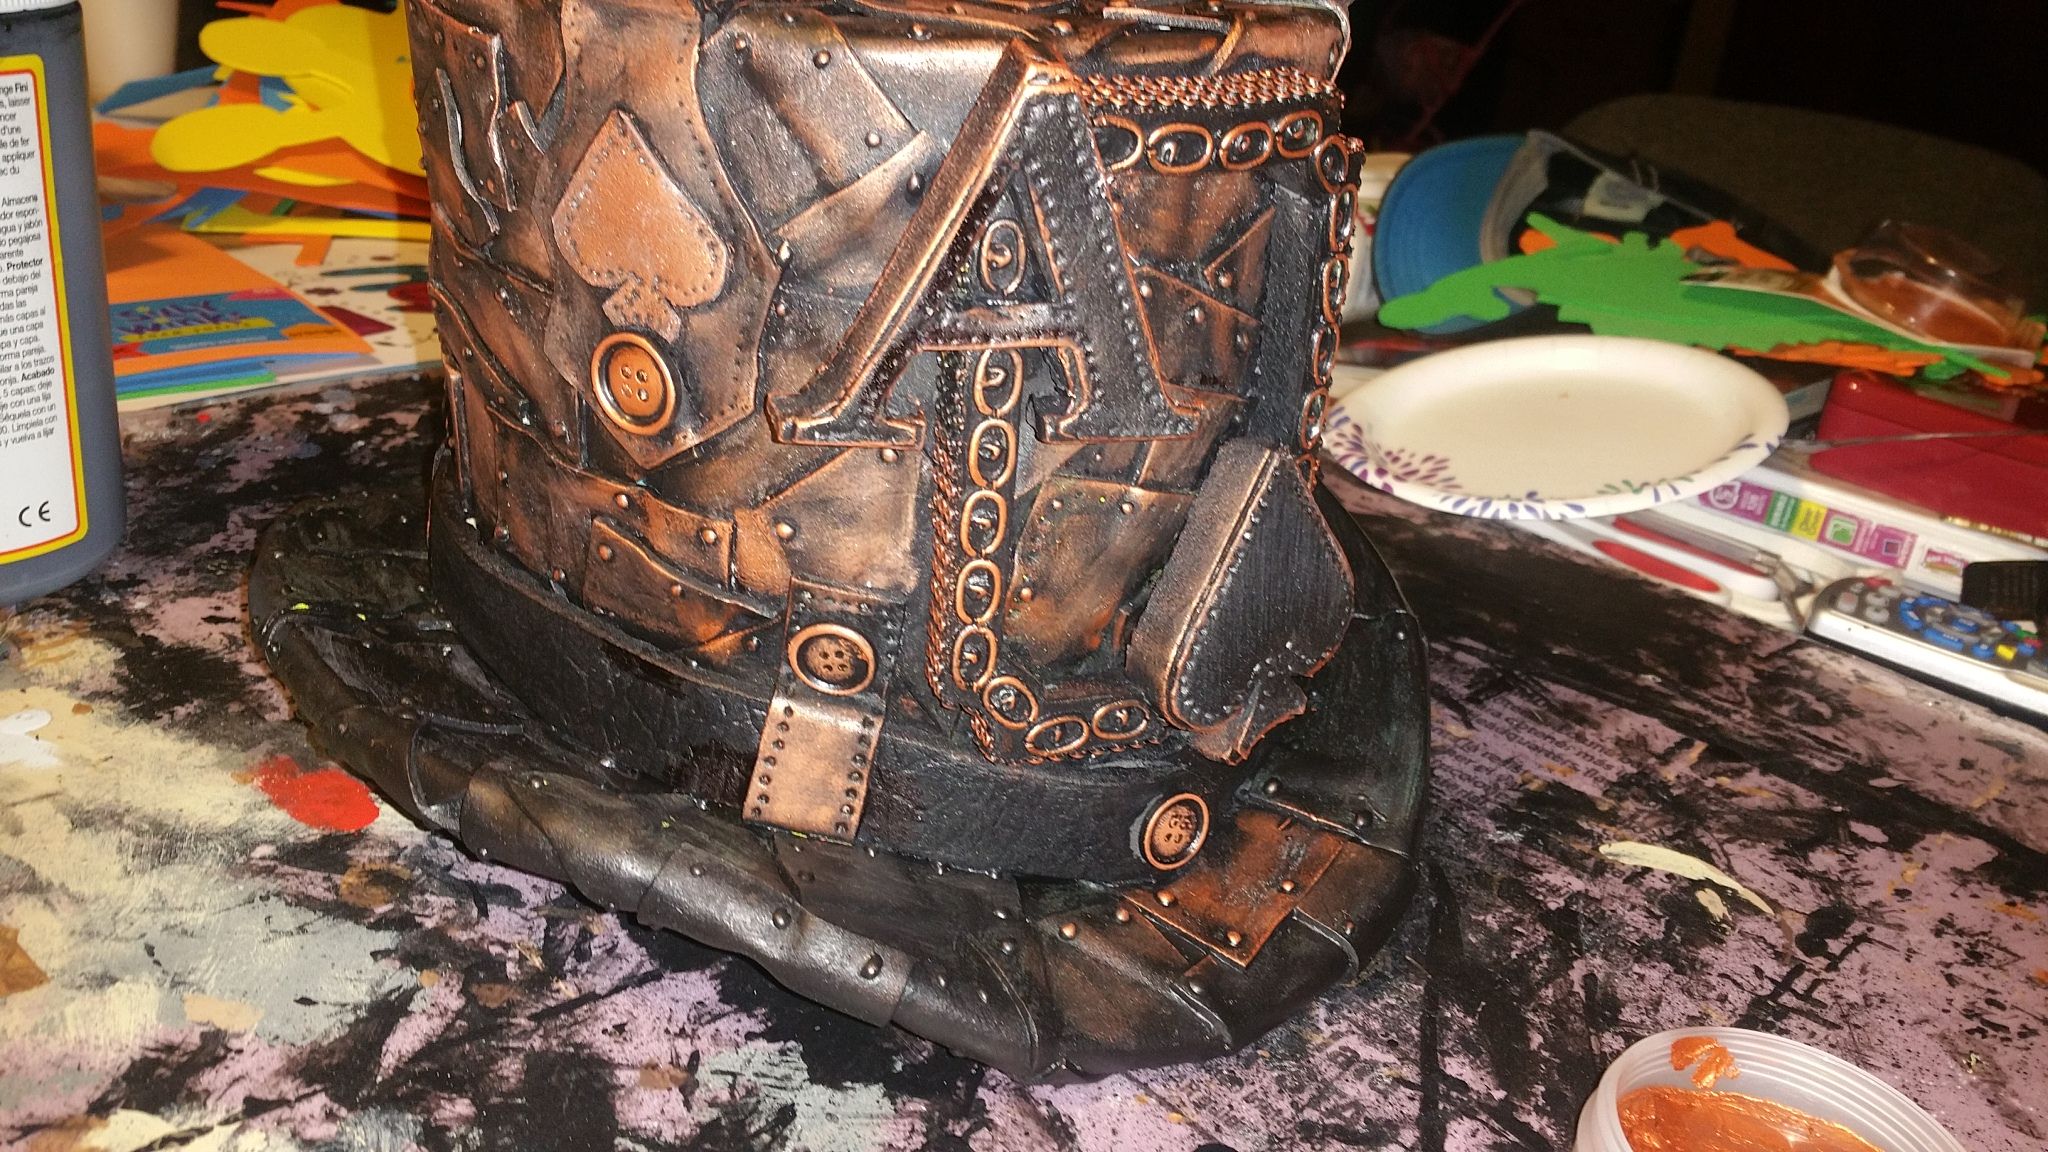
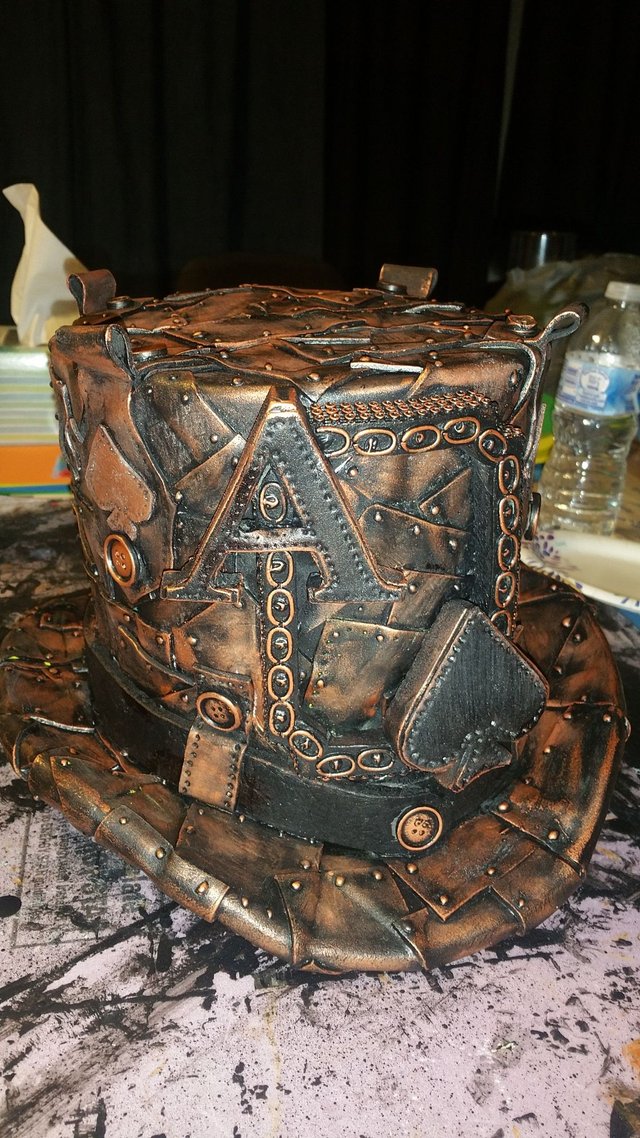
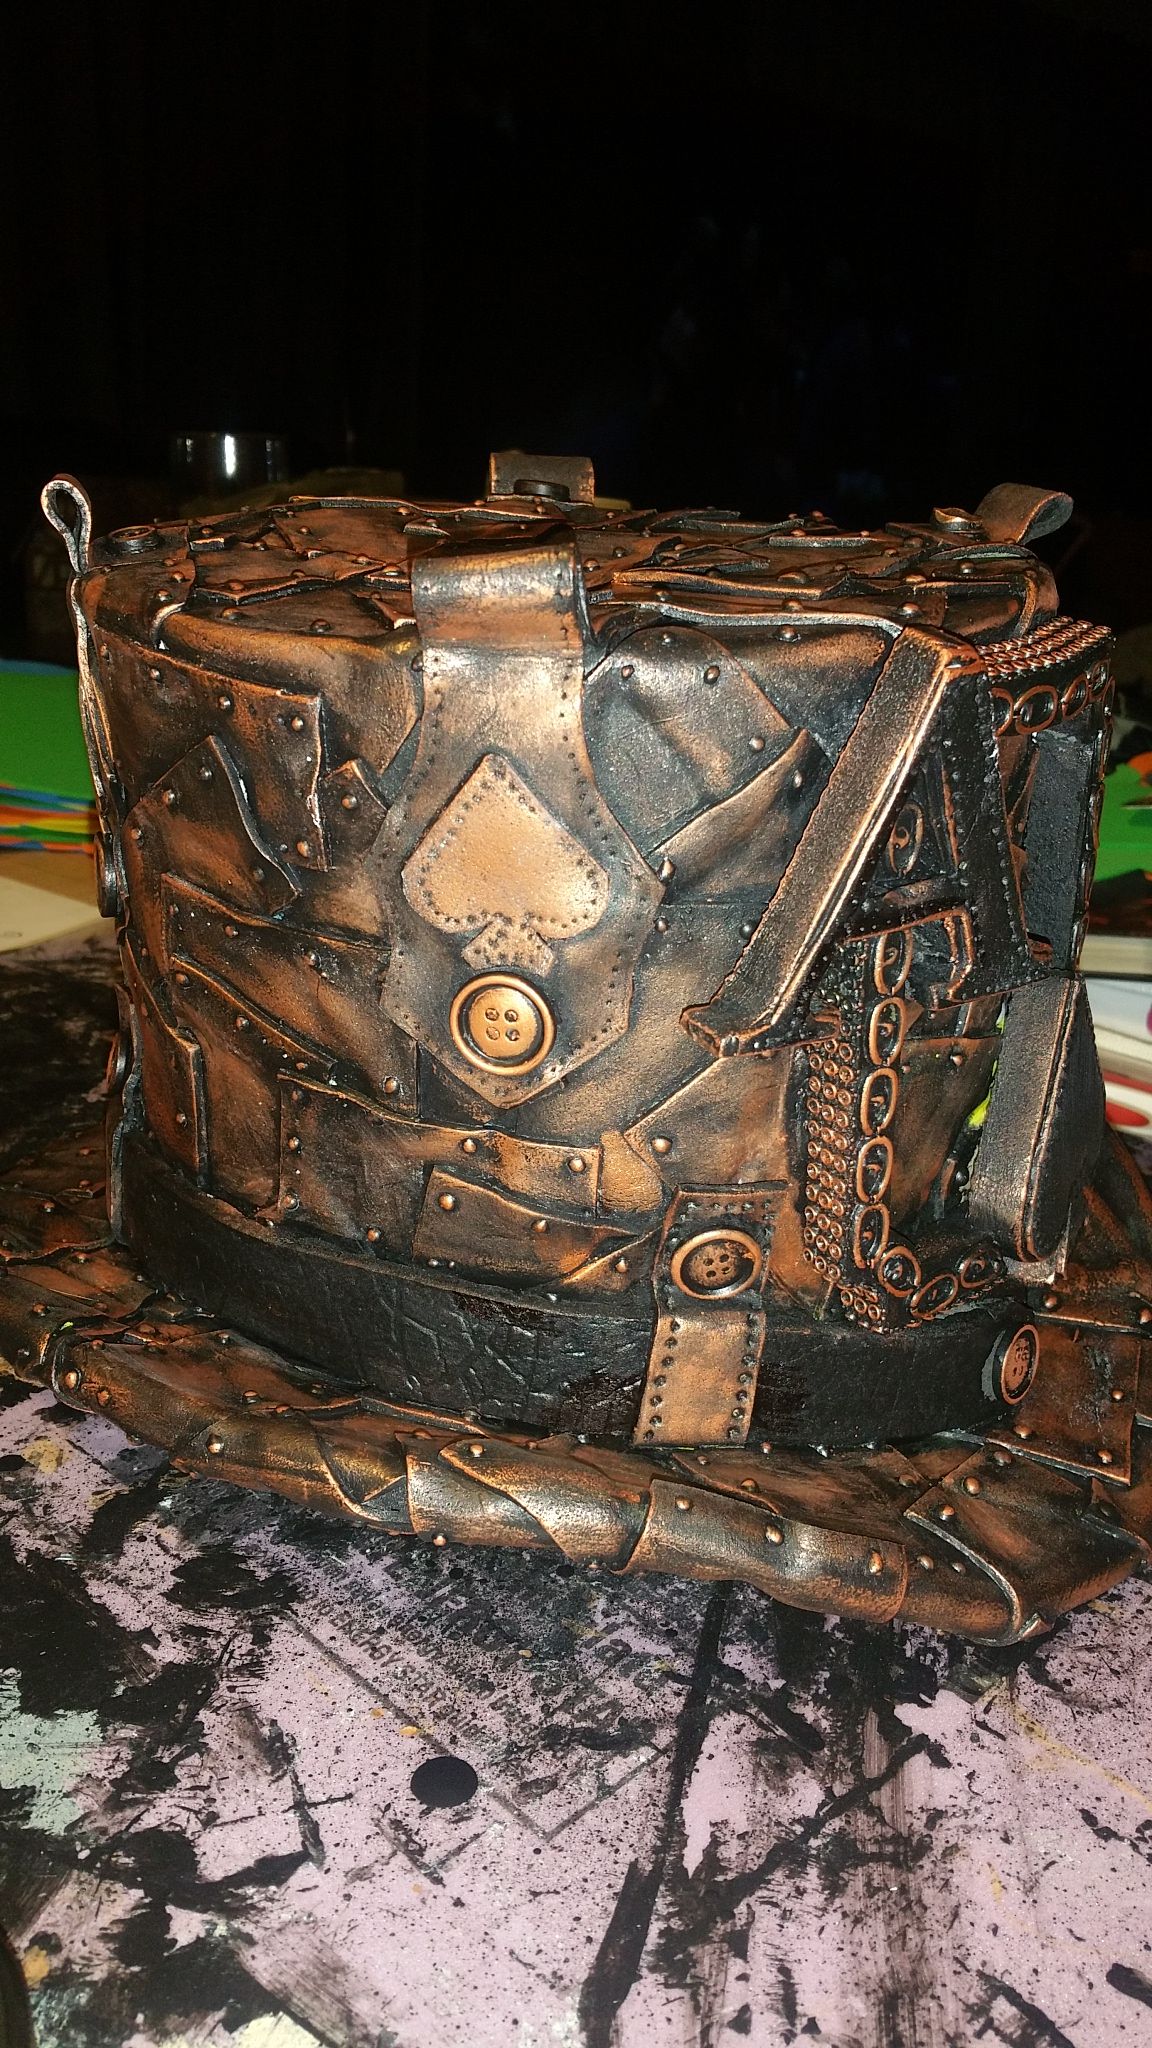
So, I grabbed some silver compound of the same brand, and went over the top hat to break up the color a little.
This also adds highlights that really accentuate your work:
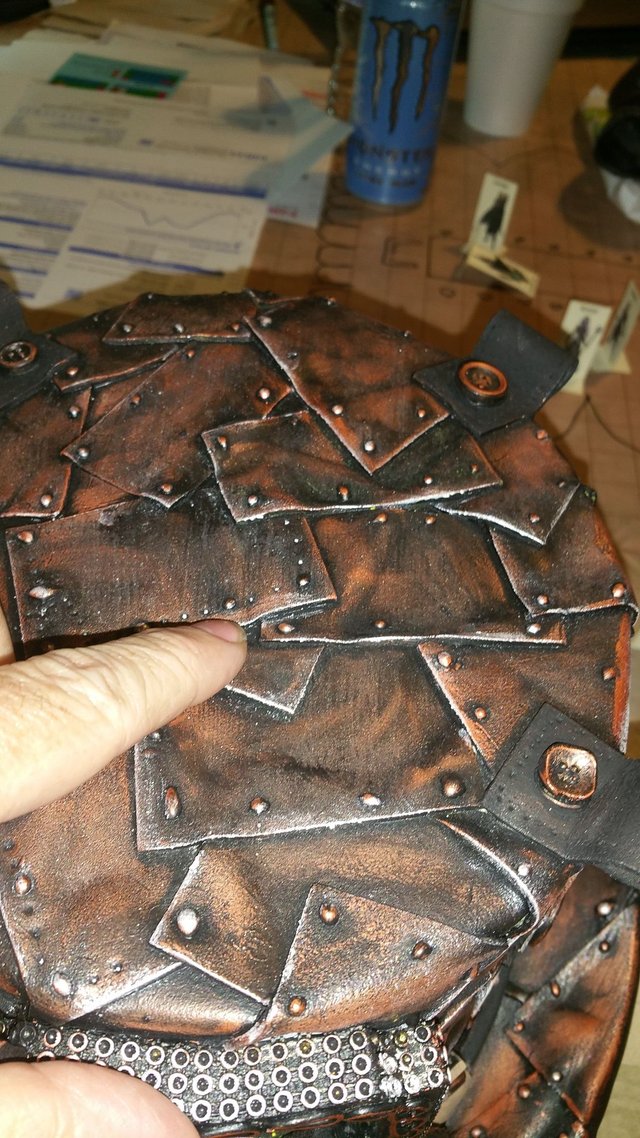
I also painted these straps to make them look like real leather:
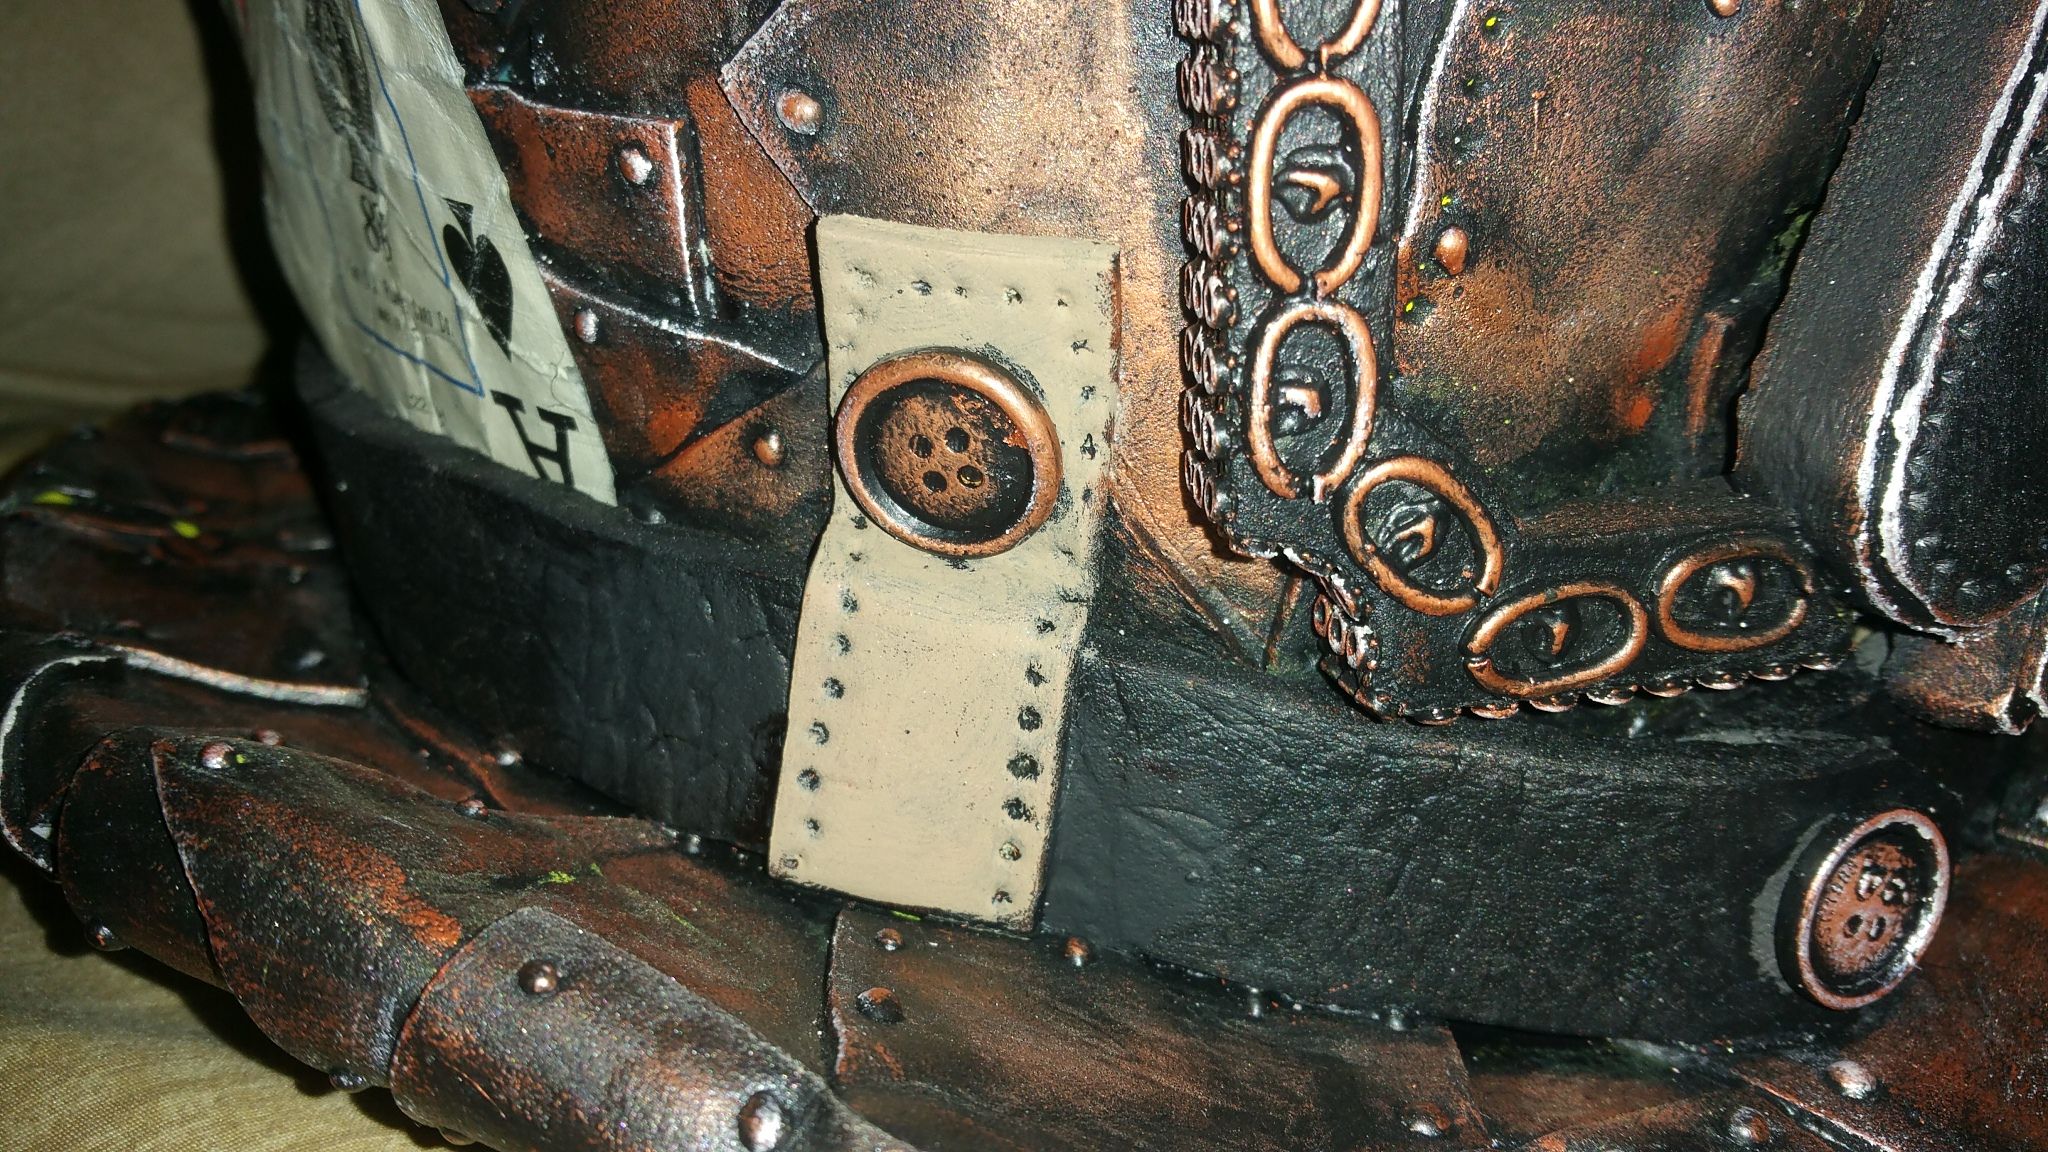
Now, make a 'fan' shape, and glue the cards under the headband like so:

Viola! you're done:
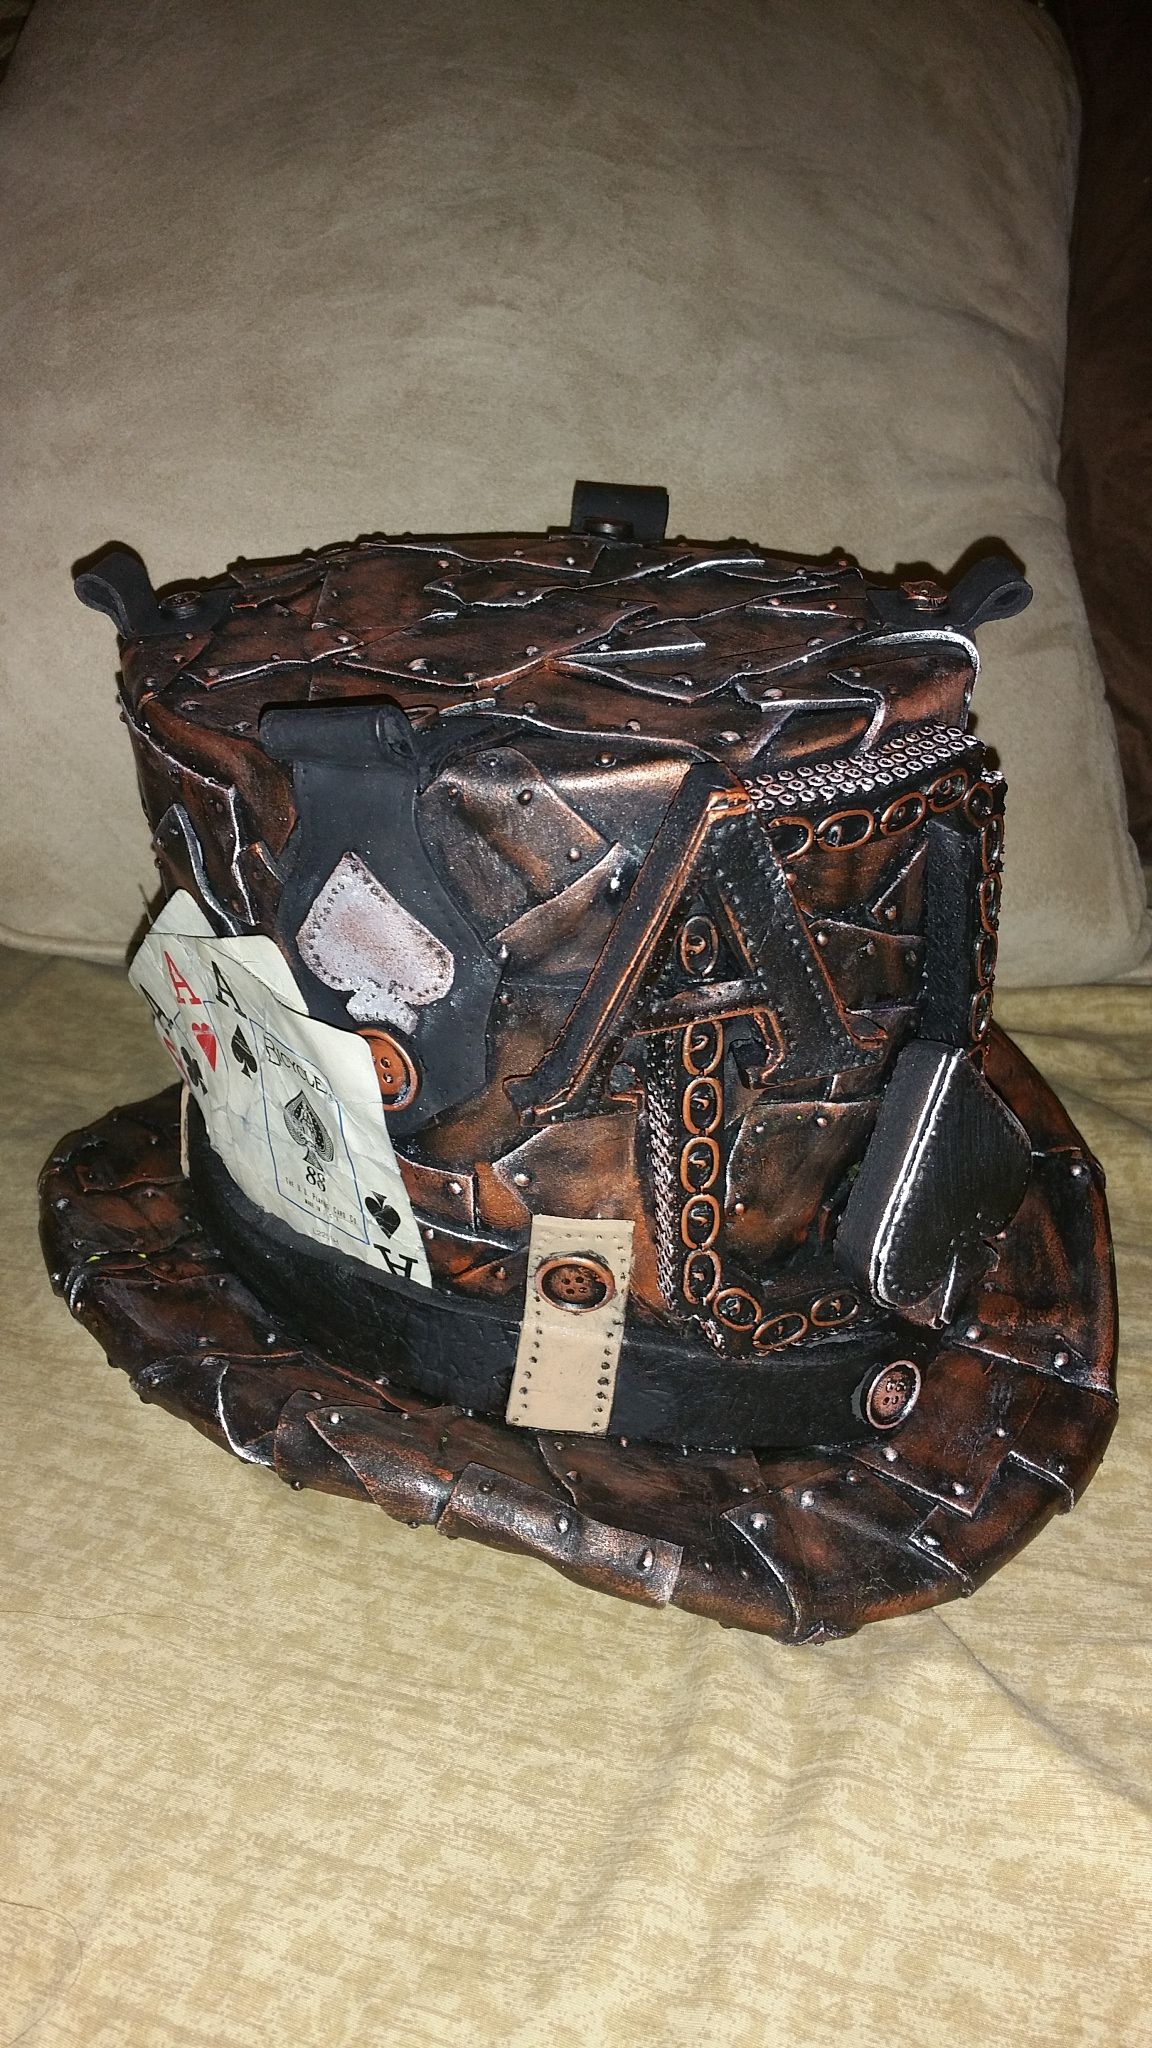
I really hope you enjoyed this build. You can design your own any way you want. Share some of your ideas, and let's see some of your own work!
I'd love to hear from you! 
I really like the finished result! When you were building with the foam, I didn't realize you were going to bronze it later. :) Looks great!
Thank you so much!
I thought it would give it an old, cool rusty look.
Wow!
I love that compound! I really must order some. For papers with a coating I lightly sand with super fine sand paper. Then use a walnut stain I make from boiling the shells.
I really love that hat!! Now I want to go back and see what else you have done. Glad I stumbled across the blog.
Thank you so much!