More Adventures at the Wheel: Process of Throwing Pottery & Sgraffito Technique {15+ pics and videos!}
I've been at it again! I'm very thankful our Art Museum allows me access to their ceramics studio now that my class session is over. I love that the throwing process requires so much focus and attention to what my hands are feeling. While I'm centering the clay on the wheel, I even close my eyes sometimes to direct my mind to my hands to shut off my visual sensory. I'm still just a rookie, and it sure seems like this becomes second nature to professionals.
I've thrown two batches since my last pottery update here on Steemit. You can find my previous posts about my ceramics adventure here and here.
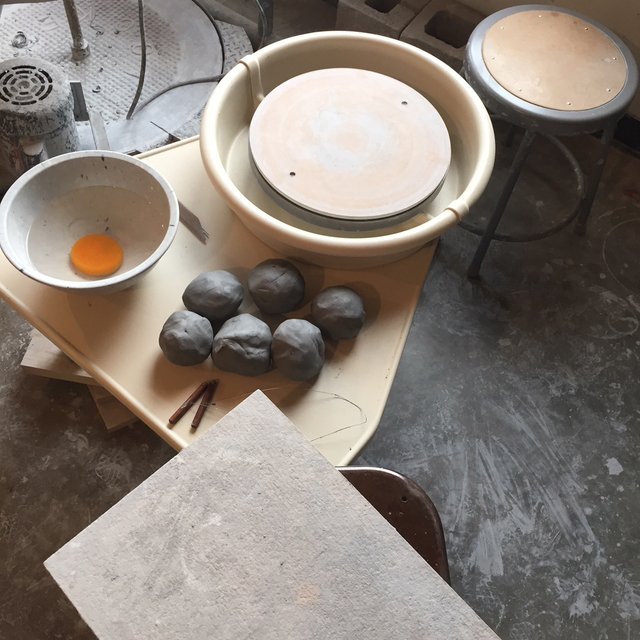
I'm still working with smaller balls of clay on an electric wheel. I prep my clay and gather all my materials. All I really need is a bowl of water to keep the clay wet through the process, a bat for this particular wheel, and a wire clay cutter, a wooden clay knife, and a needle tool. I also started using pot lifters because I'm not as cool as my previous instructors who can lift the pots off the wheel with their fingers effortlessly. After I almost ruined a couple of nicely-shaped bowls, I gave in. I also like to have a place ready to place my pottery next to me as I finish each piece.
I'm getting faster at centering the clay and getting a better feel for it in general, something I suspected would come with practice. I'm also allowing myself a bit more flexibility by not getting down on myself for getting off center during parts of the process (I still need to work on keeping the center while I pull out the wall initially). The neat thing about clay is that it's pretty workable, and as you can see from these videos below, if my bowls start to get wonky there are ways of correcting it. Sometimes that establishes the bowls form itself!
In these videos, I was pushing myself to work more quickly.
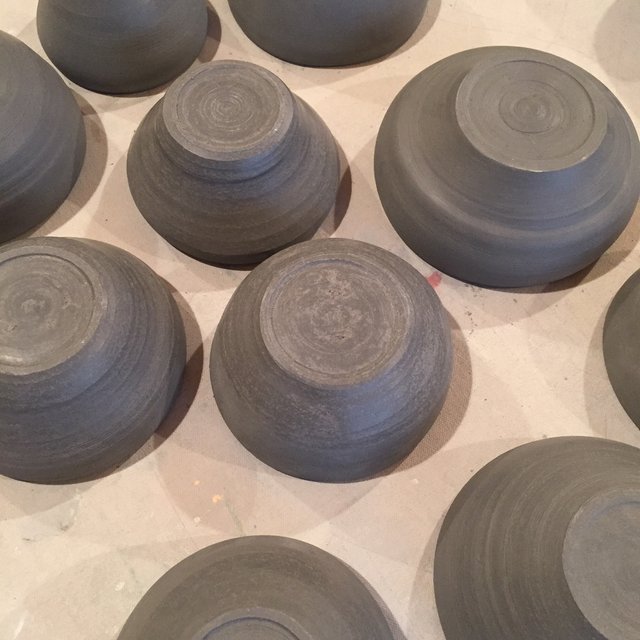
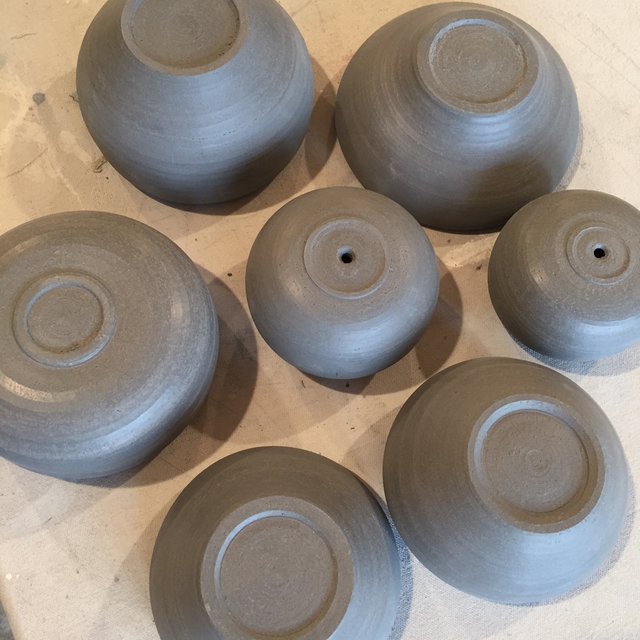
From there, I cover my pots with plastic and let them dry slowly. Before they reach "bone dry" it's time to trim! You want a little wetness in them so that the trim comes off in nice ribbons. During this part of the process I'm trying to even the clay walls and making the bases look nicer after cutting them off the wheel. I also carve "feet" into them so they sit nicely on a flat surface and look a bit fancier! Here's a time-lapse so you can see what that looks like.
I find it most difficult to re-center the pot on the wheel, but I'm getting better with practice! Imagine that. I'm using pieces of wet clay to keep the pot in place as I use a ribbon tools to trim.
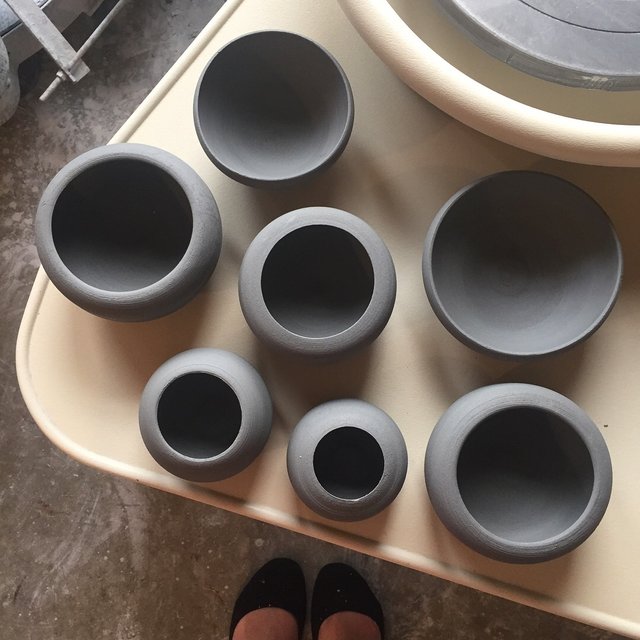
Some of them got just a little too dry on this first batch, but I got lucky that they still worked fine to trim. The second batch, I added a couple of small holes on the bottom so that they could be pots for plants!
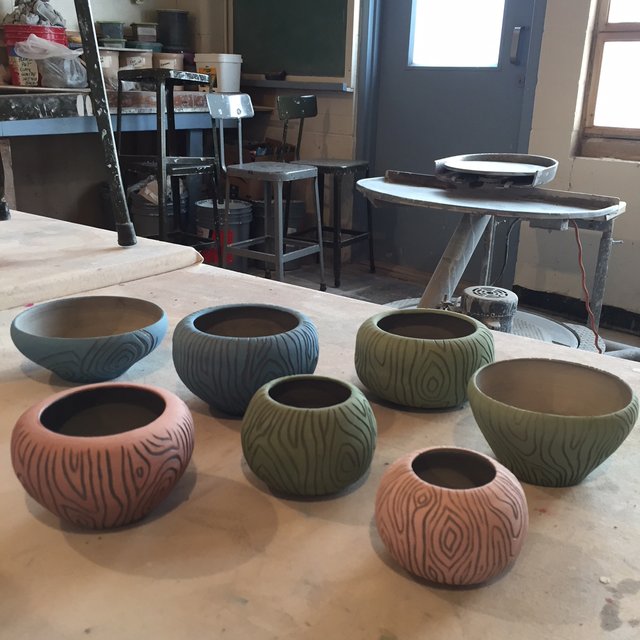
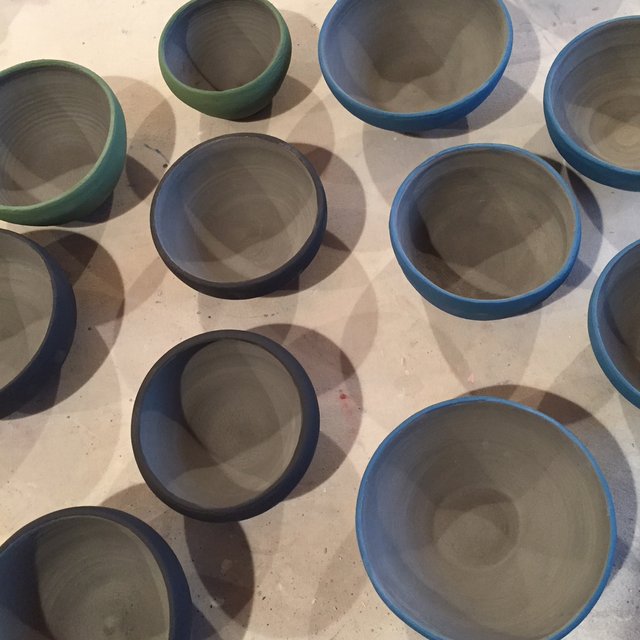
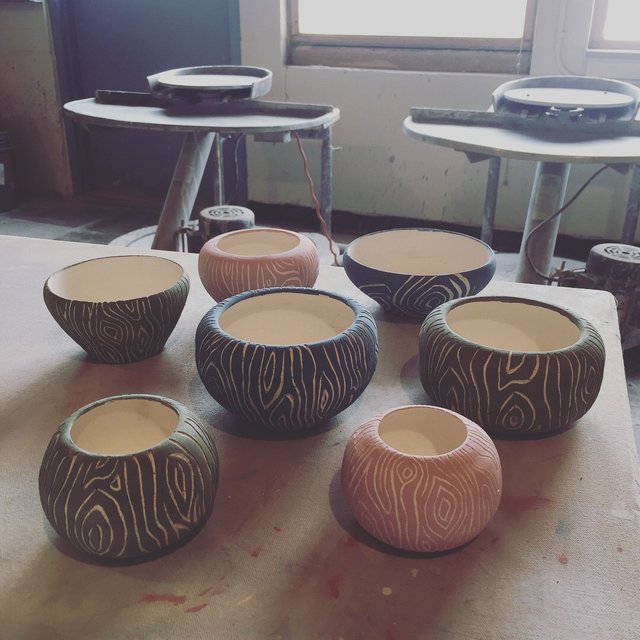
At this point, I know I want to use the sgrafitto technique which involves painting on a colored slip before its first fire, and then carving into it. I painted 2-3 coats depending on the slips consistency using blue, black, pink and green colors that my instructor had already made (thanks, Kendle).
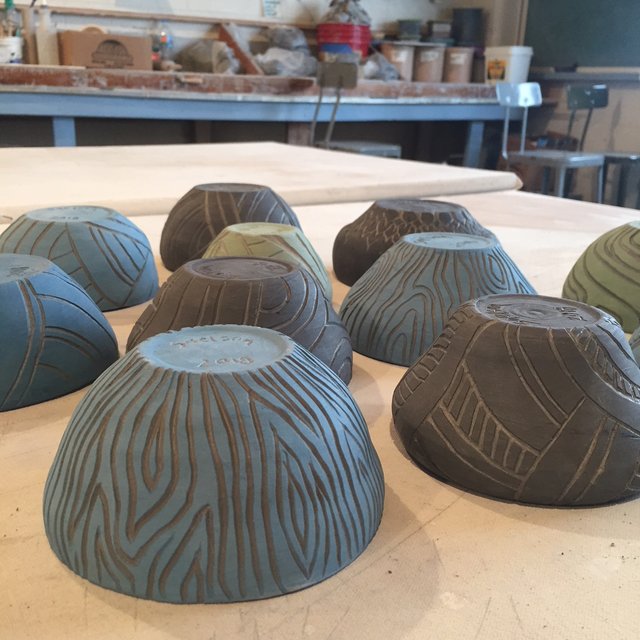
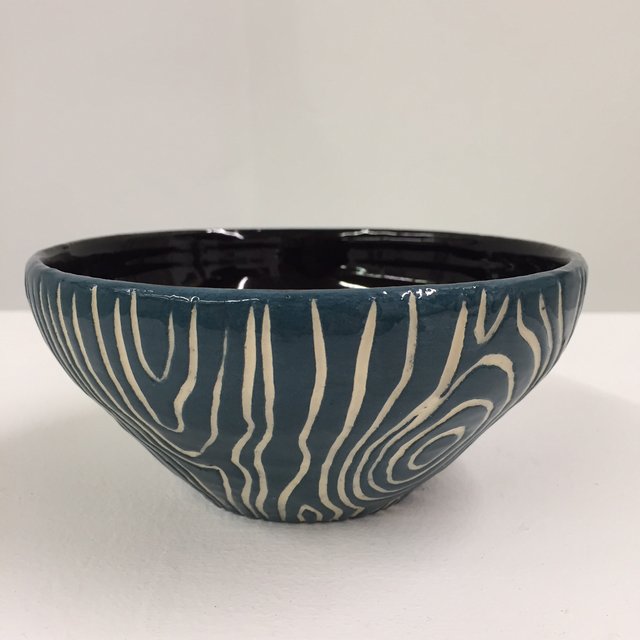
I took them home to carve using small ribbon tools. I decided to experiment with some different designs than the polynesian-inspired line work I played around with my previous session. Some still have a slight influence. I really loved the woodgrain design I came up with, and carved more of those with my second batch!
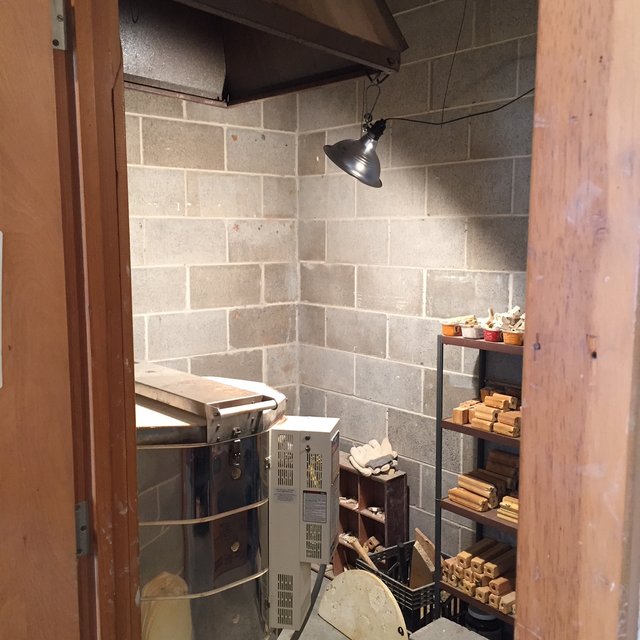
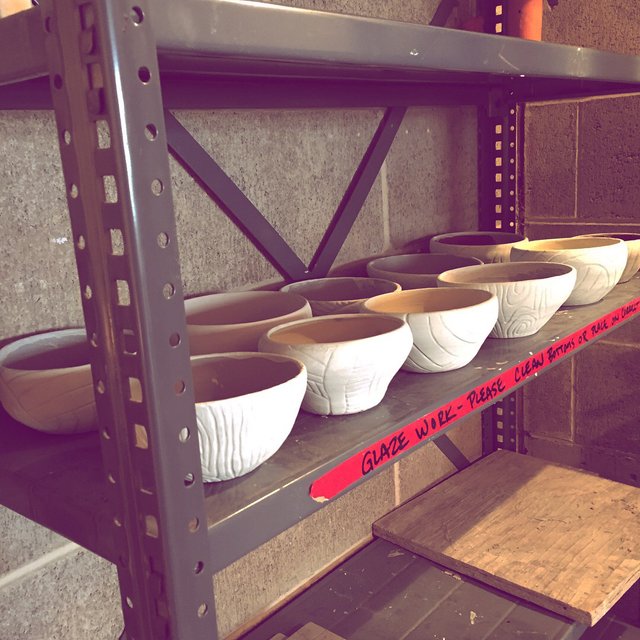
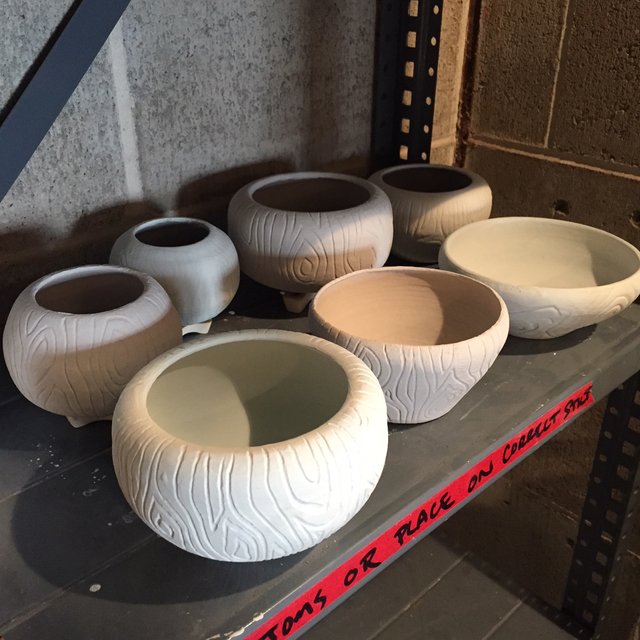
Then they need to be fired! These are fired at cone 4, which is a lower fire but still reaches 2000 degrees Fahrenheit. I snapped a photo of the museum's kiln room. The clay turns from gray to an off-white and the color of the slip intensifies.
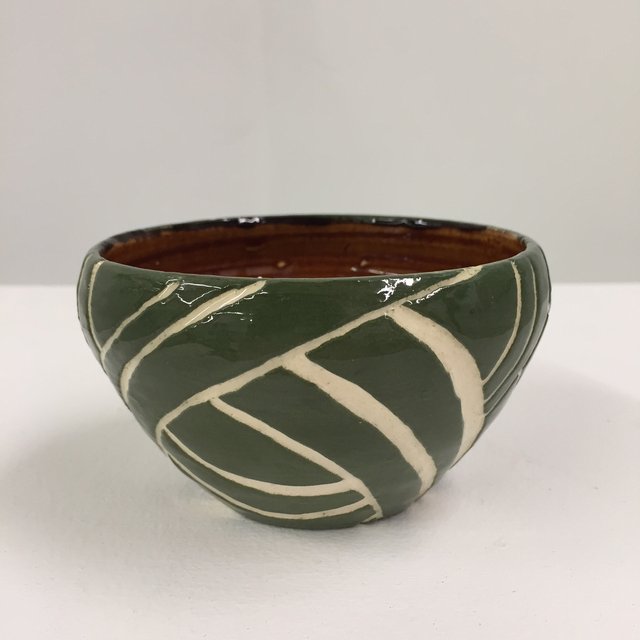
Then, after their first fire, comes the glazing. With my first batch I used a clear glaze on the outside so that you can see the white clay underneath that the carving into the slip revealed, and I used some different color combos than my usual black for the insides. My second batch I did some experimenting with other colored glazes on the outside. The glaze will look different on the white than it will on the colored slip. It's difficult to tell what they will turn out like when they're painted on. It all looks light and chalky but the heat from the kiln turns it bright and shiny.
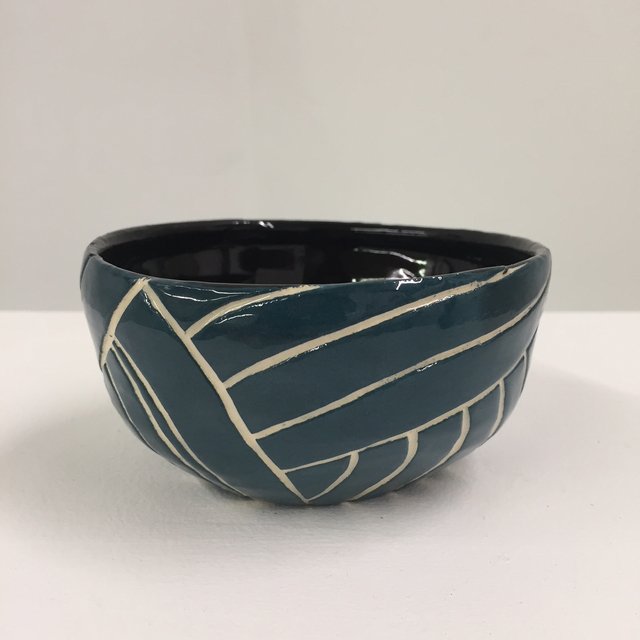
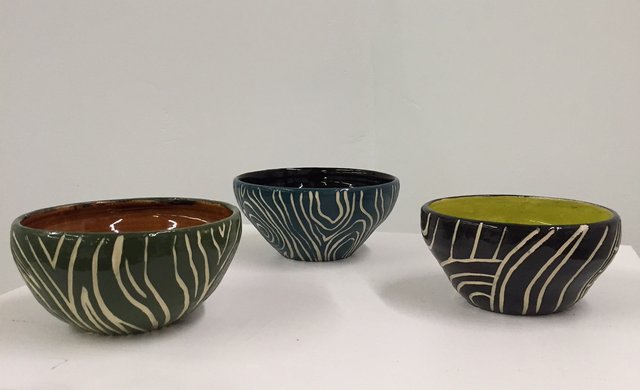
Then they come out of the kiln from their second fire in their final form. I'm still waiting on my second batch, but here are a few of my favorites from the first one.
I've already put to use the pottery I made during my previous class session in my studio. You can also see that I was inspired enough to actually paint the pottery on canvas. I loved the shadows that all of the bowls casted in that process photo. Pottery inspires me in multiple ways! I highly recommend it for everyone! It's something I used to say I couldn't do, but usually everything takes a little practice :)


Go here https://steemit.com/@a-a-a to get your post resteemed to over 72,000 followers.