Creating a fantastic glowing deer in Adobe Photoshop CC 2019 Part 2
Final Result
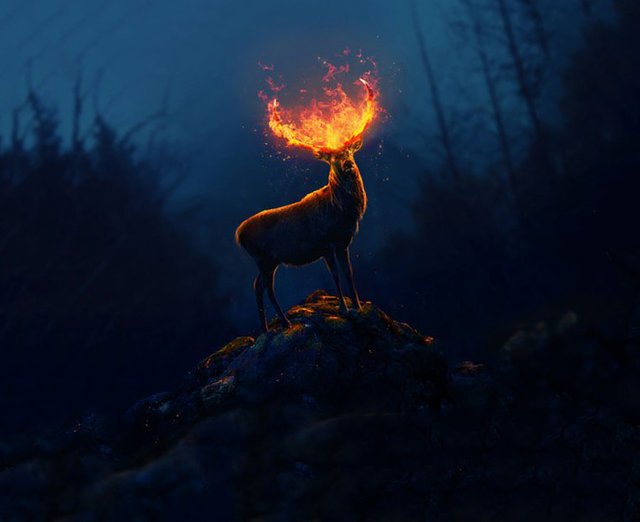
Stage 2. Add a stone
Step 1:
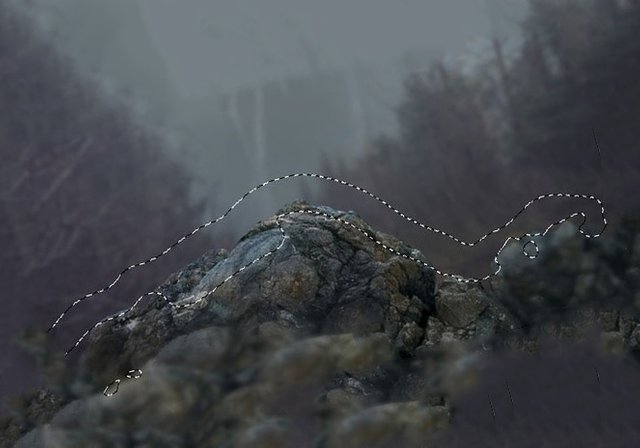
Open an image with a stone and select it only with any selection tool - the author used the Polygonal Lasso Tool / Polygonal Lasso Tool [L].
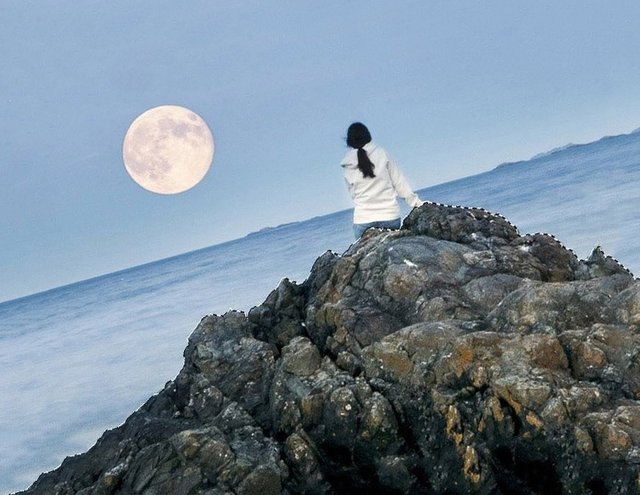
Move selected stone to our main document and flip horizontally using the command Edit / Edit> Transform / Flip Horizontal / Flip Horizontally. Then translate the layer in the Smart Object / Smart Object.
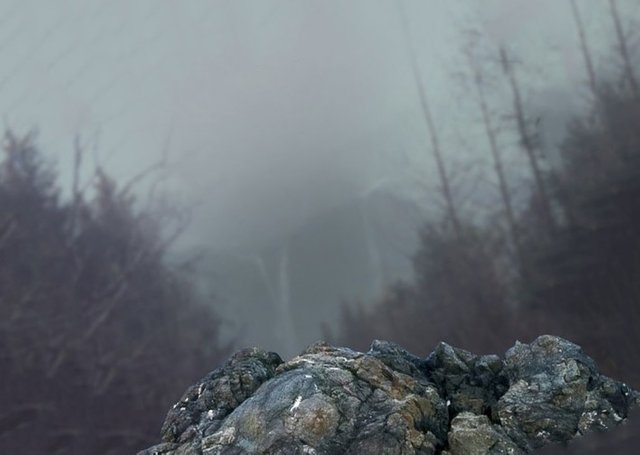
Step 2:
In order to make the rock look better, you need to remove some of the upper parts. To do this, add a mask to the layer and use a black hard brush. Remember to preserve the structure of the stone.
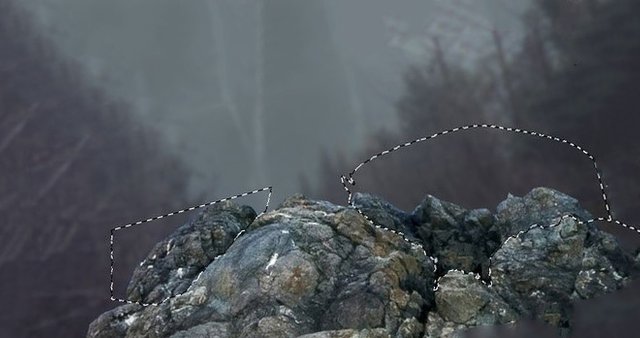
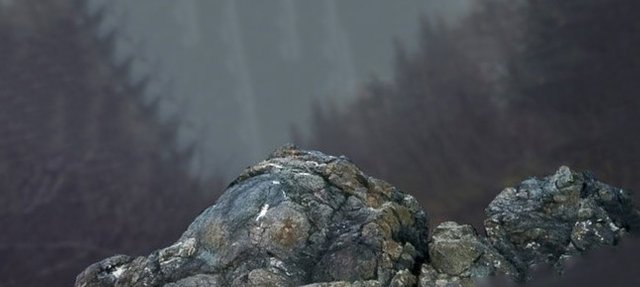
Step 3:
On the layer with the stone, select the top part of the stone, right-click on the layer and select Layer via Copy from the menu that appears.
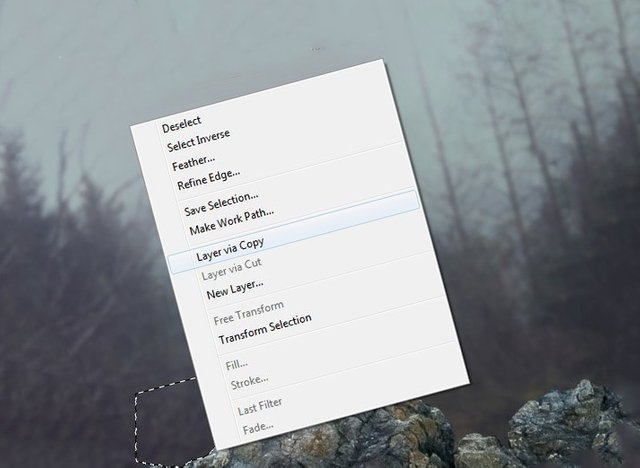
Now we take a layer with the selected, upper part of the stone and move it below the layer with a large stone and use the free transformation Ctrl + T and make it a little smaller.
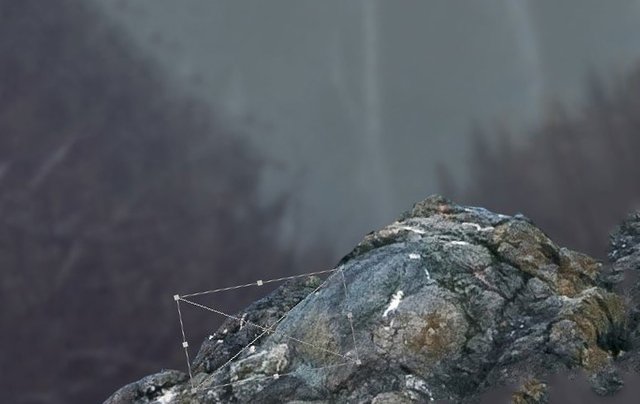
Step 4:
Select a layer with a big stone and apply Filter> Blur> Blur> Gaussian Blur with the following settings.
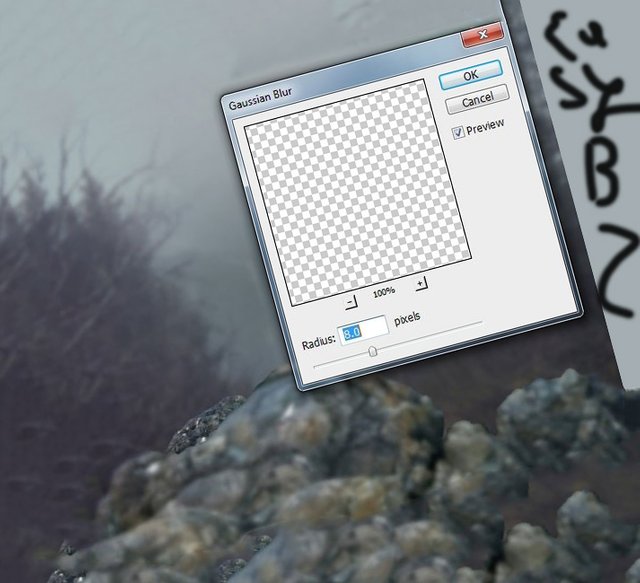
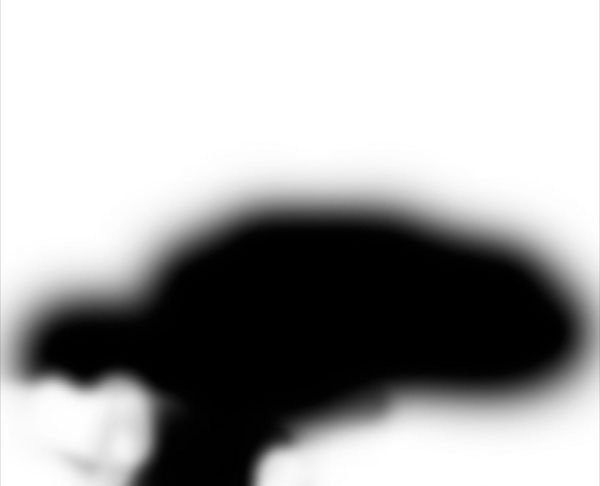
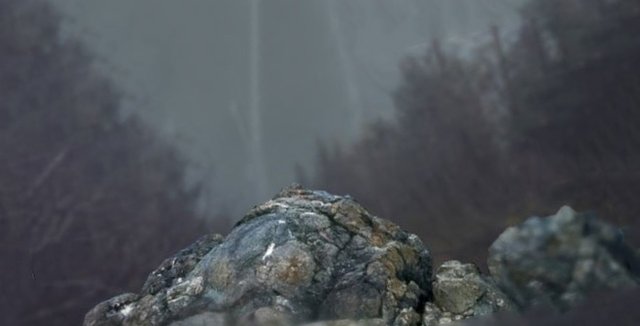
Then select a layer mask and use a soft, black brush to wipe the middle part of the stone so that it looks separate, thereby creating a depth of field. The result on the mask and the picture you can see on the screenshots below.
Step 5:
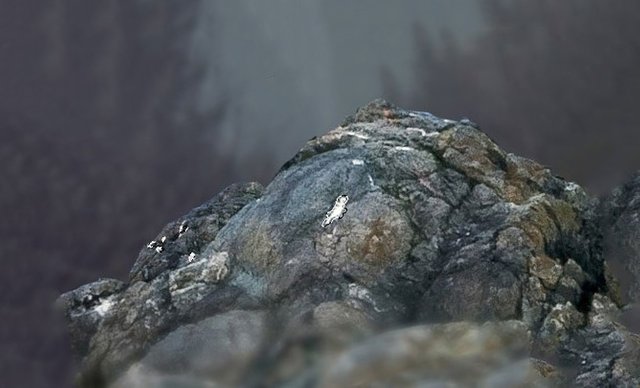
Create a new layer and select the Clone Tool / Stamp Tool [S]. Use the tool to remove unwanted white spots on the stone.
Step 6:
Select all the layers with stones and the clone layer with unwanted stains removed and merge them into the Ctrl + G group. Change the mix mode for the band from Pass Through / Standard (Skip) to Normal 100%. Create a Curves Correction Layer / Curves inside the group and darken the stone, as shown in the screenshot below.
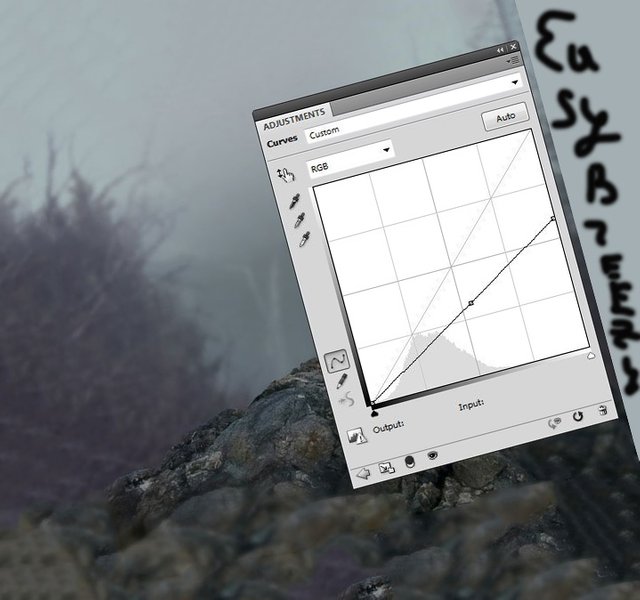
Choose a mask of the correction layer and using a black, soft brush, erase the upper part of the stone and some other details - we will add light to these parts.
Stage 3. Dimming the scene
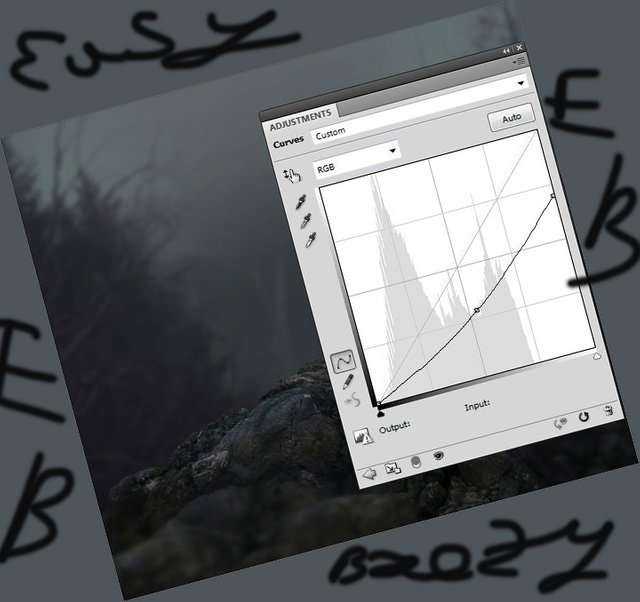
Create a new Curves adjustment layer / Curves above all layers and adjust the curve as shown in the screenshot below.
Step 4. Adding a deer
Step 1:
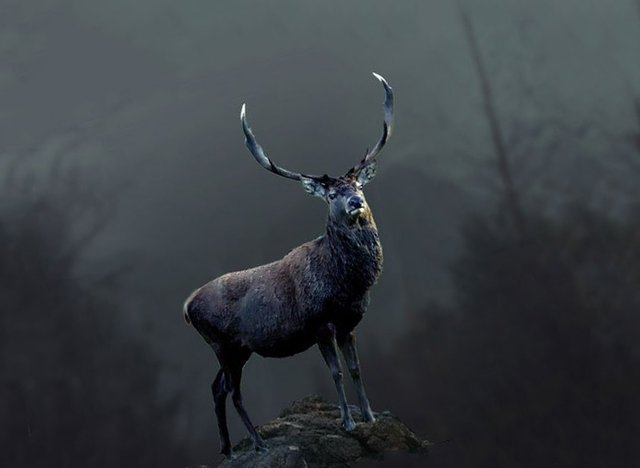
Open the image with the deer, separate it from the background and place it on the stone in our document.
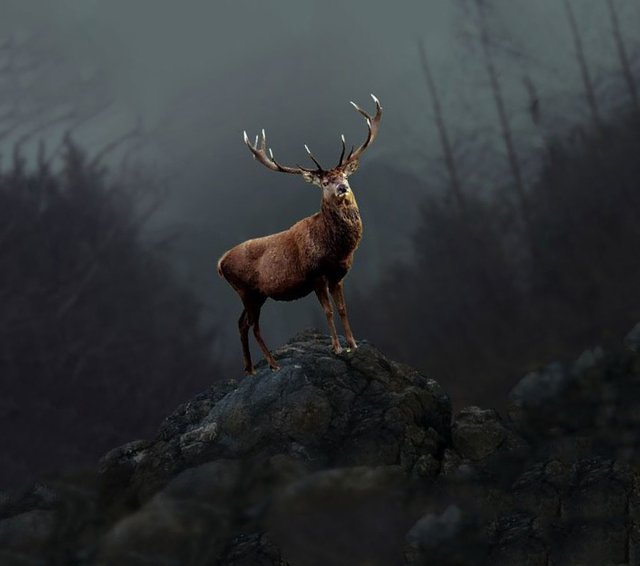
Add a mask to the layer and remove 2 small horns in the middle part - above the head of the deer.
Step 2:
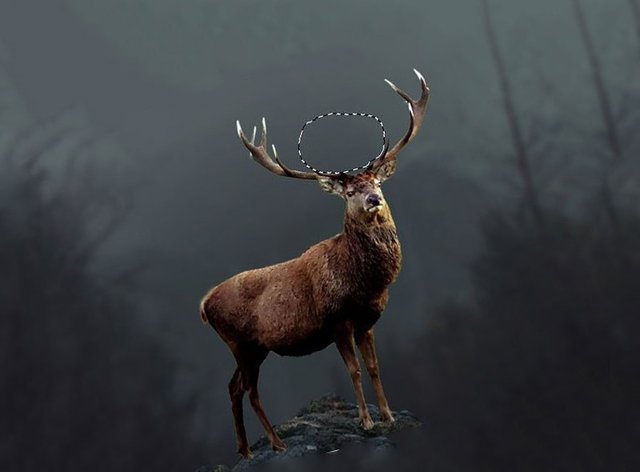
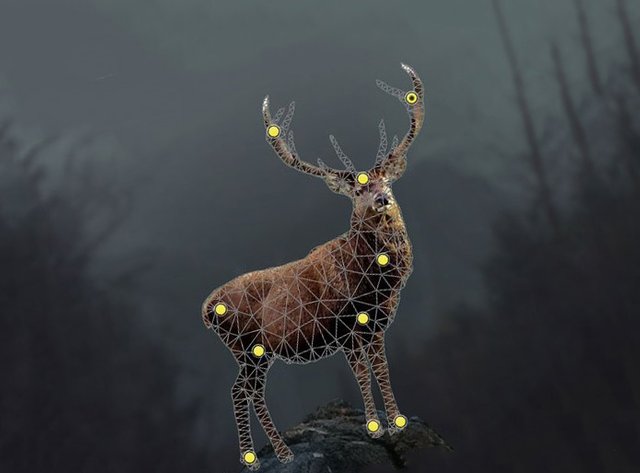
Let's do some transformation horns. Go to Edit menu> Puppet Warp / Puppet Warp. Add points to the body and head of the deer, and then move the points on the horns to make them closer to each other.
Step 3:
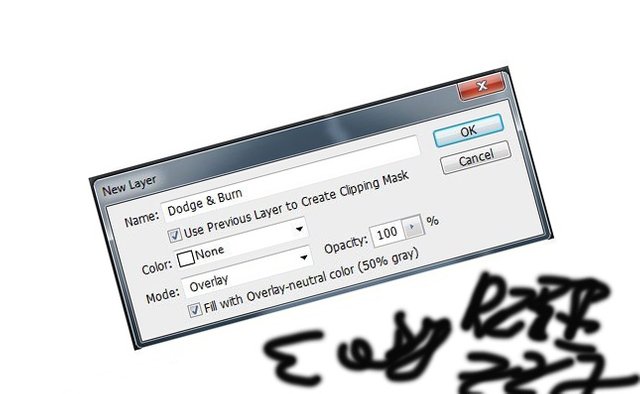
Create a new layer (in clipping mask mode) by changing the blending mode to Overlay 100 / Overlapping 100% and filling to 50% gray.
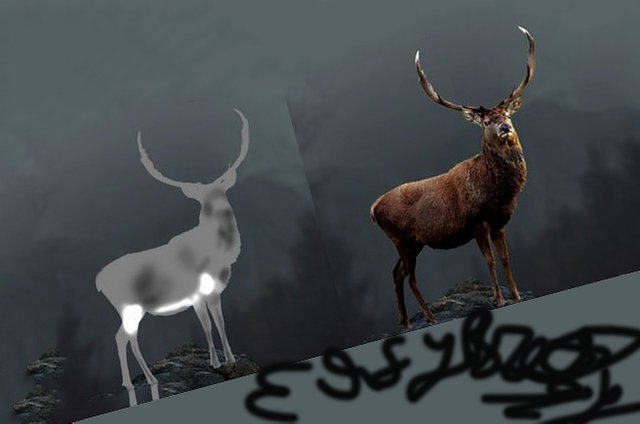
Use the Dodge and Burn Tool [O] in Midtones / Mid Tones mode, with an Exposure value / Exposure with a value of 10–50% for correcting light and dark areas to deer. You can see how I did it on the screen. The first screen, as it looks in the blend mode Normal / Normal, the second screen mode Overlay / Overlap.
Step 4:
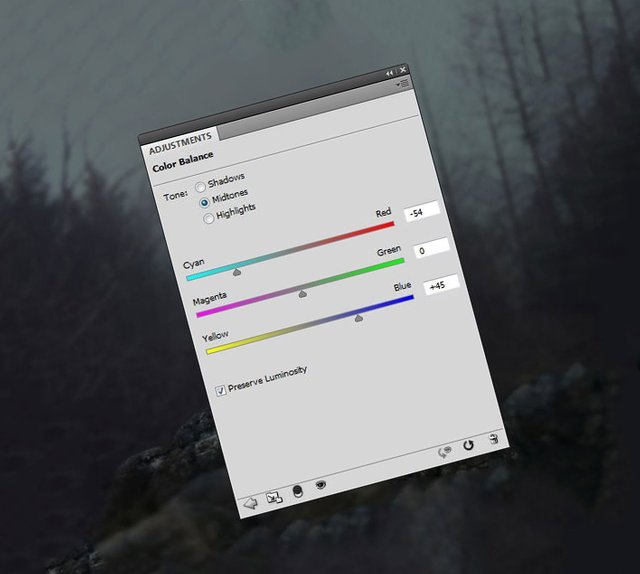
Create a new Color Balance adjustment layer in Clipping Mask mode with the following settings.
Step 5:
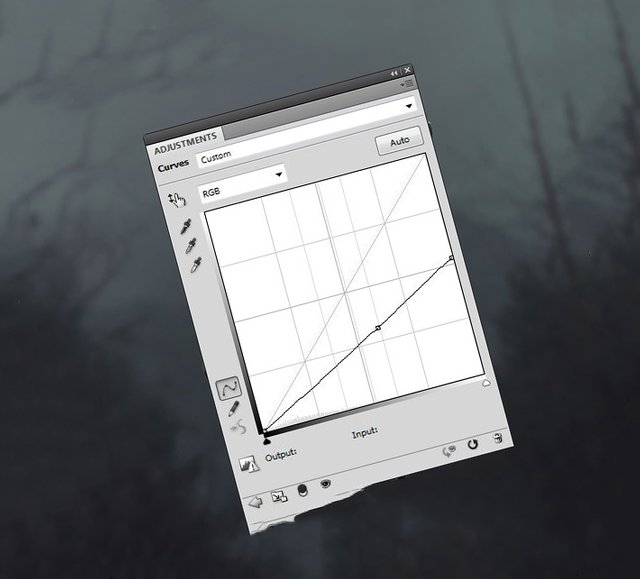
Add a Curves / Curves Correction Layer to make the deer darker.
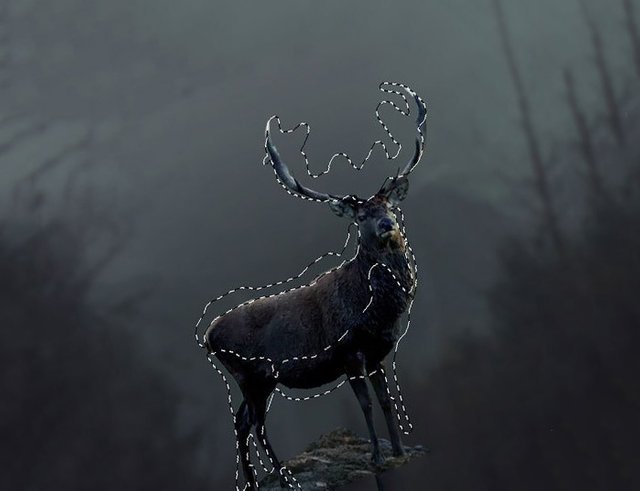
Select a mask for the adjustment layer and use a black, soft brush to erase the dark areas, as they will be lit from the fire.
Step 6:
Create another Curves / Curves adjustment layer to reduce the contrast of the deer, especially in the lower part of its body.
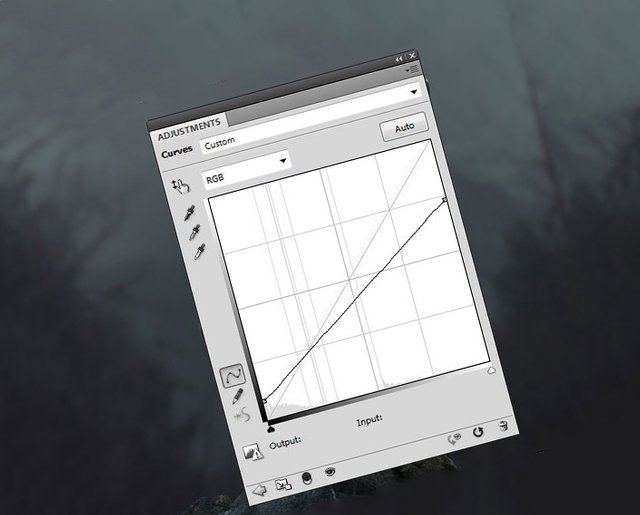
Select a mask for the adjustment layer and use a black, soft brush to erase the rest of the deer, especially the horns - see the screen below.
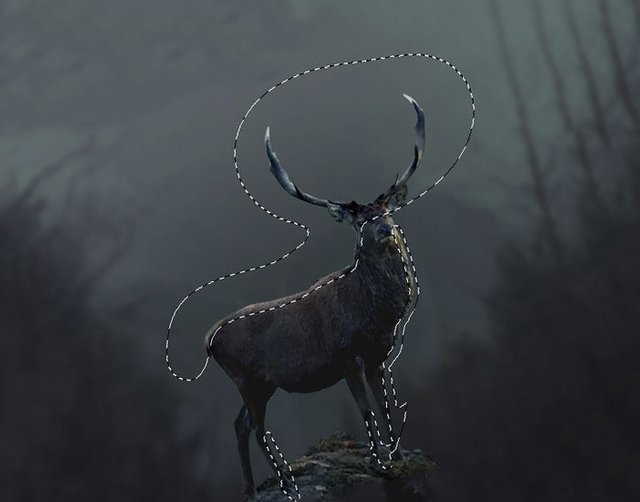
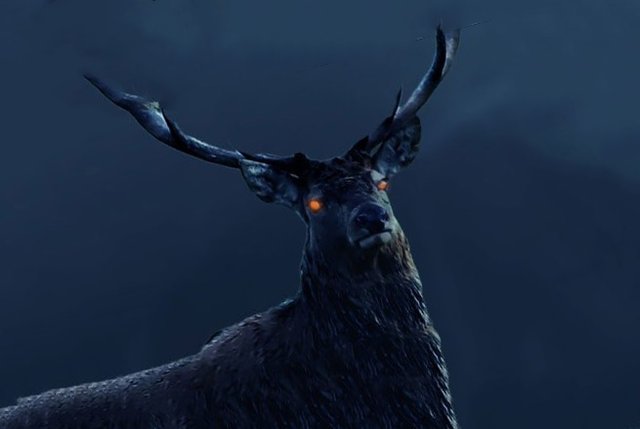
Stage 5. Change the color and appearance of the eyes
Step 1:
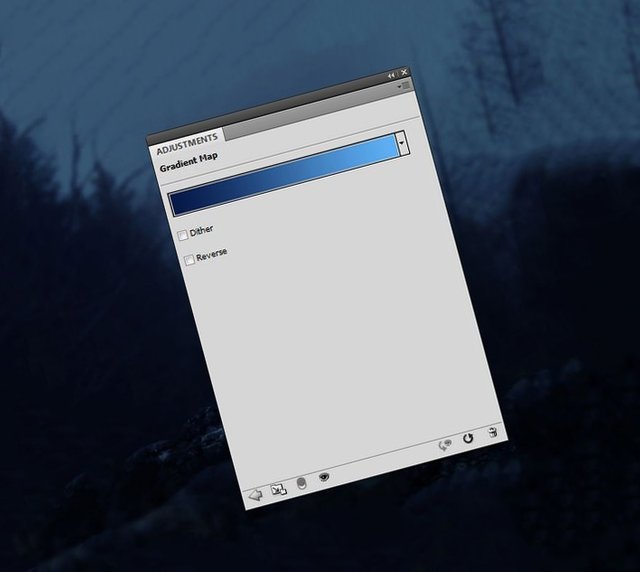
Create a new Gradient Map / Gradient Correction Layer. Change the colors of the fill markers to # 061947 and # 5fb1f7 and change the layer blending mode to Soft Light 100 / Soft Light 100%.
Step 2:
Create a new layer. Change Foreground foreground color to # fd802d. Using a small, soft brush of this color paint the eyes of a deer to give his eyes a fiery look.
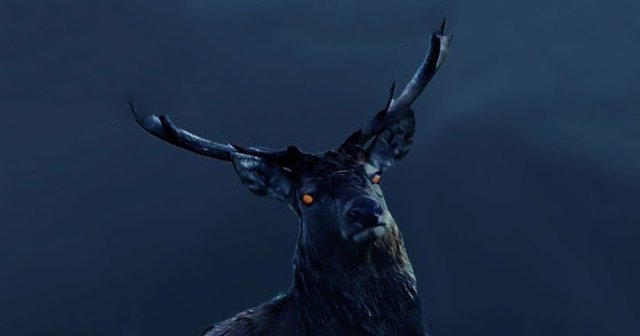
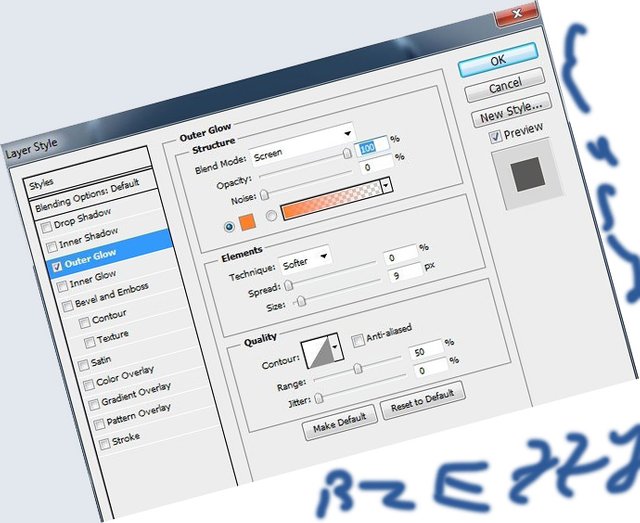
Double click on the layer and apply the Outer Glow / Outer Glow layer style by setting the color to # fd802d.
Source
Plagiarism is the copying & pasting of others work without giving credit to the original author or artist. Plagiarized posts are considered spam.
Spam is discouraged by the community, and may result in action from the cheetah bot.
More information and tips on sharing content.
If you believe this comment is in error, please contact us in #disputes on Discord
Plagiarism @steemflagreward source:
https://design.tutsplus.com/tutorials/how-to-create-a-fantasy-flaming-deer-with-adobe-photoshop--cms-24227?utm_source=Tuts+&utm_medium=website&utm_campaign=relatedtutorials&utm_content=sidebar&WT.mc_id=Tuts+_website_relatedtutorials_sidebar