Creating "Fairy Forest" collage in Adobe Photoshop CC 2019 Part 2
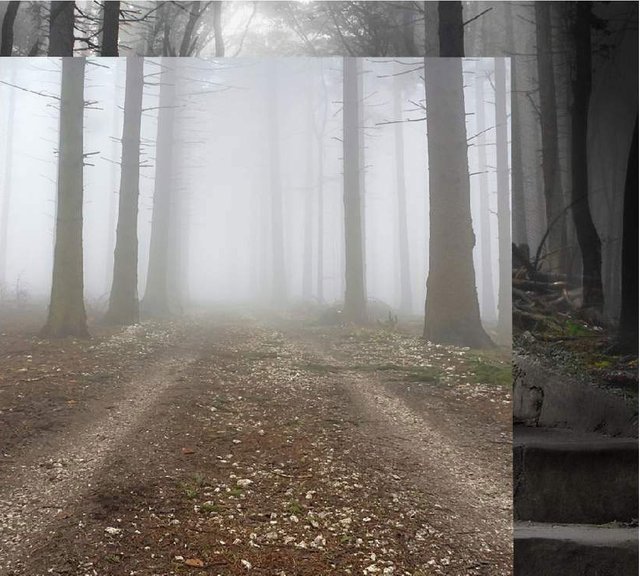
Stage 2. Add more wood.
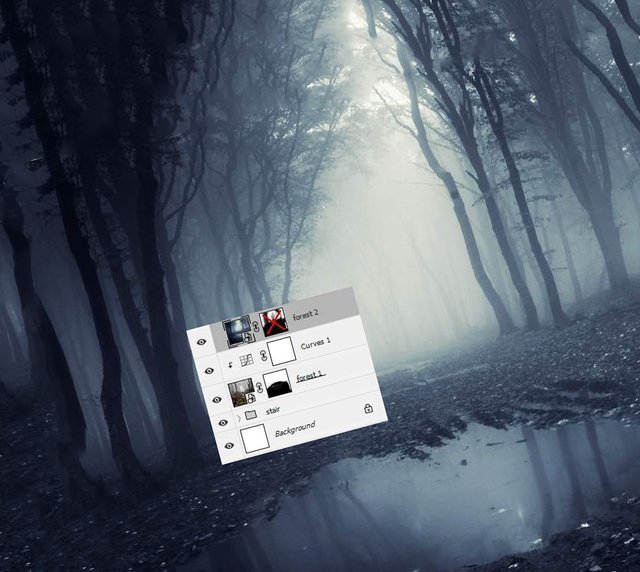
Step 1.
Move the “Forest 2” image into our document and add a layer mask to it.
On the layer mask, erase the lower part, the area on the sides and the foggy middle area.
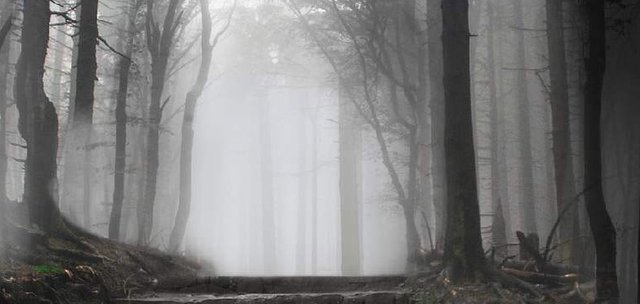
Step 2.
Add a hue / saturation adjustment layer / hue / saturation and lower the saturation value to maximum.
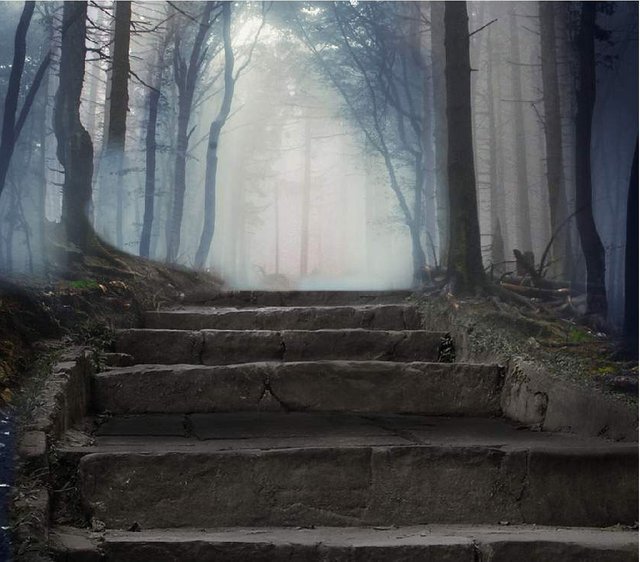
Step 3.
Add the image “Forest 3” and position the fog area in the middle part of the forest. Use a layer mask to leave only the fog area, disguise everything else.
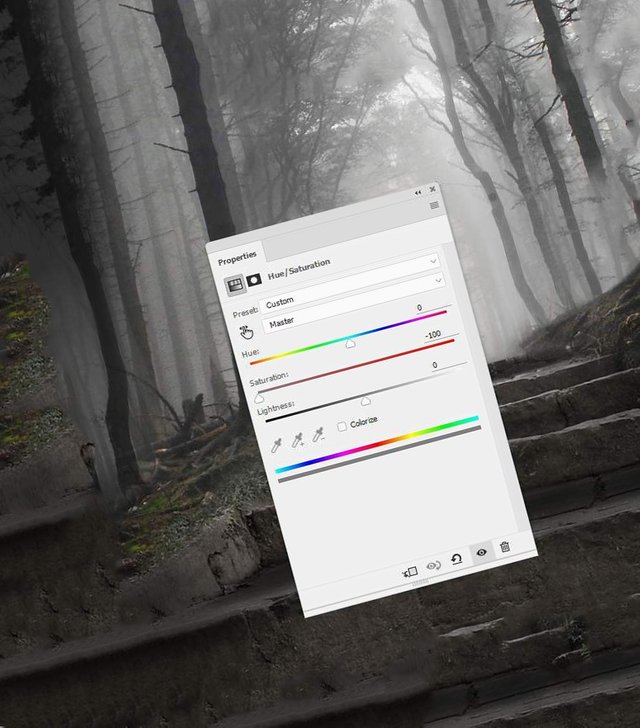
Step 4.
Add a Hue / Saturation / Hue / Saturation adjustment layer and lower the Saturation / Saturation value to -100.
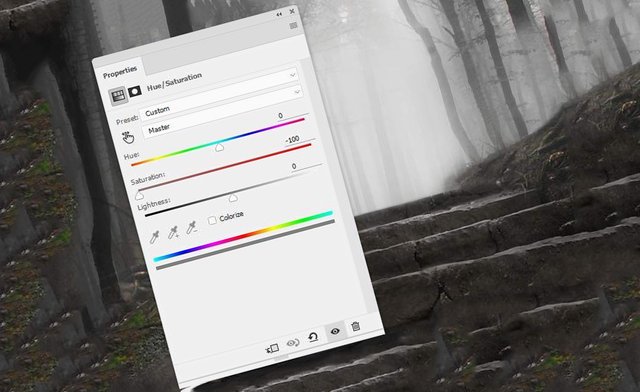
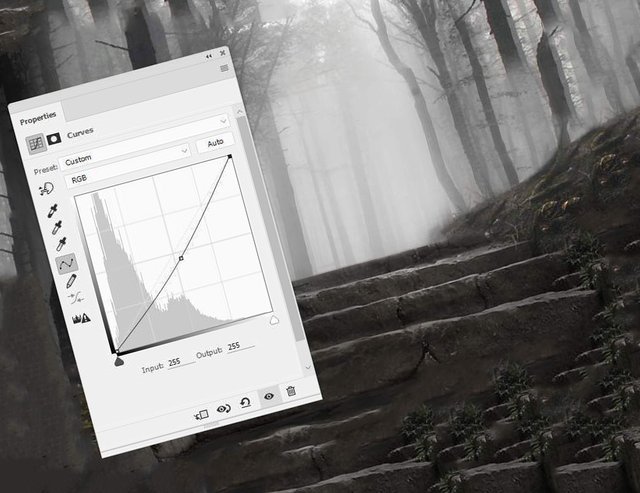
Step 5.
Add a Curves / Curves adjustment layer and darken the forest slightly.