Creating "Fairy Forest" collage in Adobe Photoshop CC 2019 Part 6 End
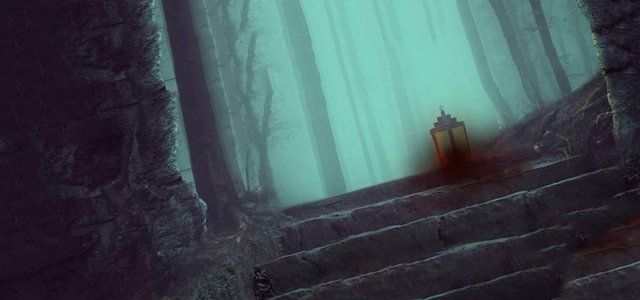
Step 8. Add light from the lantern.
Step 1.
Create a new layer above the lamp layer. Set the foreground color to # 210402 and use a soft brush to paint around the lamp. Change the blending mode for the layer to Linear Dodge / Linear Brightener.


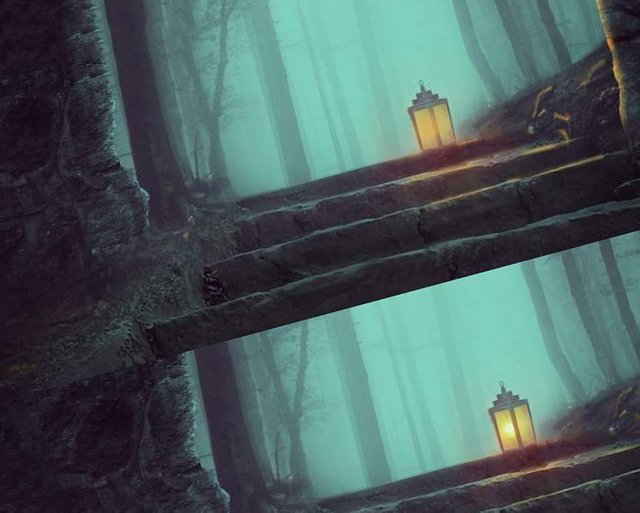
Step 2.
Create a new soi. Set the foreground color to # d7a650 and draw the light from the lamp on the steps, the ground edges of the arch. Change the blending mode for the layer to Overlay / Overlap.

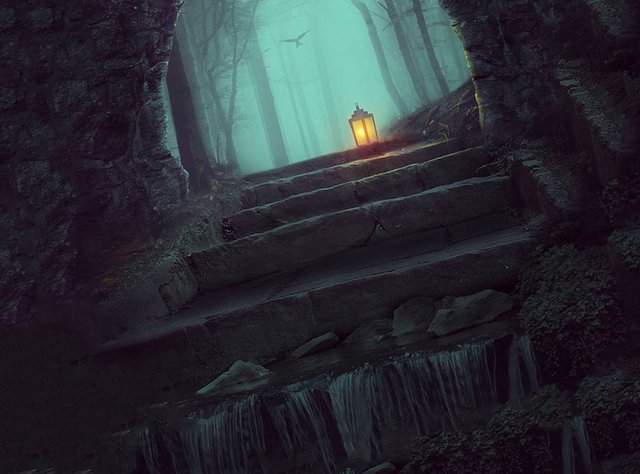
Step 3.
Create another layer. Set the foreground color to # ee9463 and make the light inside the lamp stronger. Change the blending mode for the layer to Hard Light.

That's all...
Congratulations you have completed the lesson
Final Result:

Congratulations @easy-breezzy! You have completed the following achievement on the Steem blockchain and have been rewarded with new badge(s) :
You can view your badges on your Steem Board and compare to others on the Steem Ranking
If you no longer want to receive notifications, reply to this comment with the word
STOPVote for @Steemitboard as a witness to get one more award and increased upvotes!