Making a laptop stand on my cnc machine
Finally I did a "real" project on my cnc , and one that i have wanted to do for some time actually.
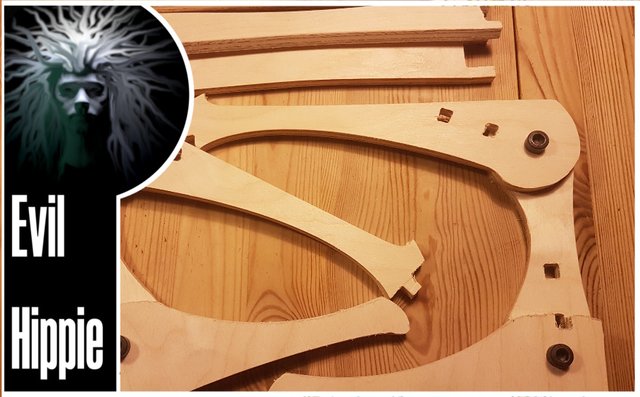
At work (some of you may remember that I work as a research programmer as my dayjob) I have 2 external screens and the one on my laptop. Since my laptop is a fairly small and nimble model (I carry it with me every day so to spare my back i chose a ligthweight one) the screen is quite small and when it sits between the two external screens it is a lot lower. I am not the only one with this problem so we are given laptop stands by work so we can get our laptop screens up in the same height as our external screens. I however, wanted to build my own, in part to test my cnc, and in part just because I can.
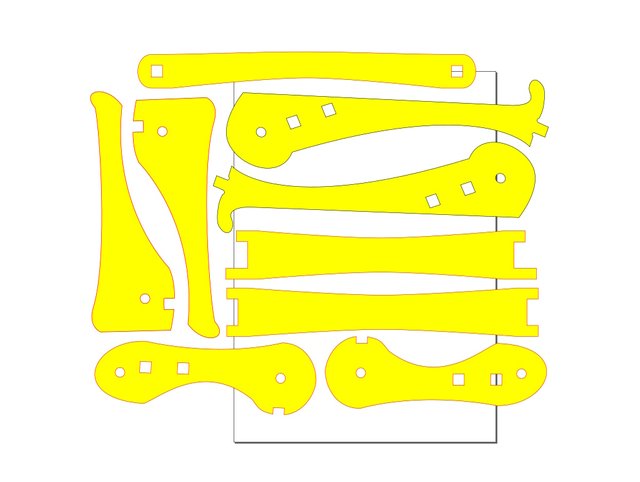
I started out in inkscape. it turns out that for many cnc projects the 3d shape that you want is often a combination of 2d shapes, and for this project it made sense to cut out plates and join them, so I drew my design in inkscape. I have a lot of years of experience in building stuff so I didnt make a lot of sketches, I basically just imagined it in my mind and drew the shapes i wanted directly. There is always a danger in doing it this way since it is easy to accidentally miscalculate one of the dimensions, (and this happened to me in this project as well) but it is also a very fast way of getting a result, and i like fast.
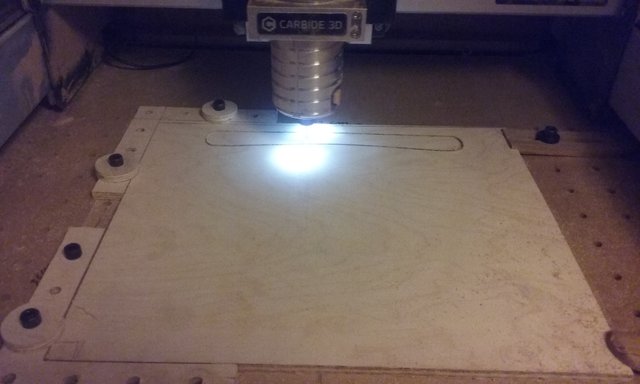
when the design was drawn I opened the svg file in carbide create which is the (very minimalistic ) cad program that comes with my cnc. it is ok for making 2d toolpath and since that was all i needed here thats what I used.
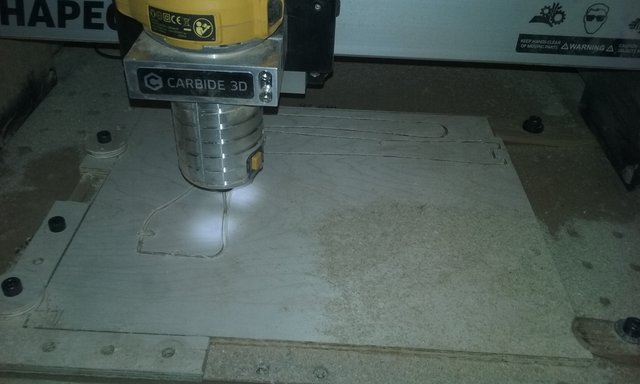
Then onto carbide motion (the cam program that does the actual controlling the mill during work) and running the job. It is up to the designer/operator to make sure the piece of wood chosen has the right dimension and I can heartily recommend to measure twice and cut once as the saying goes. in this project that part was not a problem but i have tried many times where i ended up having to do the whole thing over because i measured wrong, and with a cnc mill that kind of failure can be quite catastrophic since the router will happily go through the holders or - anything that comes in its way.
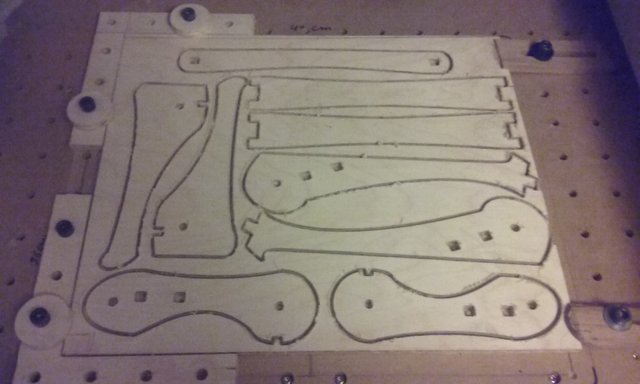
As I said this was not an issue this time, but i am always a bit worried when I start a job and I sit with my finger on the emergency brake, at least for the first part of the job, until I am satisfied everything is ok.
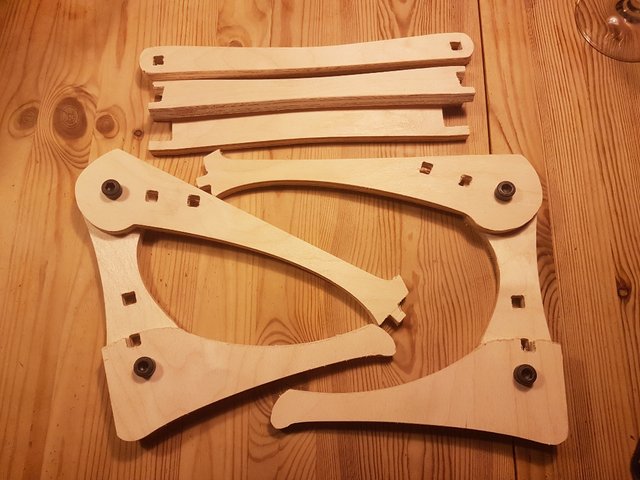
This time it went well, apart from me being to conservative with my depth of cut (again) which meant i had to cut out all the shape the last 0.2 mm by hand. Not a big issue as it can be done with a sharp knife quite easily but still annoying. It would have been prettier (and have required less sanding) if I had gotten it right. Well, next time i will measure the material before I set my depth. As it turns out my 9 mm plywood wasnt exactly 9 mm(as is almost always the case) so I should have accounted for this by making my depth of cut just a tiny bit deeper and then placing a sacrificial piece of wood underneath , or accepted the risk of scoring a few fractions of a mm into my wasteboard.
Even when you dont make any mistakes , bad stuff will still happen. This time there was an error in the gcode file(or the connection was lost or something), so the program stopped in line 25233 of app. 45000 lines. Thus I had to rewrite the file by hand making a new version where I copied the last 22000ish lines and reran the rest of the job. that went surprisingly smooth and on top, I got my first real experience with hand coding gcode, so I see this as a win! I am sure @builderofcastles would approve of me getting my hands dirty with writing some gcode by hand :-)
The final step after this was just cutting out and sanding, and then assembly. I had made sure to make all the holes 8 mm so they fitted the bolts I have.
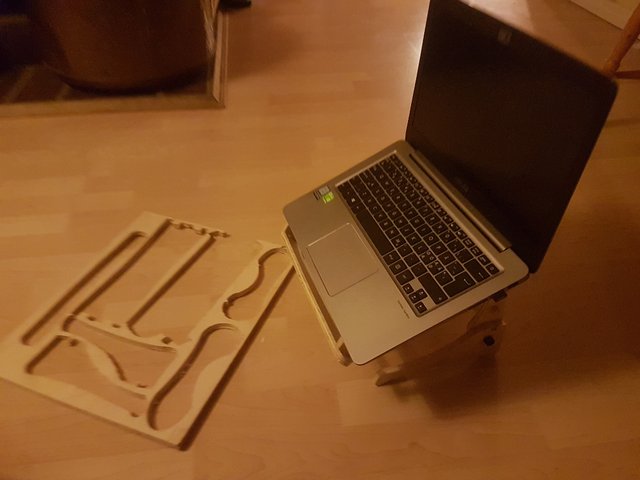
There was a few mistakes as I mentioned earlier. One of the cross beams was too long since I forgot to take into account the thickness of the material. It was easily fixed, and I added the updated version to the svg file so that if i make another one, it will be right (the svg I have shown here is the updated one).
There is a few other little adjustments I would like to make but that will have to wait for another time.
until then

Im EvilHippie, a compulsive creative and jack o' trades. If you want to know more about me, check out my introduction post here
If you like what you see, feel free to upvote, follow and resteem
or you can check out my accounts on these sites:
ǝɹǝɥ sɐʍ ɹoʇɐɹnƆ pɐW ǝɥ┴
and thats much appreciated :-)
Hello @evilhippie, thank you for sharing this creative work! We just stopped by to say that you've been upvoted by the @creativecrypto magazine. The Creative Crypto is all about art on the blockchain and learning from creatives like you. Looking forward to crossing paths again soon. Steem on!
A thoroughly profession job!
haha. not really but thanks anyway. The result is good enough that should I choose to make more of them, I am fairly sure they would be of sell-able quality
Wow...amazing... good creativity and can generate additional income
thanks, yeah maybe at some point I will be able to generate some additional income from this machine. it will take a while before the investment has been earned though
Congratulations @evilhippie! You have completed the following achievement on the Steem blockchain and have been rewarded with new badge(s) :
Click here to view your Board
If you no longer want to receive notifications, reply to this comment with the word
STOPI recently embarked on a DIY project to fashion a laptop stand for my CNC machine, aiming to enhance efficiency in my workspace. Using precision-cut materials, I crafted a sturdy stand that seamlessly integrates with my CNC setup. The process was made smoother with the aid of quality tools from https://www.eagletec-cnc.com/. Now, my laptop rests securely, providing a practical solution that elevates both convenience and productivity in my machining endeavors. This personalized creation underscores the importance of tailor-made accessories in optimizing one's work environment.