The Making of a Stained Glass Piece-Dancing Bear and Mushroom House

I have been doing this glass stuff for about seven years now and I really enjoy it; it keeps me focused, keeps me motivated and challenges my mind. I've made over a hundred pieces to this day, which doesn't sound like much but with such a time consuming project, believe me, it is! Making these stained glass mosaics is very behind-the-scenes, where everybody gets to see the end result but little to no people get to see the process of how they're made. I wanted to do something a little different with this piece that I'm working on and share with everyone the steps I go through to make such intricate pieces of art. Please keep in mind that this is my way of doing this (after years of trial and error) others may have different (possibly easier) methods that work for them! Please enjoy the journey!
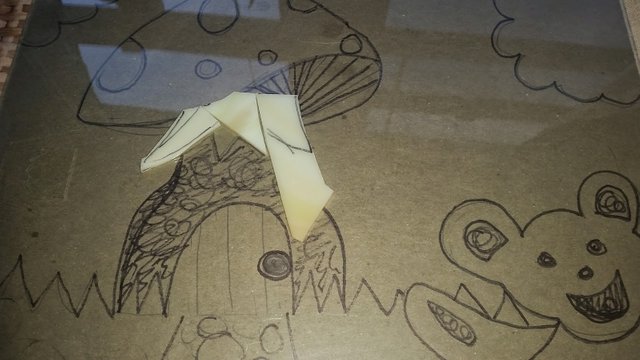
CHOOSE DESIGN

The first, and most important, step in creating a glass mosaic is having an idea of what you're going to make. I roughly, alright very roughly, sketched my picture on the appropriately sized paper of the piece I'm creating. This particular mosaic is 11x14 inches and will fit directly underneath the glass backing of the picture frame.
CHOOSE COLORS
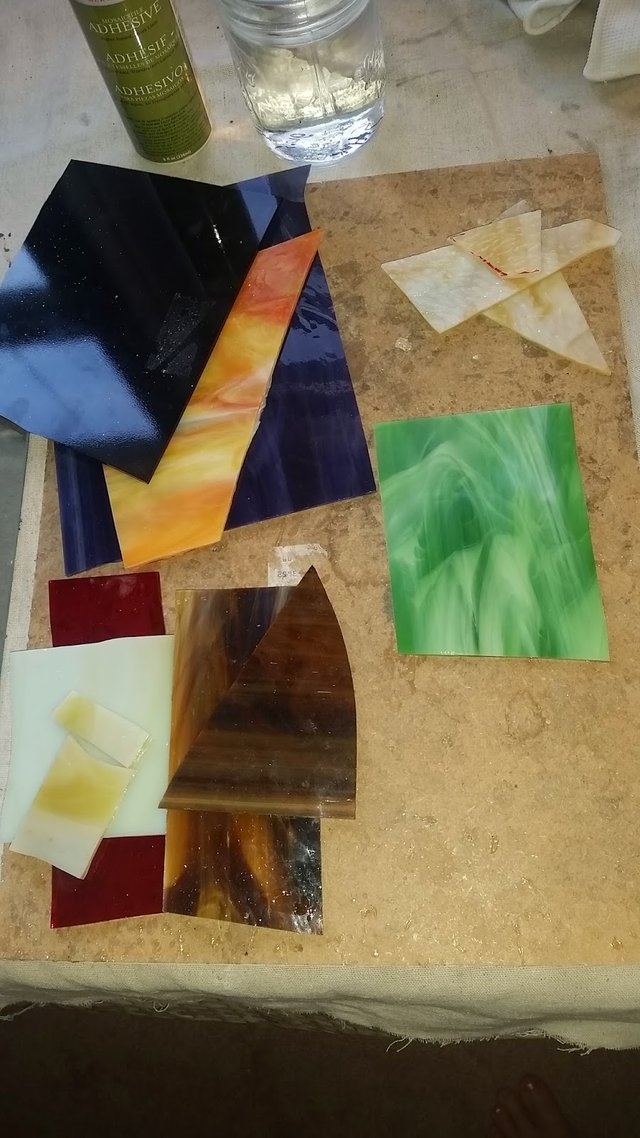
You want to choose your color scheme very carefully because this will make or break your piece. Holding the glass next to each other as well as holding them up to the light are both crucial (sometimes the colors will change so drastically in different lighting that it could ruin the whole piece, it's happened before). Make sure your focal point is clearly defined with a color that will stand out among the rest. This is, in my opinion, one of the hardest parts of making glass mosaics; I have spent hours changing my mind and re-changing my mind before I settled on the right colors. Use the color wheel!
MEASURE AND CUT
This is the part that takes the most patience. You will be doing (and re-doing) this part hundreds of times, especially if you're a perfectionist like me! Pretty much all this step consists of is tracing or guessing where you should cut (depending on the type of glass), drawing the pattern and carefully cutting along those lines. Easy enough.
GRIND
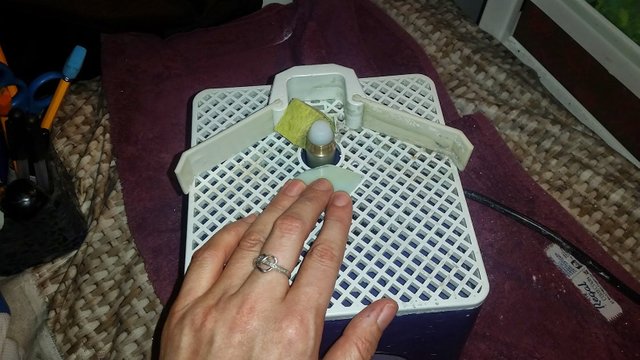
You then take the piece of glass that you just cut and grind away to smooth out any edges or shape the glass, if needed.
GLUE
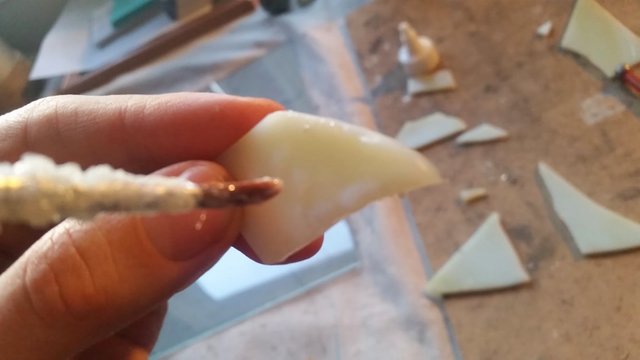
I found the easiest way to do this step is with a cheap paintbrush. Dip the brush into your glue (I use special mosaic glass glue), apply to your piece of stained glass and then place it firmly on the clear glass covering your template. Repeat the last three steps again and again until you finish your piece!
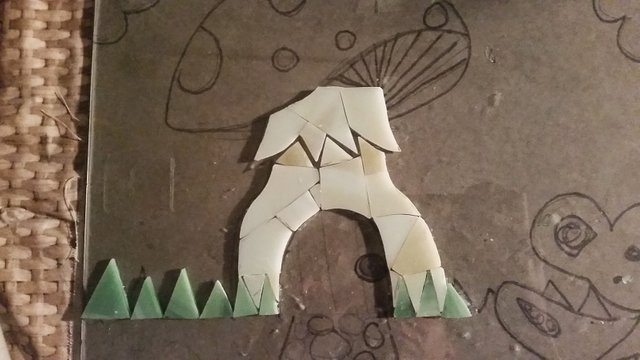
(One hour later)
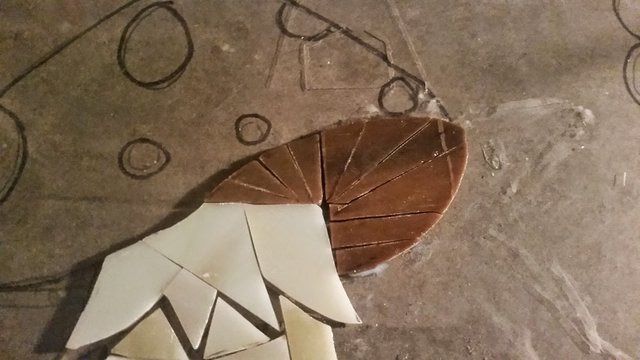
(Close up of some cool cuts)
(Two hours later)
(Three hours later)
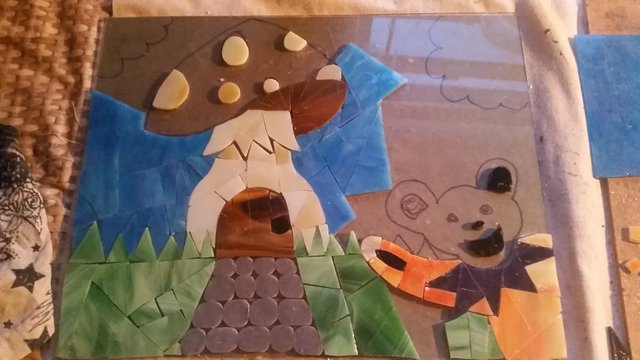
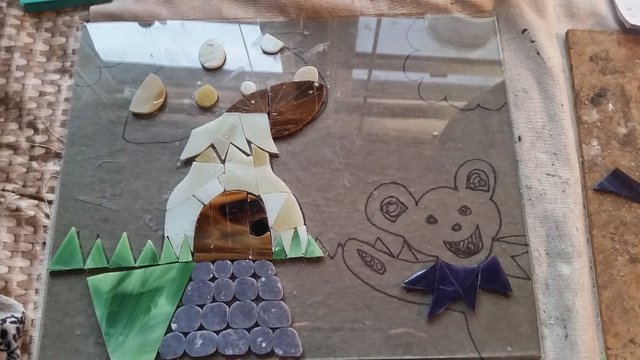
(Four hours later..making some progress)

(Hour five)
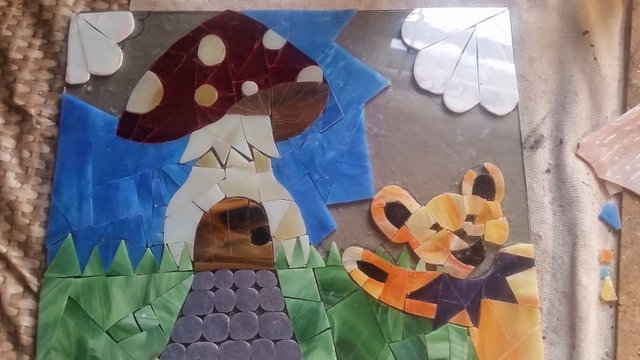
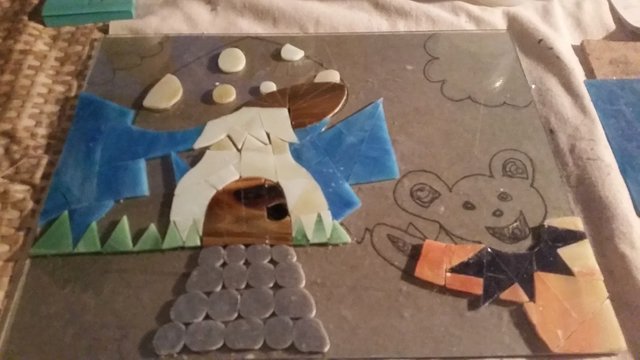
(Hour six..almost done!)
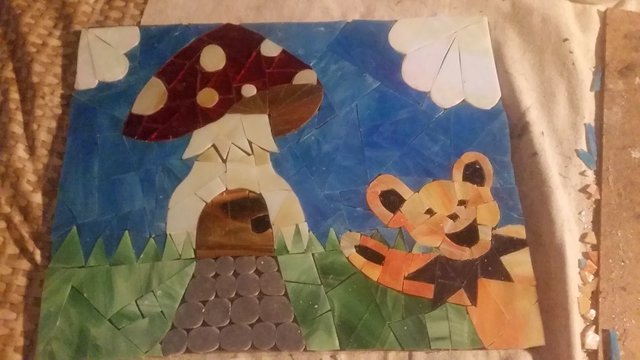
(Seven hours later and fini!)
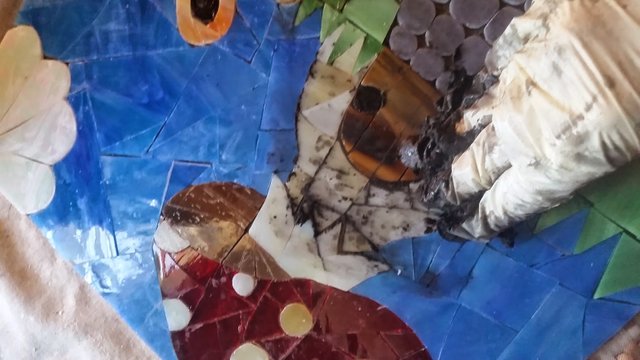
GROUT

This is the fun part! After hours of trudging along you finally get to the ooey gooey part that ties the entire piece together. Mix your grout with water to create a soft clay-like product. Texture is key in this step (learned from experience), too thick makes it hard to spread around and too thin makes the grout almost impossible to stay in the cracks.
Wipe the picture clean with an old rag or towel.

Voila! The piece is complete! Thank you for going on this journey with me and I hope you learned something or at least enjoyed the experience! Hopefully this inspires you to create something of your own and embrace your inner artist! Until next time...
This is really beautiful and very creative. I am sure parents would love original pieces of art like this for children's bedroom walls.
Its actually refreshing to finally see some posts like this appearing on Steemit rather than just steemit posts about steemit.
I hope you will be posting more of your work. xx
Thank you very much! I'm just enjoying sharing my passion with people who will read about it :-)
Love it, Sam! You make the best stuff! Hopefully someday soon someone on Steemit will make an offer for one of them!
Thanks Derek!!