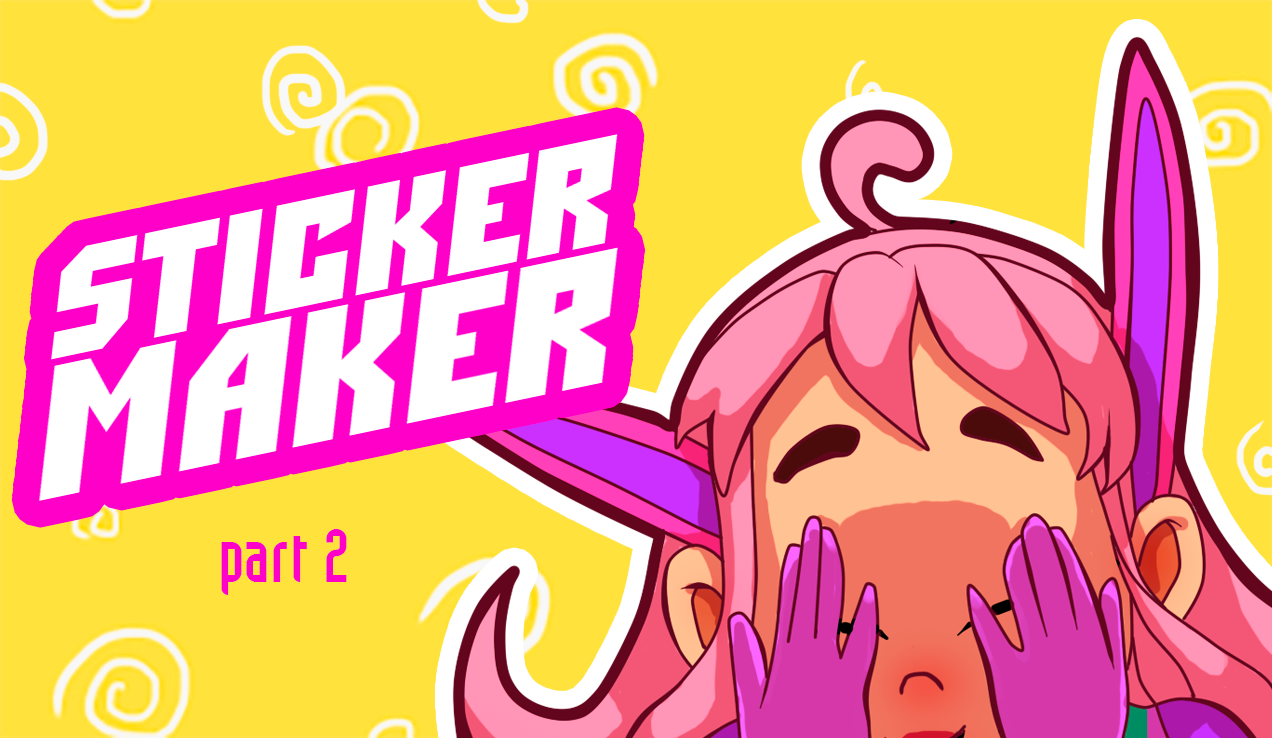
#Stickermaker part 2. I continue to draw stickers and tell you about SAI
Hi, everybody
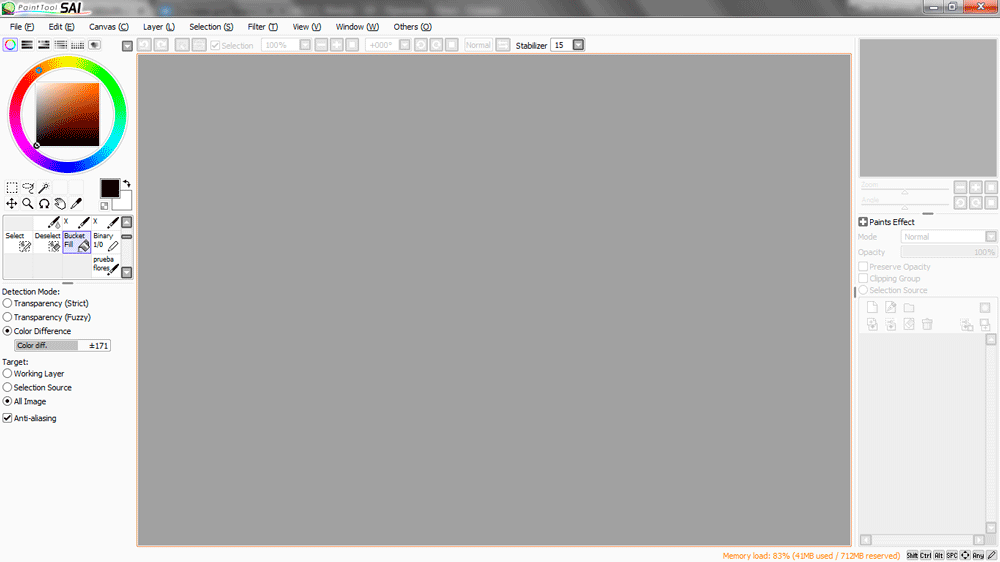
At last I can again continue to draw and tell useful things on creation of stickers. This time I will try to disassemble all Sai tools and the photoshop which will be necessary for us. I will begin with Sai. This program has just stunning raster vector (and there has to be a small short circuit in a brain), very unusual tool which behaves as a vector, but within the raster Universe.
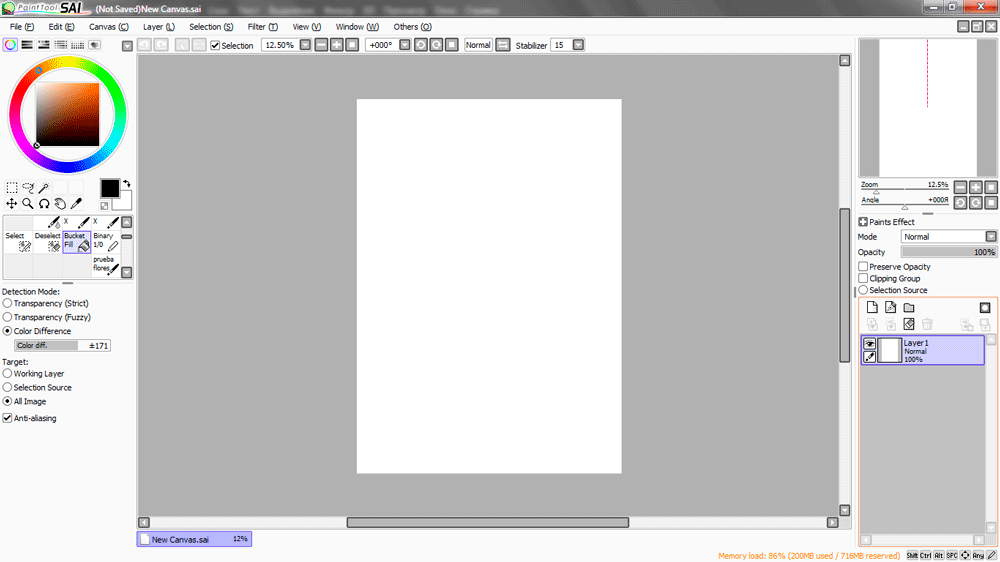
So, we create the new file:
Further we create a vector layer:
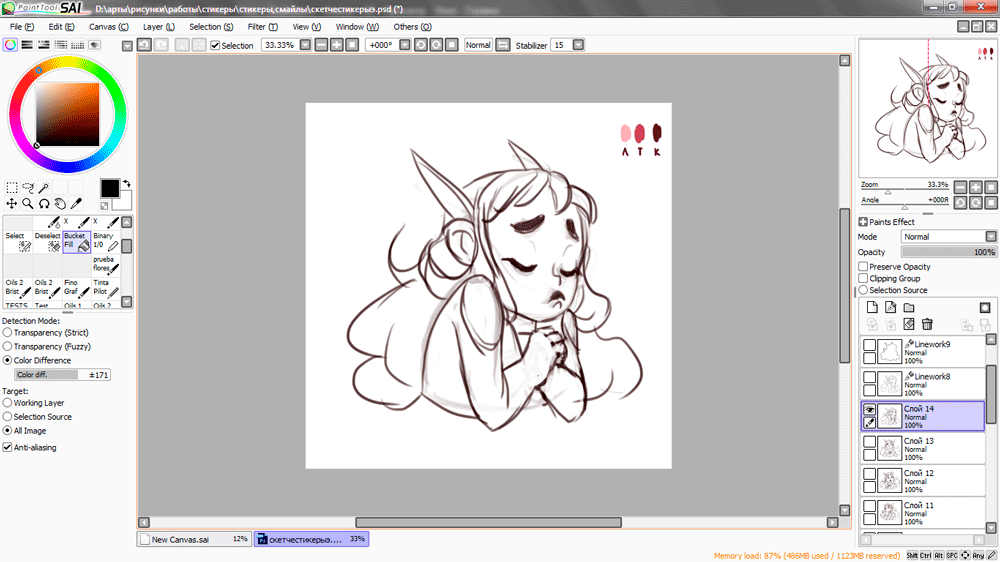
We open our sketch. As I already have some sketches made in the photoshop, one of them and will use. And you at this stage can open and copy on the lower layer any sketch, even made on paper and photographed.
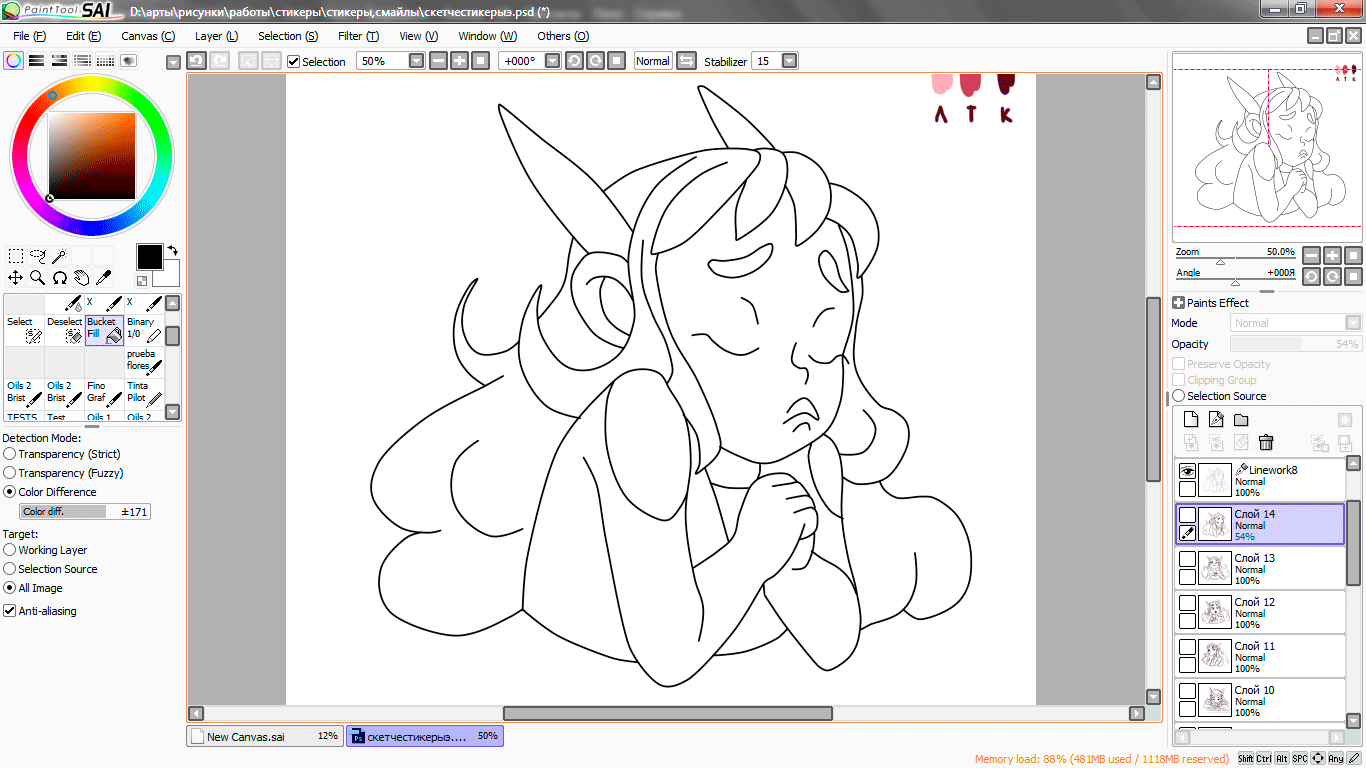
- We reduce transparency of the sketch that lines were slightly visible;
- We switch to a vector layer, we choose the Curves tool, we put diameter 4 pcs;
- We draw a contour (It is easily done the same by a mouse);
- We disconnect a layer with the sketch. He isn't required to us any more;
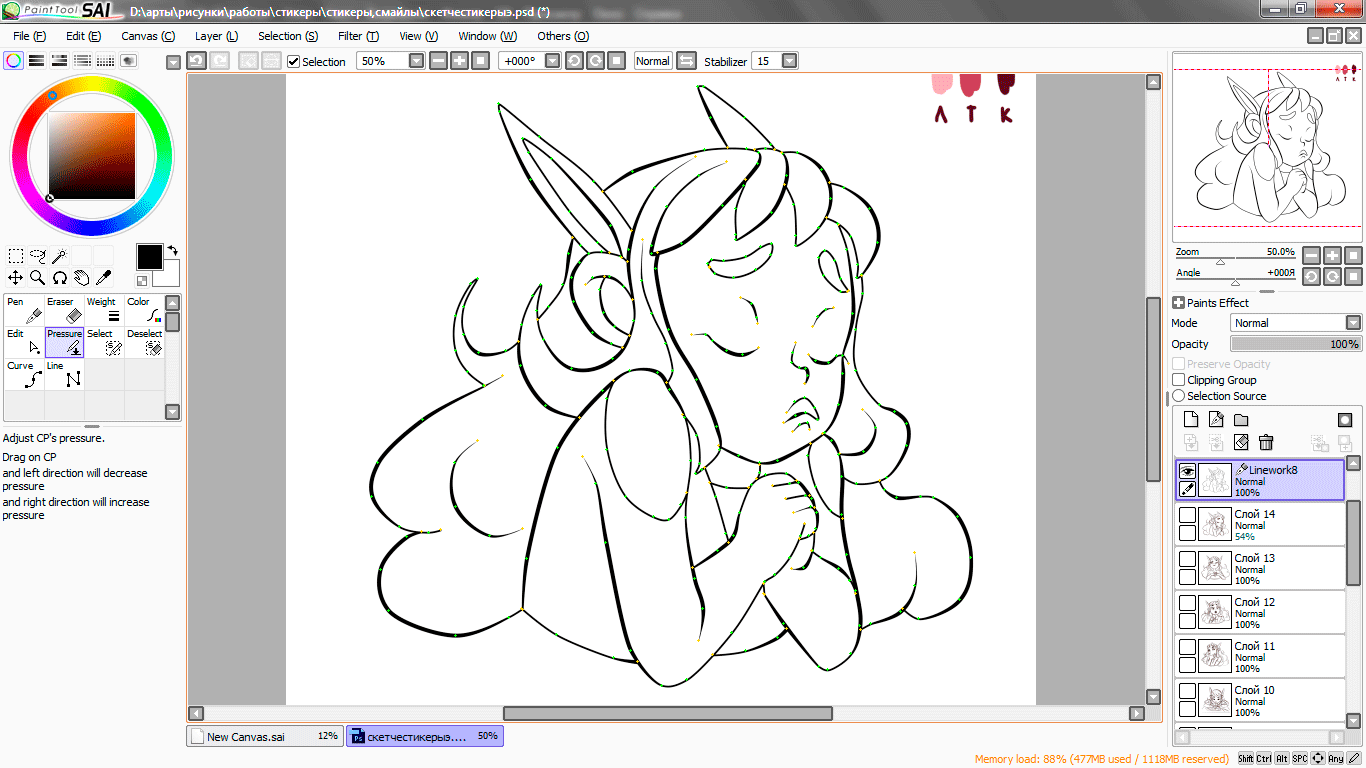
Now we need to give to our lines a little life:
- We switch back to a vector layer;
- We choose the Pressing tool. Here we choose a point and kind of we delay it either to the left, or to the right. The point will be on the place, but if to pull it to the left, then in this point the line will be narrowed and if to the right, then extends. Here thanks to this tool it is possible to do stickers without graphic tablet);
And perhaps we need one more Weight tool (literally). He is necessary to thicken or narrow the line, having chosen necessary diameter:
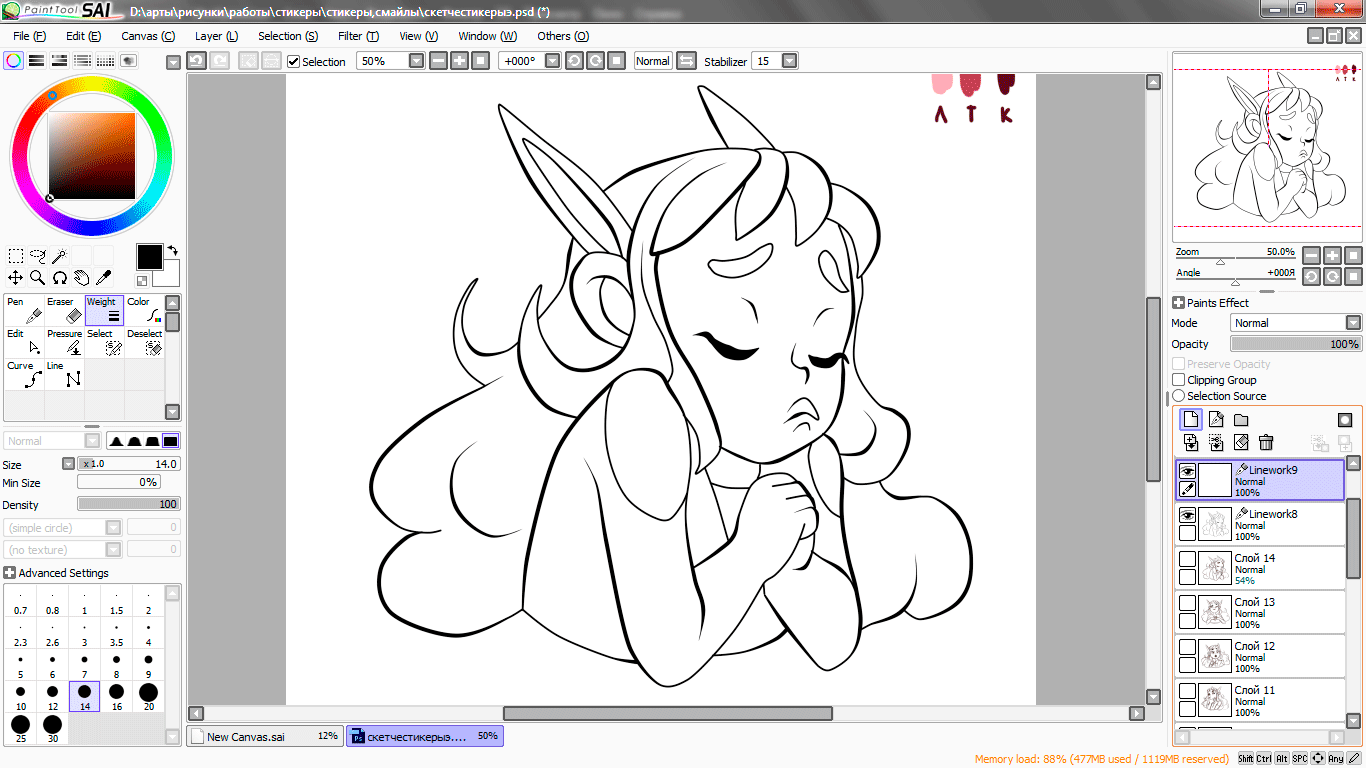
The last step for a contour. Contour contour :D
But it is already a personal taste. It is optional to take this step. But nevertheless I will show, suddenly it is required.
- We create a new vector layer;
- We choose "Curves" and we do the general contour of a sticker, having chosen slightly bigger diameter (I have chosen 14 pcs)
- We remove a contour;
Here the contour of stickers in my world is so created. For certain there are simpler (or on the contrary difficult) creation methods, but to me is so more convenient and quieter. As a post already big and not strongly there is a wish to load you, in the following post I will sort Photoshop tools.
For now I share what at me turns out on stickers. I think, step by step I won't show as the principle same for all stickers. But to whom it is interesting, it is possible to look in first part of StickerMaker.
This time, my stickers will be tied to the emoji following:

 +
+ 


And stickers in the same order:
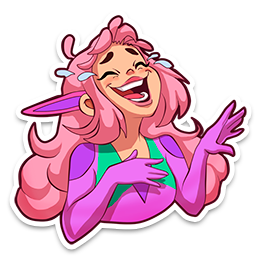
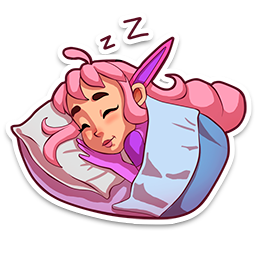
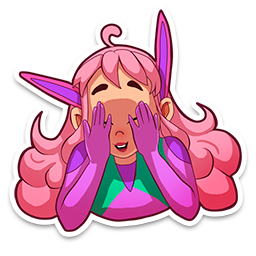
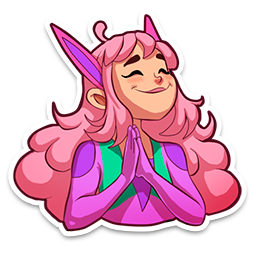
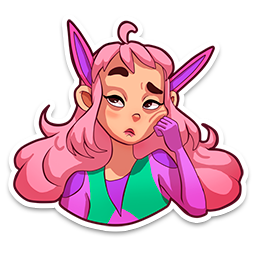
It is at the moment ready 7 of 40 stickers. Not bad :D
Well all. Next time from me analysis of the photoshop. I embrace read up and simply come here. Thank you that you look on a visit ٩(◕‿◕)۶


More cool stickers!
They will be soon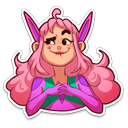
Super mega awesome cute stickers! :D
Thank you man :D
very nice stickers.i like these very much.
thanks a lot for sharing.
please go ahead your activity...
oh woow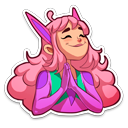
i'm so glad to know you like them
thanks a lot.
Great stuff . I only could wish for such talent .
Practice makes perfect. You just should start to draw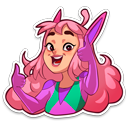
Very cool project! This would be a lot of fun to execute too... lots of inspiration, when you have a keyboard of emojis to choose from, and a fun original character.
I think I may run with this theme as a sort of drawing exercise!
It will be so cool if you make your own stickers. It's very fun process. And i will share with you new part of stickermaker soon. I hope it will helpful for you