#Stickermaker part 3. My new stickers and Photoshop info

Hello. It's me again. With the stickers
Last time we have stopped on analysis of tools of the photoshop which will be useful to us for painting of a contour. To hell preludes! We will begin rather!
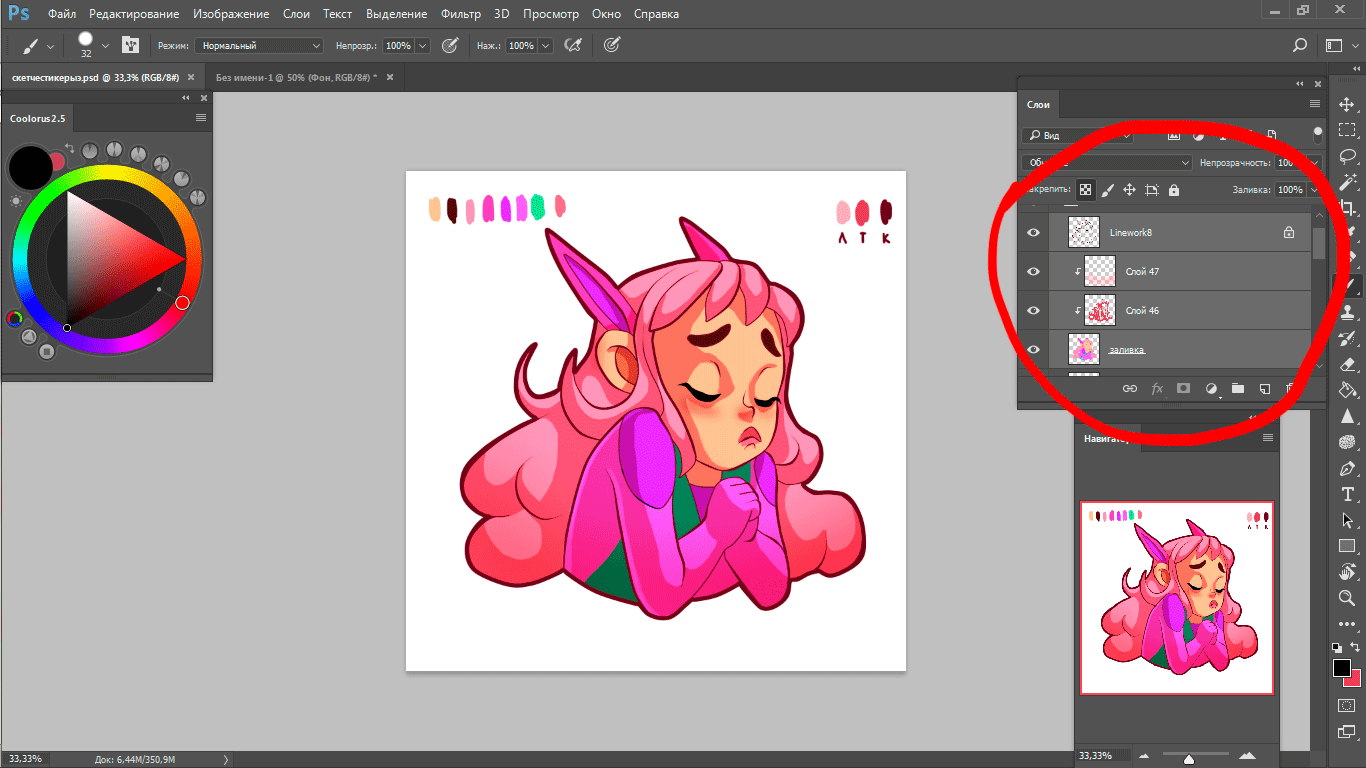
We start the Photoshop. We open the file with our ready contour (The file - Open-open a way to the file). Now we carry out the following manipulations:
- We create a new layer under a layer with a contour;
- We remember our palette which we made earlier;
- We choose the filling tool, having included all ticks on the top panel;
- By means of the pipette tool (or just using ALT) we choose the necessary color;
- We fill in areas in the necessary color;
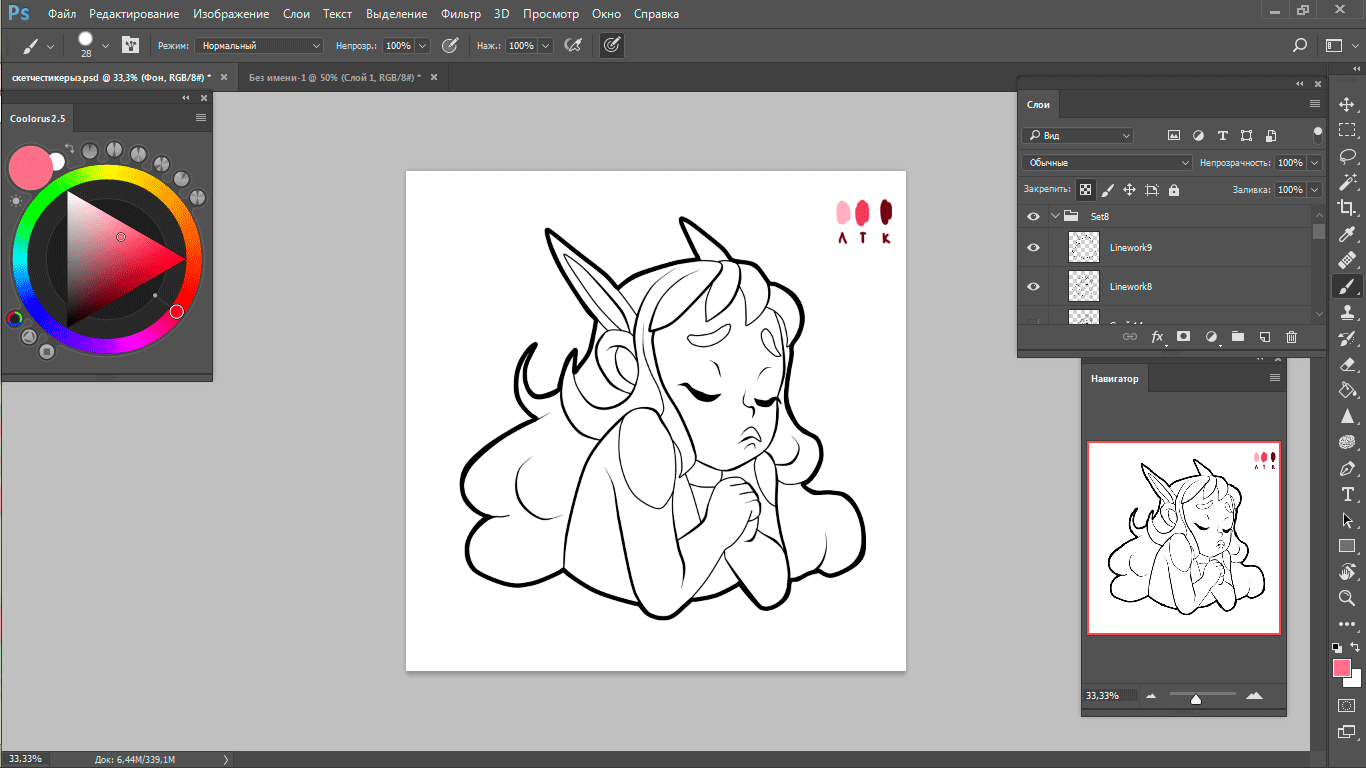
Super, now our sticker is more similar to a sticker 
Further, shadows. In my opinion, it is one of dramatic elements which gives to our sticker and mood and a certain character of a situation into which the character had got. But it is, besides, a personal taste. Someone in general doesn't perceive a shadow, having left just filling, but nevertheless doing very expressive emotions.
But if you have decided to do shadows, then I will tell how:
- Over a layer with filling we create a new layer, we right click it and we choose "To create an clipping mask";
- In the mode of imposing we choose "Multiply", we put opacity of a layer of 50-60%
- We choose the Brush tool, we choose standard round from 100% as rigidity and we disconnect all ticks which are on the panel"
- We draw shadows;
You are magnificent!
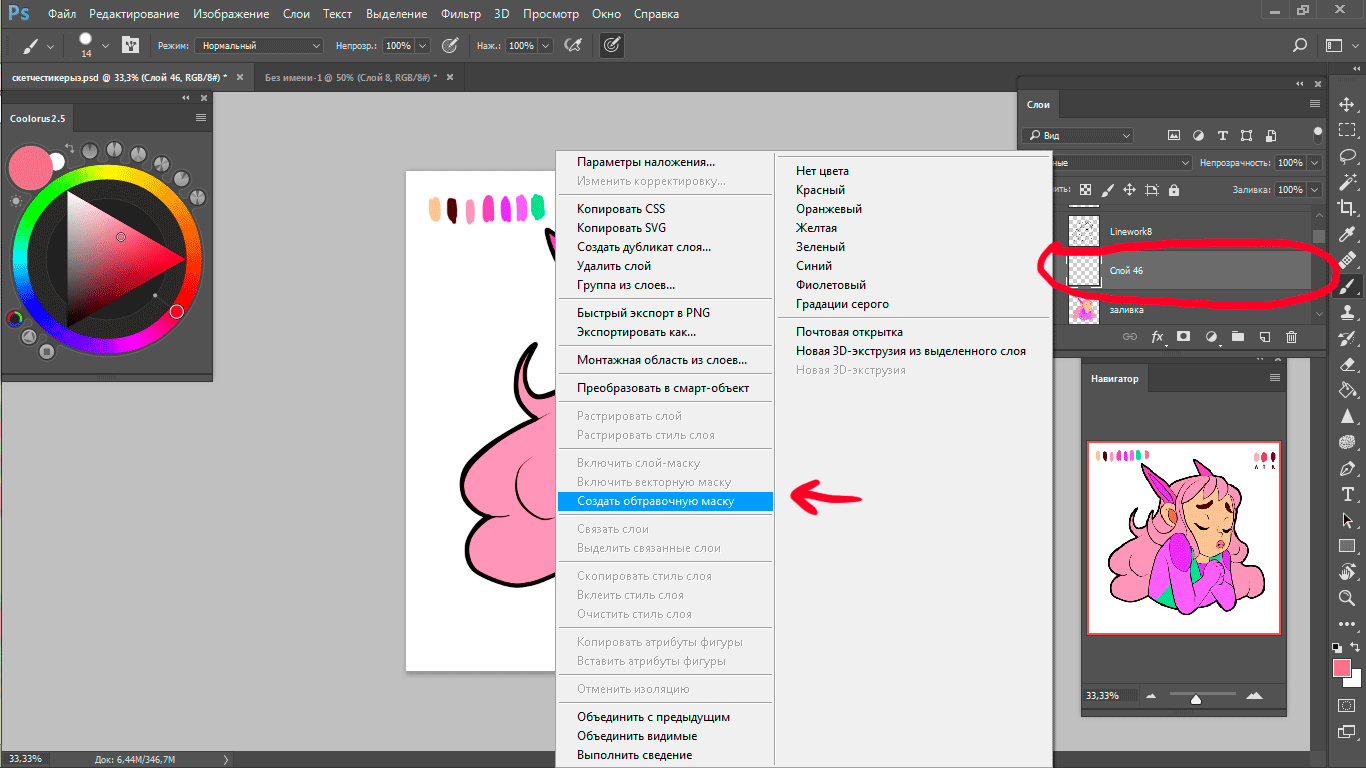
Remained very little. The following step too the personal taste, but, in principle, isn't present sense it to show. But I will show nevertheless. At this stage I play with layers and the modes of imposing of a layer to achieve a certain effect. In this case - easy blackouts on edge and small features in appearance of the character (a flush, a red nose):
- Again I create a new layer over shadows, right click - "to create an clipping mask";
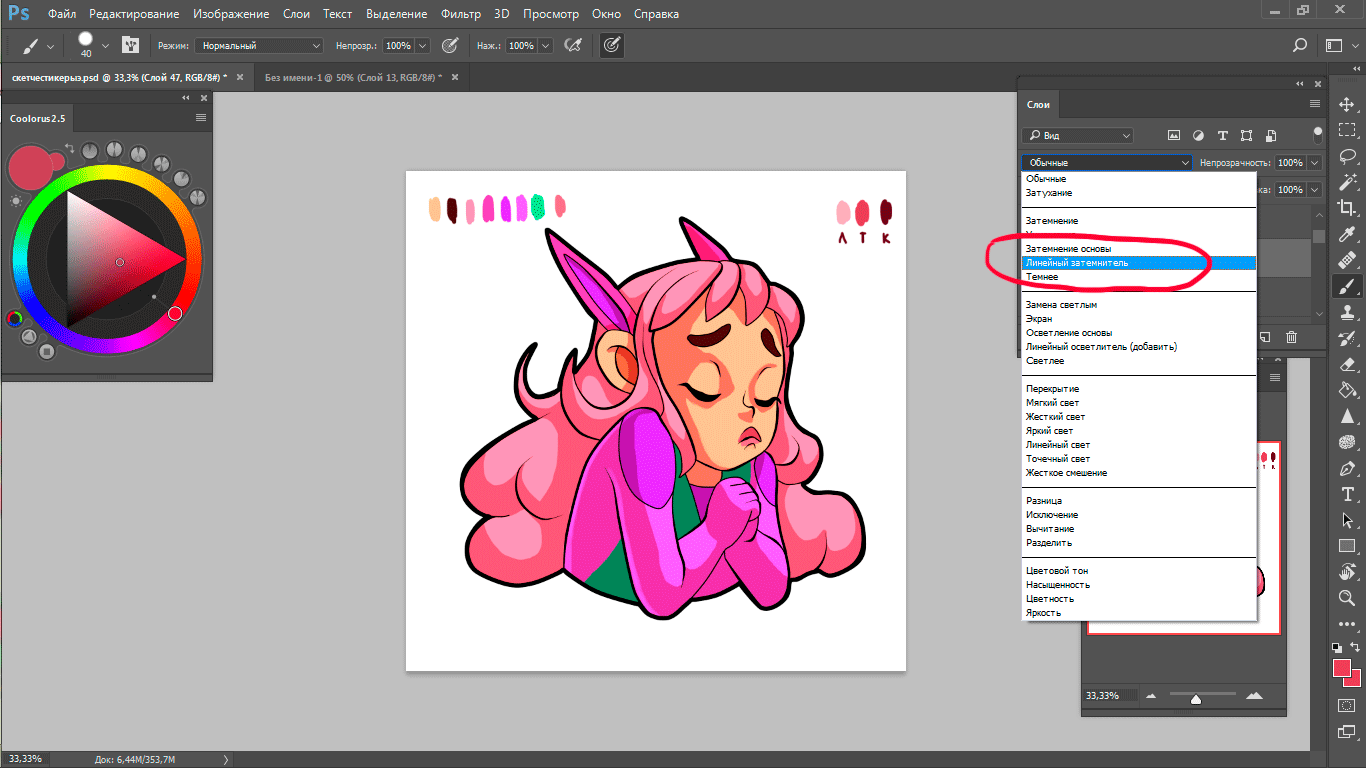
- I put the mode of imposing of a layer "Linear blackout";
- Take a brush, but I change it on soft, with a diffuse edge. I put big diameter (about 400-450 pcs) for blackout on a contour and smaller diameter (20-30 pcs) for a flush;
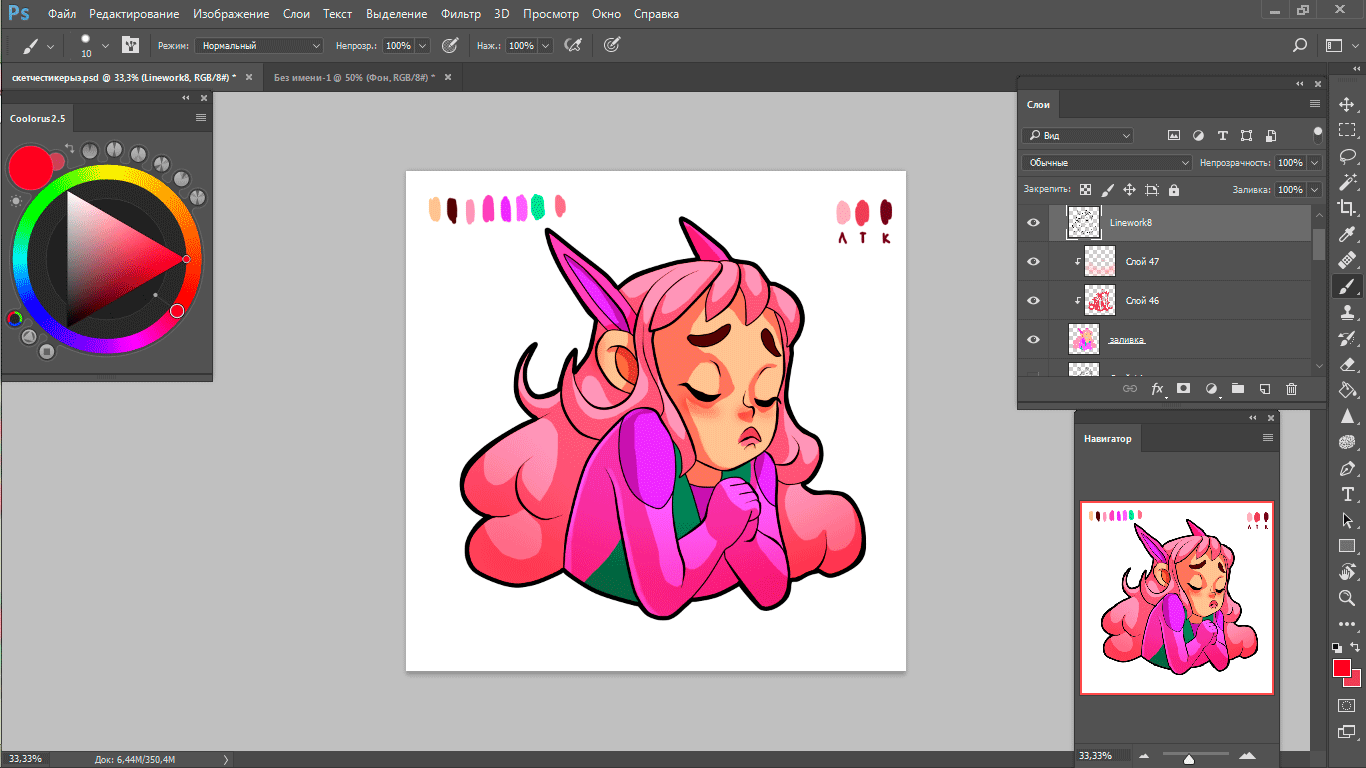
And penultimate step. We come back to a contour. And here now it is possible to be defined what color most of all will be suitable for a contour of our sticker:
- We pass to a layer with a contour;
- We stick on "maintaining transparency of pixels". The layer has a lock;
- We take a rigid brush again, we choose the necessary color and we are passed by it on all contour. Be not afraid, color will lay down only on a contour and he will not get out anywhere any more.
Now precisely last step, honestly :D
- We allocate all our 4 layers, holding ctrl, we press ctrl+ E combination and we unite them in one.
- We allocate our sticker, we copy ctrl+C
- We create the new file with the following parameters of 1000х1000 pixels, 300 dpi
- We insert our copied ctrl+V sticker there
- We click on a layer with left click sticker twice, we tick off near "to inking" also "shadow". Parameters at "Inking" a ramer 13 pcs, outside, color white. Parameters of "Shadow" - the imposing mode "Multiply", color black, opacity of 90%, a corner of 90 degrees, shift - 5, scope - 22, the size - 18 pcs
Make sure that the background at us is disconnected in layers. Further for preservation we press at the same time shift+ctrl+alt+S. We choose the png format and in sizes of a canvas we expose the necessary size. I will have 256х256. As a result such stickers have turned out for today:


And they will be tied to the emodji following in the same order:
 2.
2.  3.
3.  4.
4.  5.
5.  +
+ 
And now i have 12 stickers from 40 have already collected 
Thanks for attention, friends. Next time we will sort key feature of stker - emotions and a mimicry. As usual I embrace all of you 


That's how. Looks difficult a bit.
may be at first time it would be difficult
Wow, definitely happy to find content that teaches how to use photoshop! I always wanted to use that software. Thanks for the post!
You are welcome my friend