WHAT HAPPENS WHEN MY HANDS TRY TO MIMIC: LITTLE BOX
THERE'S A BIRTHDAY COMING SOON AND ONCE AGAIN MY OPTIONS ARE LIMITED!
I have to consider what to give and at the same time try to do it a bit special, meaning that, if you have read my previous entries, I always prefer to make things with my two hands. Yes, I can't afford expensive presents but if I could, I would still create something on my own because I feel when you do it, the present worth more.
With that been said, I'm gonna post a quick tutorial about create a cute little box for cute little presents you might like to give, let's start!
First of all, I want to apologize due the resolution of the process pics. I don't own a good camera anymore and had to take these pics with an old Blackberry phone, which is not even mine. However I do hope you can find it helpful.
For these kind of boxes, you would need a light cardboard, you could do it on a thick one but it depends on what you are pretending to put inside. In my case, I am creating one for nail polish so I need a light cardboard and I am using a recycled one here.
STAGE 1: FIND THE MATERIALS

As you can see on the pic you will need:
- A piece of Cardboard.
- A Pencil.
- A Ruler.
- A Cutter.
- Glue.
- And at least one hand.
STAGE 2: MEASURE AND MARK
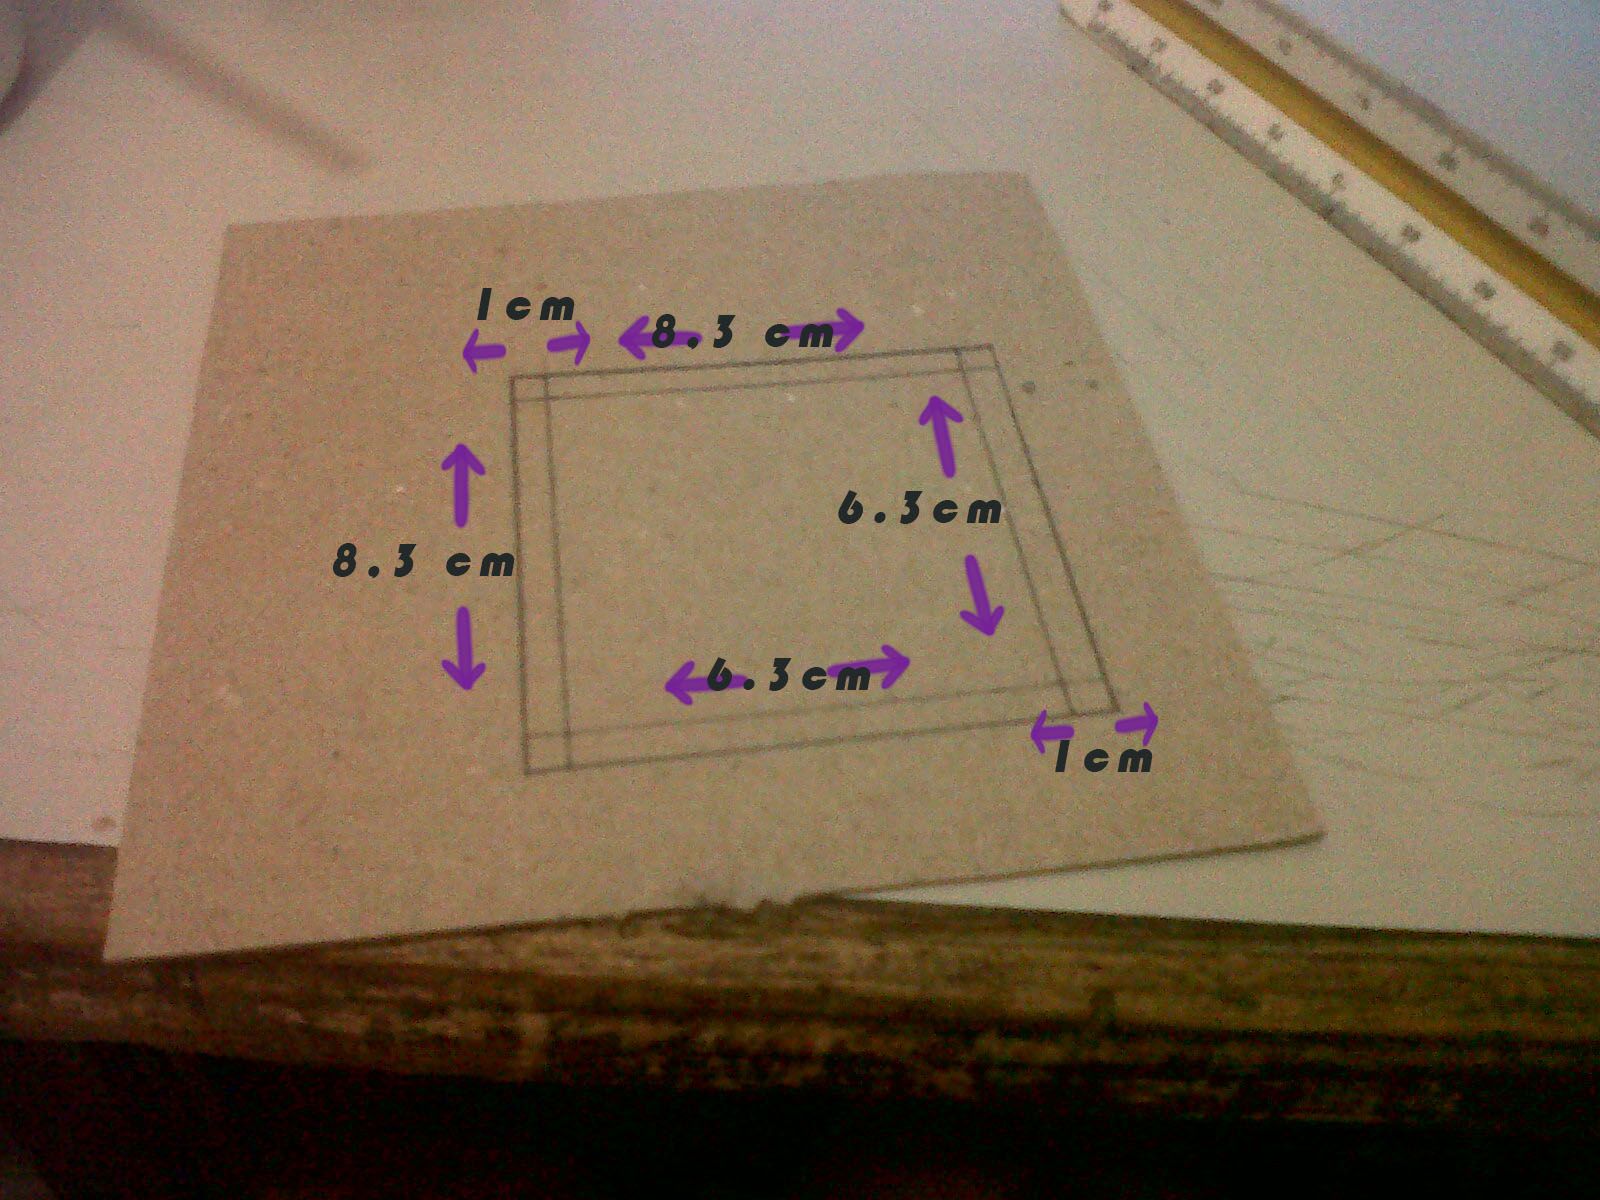
Take the pencil and the ruler and start setting the measures, as you can see on the pic, here I am using a square cardboard of 22 cm x 22 cm which at the same time I am subdividing, creating new squares, rentangles and triangles. Mark everything as on the pic.
STAGE 3: STARTS CUTTING
On here, you take the cutter making sure the blade is sharp otherwise you would need to use a sandpaper to correct errors when cutting, also be careful with the cutter or you can cut more than a cardboard.
Although if the box is for Halloween, a bit of blood would give a better appearance :p
STAGE 4: KEEP CUTTING, REFINE DETAILS.
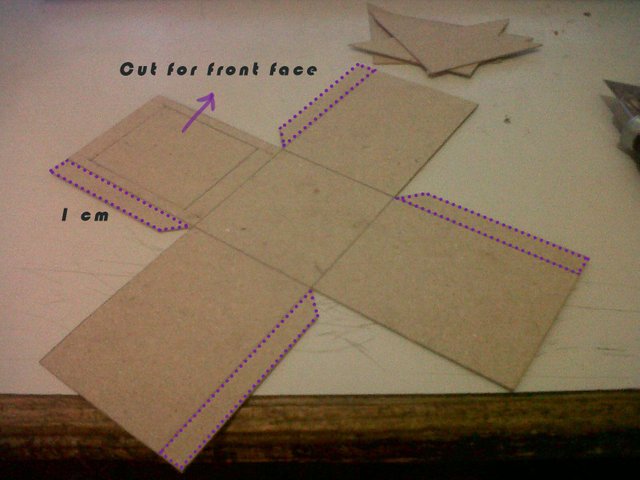
As on the previous stage, you would need to remove more the "triangular shapes" and create 4 "tabs" for that, take the ruler again and set a distance of 1 cm all around, then cut them all.
I also made an extra cut, but that's because I want to create a different kind of box, you can do it as you want, just follow the technique and give it your own style ;)
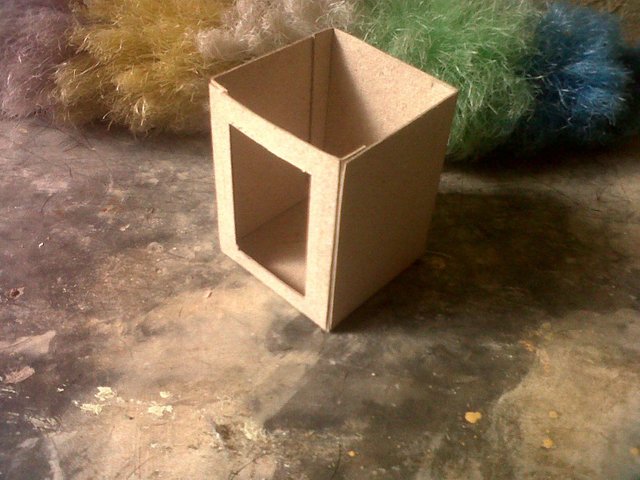
The final result will be as on the pic above this text.
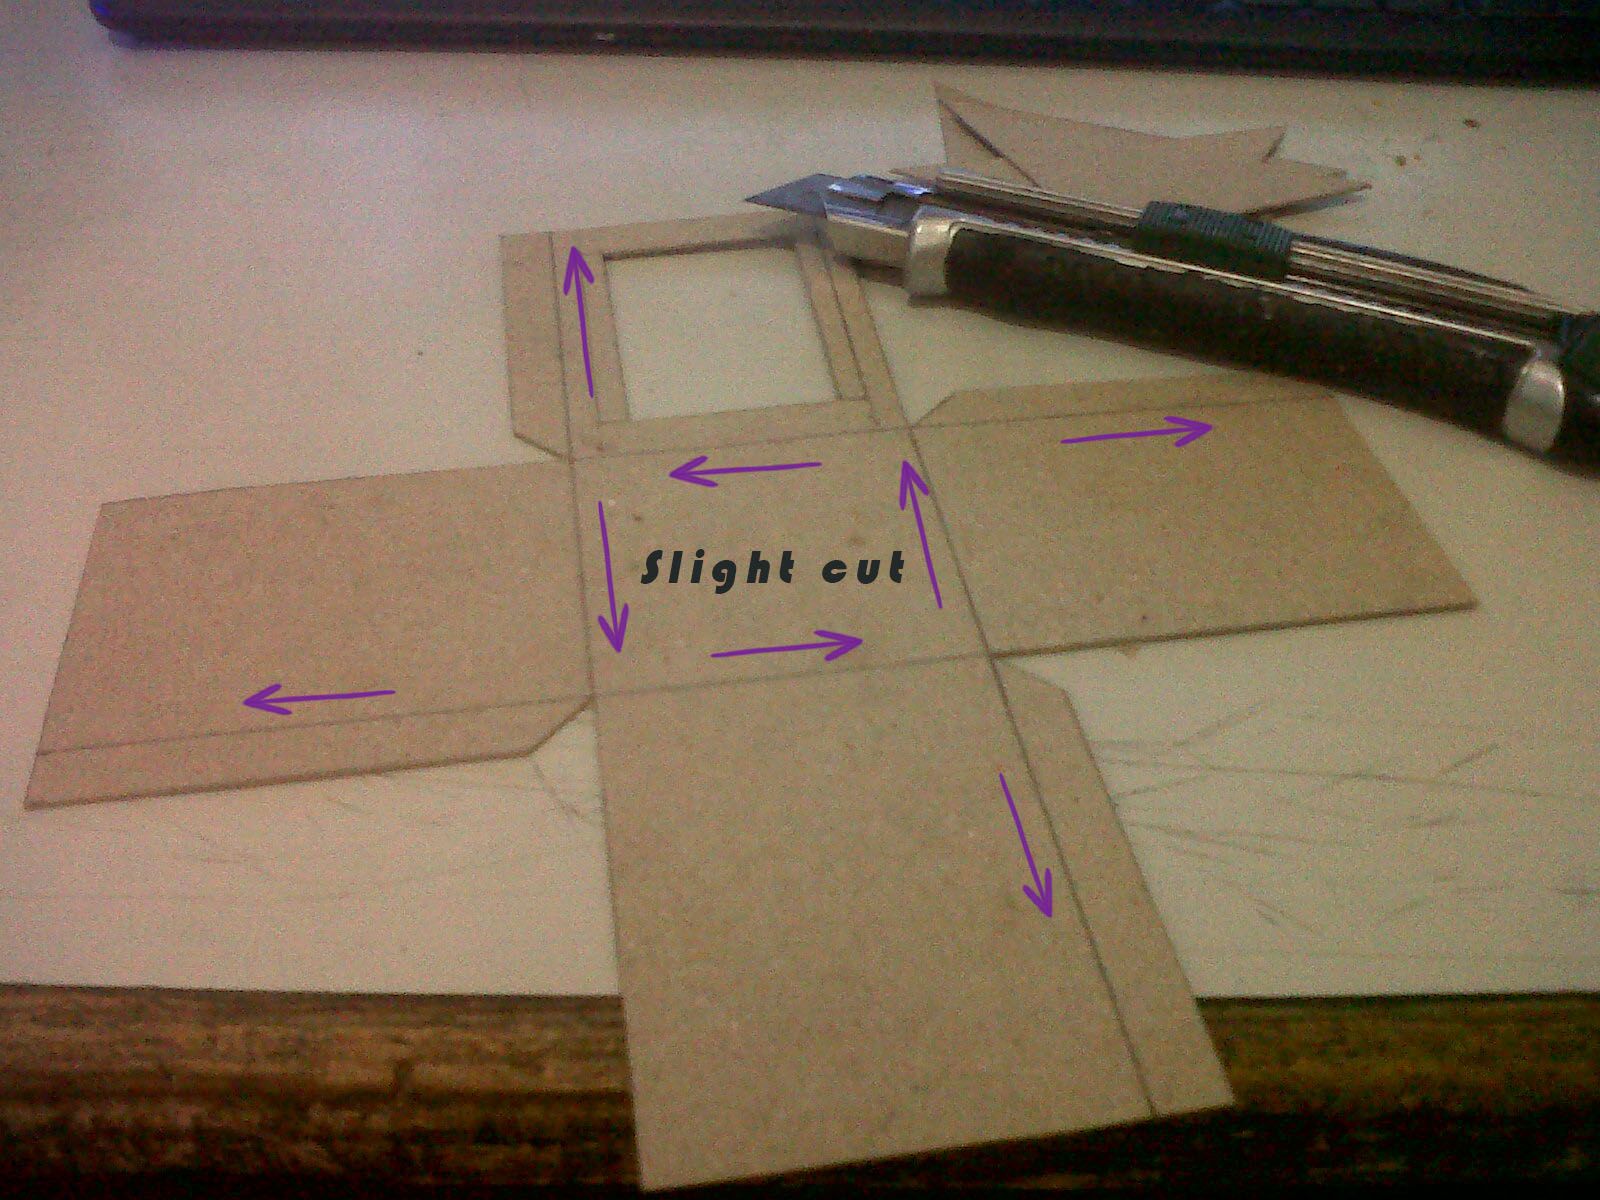
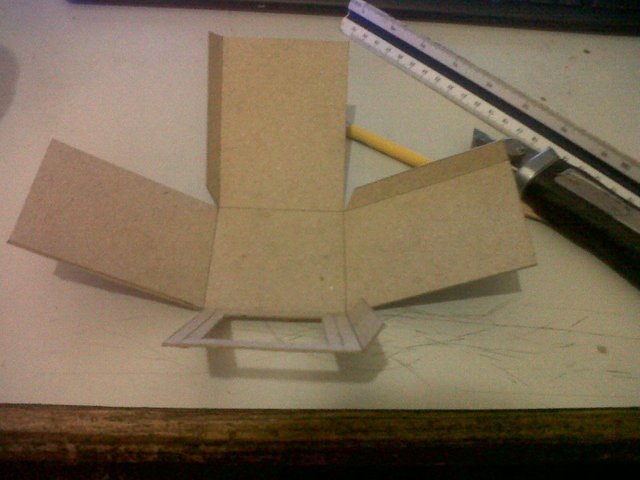
Once it's done, it's time to cut again, but no need to cut complete, just do a slight cut on the surface all around the lines you previously marked with the pencil. If you do this correctly, you will be able to make an unarmed box. Like on the pic below
STAGE 5: GLUE TIME!
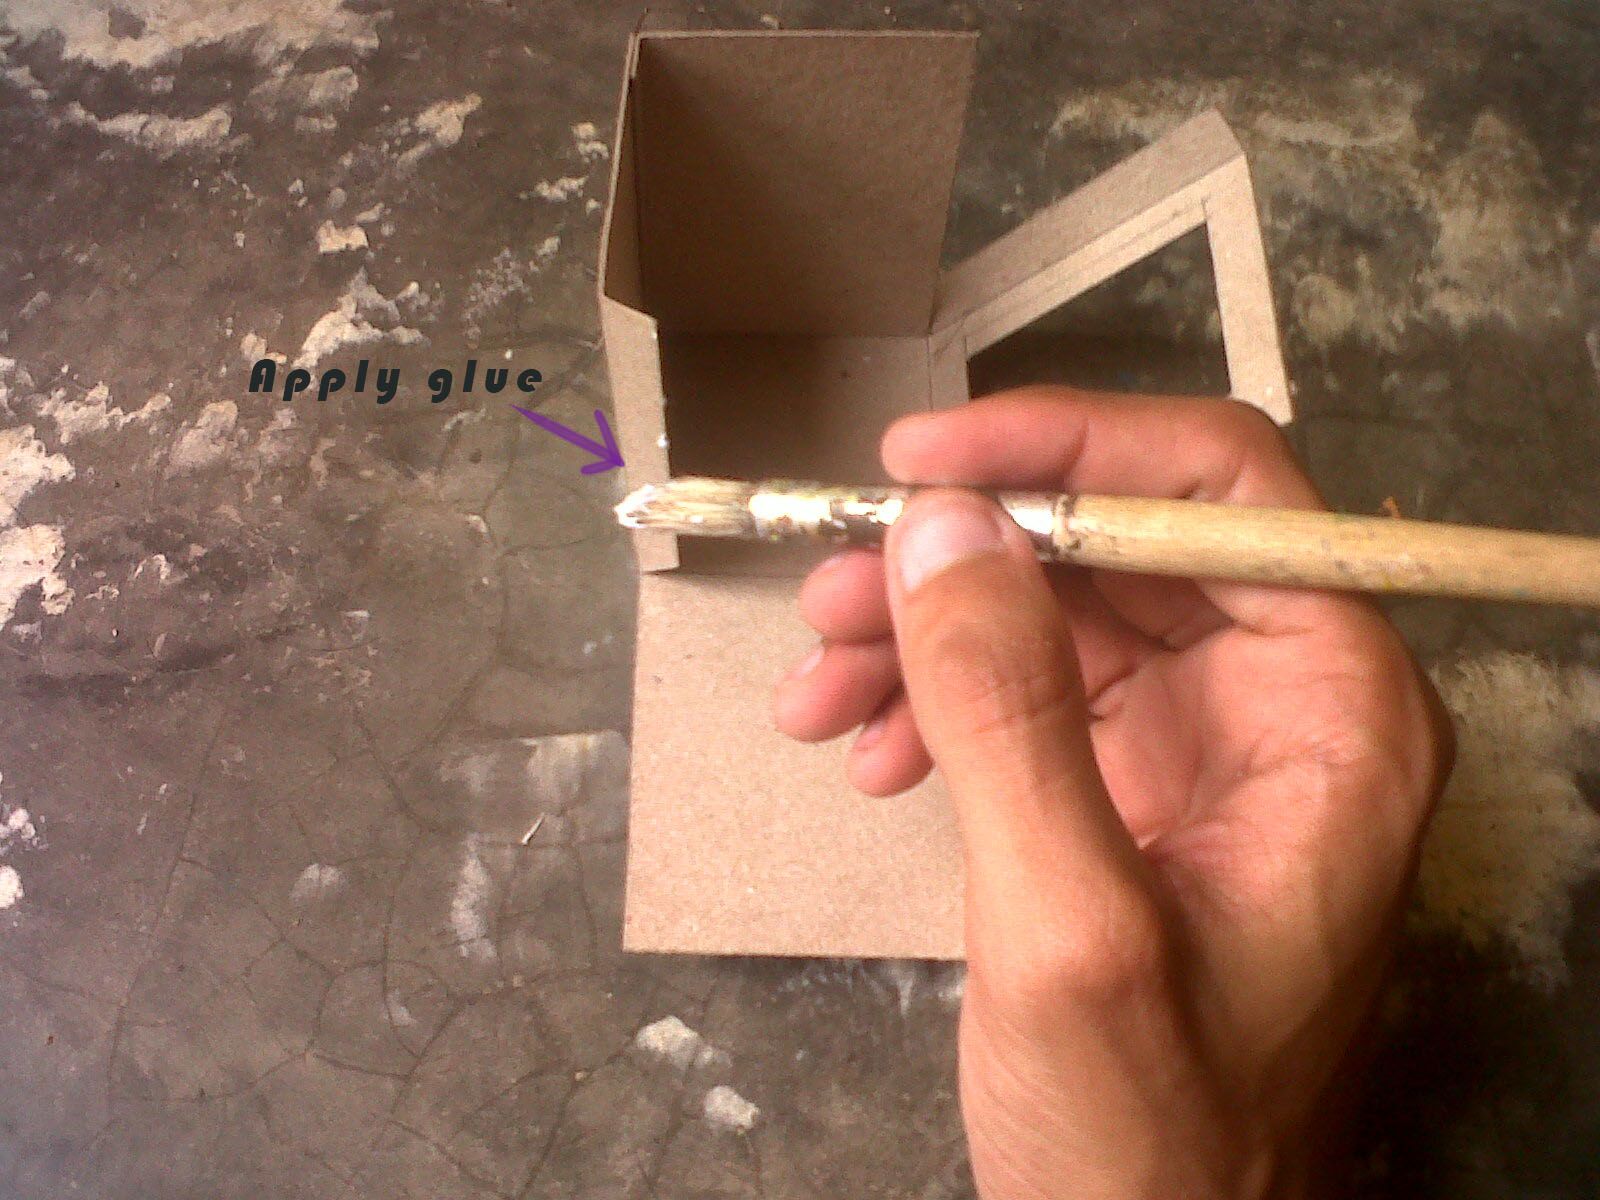
We are now out of the studio, looking for more natural light so you can see a bit better.
You can use a brush, a little piece of cardboard or your finger to put some glue on the 4 tabs you previously created, just make sure to put enough and hold the pieces tight as they dry. And that's it! You have your little box.
STAGE 6: CREATE THE TOP
Back in the studio to set new distances, measures and cuts :p
These are the measures I used for the top of this little box, the process it is the same that with the box.
IT'S DONE, FINALLY
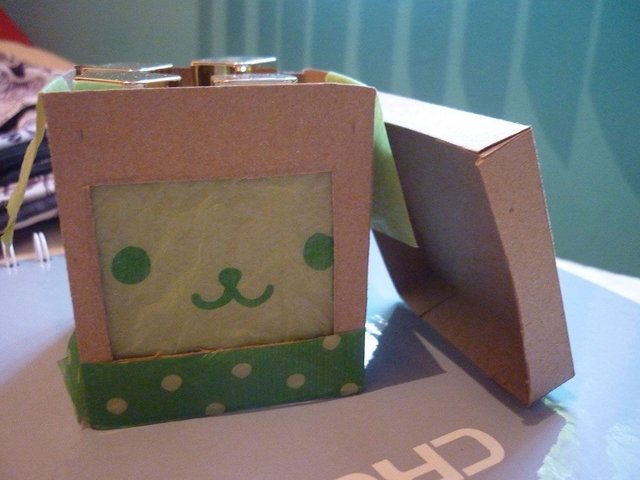
So, after adding some extra details to this little box, it is ready to its new mother, good-bye my dear!
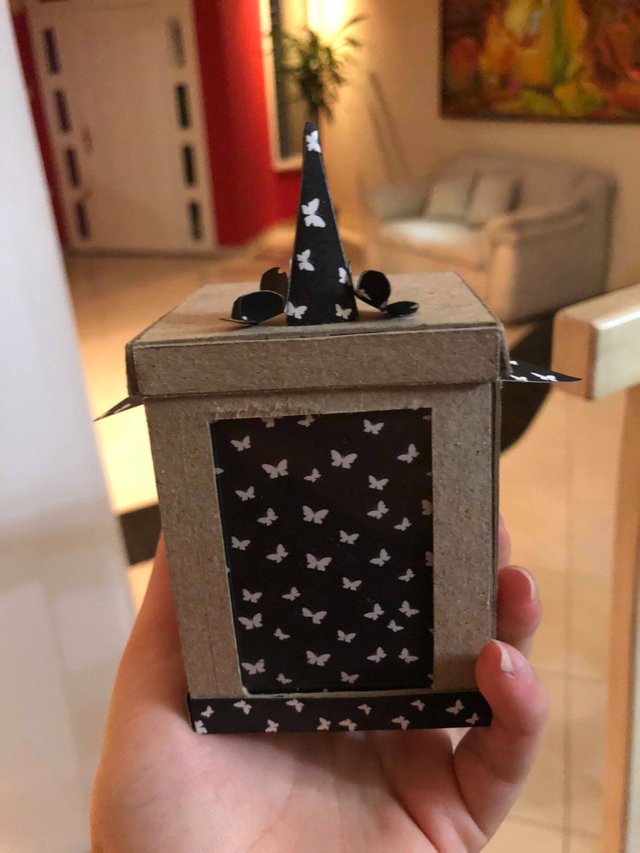
Like I mentioned before, you don't have to copy this style, it's ok if you do it but I just wanted to show you the basic technique of how to create a box, the final look will depend on you. Me, I am a minimalist person, I don't like to add many details but for sure you can add more than you have seen on this "mini tutorial" Please, let your imagination run free.
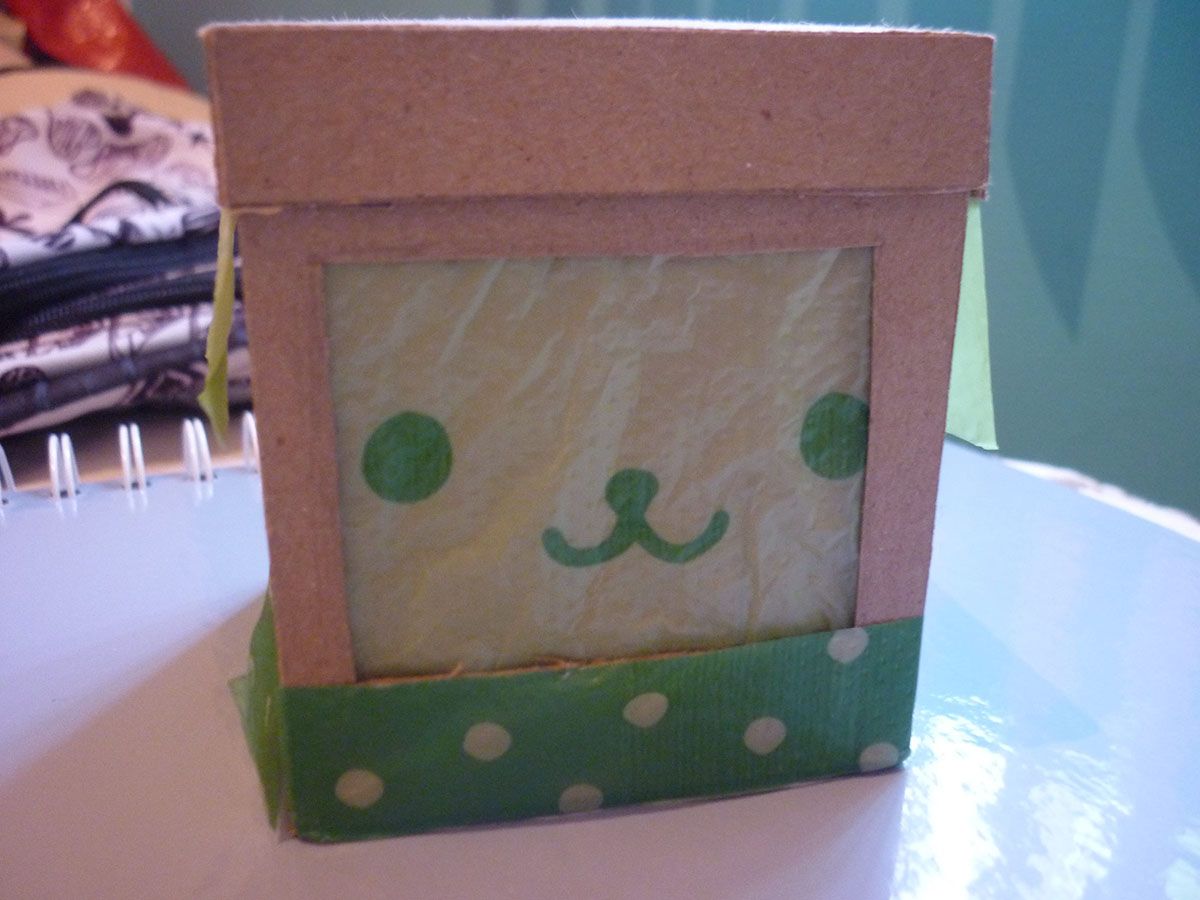
I end this entry with 2 last pics. A previous little box I made last year. All the final pics were taked by my friends, since I don't have a good camera... Anyway, hope you have found this helpful. If not, thanks for reading anyway :)
Hello jayurano! Thanks for sharing. Keep writing good quality content and let's grow the community together.
Thanks to you! For taking your time and check this out ;)