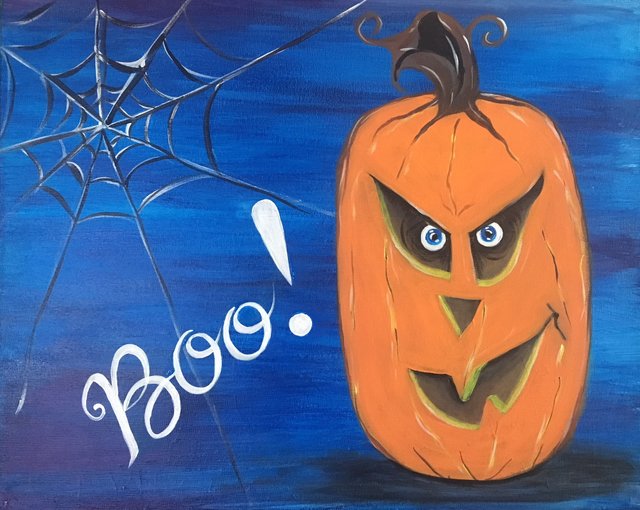
Painting "Creepy Pumpkin" Happy Halloween!
Hello Party Animals!! Here's another quick tutorial of how I created a painting that I'll use for my Paint Party classes. This is a Halloween theme. 😄 Join me & become a member of my MeetUp.com group. (https://www.meetup.com/Paint-Sip-Fridays/) where I post my paintings & upcoming events. If you're in the Los Angeles CA area, you can also come to my paint party classes at the Coral Tree Cafe - Encino.
Let's get on with this "Creepy Pumpkin" tutorial.
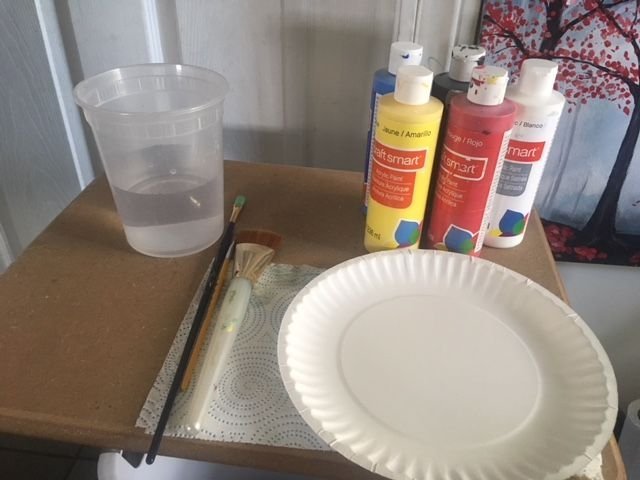
STEP 1: Gather your art supplies. Make sure to have a blank canvas, a cup of water, papertowels or napkins, art brushes of different sizes, paper plates, and acrylic paints. You just need the colors - blue, black, yellow, orange, brown, white.
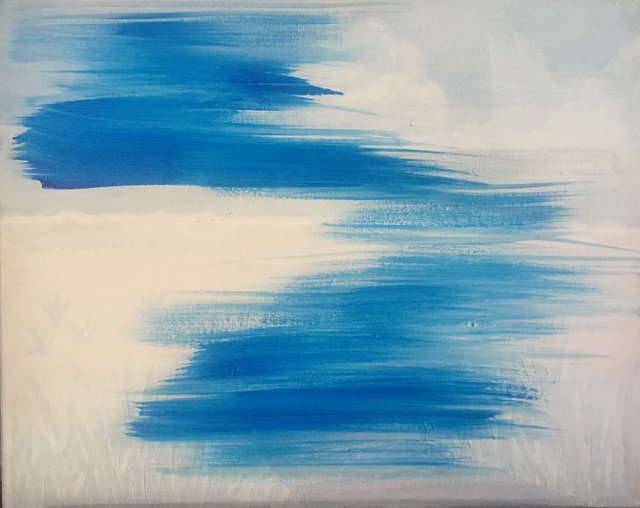
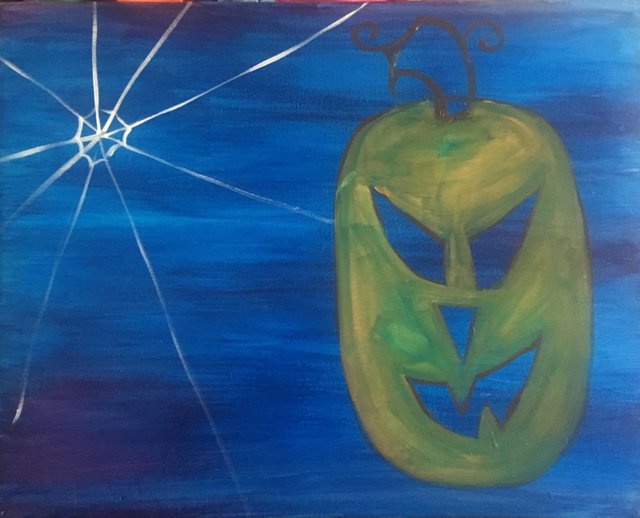
STEP 2: Use the big brush to paint your background. (OPTION: You may outline your pumpkin with brown paint & small brush first then paint the background around it to save drying time. On your canvas, create the background with a mix of streaky colors. Start with mostly blue, then add black on the extra spots - overlapping some of the blue paint to create a transition or an illusion of the night sky.
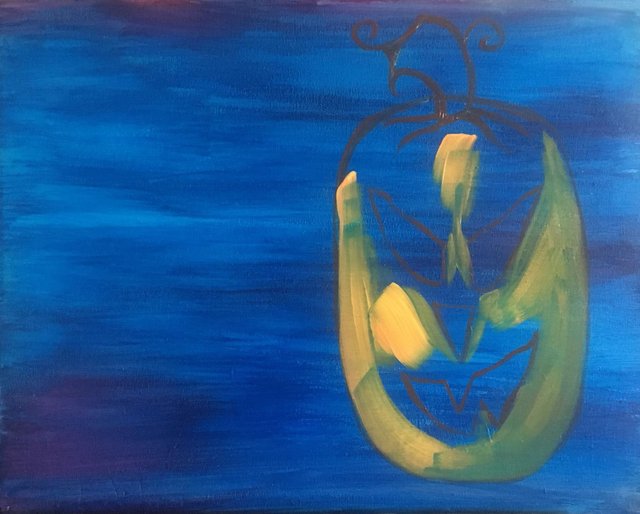
STEP 3: After the background is somewhat dry, and you have outlined the pumpkin, rinse your big brush & fill in the pumpkin with the Orange paint. Let it dry.
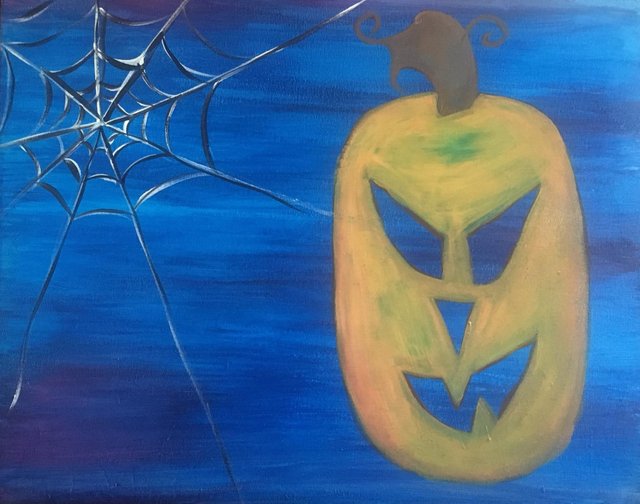
Step 4: Rinse your small brush thoroughly. Start creating the spider web on the left side with white paint. start with the long strings from the middle & spread out. Then create a somewhat circle around it like connecting the dots.
Step 5: Rinse your small brush thoroughly again. Add black paint randomly on top of the white webs. This is to create a shadowing illusion on to the web.
Step 6: Fill in the creepy pumpkins eyes, nose, and mouth with brown paint.
Step 7: Add black on top of each hole & blend with the brown (giving the illusion of depth inside the pumpkin).
Step 8: Rinse your small brush & add yellow to the bottom of each hole (giving the illusion of depth inside the pumpkin).
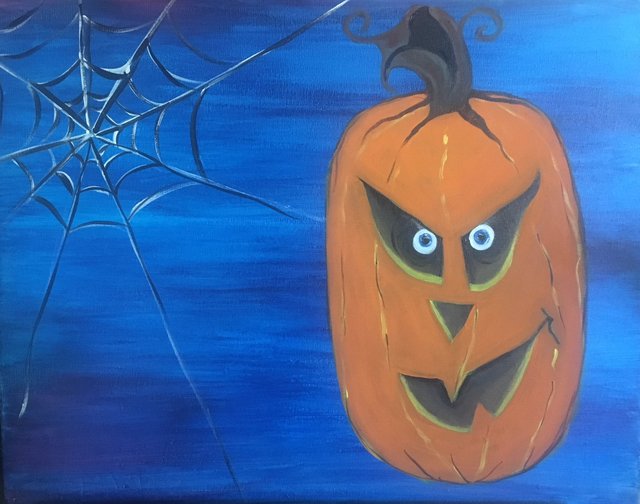
Step 9: Rinse your small brush & add the circle eyes with white, then blue, then black for the pupil.
Step 10: Rinse your small brush & add tiny white dots to give highlights to the eyes.
Step 11: Rinse your small brush & add the word "Boo" or whatever you desire.
Step 12: Add the details to the pumpkin like it's dashes & stripes accross his face with the small brush using brown, black, and white paints for shadows & highlights.
Step 13: Sinse your middle brush & use a watered down black paint to create the shadows below your pumpkin.
And there you have it!! Your own creepy pumpkin!
Congratulations @liamorrison! You received a personal award!
You can view your badges on your Steem Board and compare to others on the Steem Ranking
Do not miss the last post from @steemitboard:
Vote for @Steemitboard as a witness to get one more award and increased upvotes!