🔵 LEARN to PAINT with MARTY - watercolored peony buds - tutorial
Hello friends, I hope you are doing well :) Today I would like to share with you a new tutorial for all of you who like to paint with watercolors, or who are going to start with it. It is quite simple and suitable for beginners. After this wateroclor tutorial there will be another one where you can learn how to make digital element out of your painting.
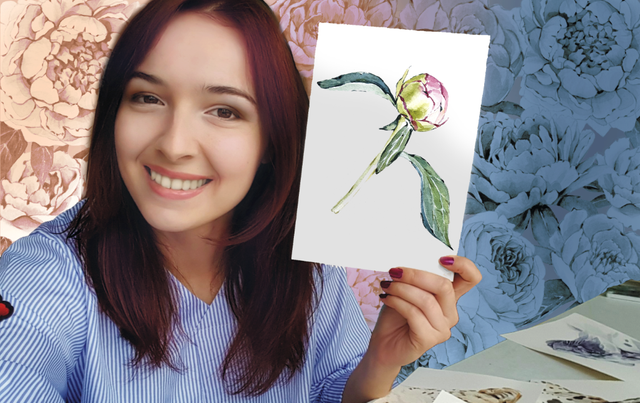
We will focus on my favourite peony flowers. It is easier to learn to paint buds first. It is because of the smaller areas we will paint. If you just want to start with watercolors maybe you will find useful my previous post and the continue with more tutorials.
You will need
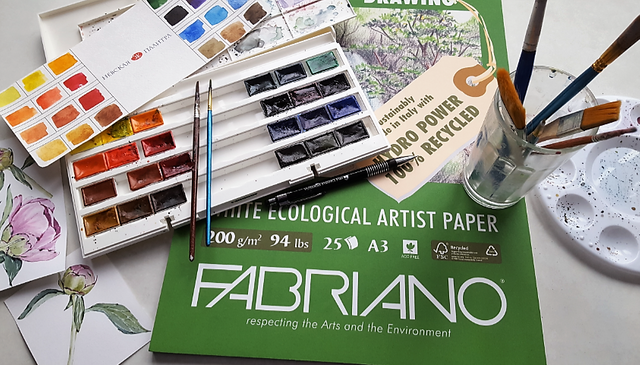
- watercolors (I use White Nights - Nevskaja Palitra, but you can use any watercolors in students or professional quality)
- two brushes - round narrow with sharp tip size no. 1 and 3 or 4 (for begginers nylon hair is the best, I use it too)
- water
- watercolor paper (I used paper wor drawing which you can see on the photo, but you can use any watercolor paper, the best is archival acid free and cotton)
- pencil
- rubber
Our pattern
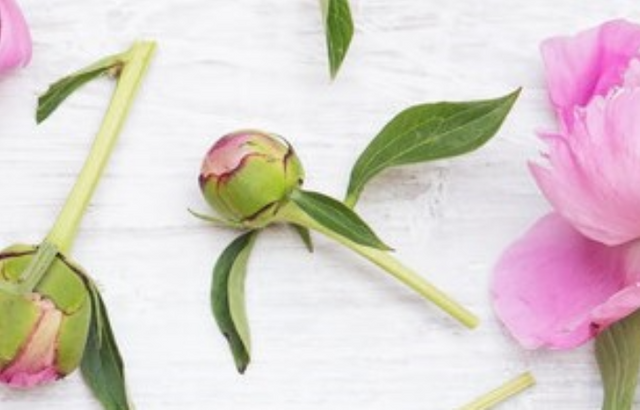
If the object is simple like this bud, the photo can be in lower quality and you are still able to paint it well.
The process
🔵 First you need to draw an outline. It is good to make soft thin lines so you can rubb them easily.

🔵 Now we can start with light shades. Use bigger brush to paint the background. You should extract the most significant color from each part of the flower. You can see the stem is light green close to yellow, so fill the whole stem with this color.

🔵 The sepals are also green-yellow, but a little bit stronger, so you can add more color. You can see there are also white areas between sepals. When you paint areas which are near each other you should wait till they dry, or left some space between them. It is even more important when the areas are in different colors.
We use also light purple here and while it is wet we add a little bit of green. It can be the same green we used before, or we can add a small amount of brown into it. The color will nicely spread and blend.
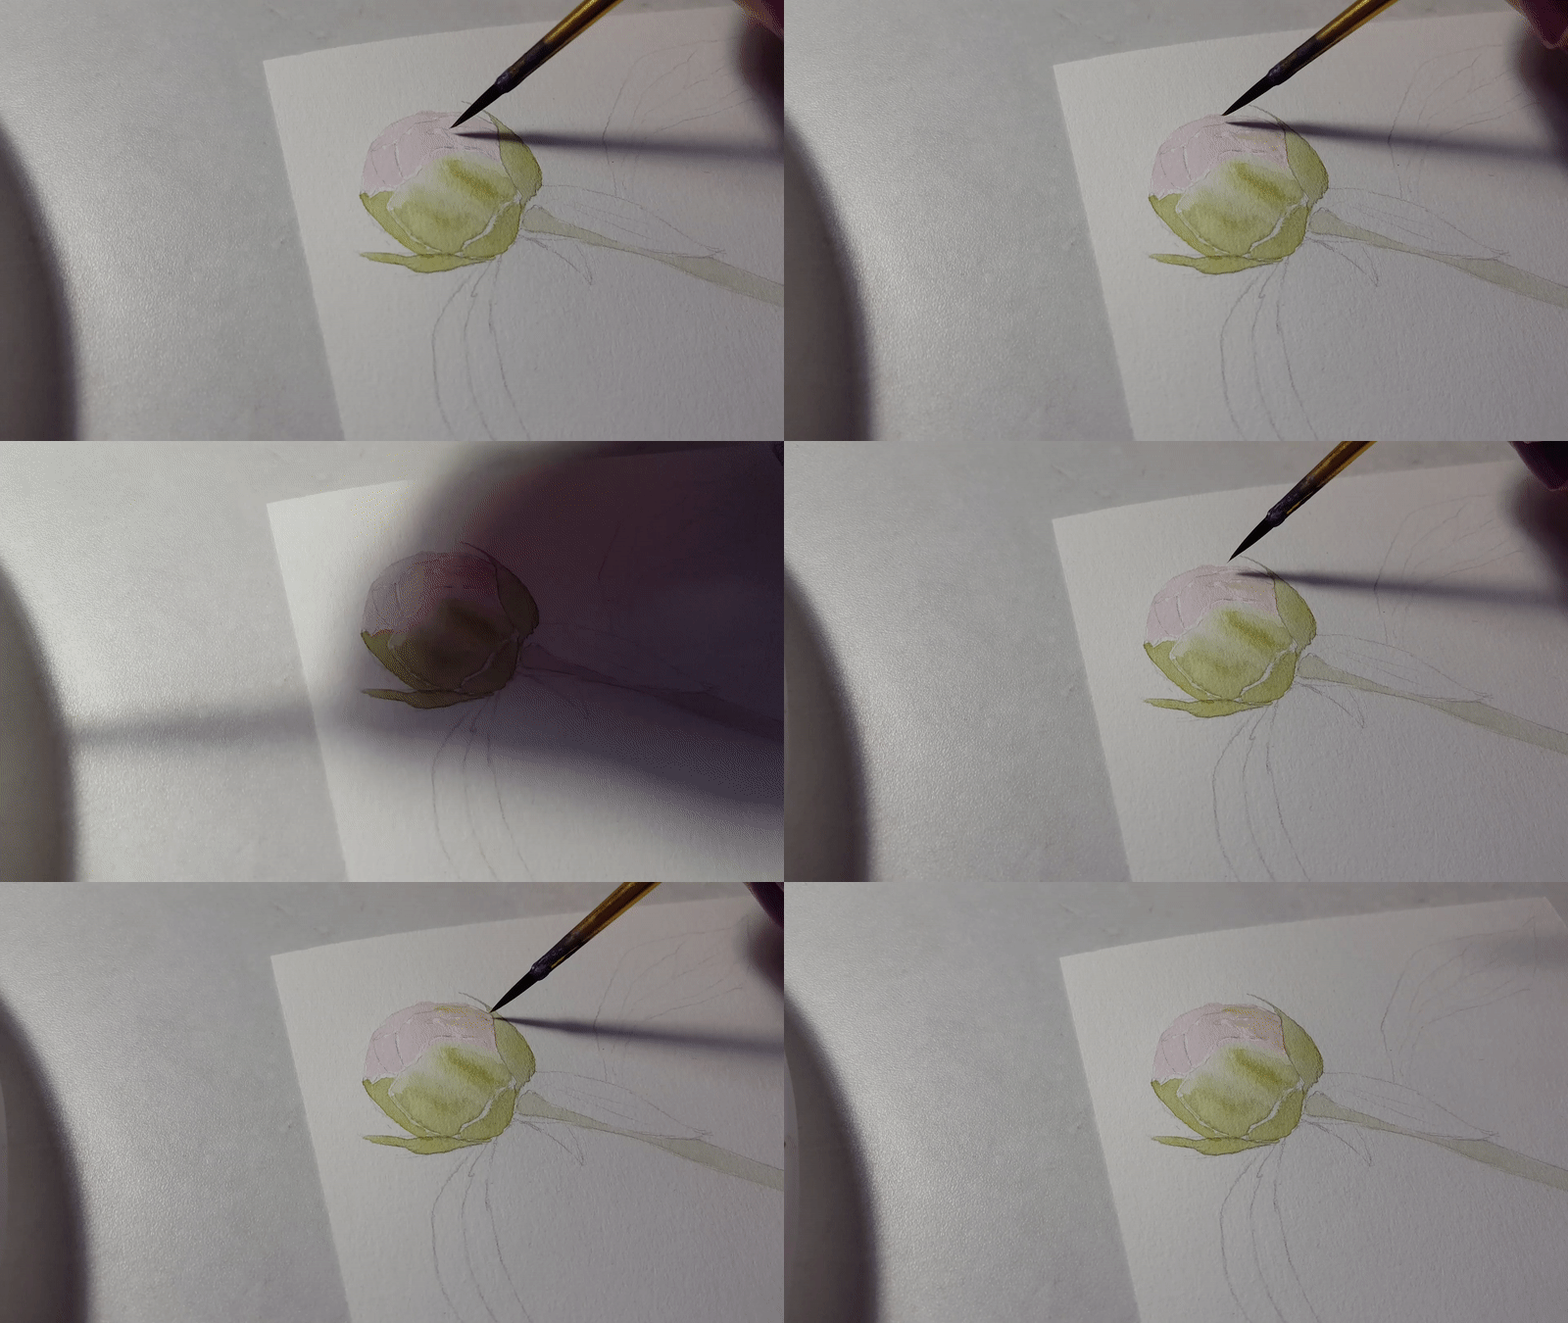
🔵Now we can move to leafs. They are in darker green. This green is closer to blue, so if we do not have it in our pallete, we can mix it. Inside parts of leafs are stronger. Use longer strokes to fill the areas.

🔵 You do not have to wait till the leaf dry so you could paint outer part. Move to another one and use more water for bigger areas.

🔵 When the base for the whole flower is done we can move to the second layer. While painting the base we focused more on the overall shade. Now we have to look on shadows and smaller parts where the color is different, so we are going to use shorter strokes and stronger colors.
We can start with leafs. There are veins on them, so if you want you can use smaller brush to make precise strokes. You just paint those areas around veins, which are already covered by color from the base.

🔵 You can make sharp stokes and also soft, if you cover the area by water first. Do not use it too much, we just need it to be wet. There is also an option to paint the stroke first and then use the second brush with water to spread the color.
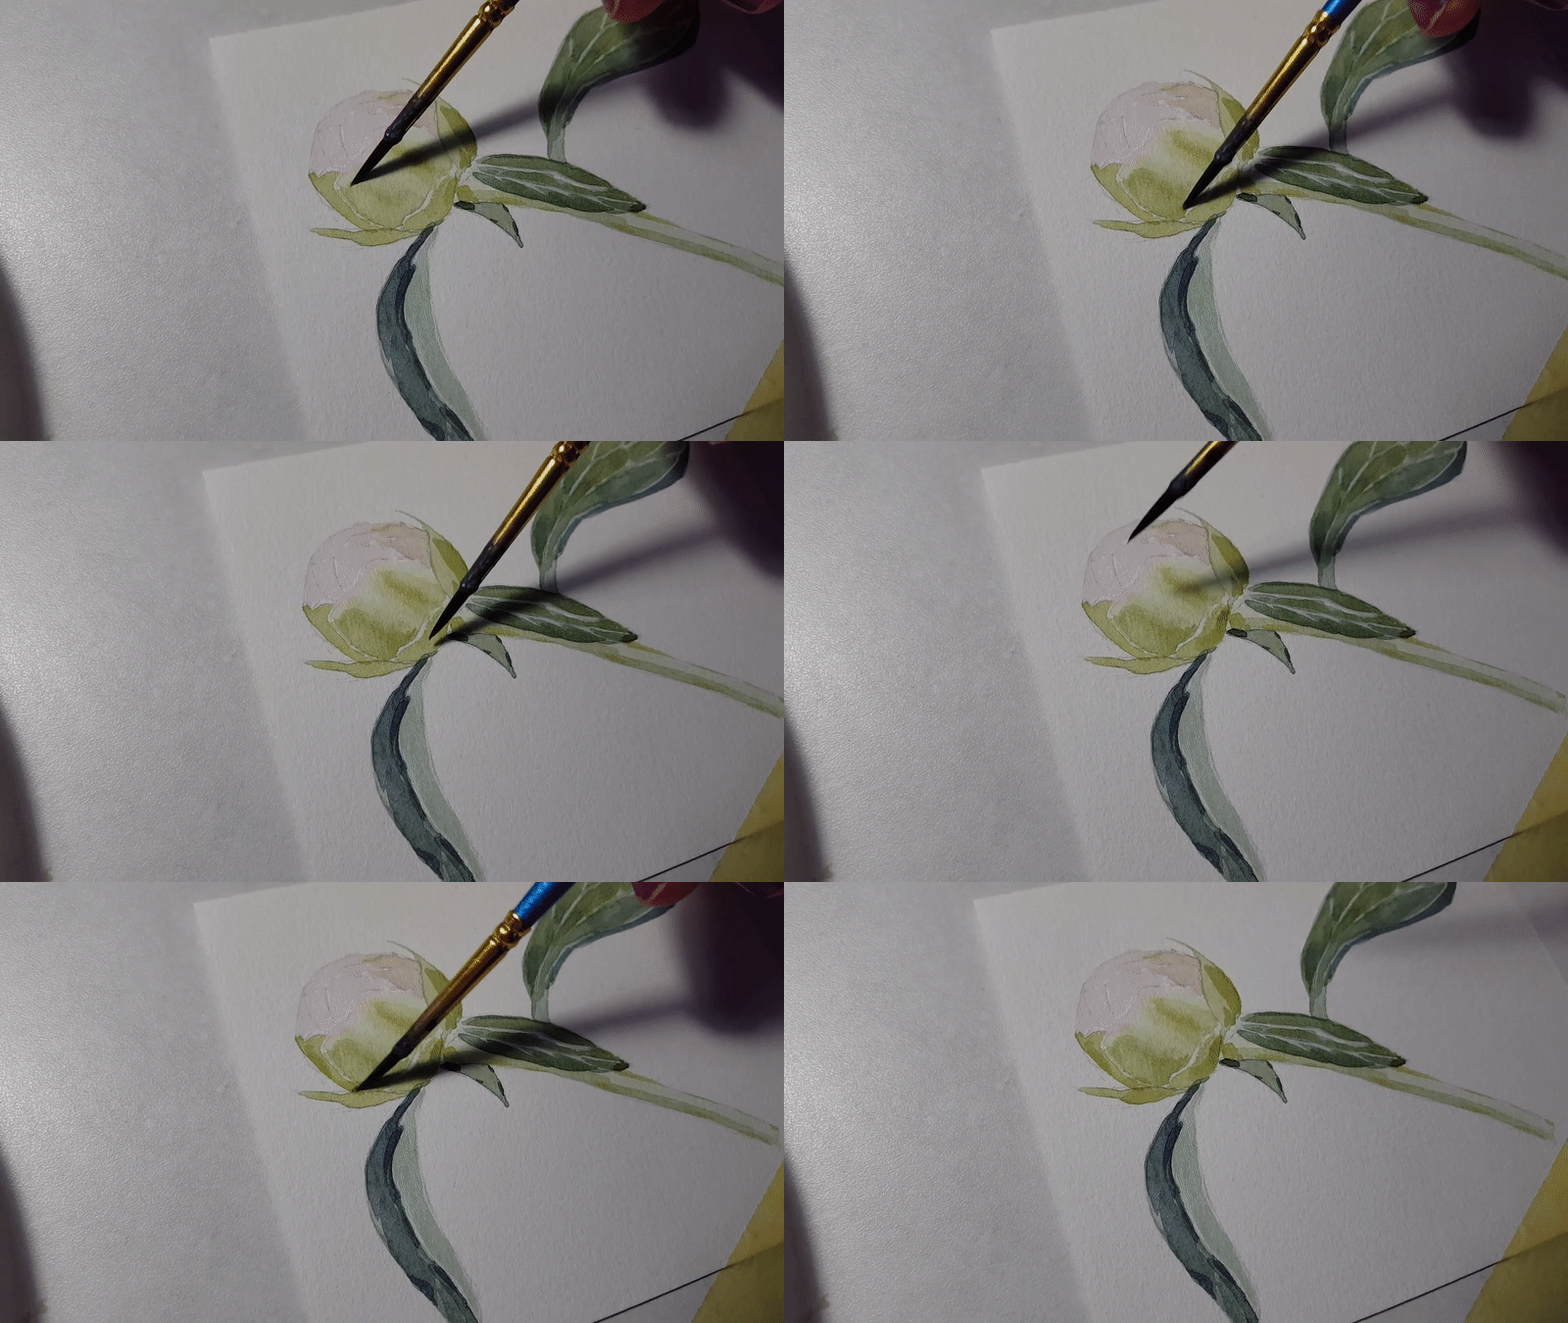
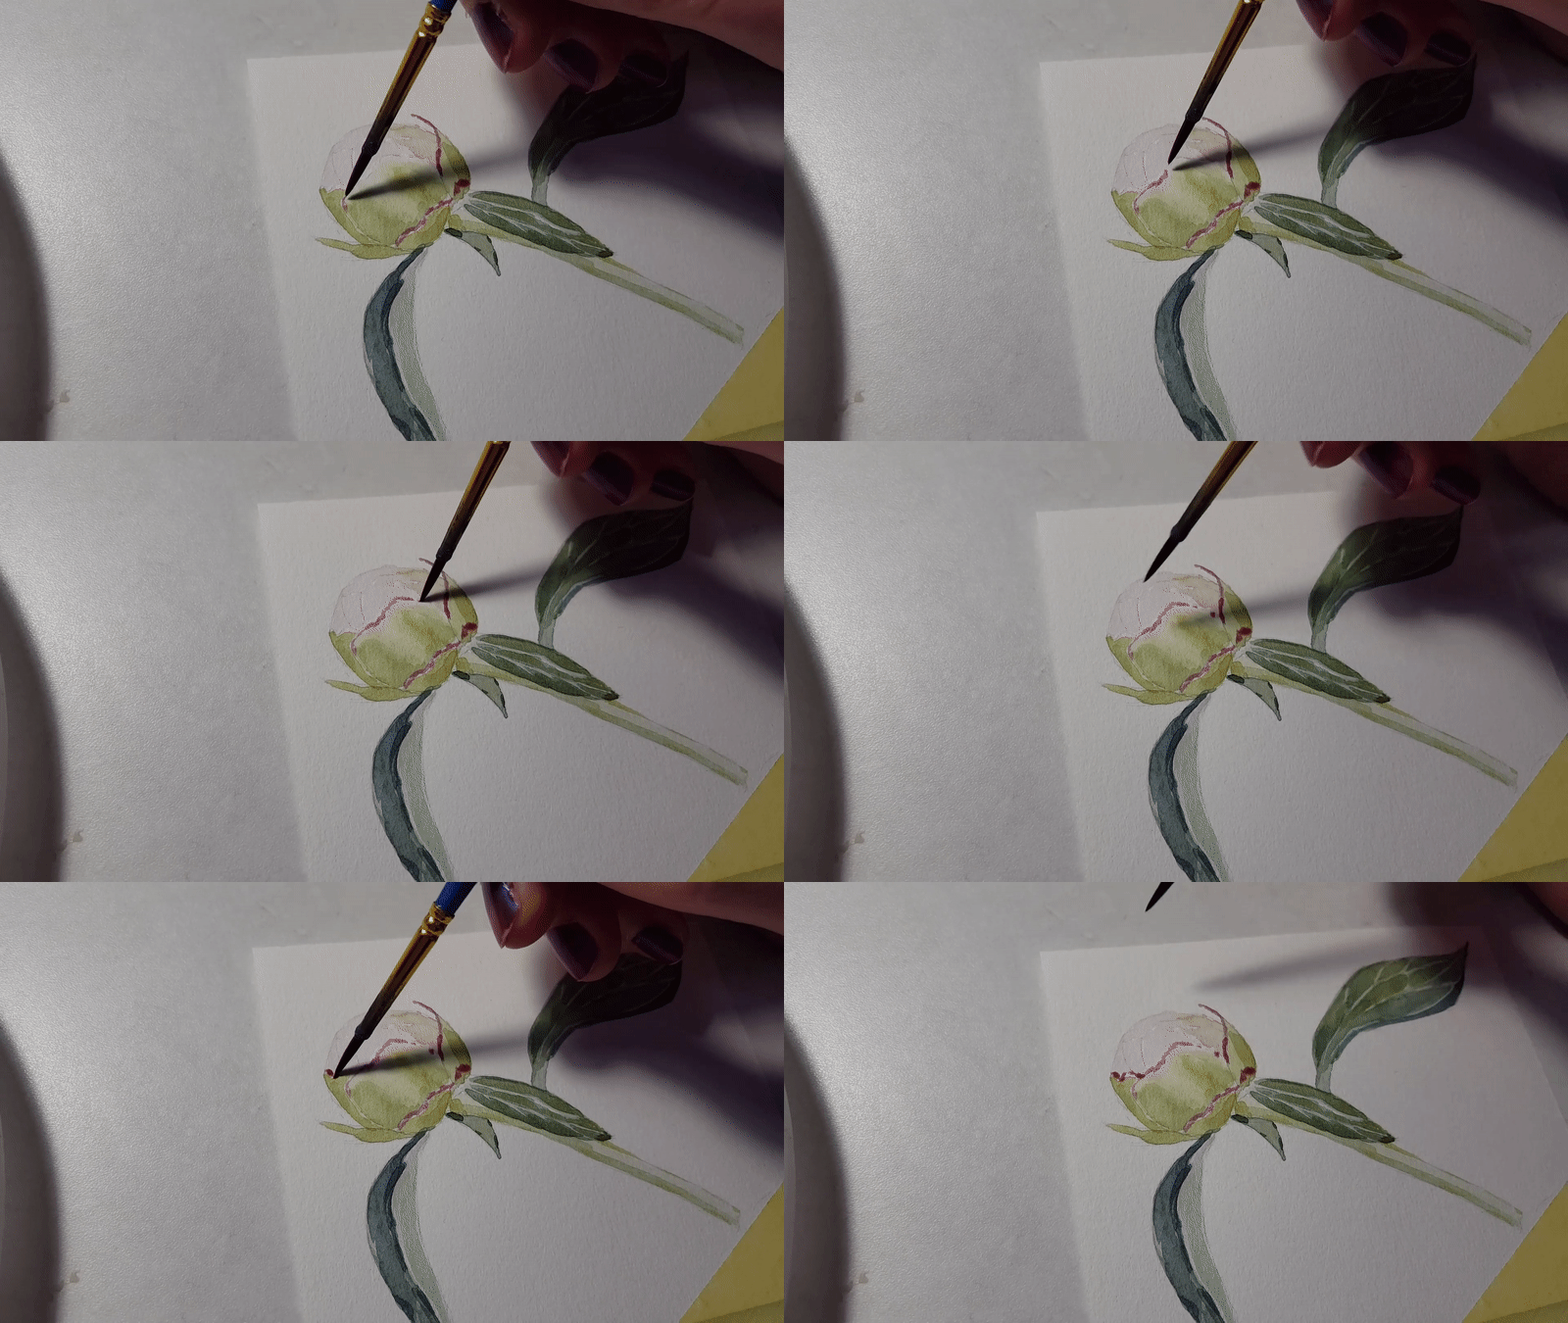
🔵 When we look at the painting we can see some shortcommings. We can pep up the painting by using strong dark colors. Those parts of the flower which are darker can be dark even more, but just in a very small areas, more like dots or short thin lines. It brings contrast into the painting and also sharpness.

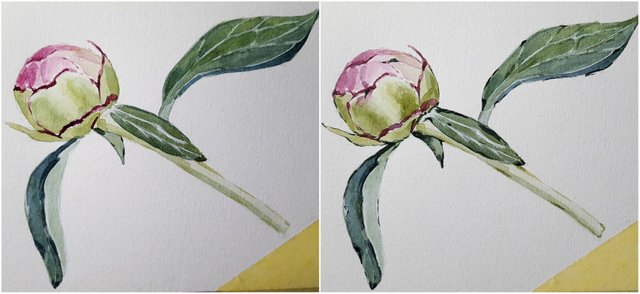
🔵 There is a common mistake to paint continuous lines. Somethimes it is right when we see it on a photo, but in most cases we should use irreagular divided lines in more shades if we want it to look realistic.
Here you can see the difference when we use final "sharpening" edges.
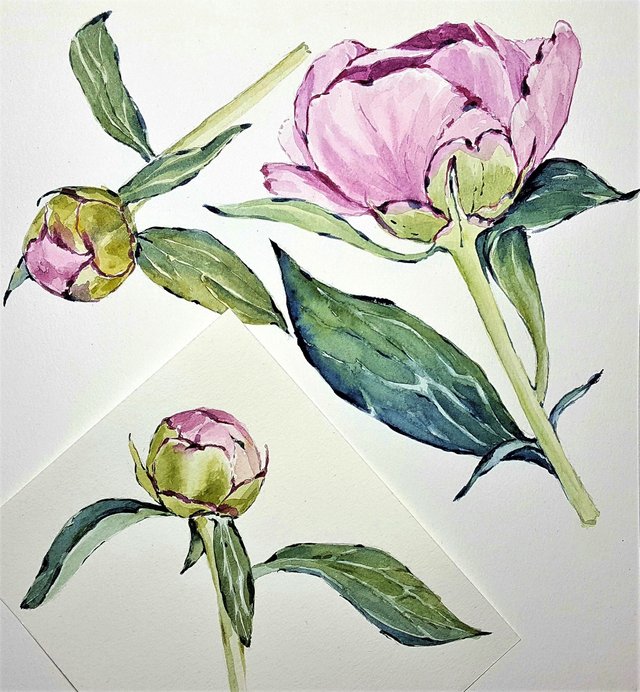
If you want some more practice you can try to paint two more buds.
I hope you liked this tutorial and found it useful. I would be grateful for your comments and possible questions.
Thanks for watching!
Follow me on Steemit

sweet.. i love it... resteemed... i mostly do pencil sketches, i don't know if i will ever do watercolor painting or any kind of color painting
NICE PAINTING TIPS
hah
Thanks for share you knowledge. @originalworks
The @OriginalWorks bot has determined this post by @marty-arts to be original material and upvoted it!
To call @OriginalWorks, simply reply to any post with @originalworks or !originalworks in your message!
Can you give me details on brushes? Is there a specific company that i should use? or approximate price tag? Thank you
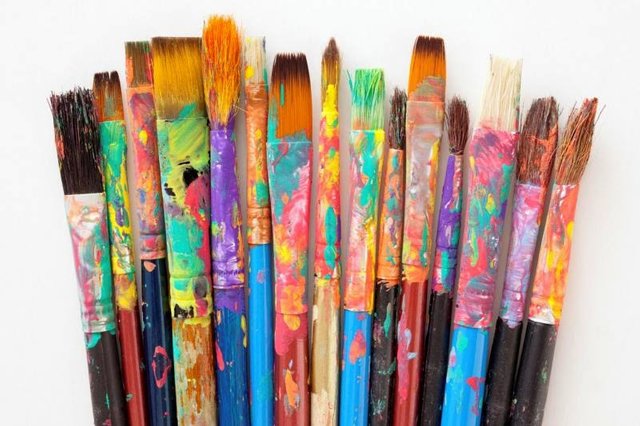
at the beginning there are two links to the posts I wrote before.. about brushes, papers, and so on... I use round nylon brushes from aliexpress... nothing special :) but if you want to know more check out those posts
Thank you :)
Great tutorial ! Resteemed
thank you :)
@redes thank you for your support! :)
Good work @marty-arts as always :)
Well explained ! You got dem skills x)
The outcome is really great and the step by step illustrates it pretty well! I'd like to see a pic of your materials/tools as well though so we have a better idea of what you are working with (I'm gonna start doing this in my posts as well methinks). What brand paint are you using for this?
thanks, I m going to add it into the post.. I use white nights watercololors (nevkaja palitra)
Good stuff ^^
it is! :) ...I added the info.. but there is more in the previous posts I wrote about starting with watercolors (about brushes, paper, paints..) if you are interested :) the links are in this post
Fantastic! And such a quick turnaround rate as well.
Earned yourself a follow there!
I'll try this, hope I get a nice result ❤
im sure you will :) I would be really glad to see the result
Me encanta la acuarela, en uno de mis primeras publicaciones está una imagen de Frida que me atreví a hacer, gracias por el tutorial. Saludos.