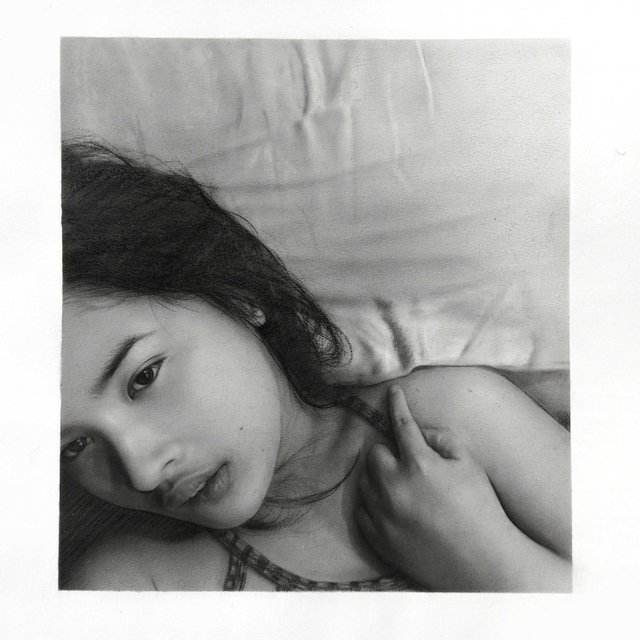
How i draw realistic Charcoal Portrait
This a commissioned portrait last year and i'll be sharing to you my process in creating this realistic charcoal drawing.
- First i print out a high-resolution reference picture or i use my phone. To achieve photo realism
- Prepare your materials. I used Powderized compressed charcoal, brushes, pencils 8b, kneaded eraser, pencil eraser.
- i carefully study the tonal value of the photo, the lightest and darkest parts. In order to achieve illusion of depth.
- start out a sketch with a light graphite pencil.
- using the powdered charcoal. I used soft brush and building up dark tones first for example the hair, eyebrows, eyes, shadows. for the darkest/black i used pencil 8b. In creating skintones i used round brush lightly to achieve light grey and carefully layering until i achieve the desired value.

- as you notice the edges is pretty sharp lines. The technique was i used masking tape to the paper before i started drawing and taking it out after im done.
- I dont usually copy everything detail by detail or strand by strand for example the hair. I applied bold strokes using bar charcoal and pencil. To have that sketch look.
- tip: dont put your hands on the paper while drawing to prevent oil contact, It will be messy. Use a scratch paper and put it under your hand.
Materials used: pencil 8b, kneaded eraser, pencil eraser, powdered charcoal, charcoal bar, brush, charcoal paper and masking tape.  )
)
*i'll be posting progress pictures on how i do portraits soon. So Stay tuned!*