Starting my experimentation with 360° panoramic images and digital illustration


Essendo da un po' di tempo affascinata dalle fotografie panoramiche a 360°, mi sono riproposta di applicare le stesse tecniche alle illustrazioni 2D.
Le fotografie a 360° permettono di venire trasportati all'interno di un ambiente guardandosi attorno e zoomando sulle inquadrature attraverso lo schermo di uno smartphone, di un tablet o di un PC. Credo che anche i visori 3D possano essere utilizzati per vedere le foto con ancora maggior immedesimazione, ma non ho mai avuto modo di provarne uno.
È possibile scattare questo genere di foto con più tipi di attrezzatura:
- videocamere sferiche apposite come la famosa Ricoh Theta per riprese a 360°;
- normale attrezzatura fotografica utilizzando un cavalletto a testa panoramica (e magari un obiettivo fisheye);
- applicazioni apposite per smartphone.
Utilizzando la tecnica di scattare foto che coprono l'intera sfera visibile, sarà poi necessaria una post produzione che le unisca insieme , usando un programma di stitching come ad esempio Photomerge di Photoshop.
Essendo un'illustratrice, però, mi interessa principalmente riuscire a realizzare un'illustrazione da trasformare in panoramica a 360°.
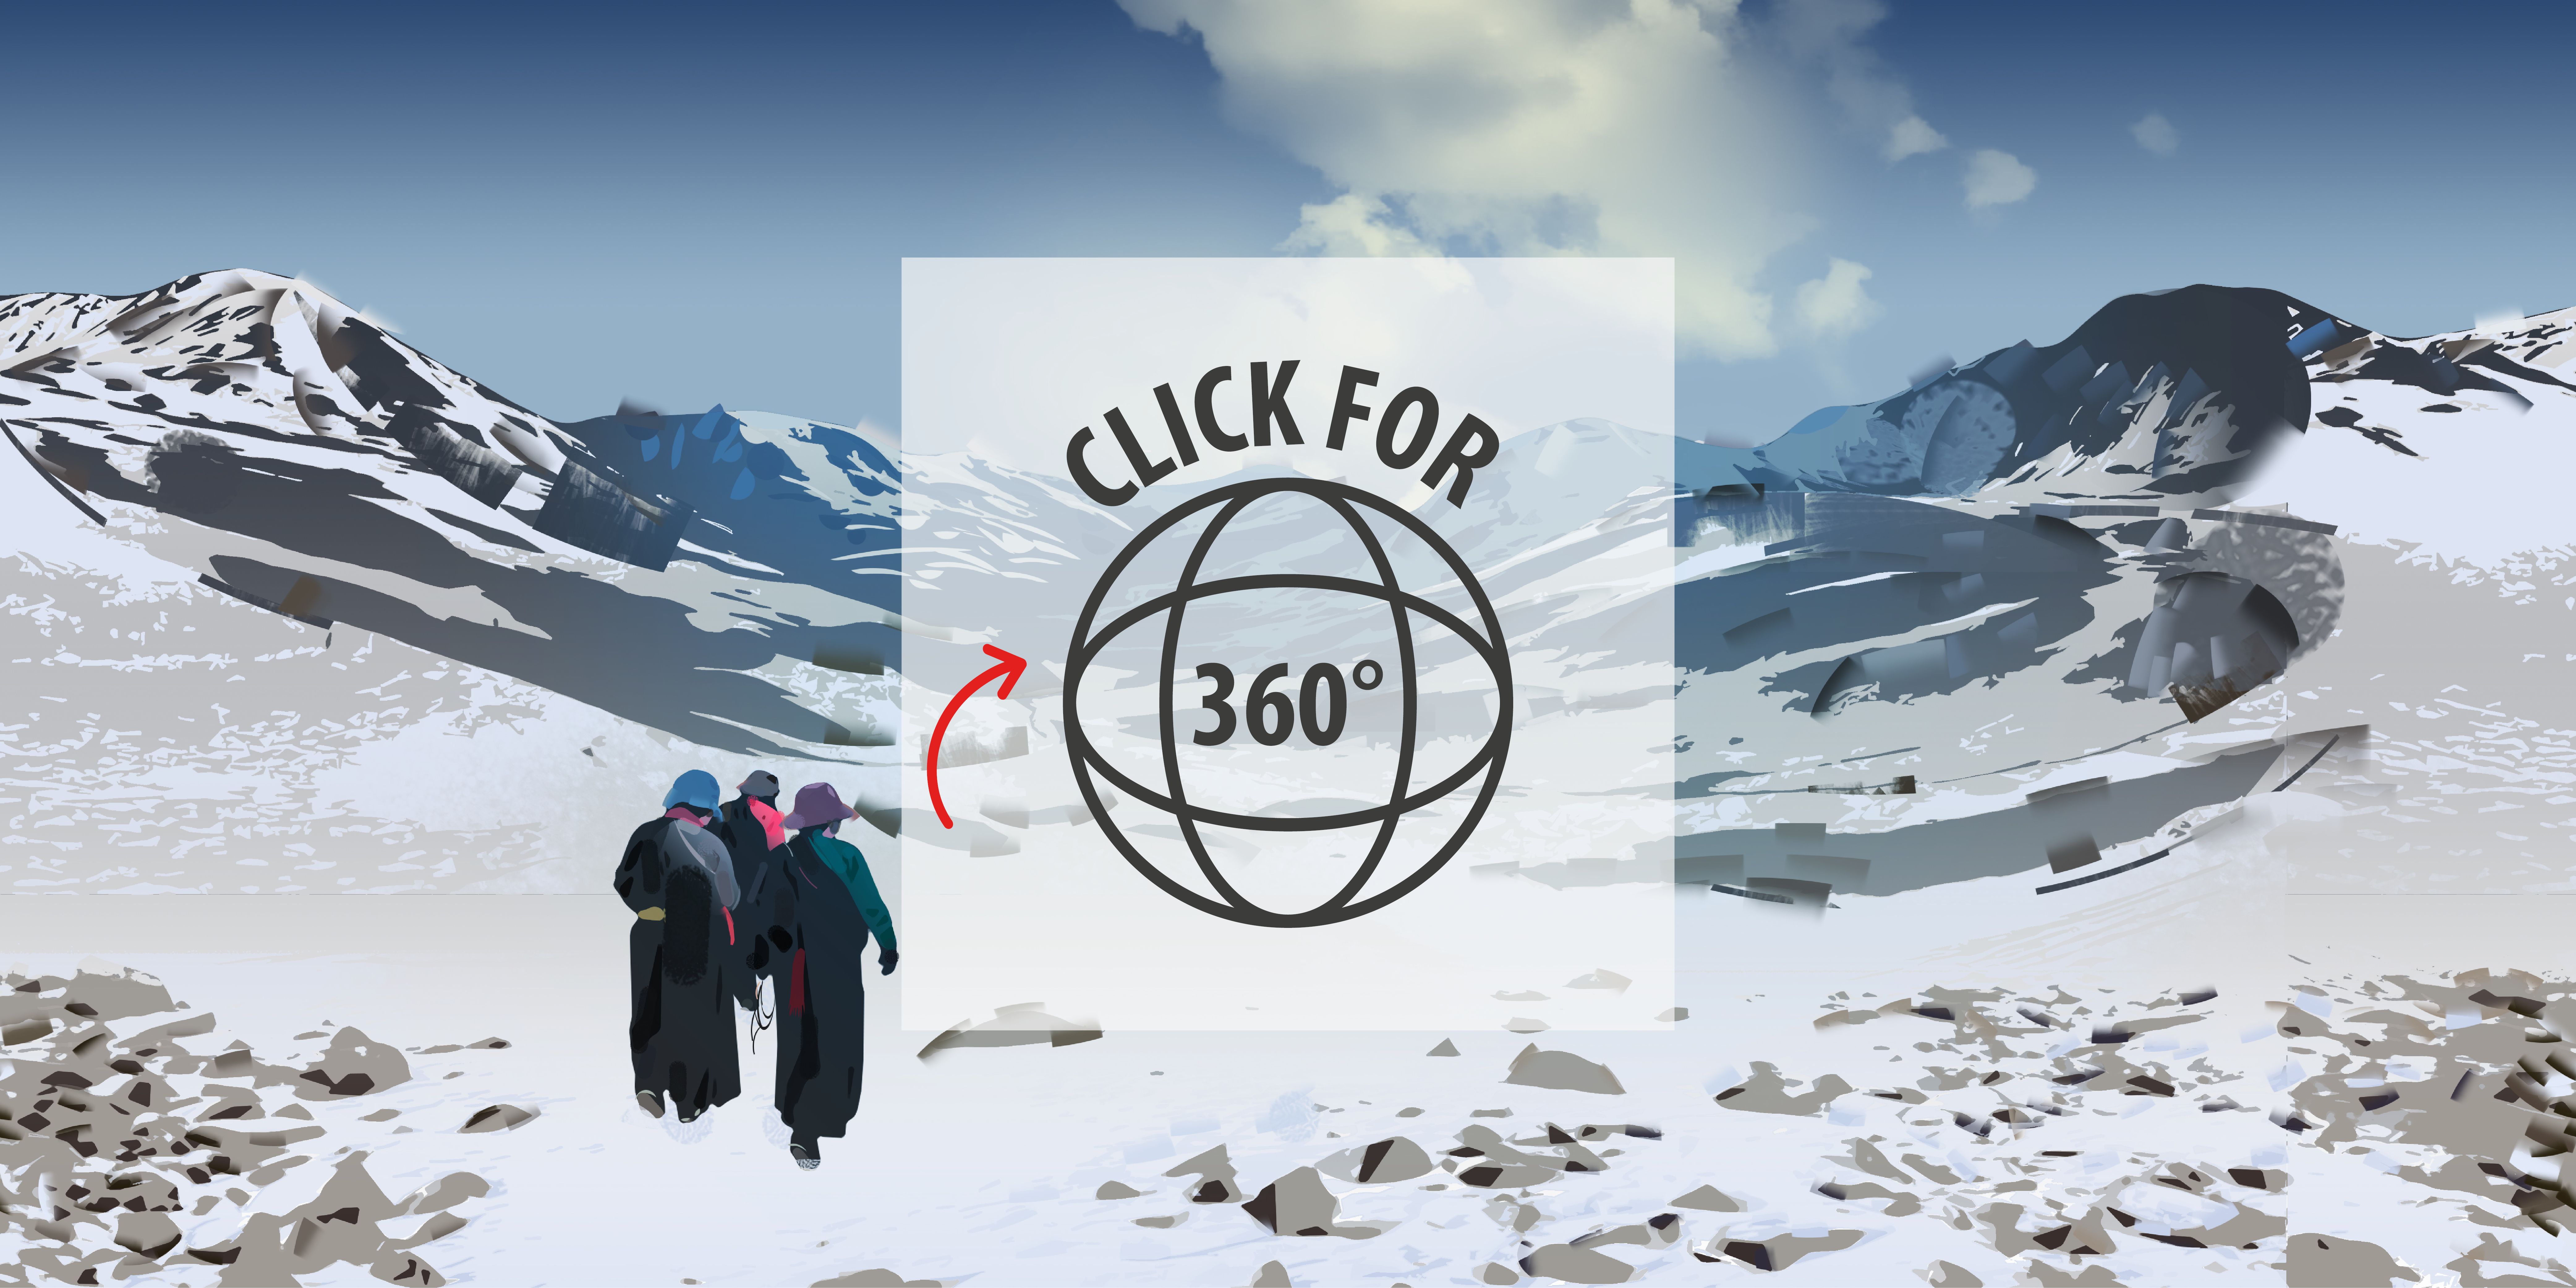
Ecco il mio primo maldestro tentativo di approcciarmi a questo tipo di realizzazione, con uno sketch veloce dipinto in Photoshop. Non potendo fare l'embedding diretto della finestra del visualizzatore a 360°, il risultato del mio esperimento si trova sul sito di hosting immagini momento360.com. Cliccare sulla versione 2D dell'immagine per attivare il link. Spero che il link rimanga attivo nel tempo e che l'immagine non venga rimossa dalla piattaforma, in modo che anche i futuri visitatori di questo articolo di blog possano usufruirne.
Il risultato non mi soddisfa affatto, ma ero troppo curiosa di fare una prova veloce.

Having been fascinated with 360° panoramic photographs for a while, I have been wanting to apply the same techniques to the 2D illustrations.
The 360° photographs allow you to be transported within an environment by looking around and zooming on the shots through the screen of a smartphone, a tablet or a PC. I believe that 3D visors can also be used to see photos with even greater immersion of the viewer, but I've never had the chance to try one.
You can take this kind of photo with more types of equipment:
- special spherical cameras like the famous Ricoh Theta for 360° shots;
- normal photographic equipment using a panoramic head stand (and maybe fisheye lens);
- smartphone apps.
Using the technique of taking pictures that cover the entire visible sphere, a post production will then be necessary to stitch them together, using software such as Photoshop Photomerge.
Being an artist, however, I am mainly interested in being able to create an illustration to be transformed into a 360° panorama.
Here is my first clumsy attempt to approach this kind of artwork, with a quick sketch painted in Photoshop. Since I can not directly embed the 360° viewer window, the result of my experiment is on the moment360.com images hosting site. Click on the 2D version of the image to activate the link. I hope that the link doesn't break over time and that the image is not removed from the platform, so that even future visitors of this blog article can take advantage of it.
The result does not satisfy me at all, but I was impatient to do a quick test.


Alcune cose che ho imparato:
- le proporzioni dell'immagine di partenza devono essere in rapporto 2:1. Ad esempio Facebook, per le sue panoramiche, richiede una dimensione di 6000x3000px;
- l'immagine, affinchè venga correttamente visualizzata, deve avere i metadati specifici delle foto prodotte con le videocamere sferiche. Ci sono diverse soluzioni e siti web che aggiungono i giusti metadati alla nostra immagine, li ho trovati cercando "360 photo metadata tool" su Google;
- si può vedere una panoramica a 360° attivando l'apposito strumento di Photoshop dal menu 3D => Panorama sferico => Nuovo livello panorama da livelli selezionati;
- le panoramiche possono essere caricate su molti siti gratuiti o a pagamento, incluso il social network Facebook.
Questo è solo l'inizio. D'ora in avanti cercherò di perfezionare la tecnica e condividerò i miei progressi qua sul blog. La prossima cosa su cui lavorare è dipingere un'immagine 2D con la distorsione necessaria perchè risulti non distorta nella vista a 360°.

Stuff I learnt:
- the proportions of the starting image must be in a 2:1 ratio. For example, Facebook, for its panoramas, requires a size of 6000x3000px;
- the image, to be correctly displayed, must have the specific metadata of the photos produced with the spherical cameras. There are several solutions and websites that add the right metadata to our image, I found them searching for "360 photo metadata tool" on Google;
- You can see a 360° overview by activating the appropriate Photoshop tool from the 3D menu => Spherical panorama => New panorama layer from selected layer;
- panoramas can be uploaded to many free or paid websites, including Facebook.
This is just the beginning. From now on I will try to refine the technique and share my progress here on the blog. The next thing to work on is to paint a 2D image with the distortion needed to be undistorted in a 360° view.
Wow, I love the idea. Until now, I've only ever seen 360 video and photos. Keep it up :)
Thank you, i've already made some progresses that i hope to share soon. I have to paint on a distorted grid... really weird but i hope to improve my skills!
great :)
Congratulations @onicreative! You have completed some achievement on Steemit and have been rewarded with new badge(s) :
Click on any badge to view your own Board of Honor on SteemitBoard.
For more information about SteemitBoard, click here
If you no longer want to receive notifications, reply to this comment with the word
STOP