Drawing a realistic portrait step by step (see complete drawing + realistic drawing tips)
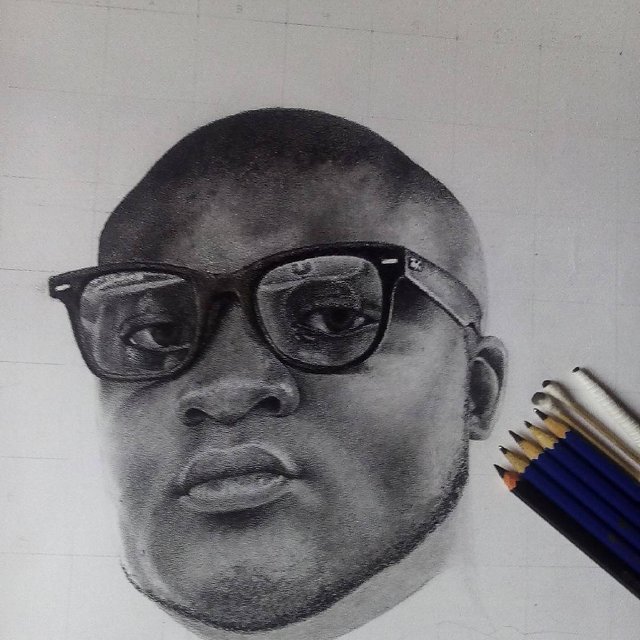
Hello again Steemians! Today I'd like to share steps of how I did this drawing and as well give you a few tips to make your drawings more realistic. I'm gonna share the progress shots and tips simultaneously so I won't bore you. I'm self taught, practicing and learning from other artists got me this far, you should do the same too for better results.
The Process
The first and most important thing you need to learn to do more realistic drawings is patience! It takes a lot of time, but you shouldn't feel the passing of time much if you're doing it right.
You can do a drawing for say 30 minutes or an hour and feel it is OK, this has probably been your practice until now...stop! For once, step out of your comfort zone, spend one more hour and see how it turns out, then two more and so on. You'll be surprised at your progress!
Progress shot 1
Sketching
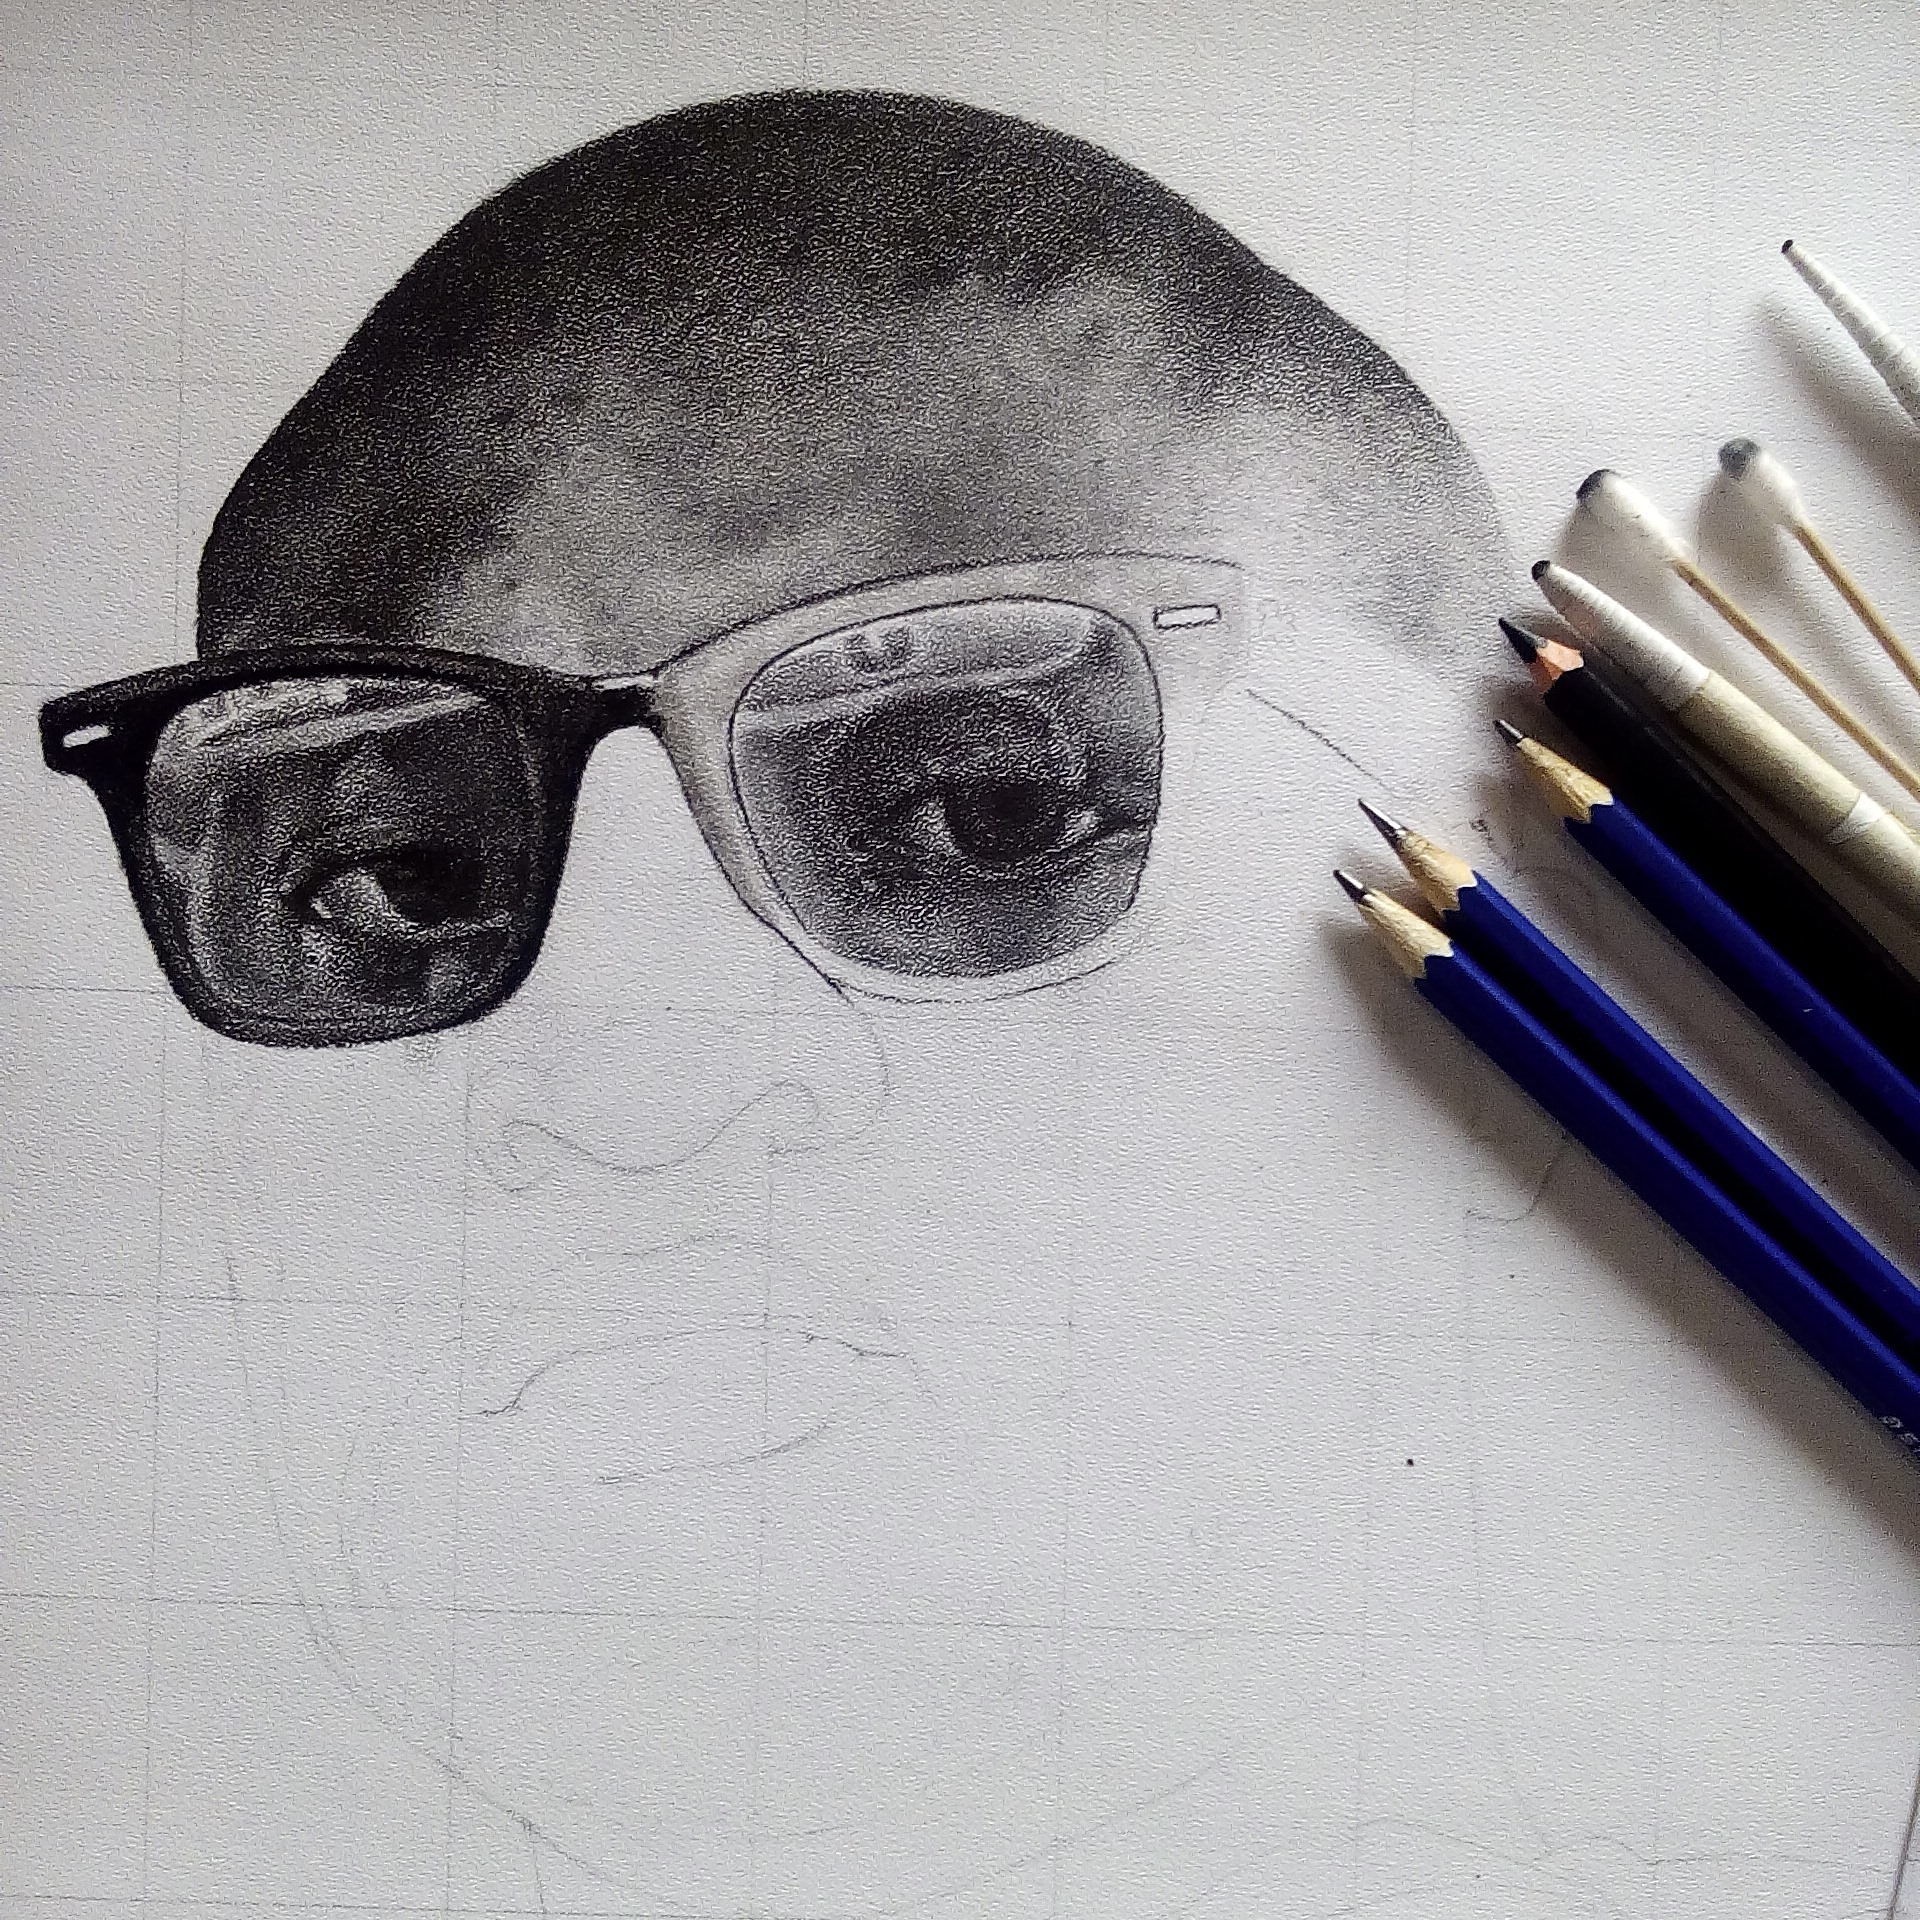
It always starts with the sketch right, unfortunately I didn't snap the sketch but it is still very visible in the image above. You need to pay a lot of attention to your sketch because it sets the course and determines the outcome of your drawing.
- Sketch with light pencils
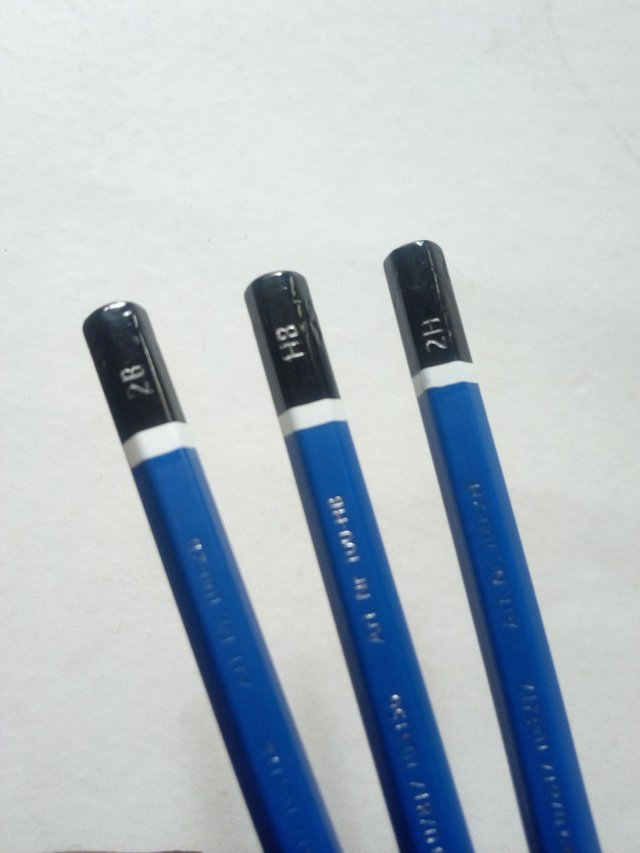
Don't go on and sketch with a 5B or worse an 8B pencil, each pencil has its uses. I mostly use H pencils as seen above or 2B at most.
- Sketch with soft lines
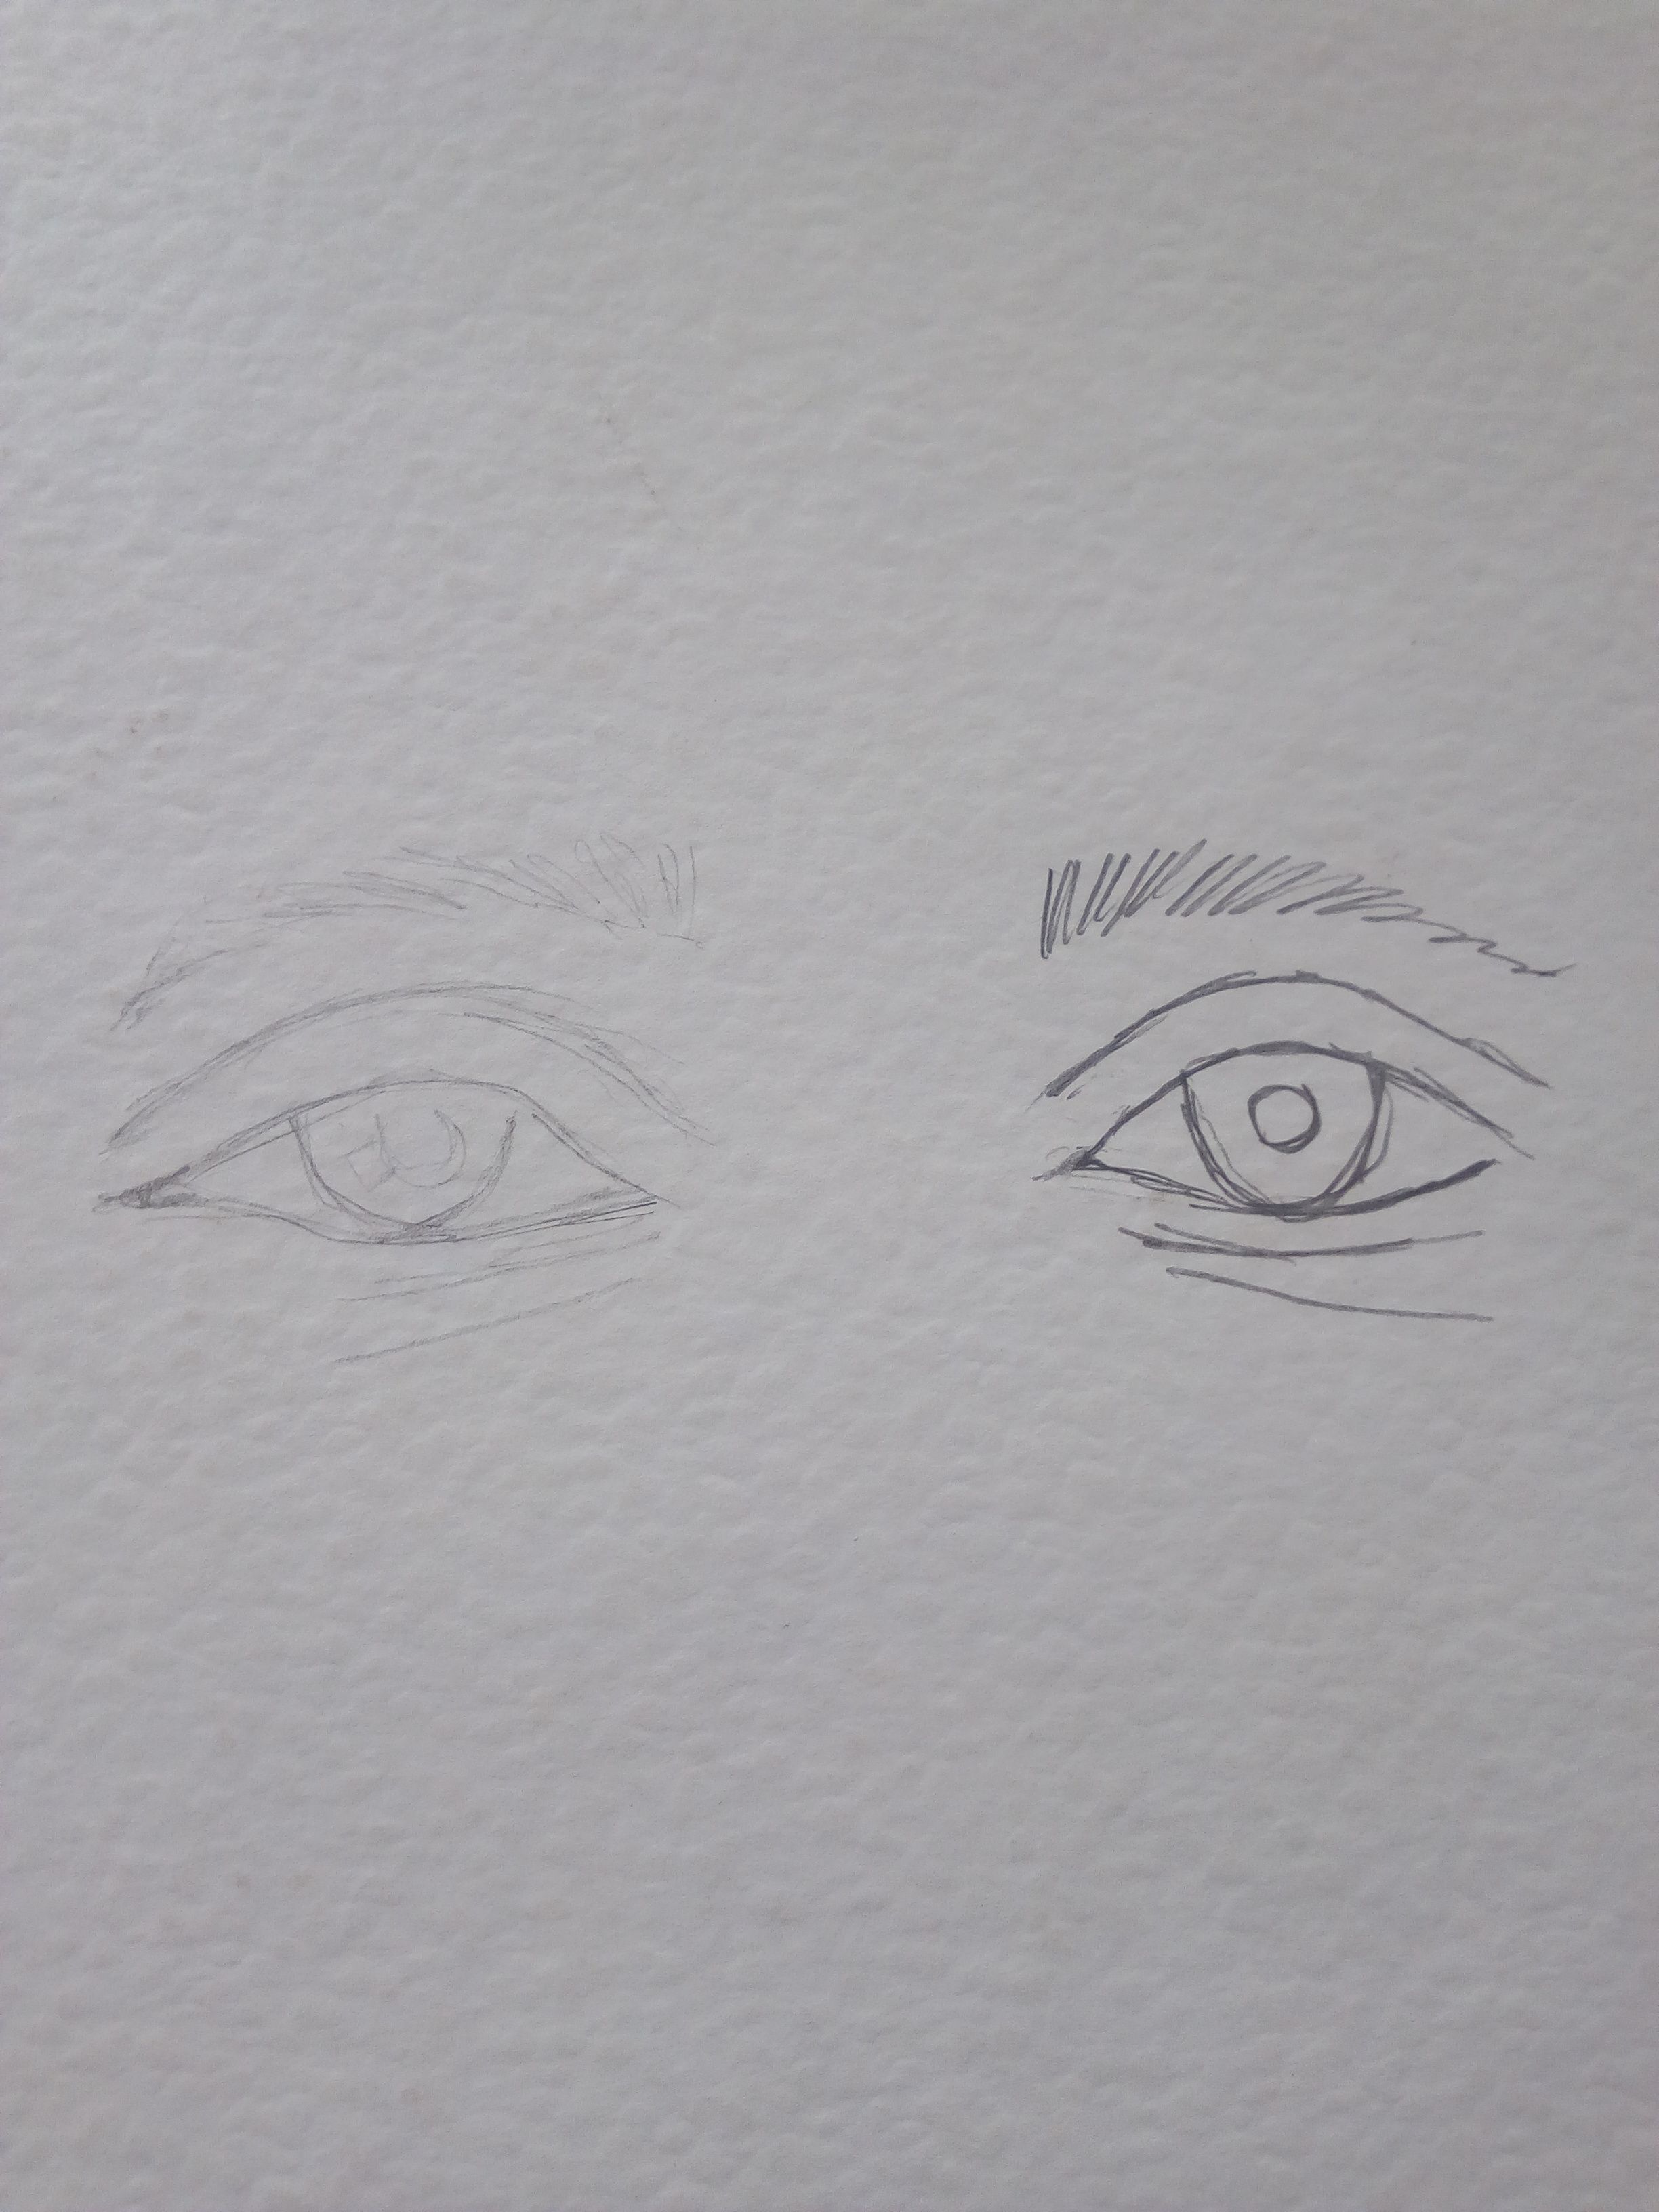
The left eye in the image above is a much better sketch because it gives you more flexibility when you're shading. You can also easily adjust the sketch if you notice a mistake. Thick or hard lines may be difficult to blend in and trust me, you don't want obvious lines in your drawing, it ruins realism!
- Use grids
Not everyone is good with freehand sketching, I freehand a lot but I also use grids because gridding helps for more accuracy and is also a very useful tool when you wish to make your drawing much larger than the reference picture. If you don't know how to grid, I'll make a tutorial for that soon, stay updated.
Shading
The is the real business, the time consuming but yet very rewarding process. It takes passion and dedication to do it right (which you probably have if you read up to this point) 👍.
Progress shot 2
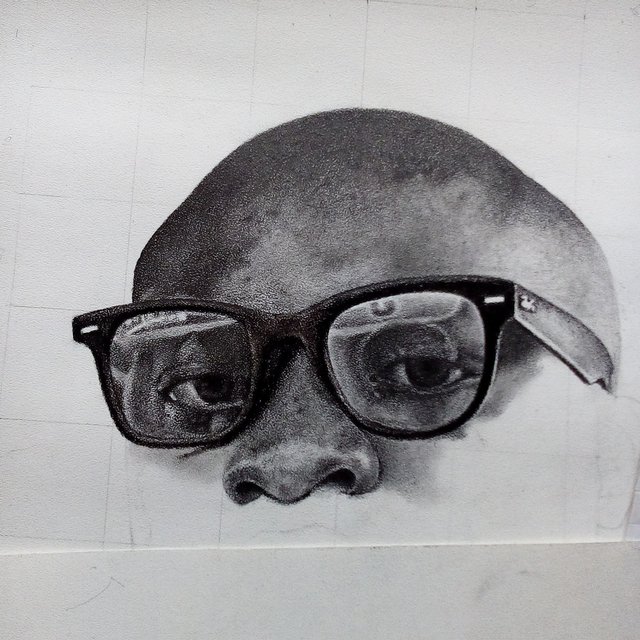
- Build shades gradually
You may be the type that picks the darkest pencil you have and just literally punish the paper, just because you want to shade a dark area. NO! It doesn't work that way!
Start with the lighter pencils, shade a light layer then build on it gradually with darker pencils increasing the grade till you're satisfied, or till you have achieved the tone in your reference photo.
progress shot 4

- Avoid lines
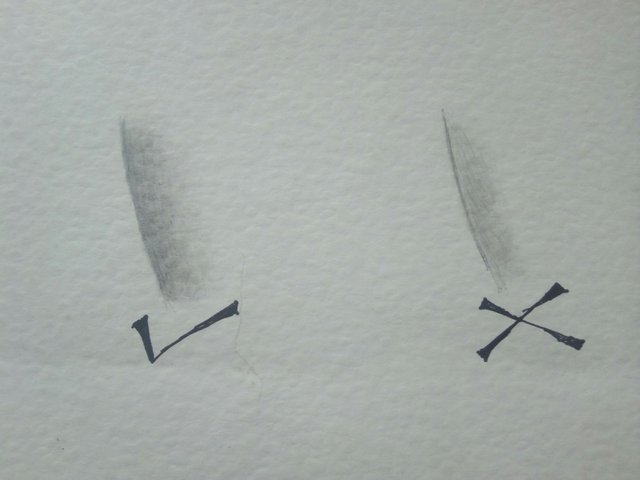
Spend some time studying different reference photos, you won't find any lines on a face, trust me. You need to shade out whatever looks like a line, especially the edges of the face and organs. I say again to further buttress my point, NO lines!
Check out the image below. Assume that's the edge of a cheek, you should shade it to look like the first not the second, the line should disappear.
- Use texture papers
A very important thing that makes portrait drawing realistic is skin texture. It may be very tasking and time consuming to be factual. Here's good news, there are many papers out there now that can automatically depict skin texture when you shade, the ease up the cumbersome work.
I'll personally recommend acid free papers like strawberry series, alabaster and eggshell paper. There are many more though, you can experiment with them and see which ones you prefer.
- Always keep your pencils sharp
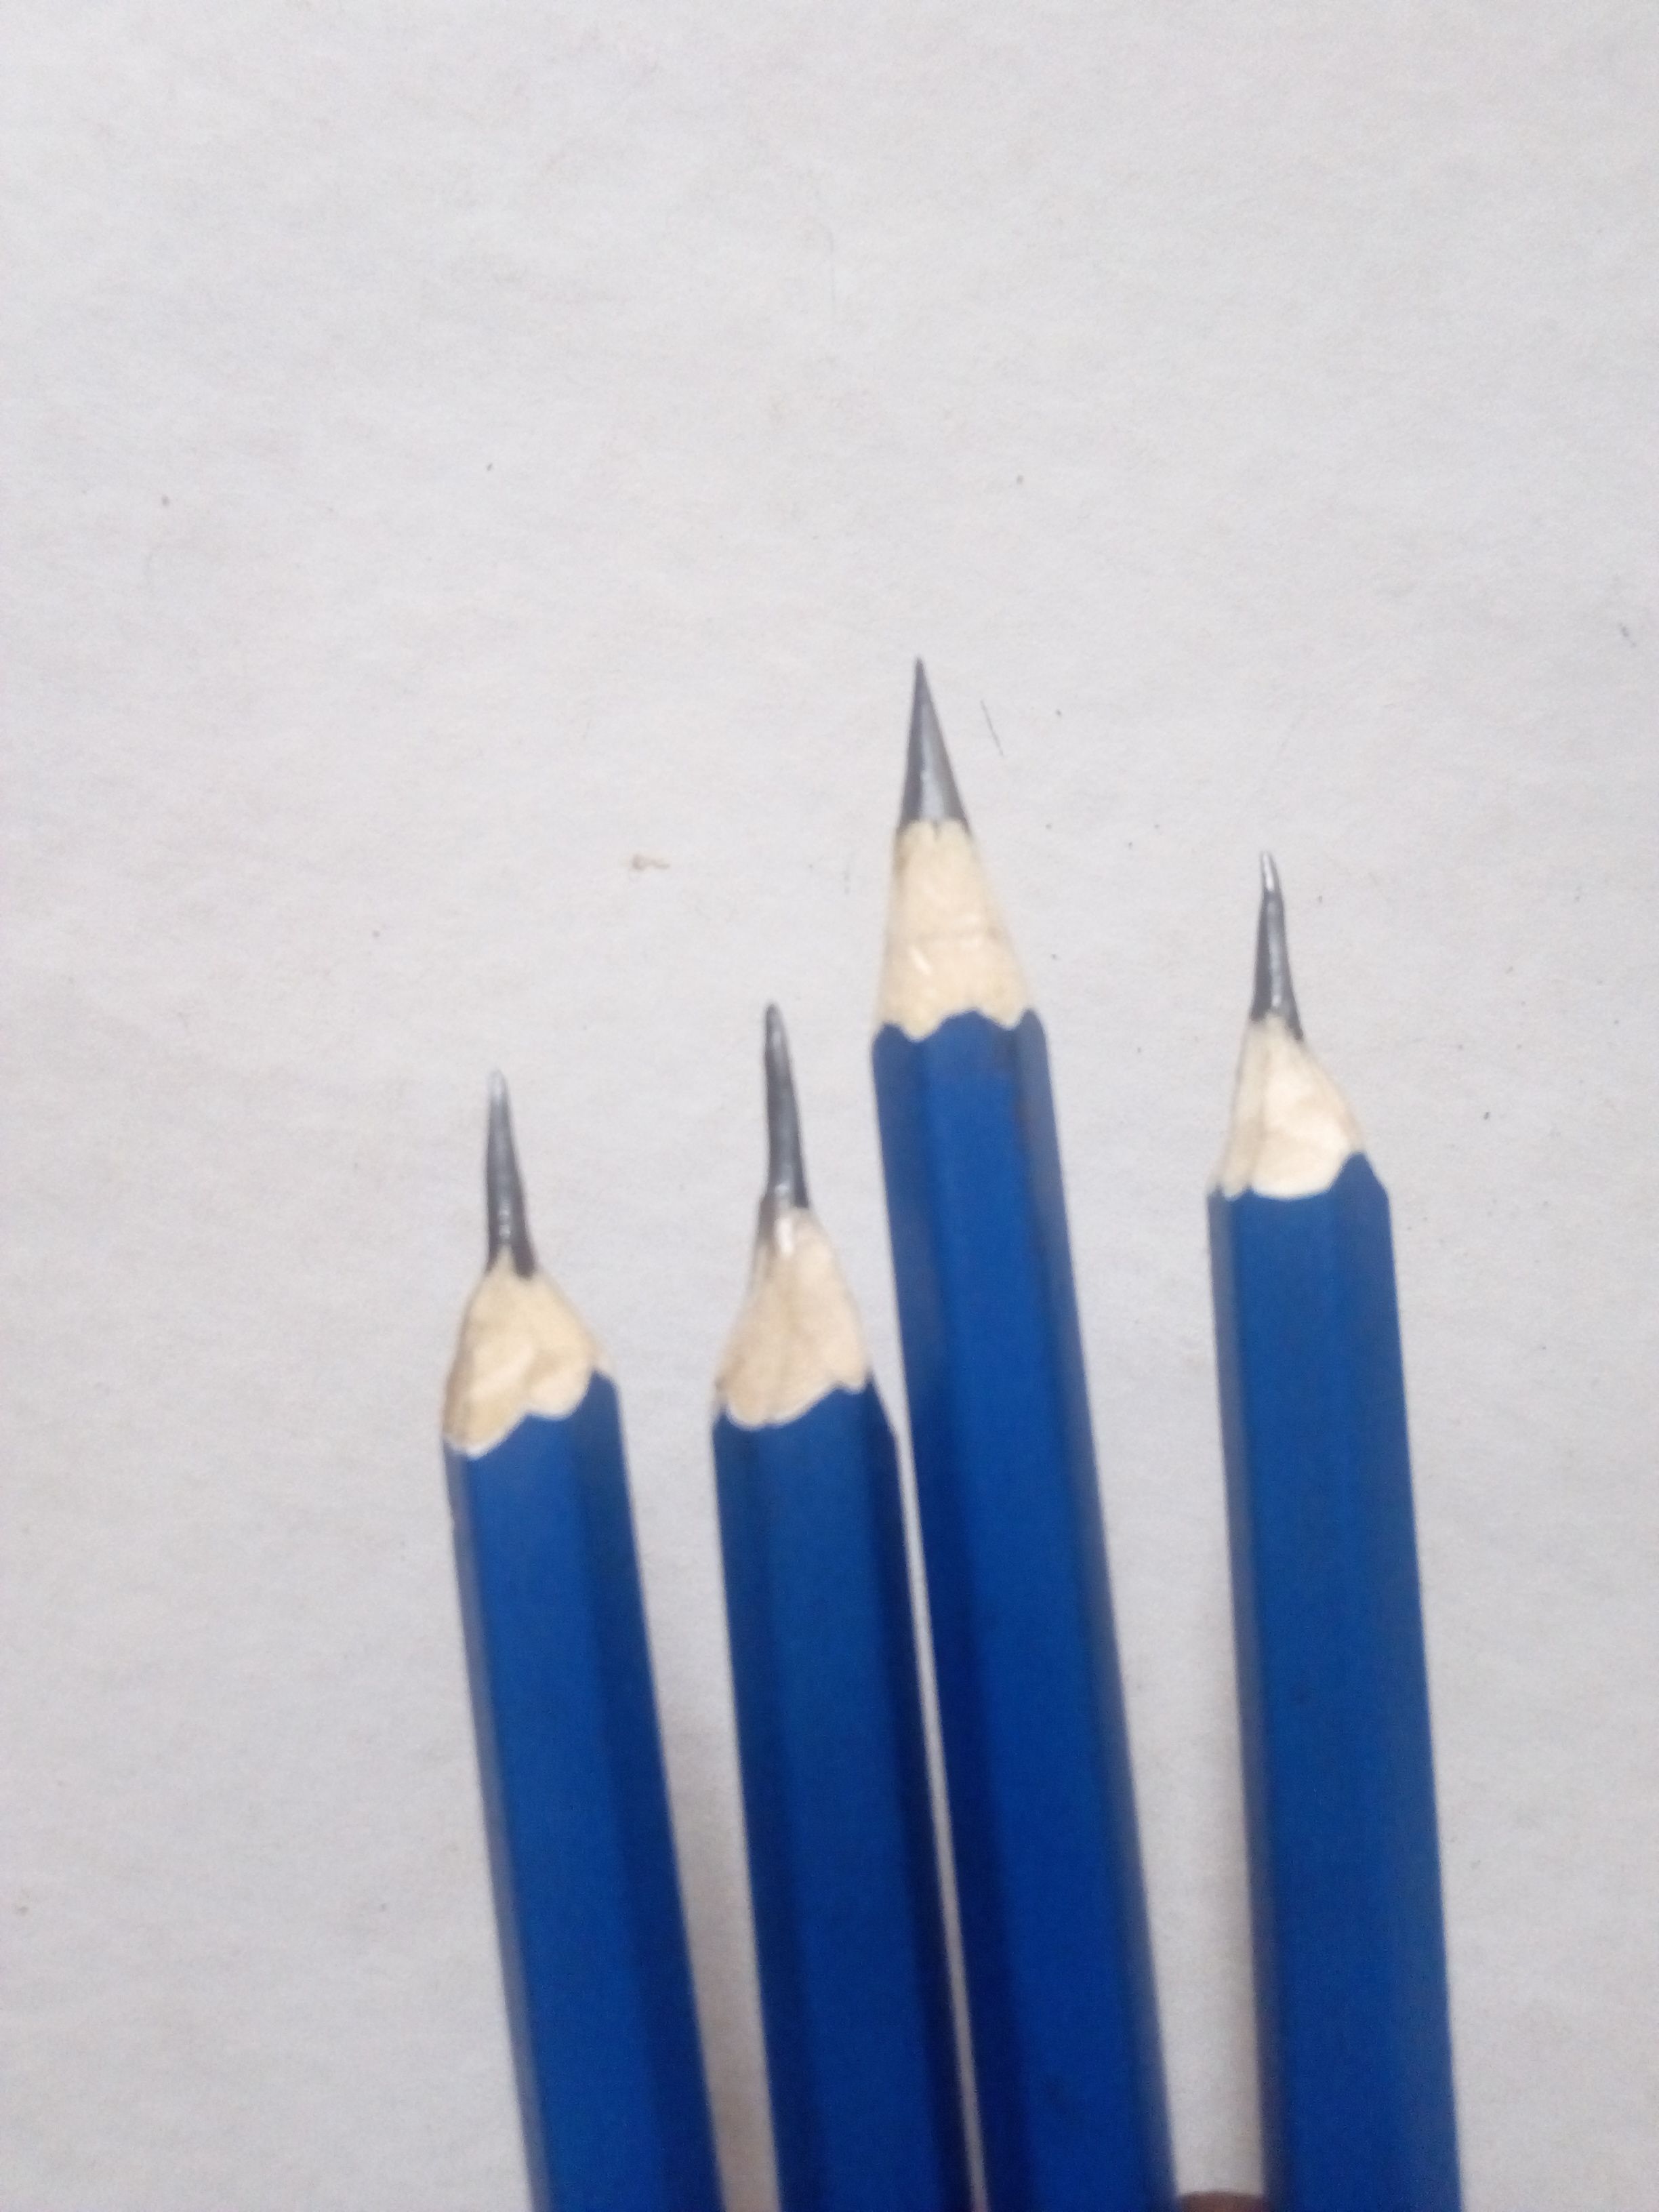
Your pencils won't go dark enough if they're blunt. Shading would seem tiresome and you won't get the right results.
- Use the right pencils
Try to understand the pencils in your set, they have different functions. Use H pencils for lighter areas, use Bs for darker areas. I'll recommend charcoal pencils for very dark areas in your drawings like the eyes, shadows under the nostrils and hair. It gives better results.
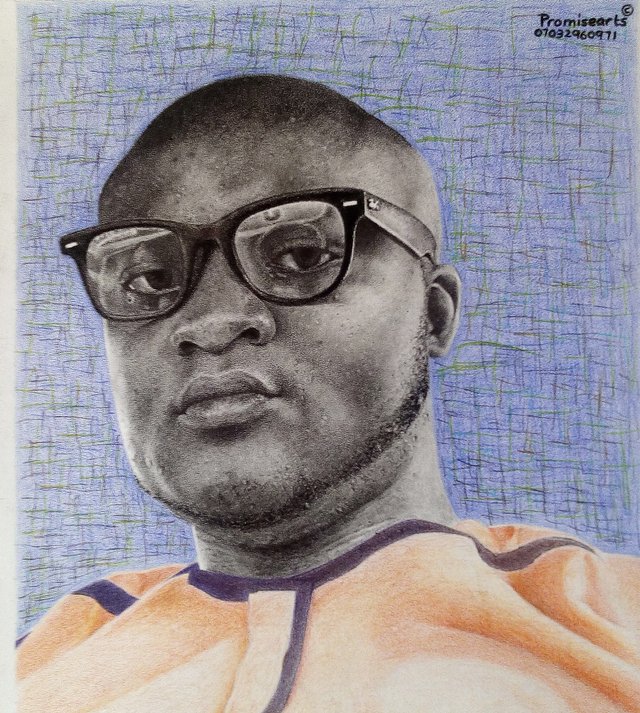
Final shot (Crayola colored pencils for the cloth and background)
- Get more drawing materials
You also need more materials for blending, highlighting and speeding up your drawings. We have cotton buds, tissues, pencil erasers, blending stomps...You can read about them and their uses in my previous post here
Yh, that's me (2017)
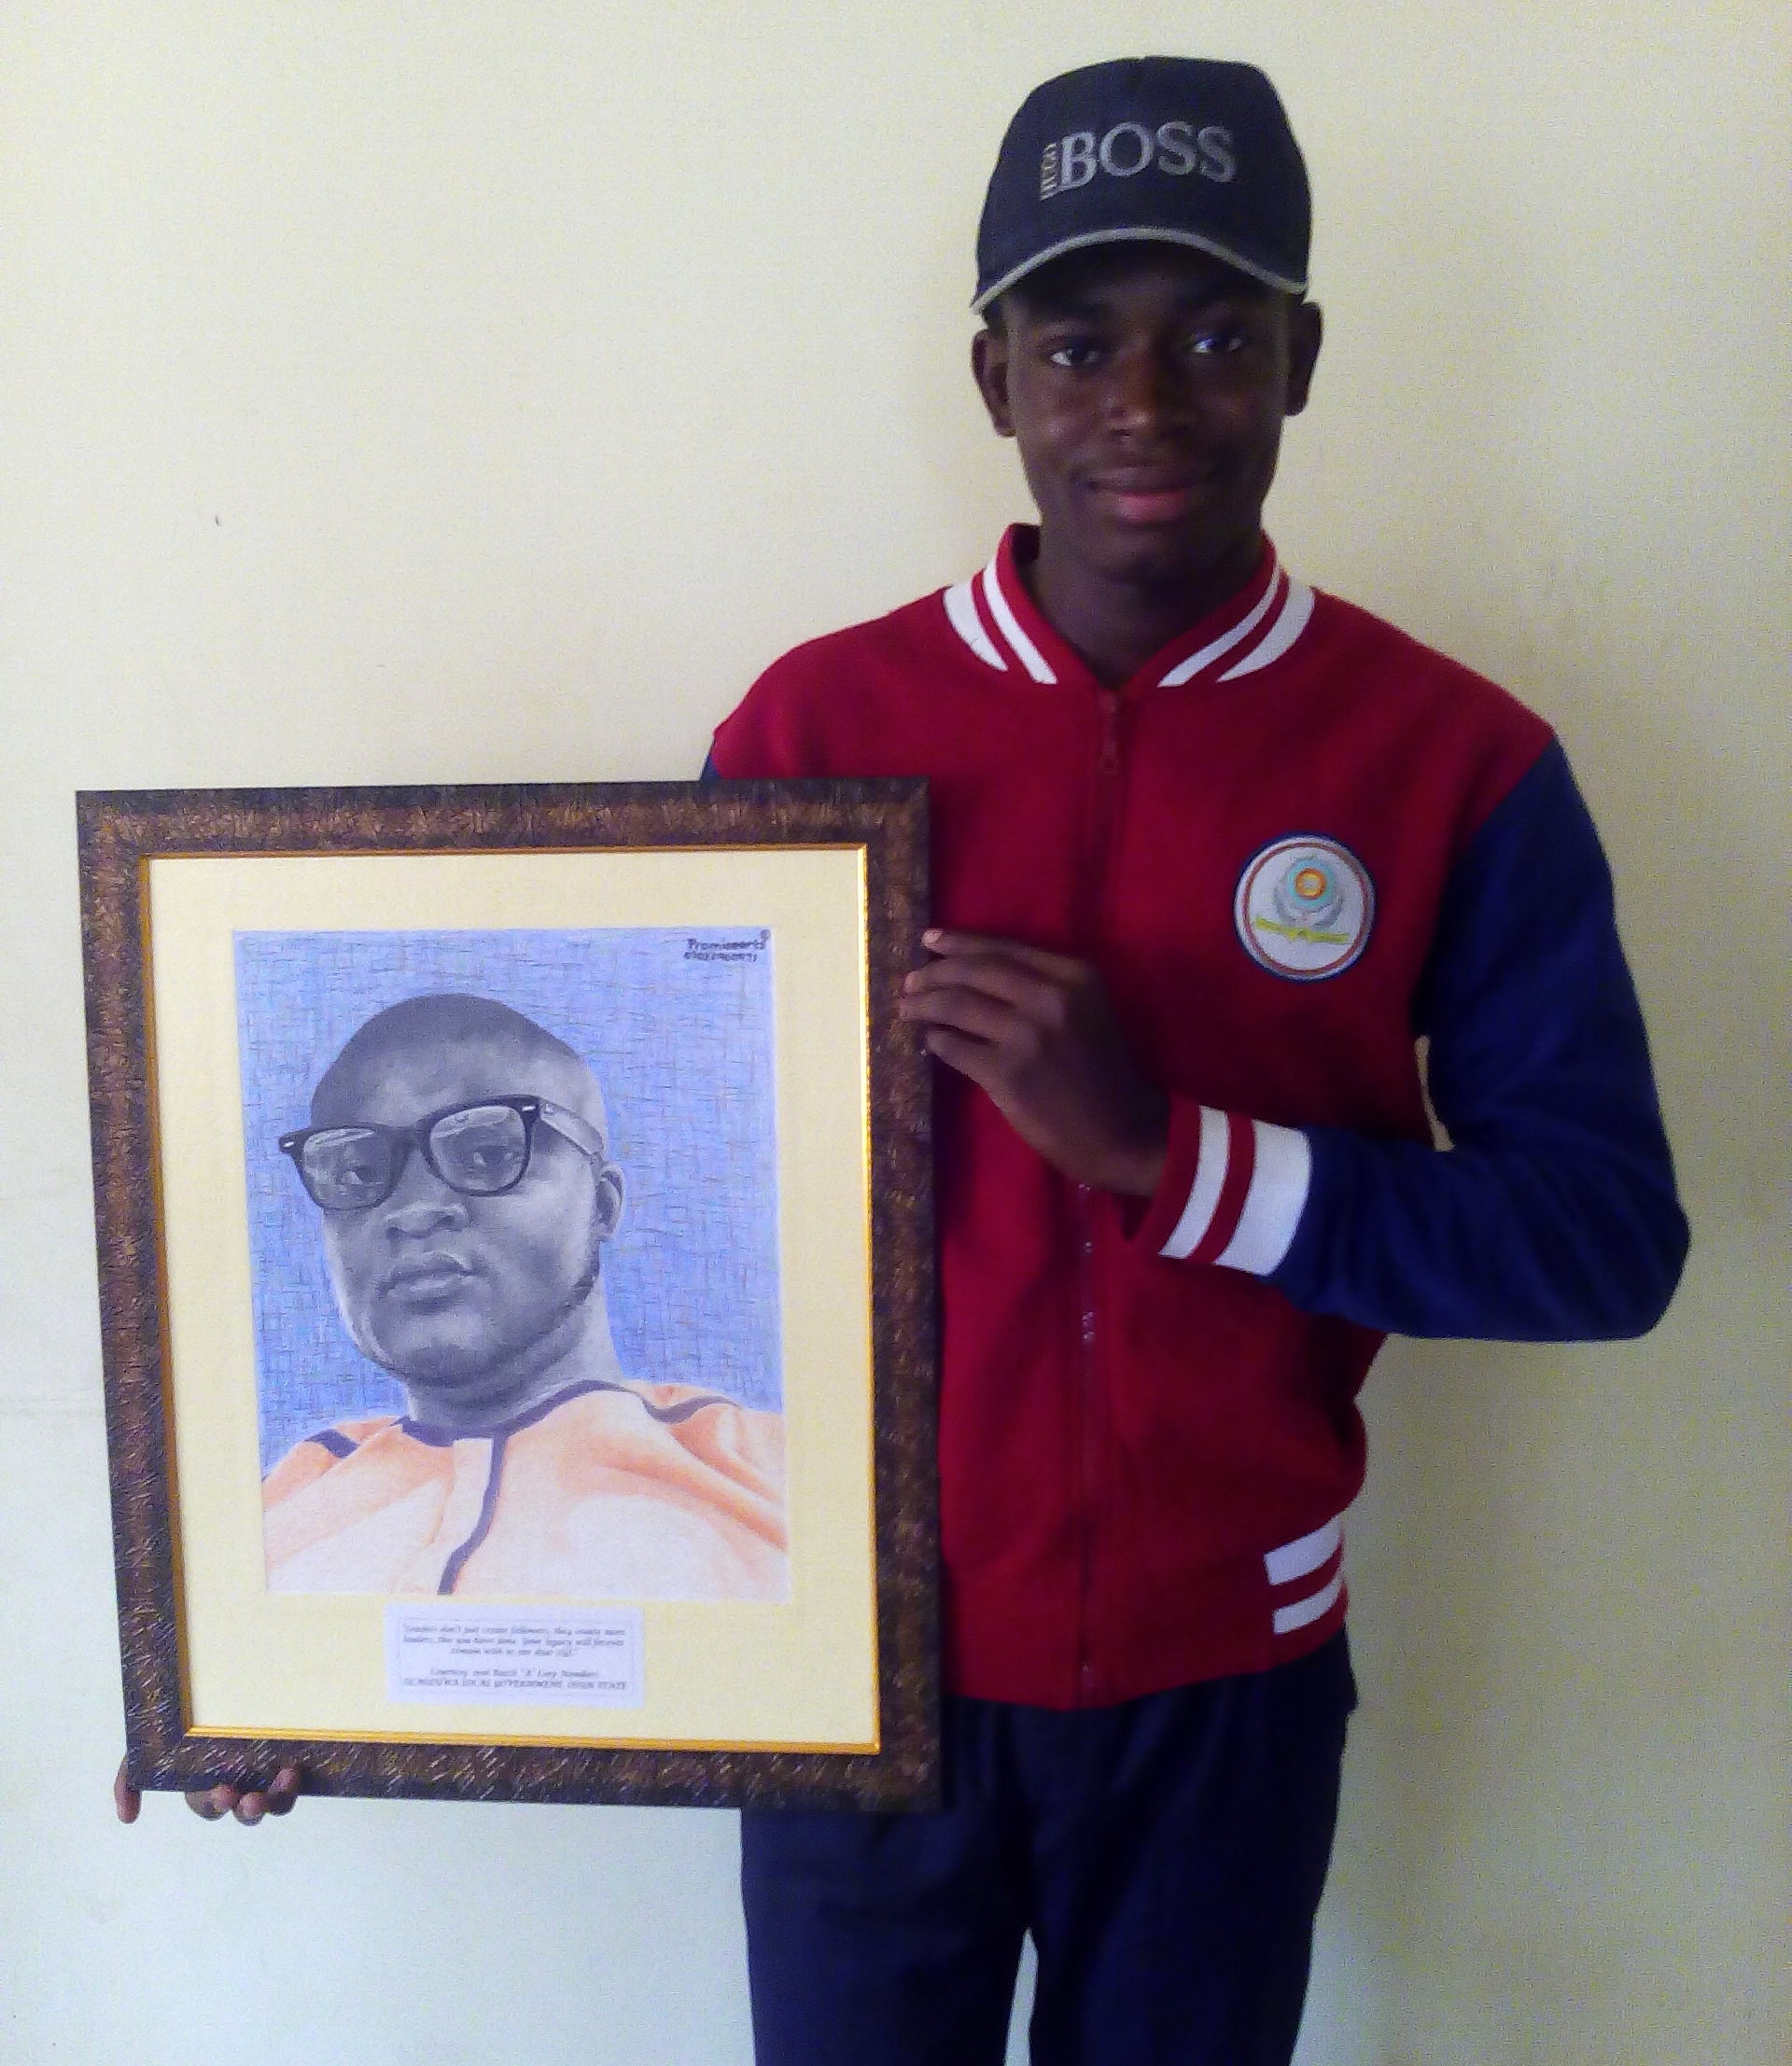
Thanks for reading this post, I hope it was helpful. If you feel more people need to see the, kindly esteem and upvote. Also feel free to share your thoughts.
You can see more of my works on instagram 👇
instagram
This is amazing. Well done. Upvoted and Followed.
Thank you
beautiful art i like post my friend @promisearts
Thank you alal
Resteemed to over 16800 followers and 100% upvoted. Thank you for using my service!
Send 0.200 Steem or 0.200 Steem Dollars and the URL in the memo to use the bot.
Read here how the bot from Berlin works.
We are happy to be part of the APPICS bounty program.
APPICS is a new social community based on Steem.
The presale was sold in 26 minutes. The ICO is open now for 4 rounds in 4 weeks.
Read here more: https://steemit.com/steemit/@resteem.bot/what-is-appics
@resteem.bot
You just planted 0.26 tree(s)!
Thanks to @promisearts
We have planted already 3838.42 trees
out of 1,000,000
Let's save and restore Abongphen Highland Forest
in Cameroonian village Kedjom-Keku!
Plant trees with @treeplanter and get paid for it!
My Steem Power = 18643.81
Thanks a lot!
@martin.mikes coordinator of @kedjom-keku
This post is resteemed and upvoted by @bestboom
Wow this is amazing, good job friend.,
Thanks friend
This post has received a 0.81 % upvote from @booster thanks to: @promisearts.
@originalpost @steem-untalented
Hola, gracias por tus consejos, me gusta dibujar y seguire tus indicaciones de ahora en adelante
Gracias amigo
What a great post!! Thanks so much for this, really helpful and motivating. I am a big fan of your skills. Resteemed!!
Wow, thanks a lot for appreciating my art @mariandavp