Tutorial To Make A Sketch (Step By Step)
Hello Everyone. I am Piyush Das. Today I am going to teach you how to draw a sketch. I was posting stories but I didn't get a good response but maybe this post will draw some eyes. I can't assure that you will become a pro artist after reading my post but trust me it will surely help you. I wasn't able to draw any sketches a few years ago but after lots of practice, I am doing pretty well.
So without wasting your time let's move on to our today's topic.
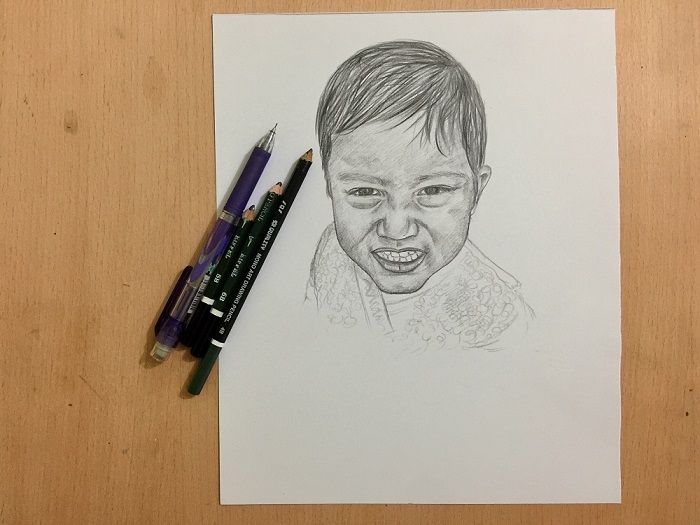
So Before moving to the steps let me tell you about the materials I used.
Materials Used:
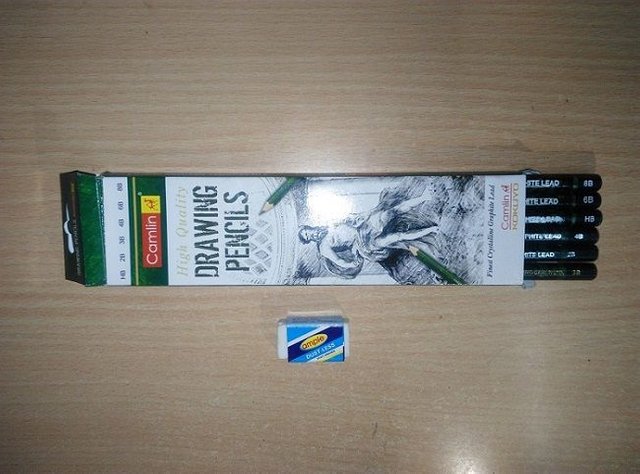
1 Set of Sketching Pencil (Comes with different shades)
2 Rubber
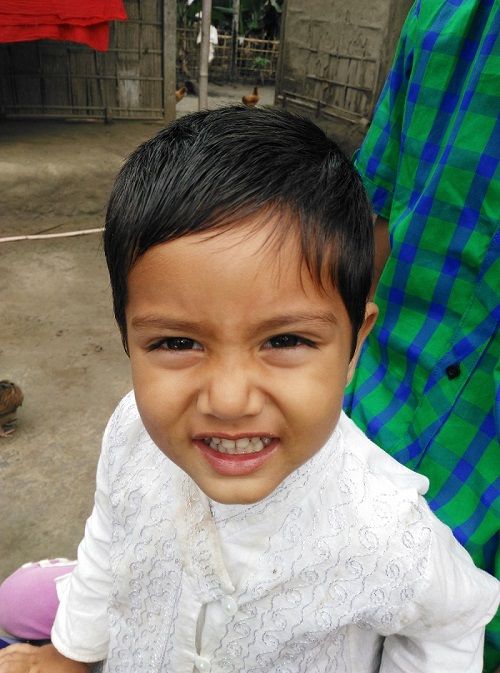
Reference Image:
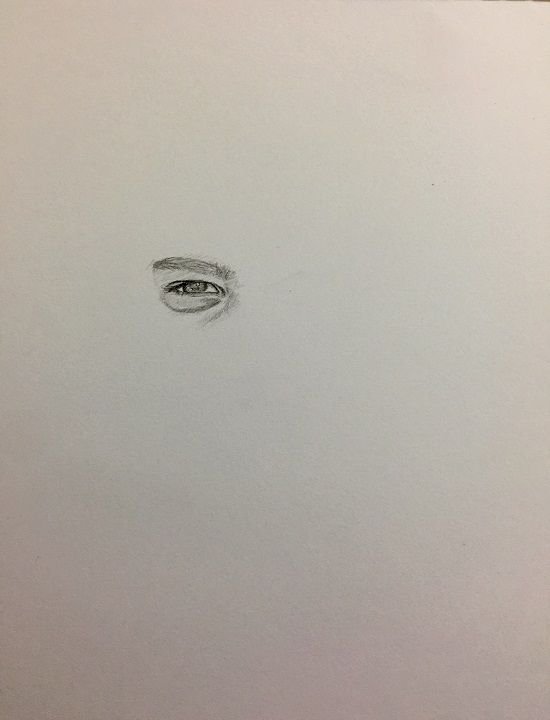
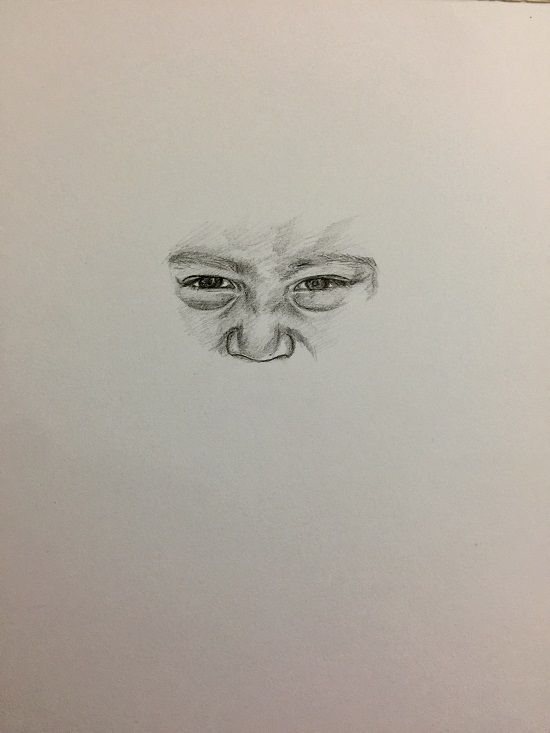
Step 1:
I started the sketch by drawing one eye. Many artists like to use ruler method in which we have to draw squares which helps in positioning different parts of the sketch like eyes, nose etc. But I don't prefer that method because it decreases the quality of the image at the end. I used a 4B pencil in the eyelid and a 5B pencil in the lashline.
At this time let me tell you one thing about sketching pencils. It comes in a range of 9H to 9B. Where 9H is the lightest and 9B is the darkest.
Step 2:
After completing the left eye I went for the right eye and then for the nose. I used a 4B pencil in the face for shading. I used a 5B pencil for the eyebrows and a 6B pencil in the pupil and to highlight the outlines. Try to use a darker pencil to highlight face parts like "Smile Lines".
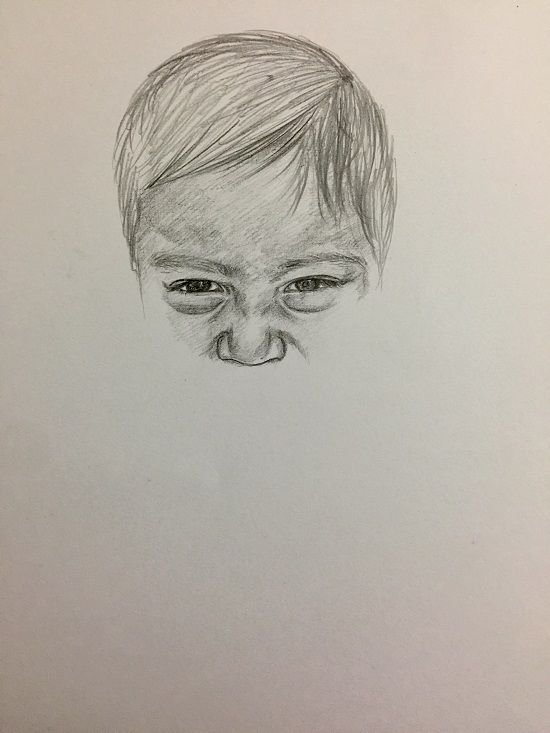
Step 3:
After completing the eyes and nose I went for the hairs. But before drawing the hairs I completed the Fore head. I used a 4B pencil in the hairs. I have to consider one thing that hairs are the next difficult thing after eyes of a sketch. It takes patience and practice to make the hairs perfect.
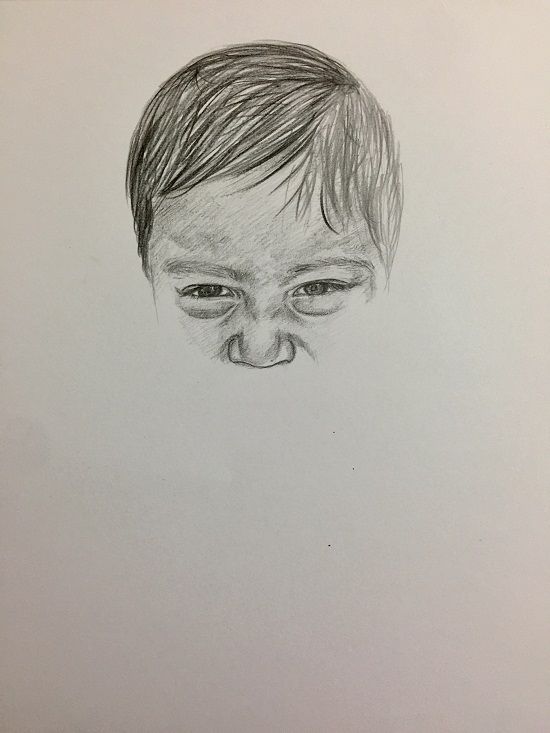
Step 4:
This is the bonus step to show you how I completed the hairs in two steps. Hairs should always be the darkest in a sketch of a portrait. That's why I used a lighter pencil in the above step to draw the hair and then a darker pencil to complete the hairs.
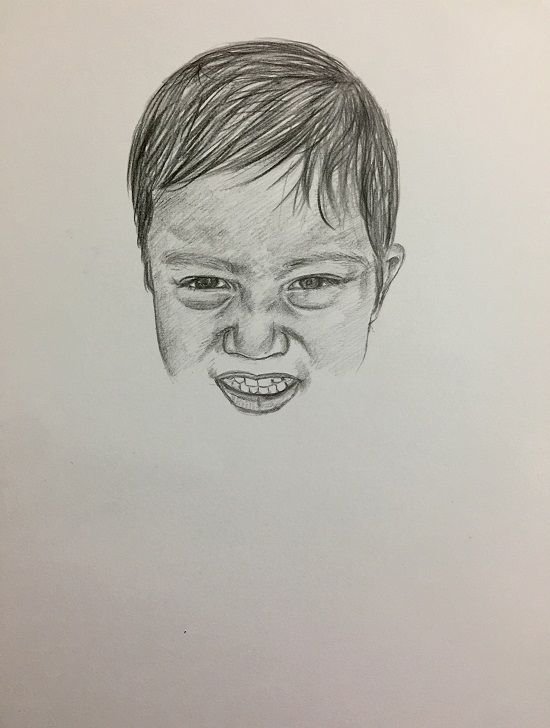
Step 5:
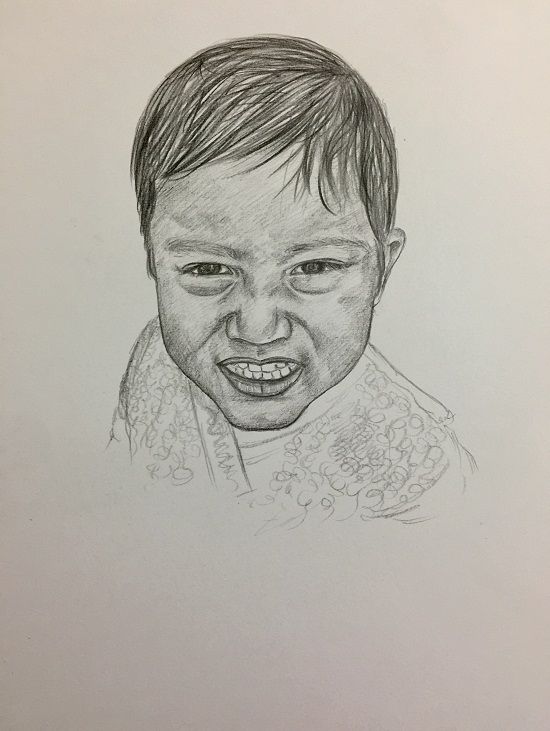
After completing the upper portion of the face I started drawing the lips and then the teeth. No need to use shading on the teeth. After that, I completed the ears and then the cheek. Here I used a 4B pencil on the cheek and a 5B pencil on the lips and to highlight the outline of the teeth.
Step 6:
Now we are in the last step of the sketch. In this final step, I completed the chin. I used a 5B pencil to do shading on the chin and in the remaining part of the face. When the face part was completed I sketched the dress. The dress is not perfect but I tried.
If you liked my post. Please, Upvote and Resteem.