Setting Up an Exchange Account to Change Fiat into Crypto
In this tutorial you learn hot to set up a coinbase account in order to purchase Ethereum to prepare you to participate in the ONSTELLAR Token Sale.

This is Tutorial 2 out of 9 for the ONSTELLAR ICO. (overview)
Token Sale Contribution Prerequisites
In order to participate in the ONSTELLAR token sale, you must first set up an account with an exchange to change fiat into crypto. Here are instructions to do so.
To help you through the steps, we’ve created this guide using one of the most popular exchanges, Coinbase.
Coinbase.com Registration
In the browser of your choice visit https://www.coinbase.com/.
Click Sign Up.
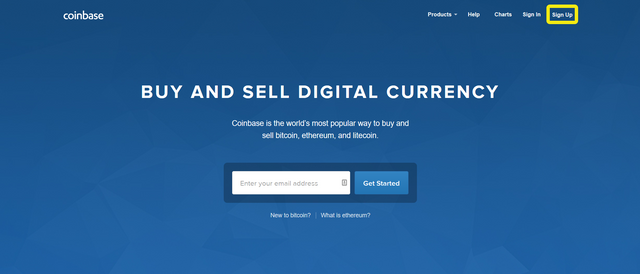
You will now see the Coinbase create your account page.
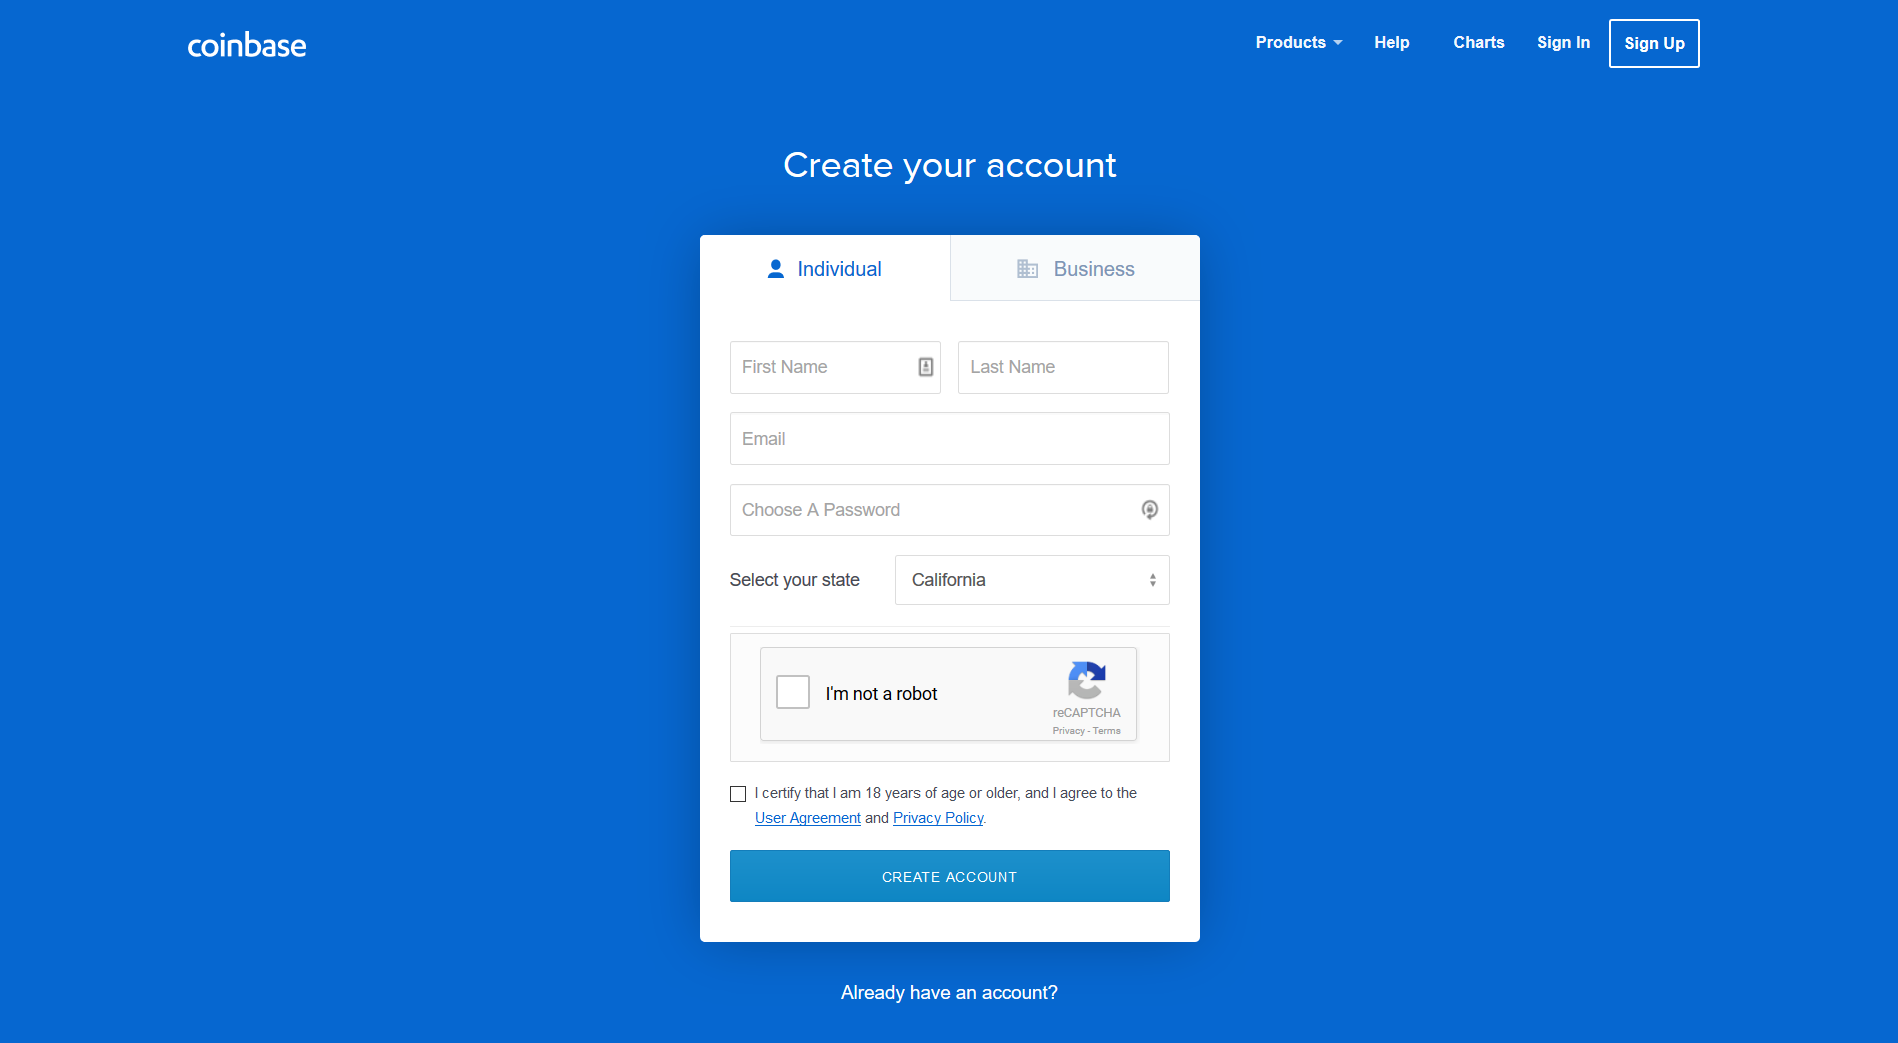
Enter your First and Last Name, your valid email address, choose your password, select your state, and confirm you are not a robot by clicking the reCAPTCHA checkbox.
Please carefully review the terms of the User Agreement and Privacy Policy.
Once you’ve reviewed the all of the terms:
• Check the “I certify that I am 18 years of age or older, and I agree to the User Agreement and Privacy Policy”,
• Click “Create Account”
You will then be sent a verification email.
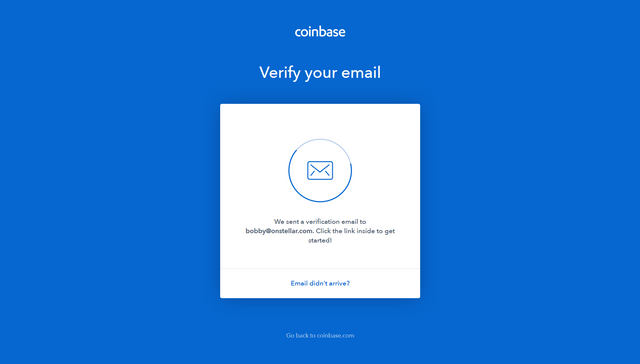
Navigate to the email address specified in the initial step and click “Verify Email Address”.
Note: Check your junk folder if you do not receive any emails from Coinbase.
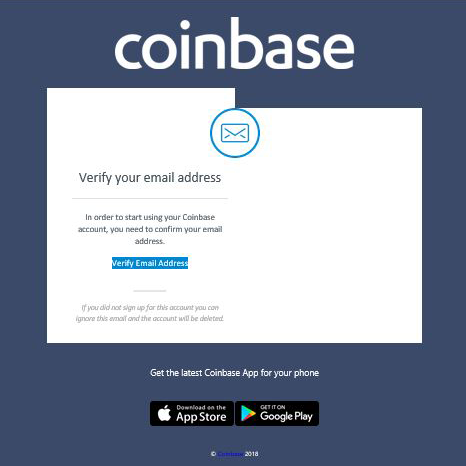
After you click on the “Verify Email Address” link, you will be prompted to add a phone number.
Here, you will enter your 9-digit telephone number where you will be sent a code to confirm.
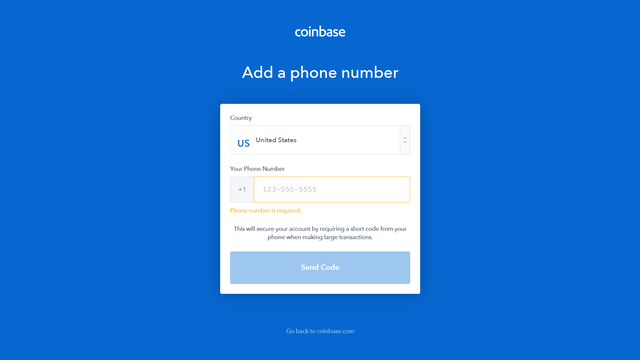
Once you receive the code via SMS, enter it in the box and submit.
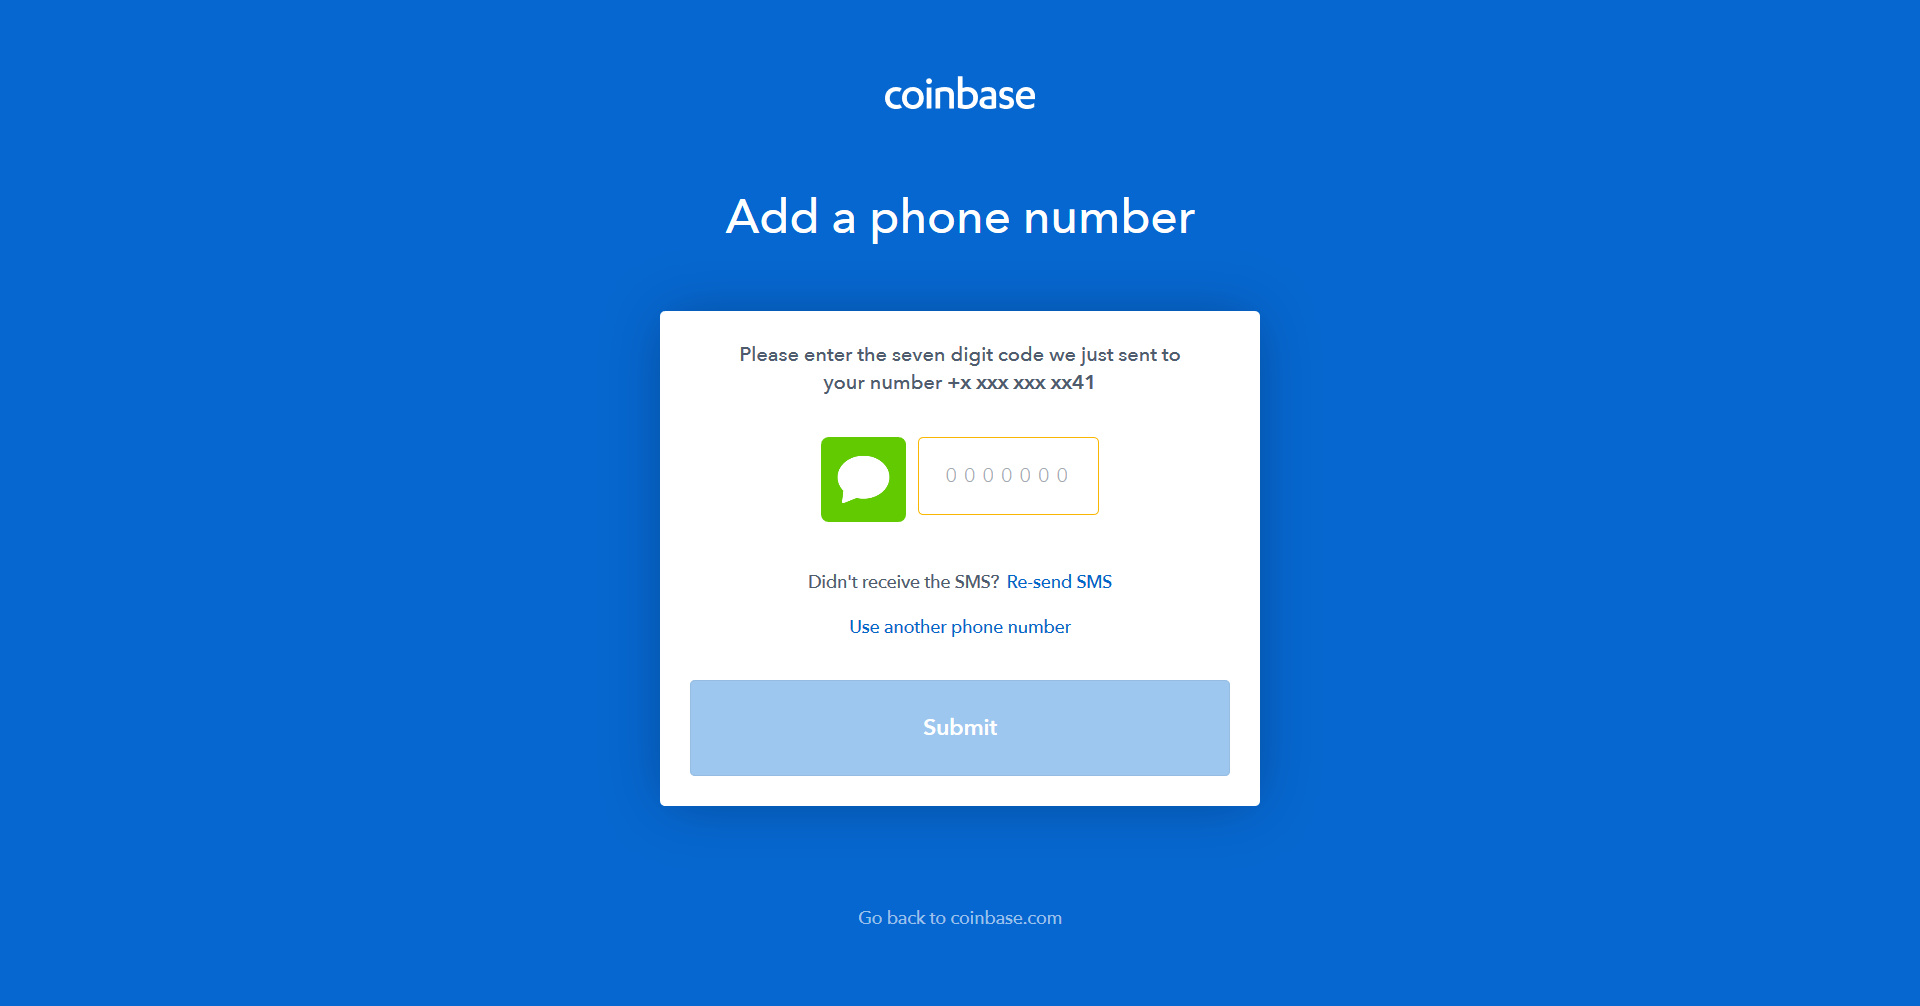
Once you have verified your number, you will be asked to sign in. Enter the email and password you used during sign up.
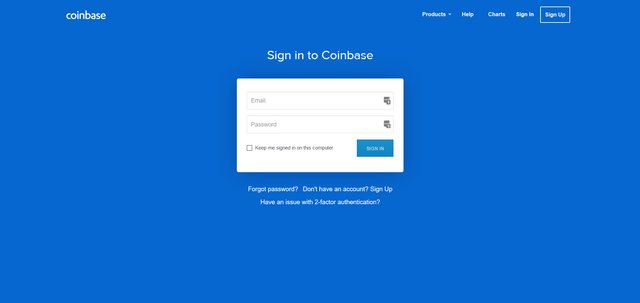
Welcome to Your Dashboard
There are a few more steps you need to make to be able to buy or sell digital currency with local currency.
Personal Details
You can get to this page to fill in your personal details from the top menu.
Click Settings.
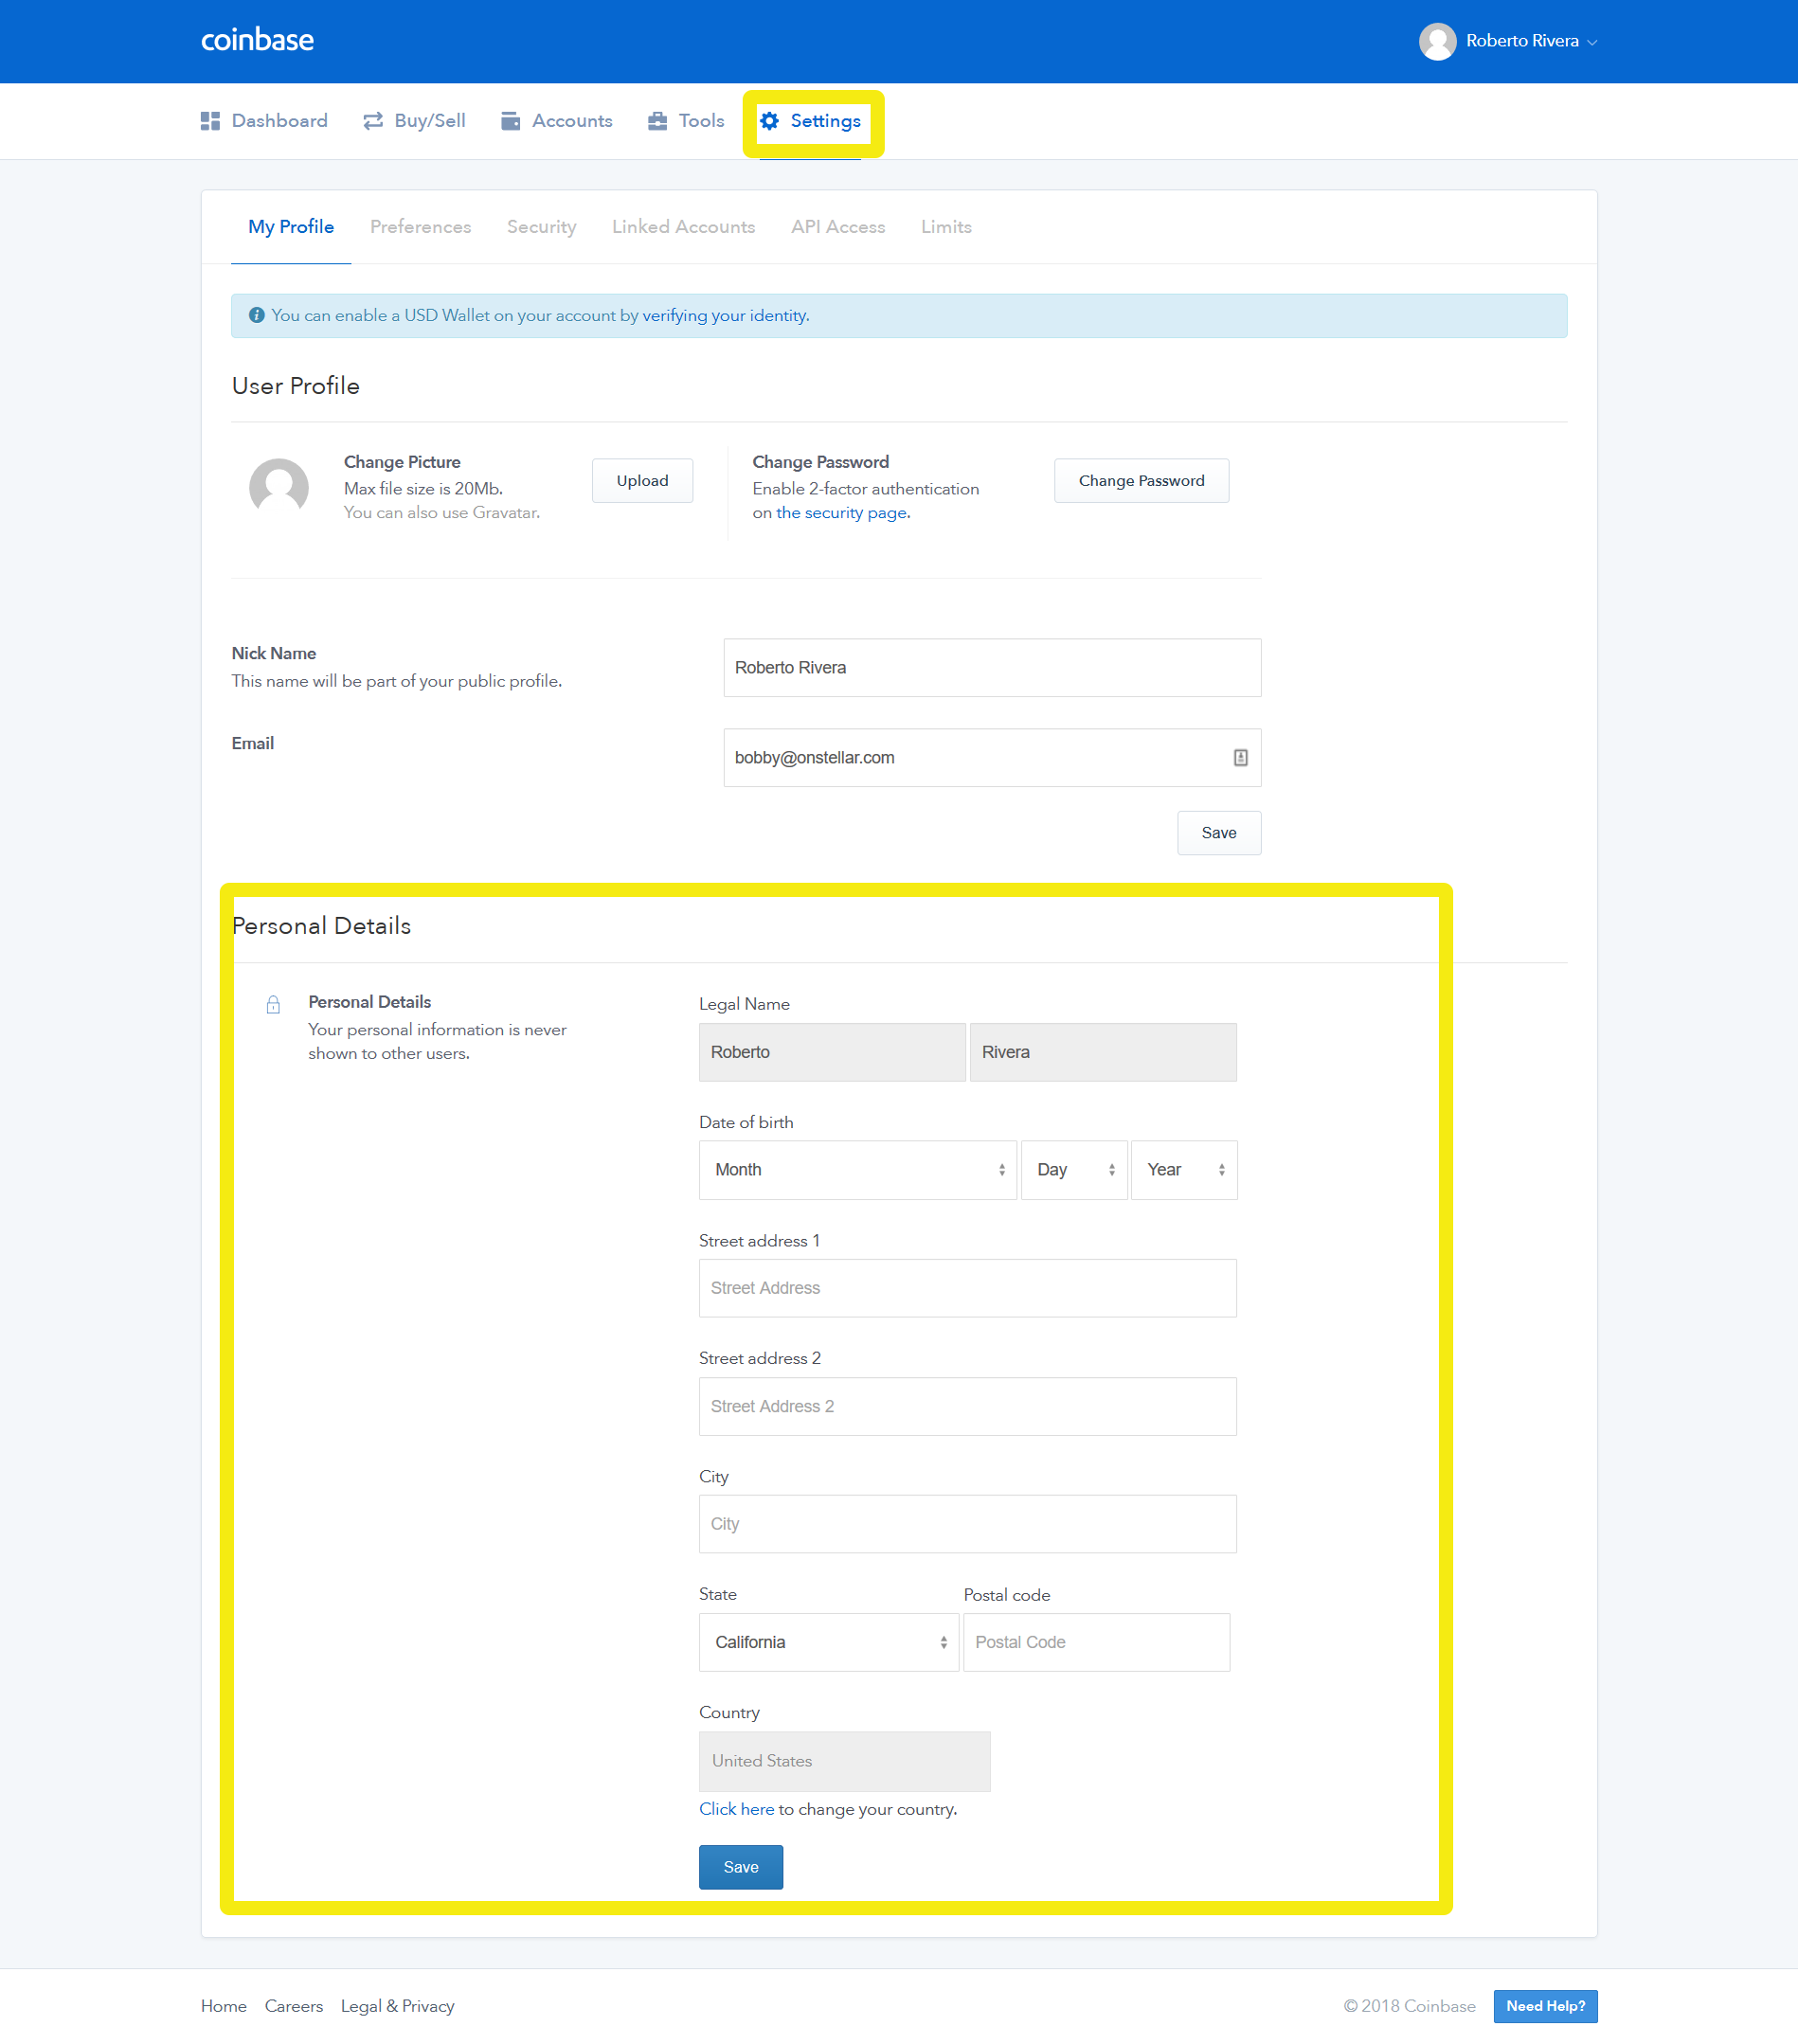
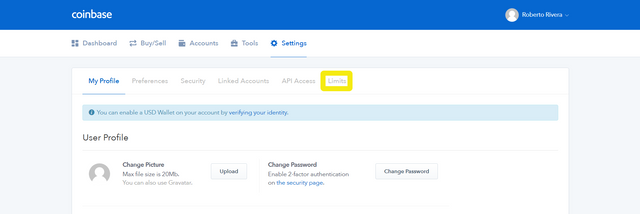
Once you’ve entered and saved your personal information, click on the 'Limits' submenu option within the same Settings Page.
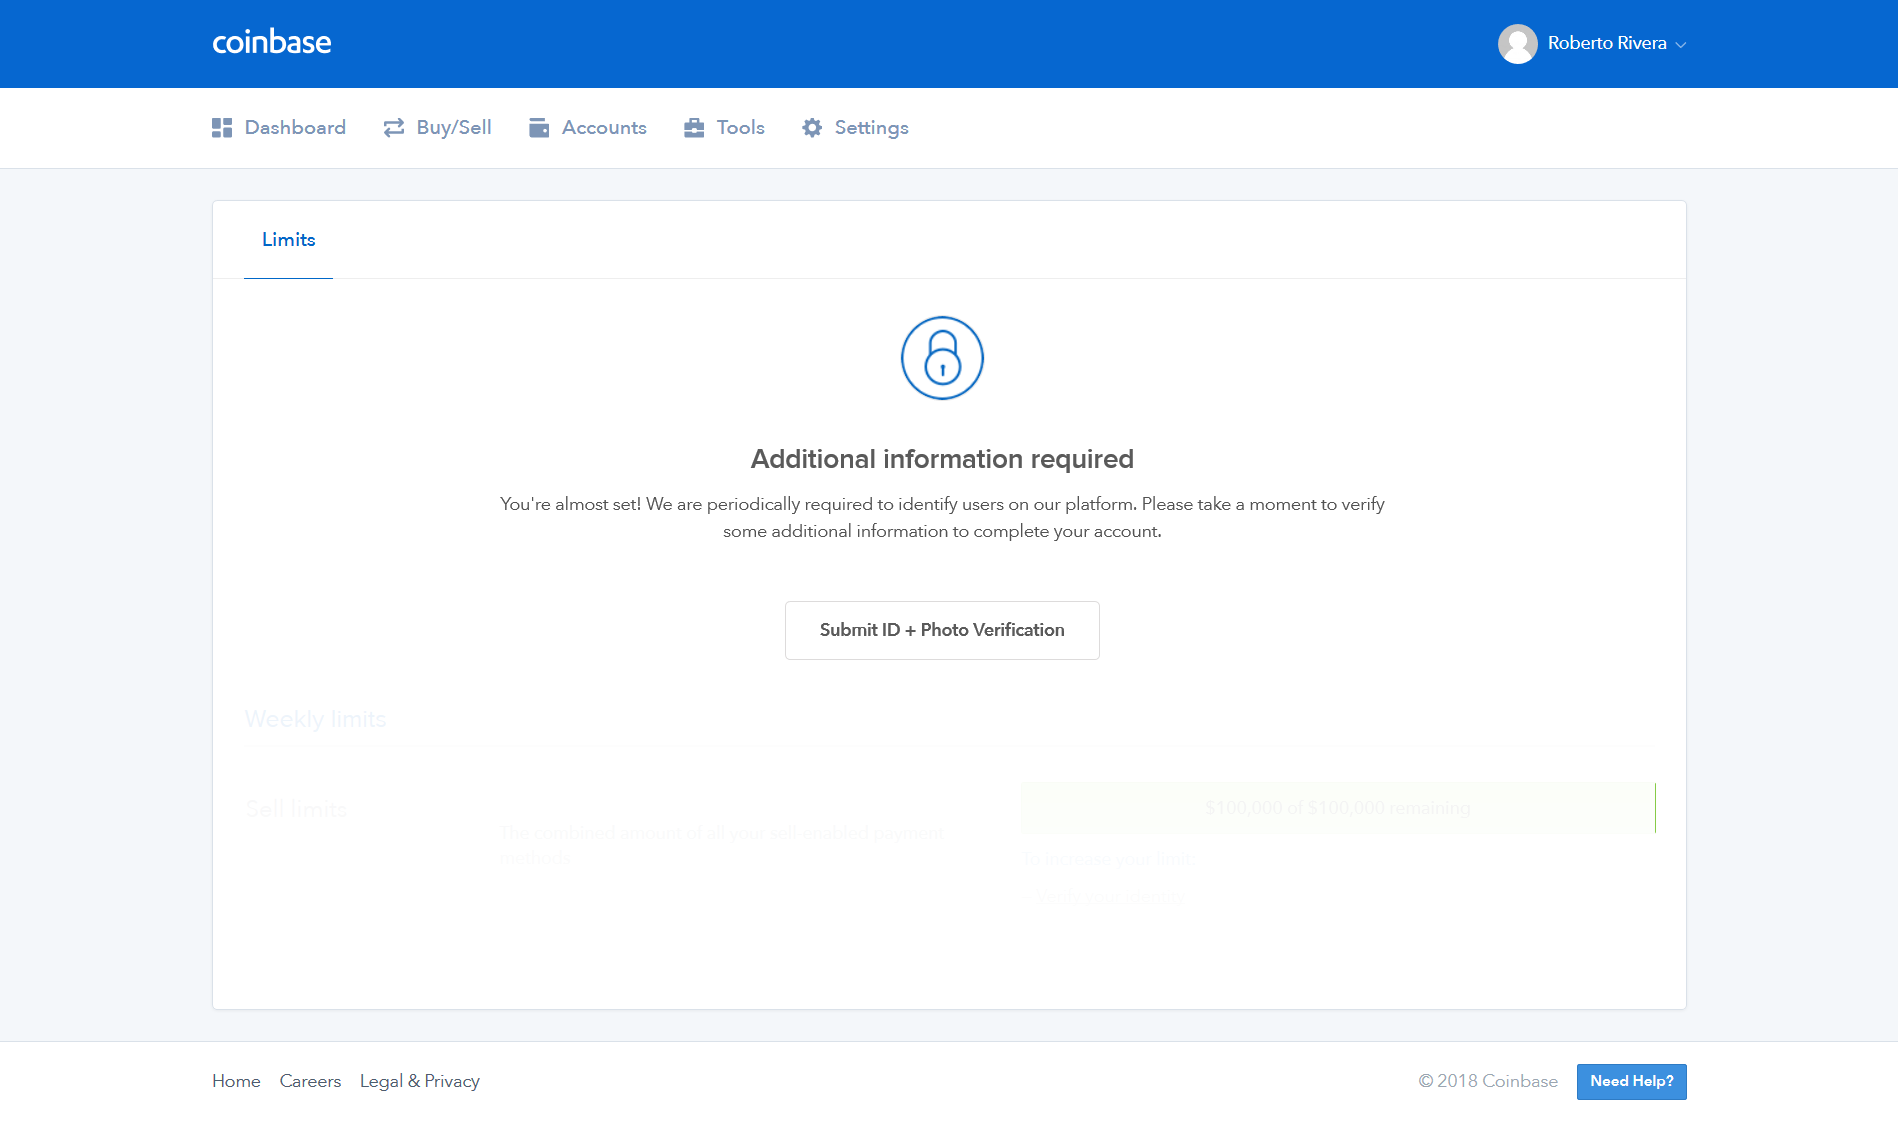
You will then be directed to Submit ID+Photo Verification.
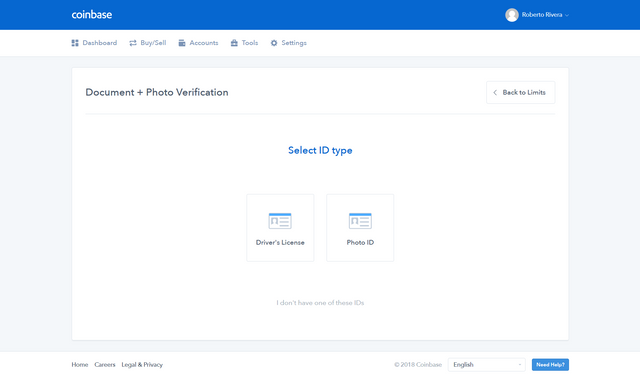
When you click Submit ID+Photo Verification, you will be given the following two options:
Driver’s License or Photo ID
Whichever you choose, you will then be prompted to either take pictures of your form of identification with your webcam or to upload image files of your ID.
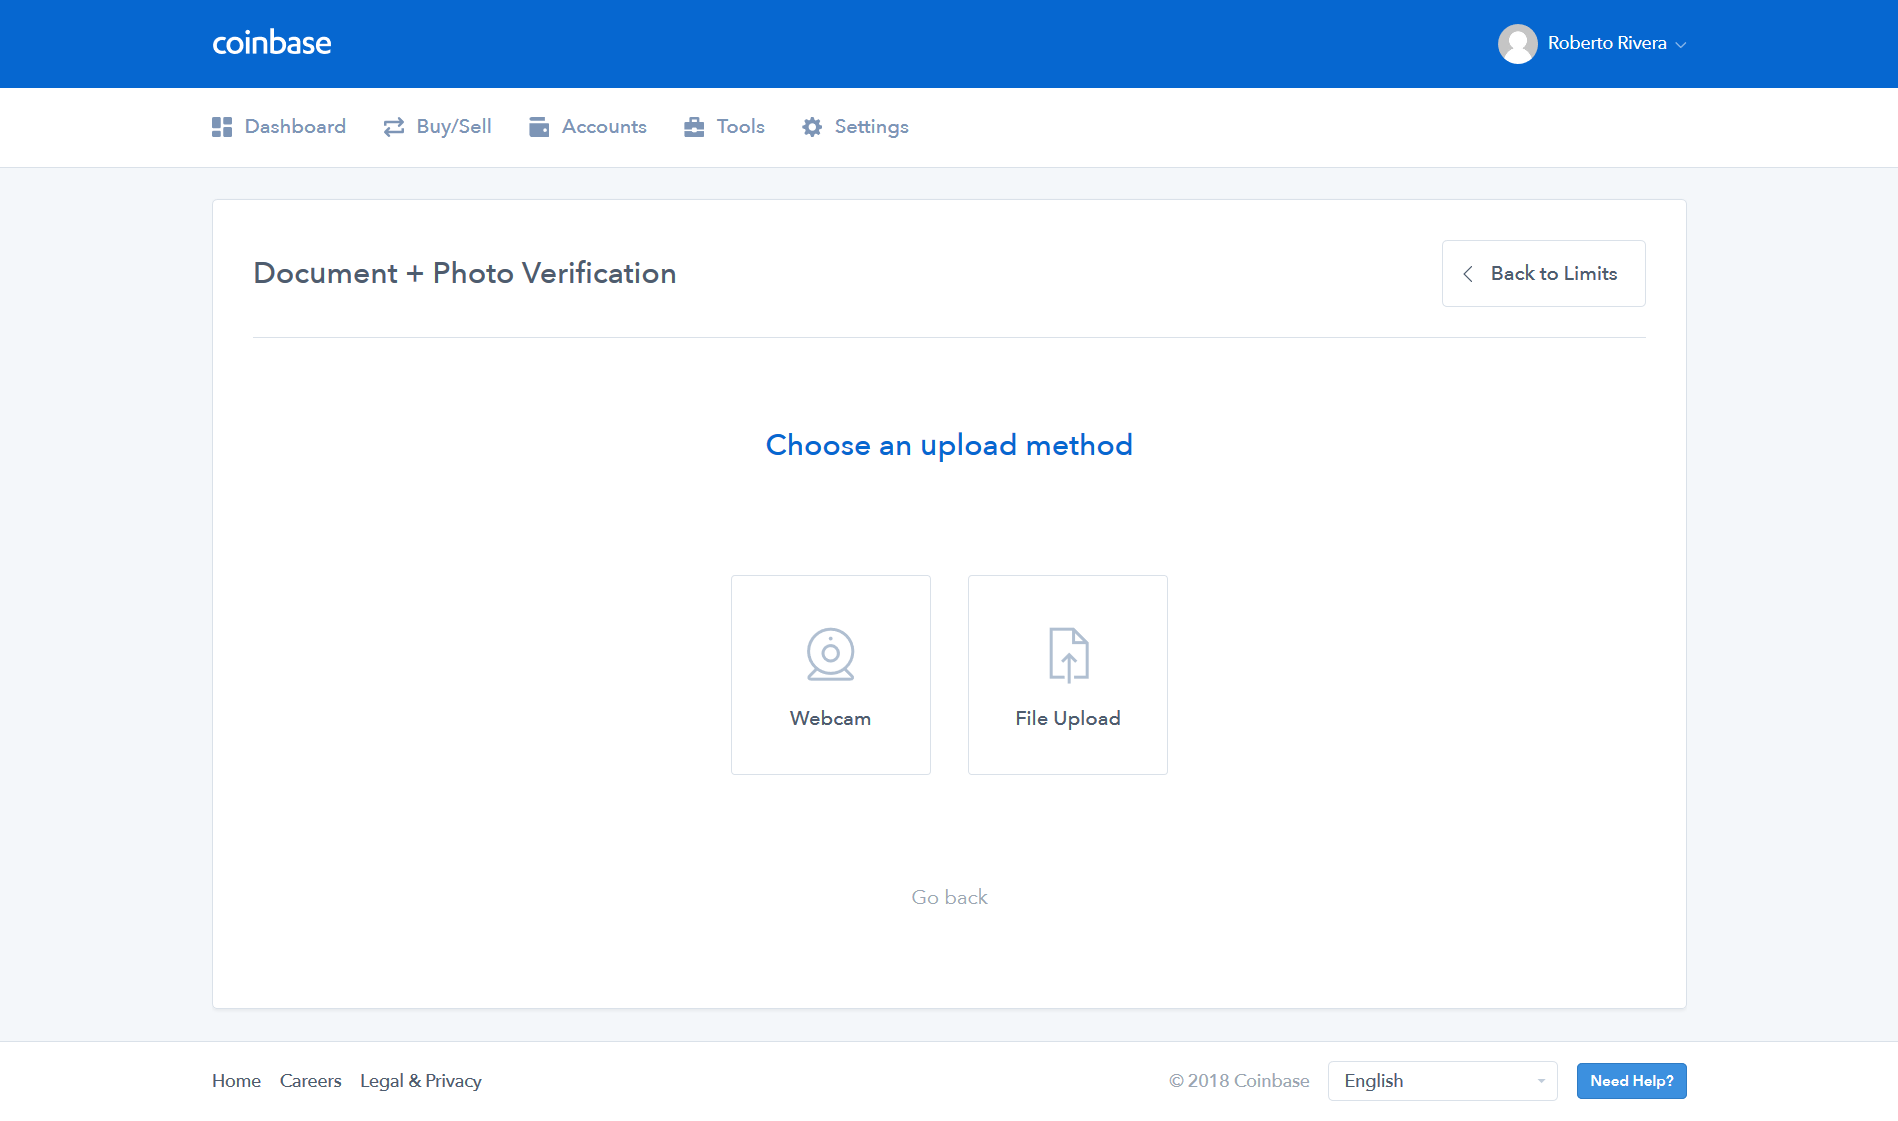
Webcam
If you choose the webcam method you will be asked to take front and back pictures of your ID with your webcam.
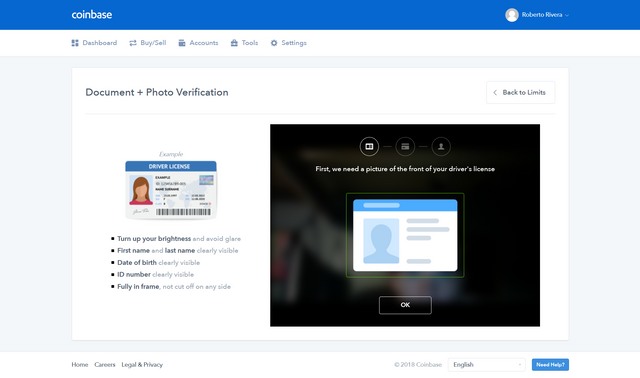
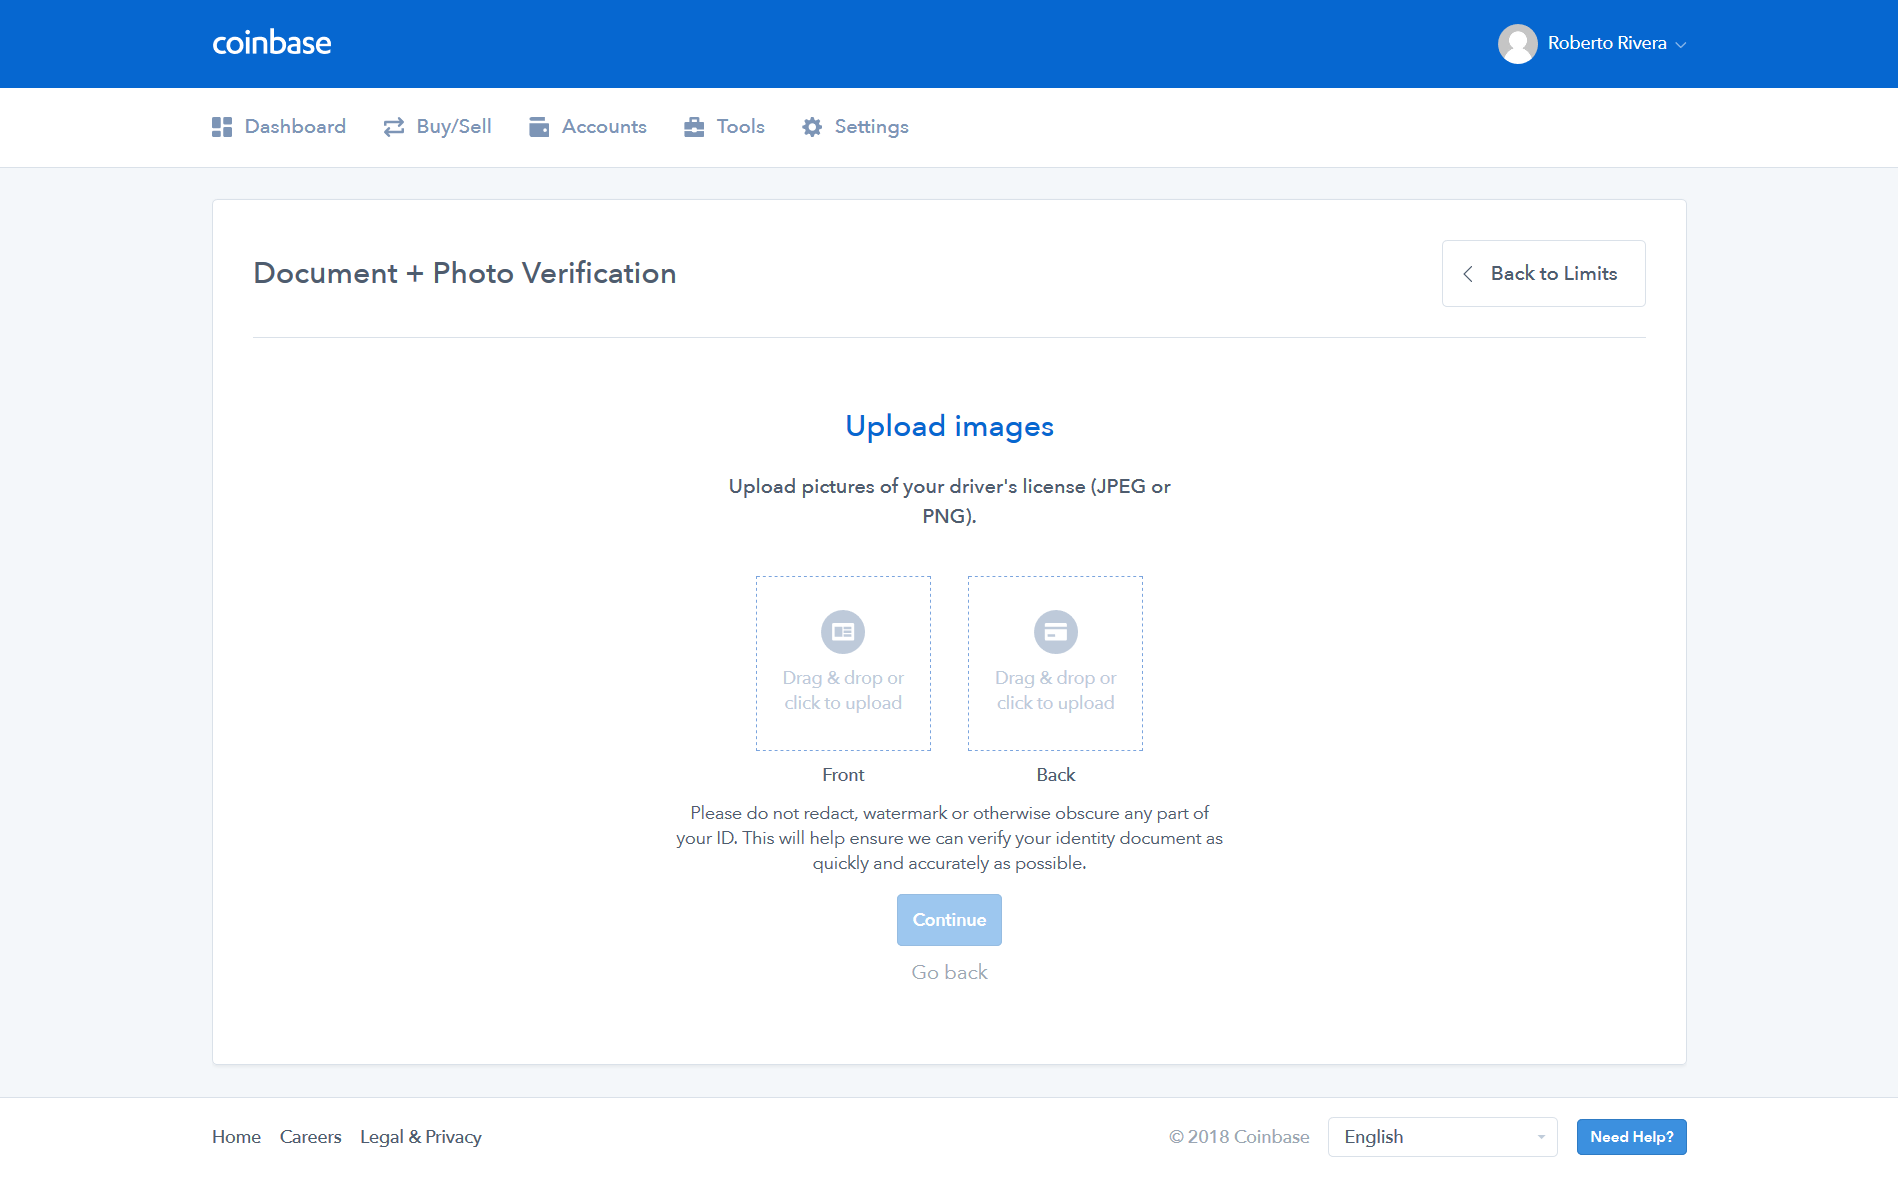
File Upload
If you choose to upload files, you will be prompted to upload front and back images of your ID.
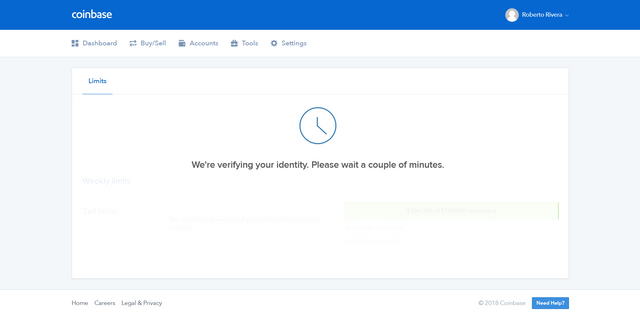
After you submit your form of identification, you will see the screen below. Coinbase will notify you via email once they have verified your ID.
This is what that verification confirmation email looks like:
The final step is to add a payment method to your account.
Click on Buy/Sell in the top menu from your dashboard.
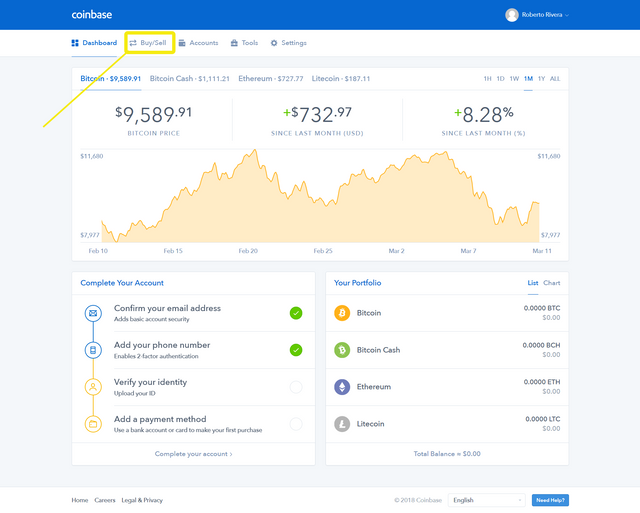
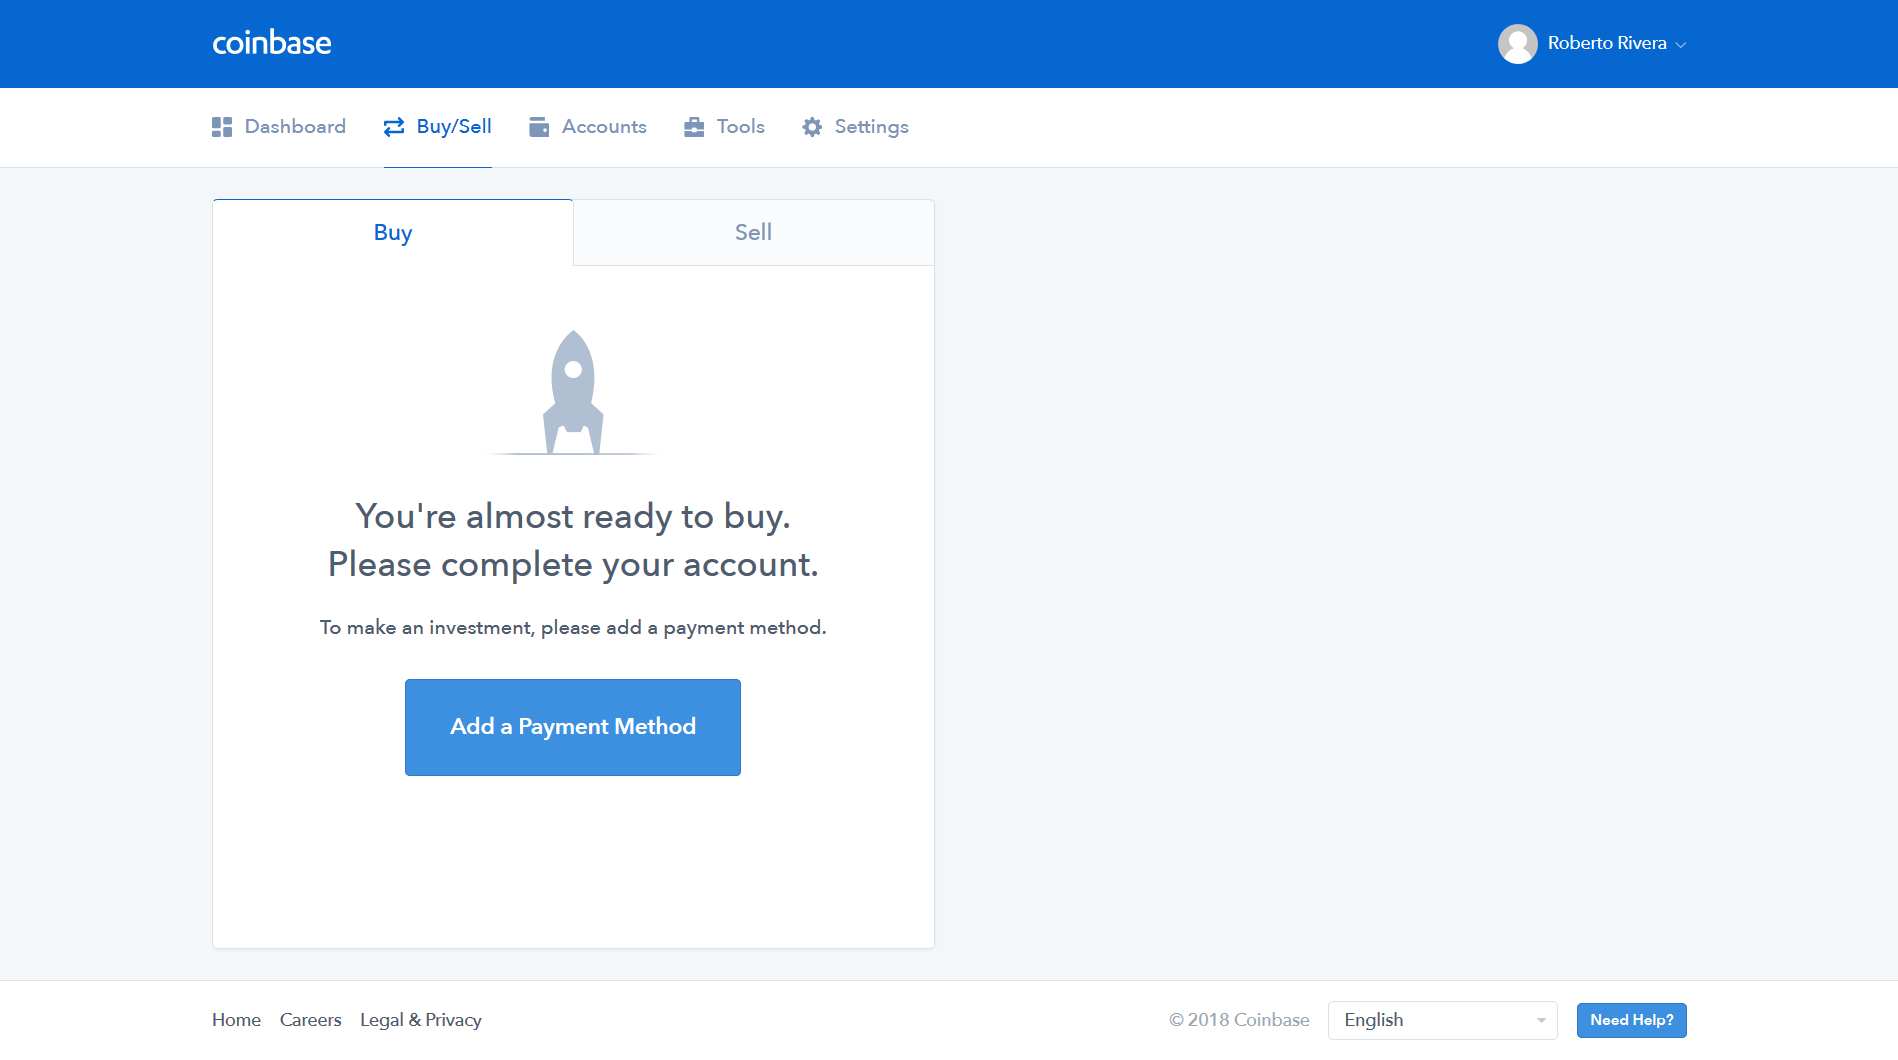
On this page, simply click “Add a Payment Method”
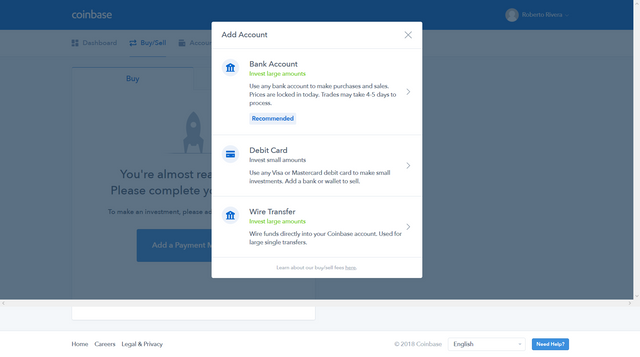
You will be given 3 options.
Select the preferred method of payment.
You will be prompted to enter your your full name and your financial institution’s routing number and your account number.
Verifying Your Payment Account
Two charges will be made to the bank account under “Pending Transactions”.
You are required to determine the last two digits of these charges.
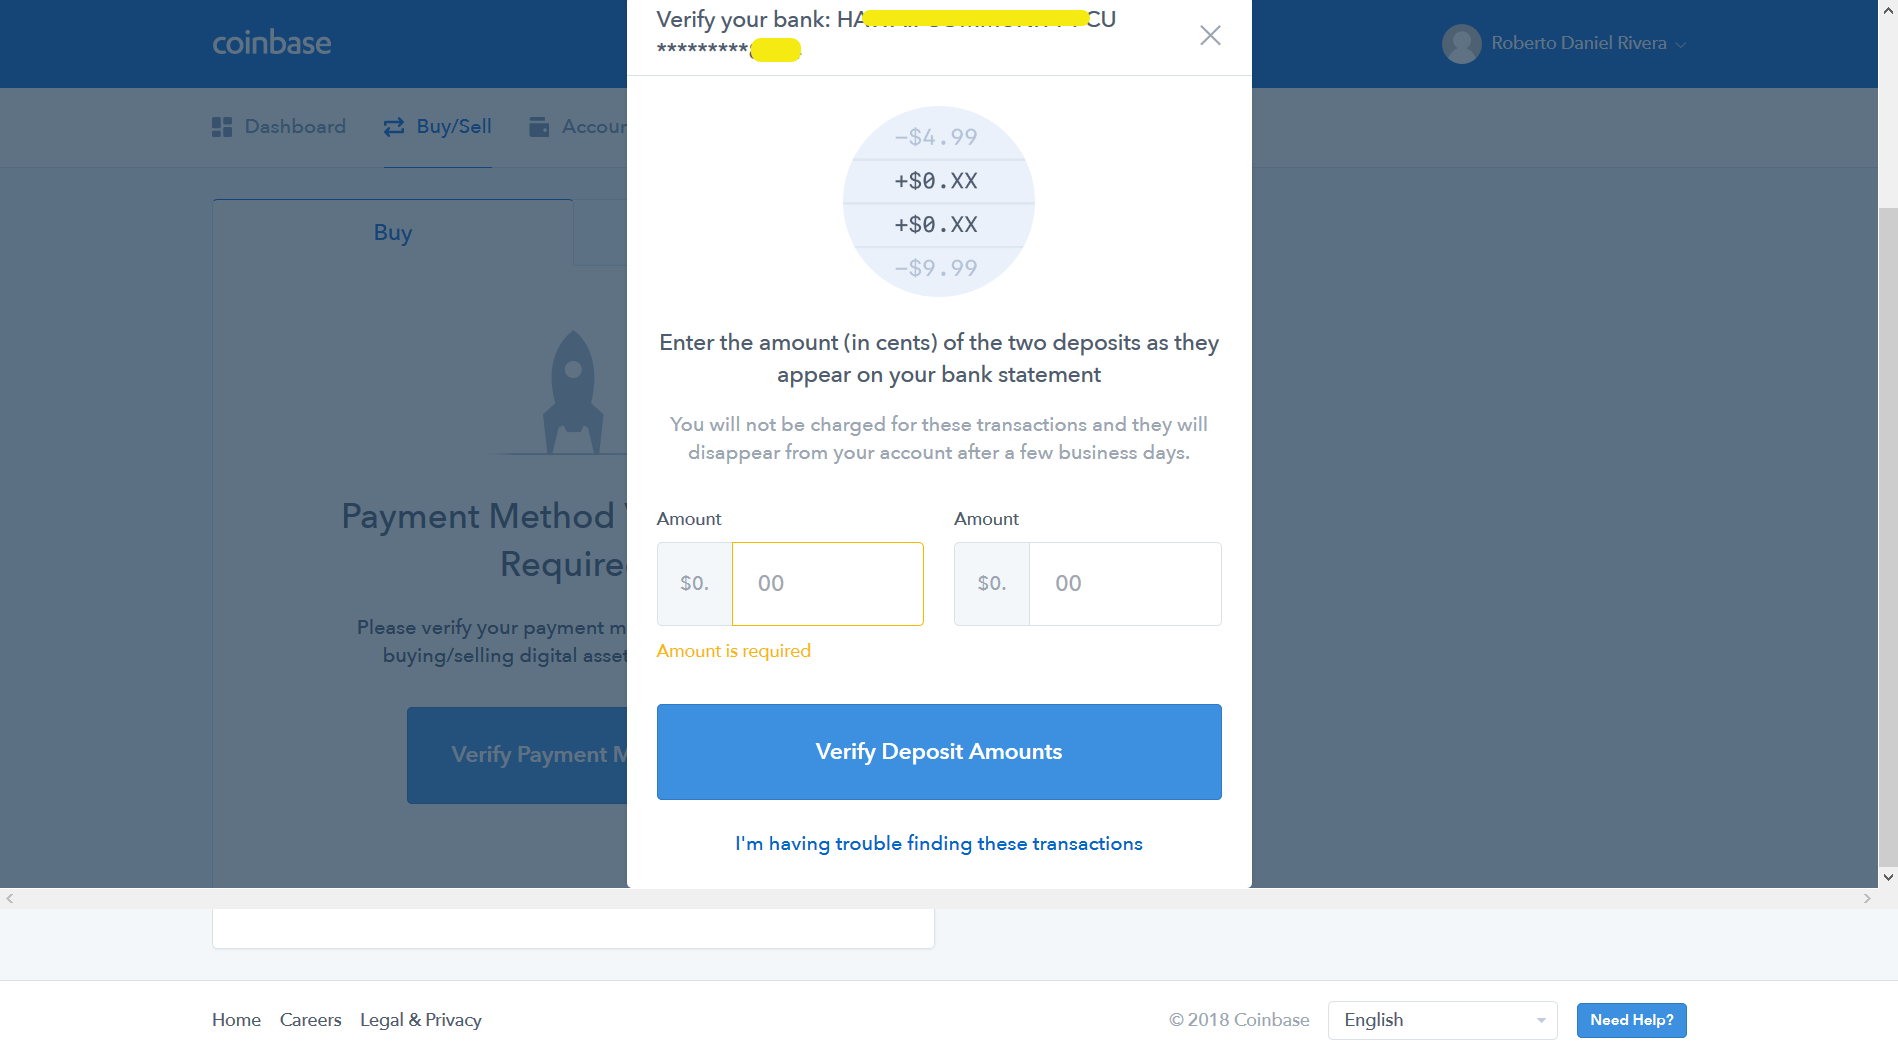
These charges can be found from online bank statements.
Enter the amount (in cents) of the two deposits as they appear on your bank statement, and hit Verify Deposit Amounts.
And that’s it!
You are now able to buy and sell BTC or ETH from Coinbase!
thanks good information!
You're welcome! We hope to continue to bring value in all our posts!