Skycoin: A D.I.Y Miners Guide

Skycoin:
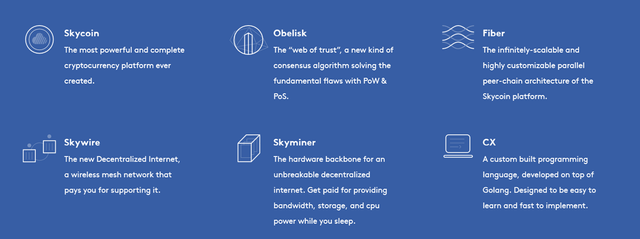
Skycoin is a premier project that utilizes blockchain for a newly decentralized networking protocol, replacing IP addresses with public keys for end to end encryption. This revolutionary blockchain has the potential to completely overhaul the current internet & evolve into a "Web 3.0". The implications & real use cases for an earnest change, not only in how we interact in a peer to peer setting, but also putting forth the infrastructure necessary for community based, community controlled networking. If bitcoin was the prototype for decentralized economics; Skycoin is the expansion of that methodology. Skycoin improves on current consensus algorithms with the implementation of Obelisk & the addition of a hardware solution known as the Skyminer. The Skyminer is one of, if not the only physical product a blockchain project has shipped to integrate blockchain solutions into tangible real world obstacles.
Skyminer:
The Skyminer is the hardware platform for the implementation of a decentralized internet. When Skyminers are built the users deploys skynodes that will provide bandwidth for the network. In turn the user's will be paid an allocation of Skycoin for their services. This is an introduction to the Skycoin economic model. Where Skycoin community members are compensated for their role in the implementation & expansion of a new internet protocol.
Building a D.I.Y Skyminer:
The following is a guide for users who want to be involved in the early implementation of Skywire.
Parts List:
- 8X ODROID C2
- 8X Samsung 32GB EVO Plus Class 10 Micro SDHC
- 8X 1FT Micro USB to USB Charger Cable
- 8X 1FT Cat6 Ethernet Cable
- 2X GeauxRobot Raspberry Pi 3 Model B 4-layer Stack Clear Case Box Enclosure
- 1X TP-Link 16-Port Gigabit Ethernet Unmanaged Switch
- 1X Anker 60W 10-Port USB Wall Charger
- 1x Tmobile TM-AC1900 Router
Why the ODROID - C2 instead of a Raspberry Pi / Orange Pi Prime ?
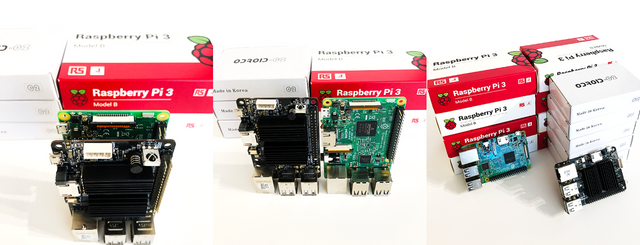
Currently as of this writing, Orange Pi Primes are out of stock, the aim was to find a board that was similar or better while still staying compatible with the software necessary to run the nodes. The ODroid-C2 was the perfect mid range between an Orange Pi Prime and other boards such as the current line of Rasberry Pi's. The ODroid-C2 also utilizes the same form factor as the readily available Raspberry Pi, which made finding a case for a cluster easy. Below are the side by side specifications for each board.

Installing AsusWRT Merlin on your TM-AC1900 Router
Installing the Operating System on the Micro SD Cards
- Download & install the latest Etcher software for your system
- Download & install Armbian for your board, you may need to unzip file
- Download & install Putty, later on you will use this to SSH into the Odroid boards
- Insert your card into the computer using your MicroSD to USB adapter
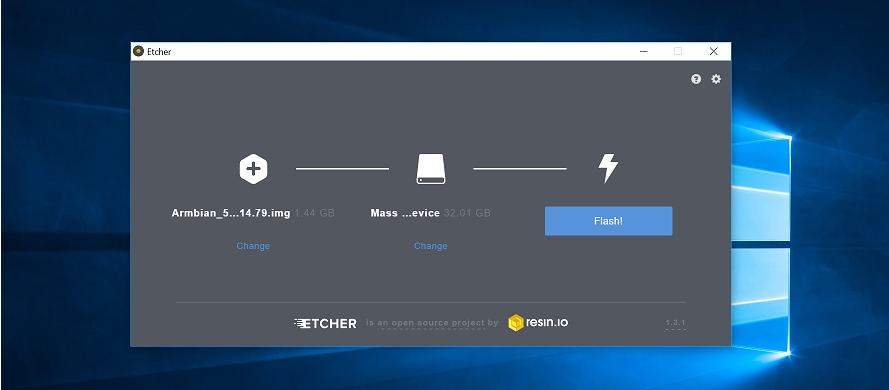
- Open Etcher; your microSD should automatically populate, select the Armbian image you downloaded earlier & click "Flash!"
- Eject your microSD card from your PC (Safely)
- Repeat for the next seven microSD cards
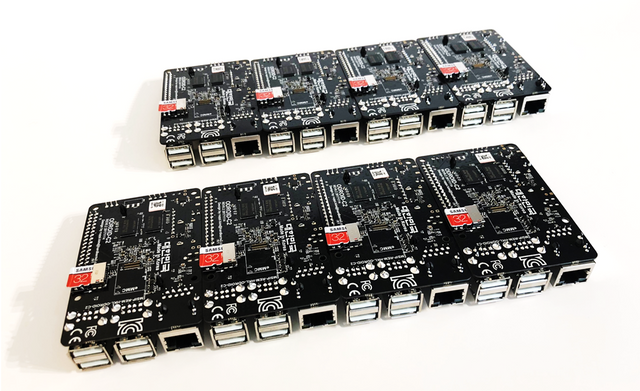
- Install microSD cards into each Odroid C2
Hardware Setup & Installation
- Install your Odroid's into a cluster using the clear acrylic enclosures
- Install the 1FT USB power cords into the micro USB ports on the Odroid's
- Install the CAT6 ethernet cables into each Odroid Gigabit ethernet port
- Connect your usb cables to the Anker power bank
- Install each ethernet cable into the back of the 16-Port Gigabit Ethernet Unmanaged Switch
- Connect an ethernet cord from the yellow LAN port to your 16-Port Ethernet switch

Assign Static IP's to Odroids (AsusWRT)
- Open a browser and navigate to 192.168.29.1 (or the default IP address of your router)
- Select LAN under Advanced Settings > DHCP Server tab >Enable Manual Assignment > Yes
- In the DHCP section you may select the drop down menu under "Mac Address"
- Select your Odroid's IP address and change the Hostname to Odroid No.1
- Do the same for the other Odroid IP's numbering them perspectively
- Write down the IP addresses of your Odroids for later use

Armbian Configuration
- Open Putty to SSH into your Odroids
- Enter the static IP for your first Odroid
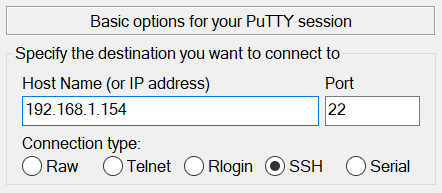
login: root

password: 1234
- Once you login you will see prompts to change your password
- Enter the default password "1234" and then proceed to change your password
- You will be prompted to create a new username and password
- Follow directions on the command line to create a username and password
- No need to enter in your name and personal information, click enter until asked to save, then type "Y" and enter again
- Update Armbian using the following commands
sudo apt update

sudo apt upgrade
Install & setup Skywire Nodes
- SSH into your first Odroid
- Login with root and your password
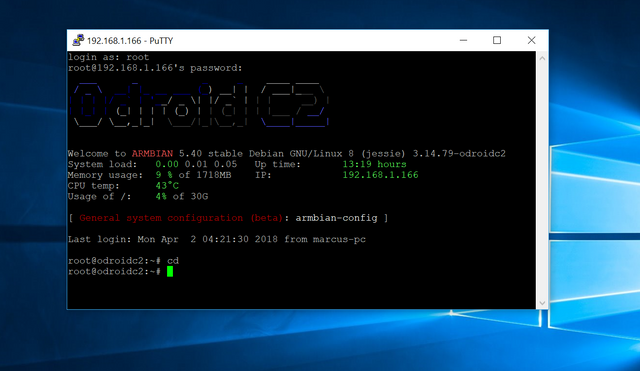
- Enter the following commands after logging into your Odroid
cd

curl -L https://dl.google.com/go/go1.10.linux-arm64.tar.gz

cd /usr/local/

tar xzvf /root/go1.10.linux-arm64.tar.gz

ln -s /usr/local/go/bin/go /usr/local/bin/go

ln -s /usr/local/go/bin/godoc /usr/local/bin/godoc

ln -s /usr/local/go/bin/gofmt /usr/local/bin/gofmt

mkdir -p $HOME/go

mkdir -p $HOME/go/bin

mkdir -p $HOME/go/src

mkdir -p $HOME/go/pkg

cd ~

vi .bashrc
- Edit the file by pressing "I" to edit
- Navigate to the bottom of the file and add the following to the file:
export GOROOT=/usr/local/go

export GOPATH=$HOME/go

export GOBIN=$GOPATH/bin

export PATH=$PATH:$GOBIN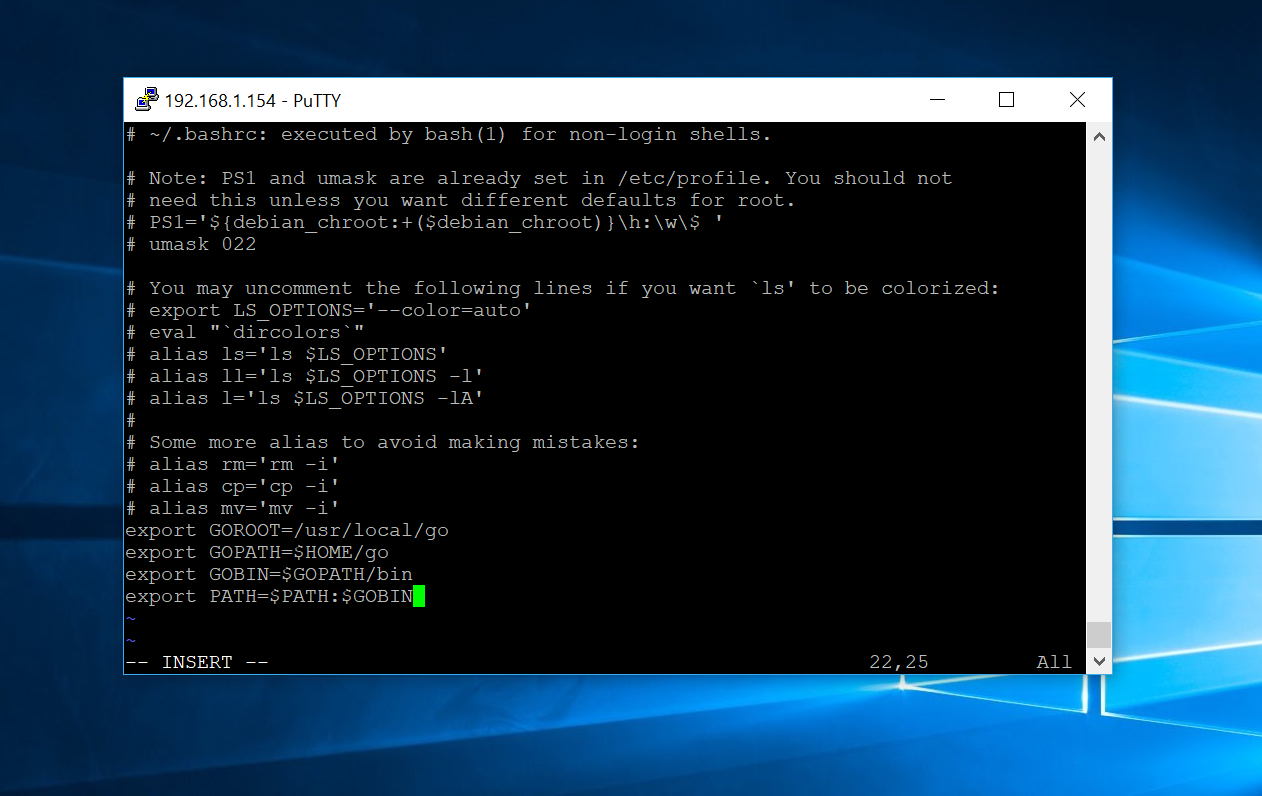
- Press ESC and type ':wq!" to save the file and exit
- to continue enter the following commands
source ~/.bashrc

go get github.com/skycoin/skycoin/...

cd $GOPATH/src/github.com/skycoin

git clone https://github.com/skycoin/skywire.git

cd $GOPATH/src/github.com/skycoin/skywire/cmd

go install ./...

apt install tmux- Enter "Y" and press enter
- Enter in command line
reboot now- Start a new Putty session
- Insert the following code into command line
cd $GOPATH/bin

tmux

./manager -web-dir ${GOPATH}/src/github.com/skycoin/skywire/static/skywire-manager- start a new putty window
cd $GOPATH/bin

tmux

./node -connect-manager -manager-address :5998 -manager-web :8000 -discovery-address messenger.skycoin.net:5999-028667f86c17f1b4120c5bf1e58f276cbc1110a60e80b7dc8bf291c6bec9970e74 -address :5000 -web-port :6001- Now navigate to your browser
- Enter the IP address of your first Odroid, at the end add ":8000"
- Example "192.168.1.132:8000" assuming 192.168.1.132 is the static IP of your first Odroid
- The following page should display:
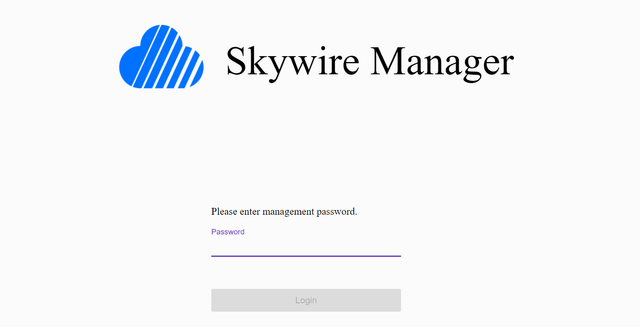
- The default password is: 1234
- Once logged in the skywire manager should display your first node, its status and the public key
Installing Nodes 2-8
- Repeat all steps after hardware setup using the new IP address you setup in AsusWRT
- Once you get to the last command after starting your second Putty session
- At the end use the following code instead of your prevous ./node-connect-manager code
- Replacing "ODROID IP ADDRESS" with the Ip address of your new Odroid
./node -connect-manager -manager-address "ODROID IP ADDRESS":5998 -manager-web "ODROID IP ADDRESS":8000 -discovery-address messenger.skycoin.net:5999-028667f86c17f1b4120c5bf1e58f276cbc1110a60e80b7dc8bf291c6bec9970e74 -address :5000 -web-port :6001- Repeat for the next Odroid until you've completed all eight nodes
- The Skywire manager should show all 8 nodes as "Online"
- Enjoy paving the way for the next generation of internet
learn more http://skycoin.net/
Skycoin Tips: Stmam2QV7rRsCme73GPf9veS8jWL6G1tzn
This is great! Thanks for making it accessible for folks like me <3
This command "curl -L https://dl.google.com/go/go1.10.linux-arm64.tar.gz" needs to be "curl -OL https://dl.google.com/go/go1.10.linux-arm64.tar.gz" otherwise you get gibberish as it is outputted to the terminal.
For Nodes #2-8 here's what I recommend. Ignore the posts after reboot.
Open a new putty window then run these commands without parentheses. Replace XXX.XXX.X.XX with your manager's IP. For example my Manager IP is 192.168.1.75 and Nodes 2-8 are 76-82. Only run the second command (nohup....) once or the node will constantly reset in the manager. This will allow you to close the session without losing connection to the node in Manager. Happy mining!
"cd $GOPATH/bin"
"nohup ./node -connect-manager -manager-address XXX.XXX.X.XX:5998 -manager-web XXX.XXX.X.XX:8000 > /dev/null 2>&1 & echo $! > node.pid"
nohup ./node -connect-manager -manager-address MANAGER_IP:5998 -manager-web MANAGER_IP:8000 -discovery-address discovery.skycoin.net:5999-034b1cd4ebad163e457fb805b3ba43779958bba49f2c5e1e8b062482904bacdb68 -address :5000 -web-port :6001 > /dev/null 2>&1 &
That is the new discovery address.
Thats all I want to hear, I tried to incorporate information that wasnt easily discerned in some of the other posts floating around
Hey can I reach you for a help? Thanks!
Very nice detailed and accurate instructions. I installed several skyminers with this guide on different boards, and never had any problem. Thanks for the contribution!
This is an awesome write up . Kudos and thanks for supporting the community . you get my upvote
So once you're set up and all the nodes are online what happens next?
hey does all 8 ODROID's really need 32GB cards or are 16GB fine?
Great guide, thanks a lot! I'm planning on building my skyminer in Lima, Perú, will be posting about it, cheers!
Give 5$ and Get5$, Join Uber for Cryptocurrency Referral Program By Coinswitch.co.
Check out more on coinswitch.co/referral.
Congratulations @tetragravity! You received a personal award!
You can view your badges on your Steem Board and compare to others on the Steem Ranking
Do not miss the last post from @steemitboard:
Vote for @Steemitboard as a witness to get one more award and increased upvotes!