Hands On: Planting New Trees [Bonsai]
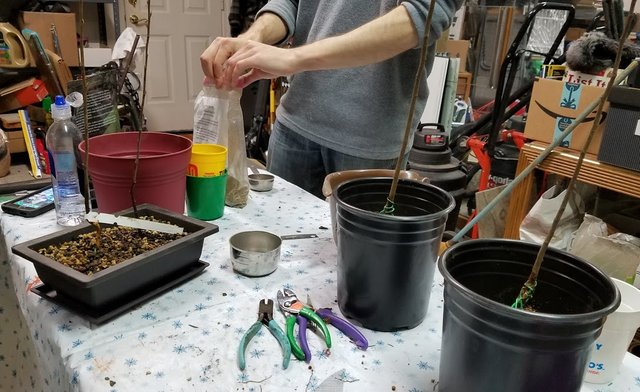
Explore the wonderful, wacky world of home-made bonsai with me.
In this article I am sharing my experiences with purchasing some new native trees and plants at a special community event.
Afterwards we hosted our own private workshop to focus on planting our native trees in the traditional bonsai manner.
Native Plant Sale Pick-Up Day
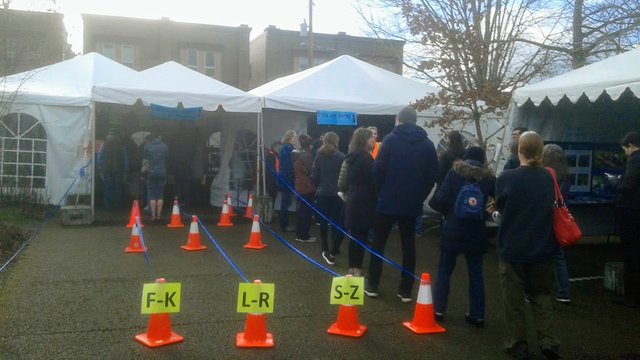
The day of the Plant Sale Pick-Up day had finally arrived.
I managed two coerce to fellow plant enthusiasts into participating with me. They even followed my lead, and used this as an opportunity to get started with bonsai from native stock.
Ever since I started growing native trees, I have always felt these are the best ones to learn to grow first for bonsai, because they have shown me they are the most resilient.
This was my second year I had participated in this plant sale. It is hosted by the East Multnomah Soil & Water Conservation District (EMSWCD) in Portland, Oregon.
It didn't rain so much as last year. It was actually slightly warm and sunny in the morning. Later on, it did get colder and rained a lot more after we left.
Two of my friends also decided to participate in purchasing some native plants, and so we all carpooled together for the little event. We arrived casually late an hour after things opened. It was perfect timing. No lines. No waiting. Very fast and easy with helpful volunteers all around us.
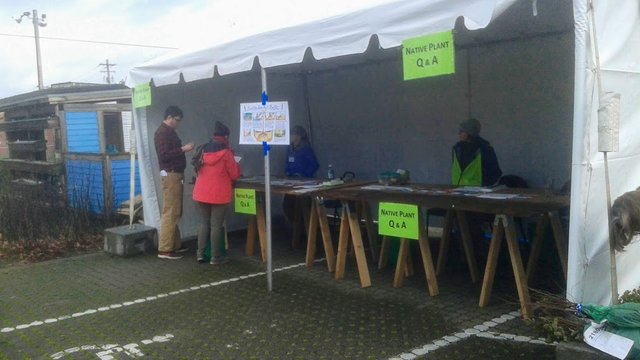
On the left side of the lot, experts were available to answer questions about our plants. They'll also help identify plants we received.
Everything is labeled with the common and Latin names on the tags, so it's pretty easy to do.
Call me crazy, but I was a quite green with envy as I saw the loads of plants some of the customers were walking away with considering everything was sold for pennies on the dollar.
You see, many items sold through the online website were sold out within minutes, and the rest sold out within a few hours. Only two of the six plants species I wanted to purchase were available to me. My friends had similar difficulties, and fared only slightly better. Only people who managed to login at 8am in the morning were able to select from all the available items, and they were allowed 15 of each item. This quickly drains the stock of items available for sale. Personally, I think that is a bit unfair, because this event should be about encouraging everyone to grow native plants, rather than mostly people seeking to profit from the hot deals.
Later on we found out one of the items my friend ordered was not included in the items she received. Bummer! I guess you just have to roll along with these kinds of mix-ups when dealing with a charity event run once a year by volunteers.
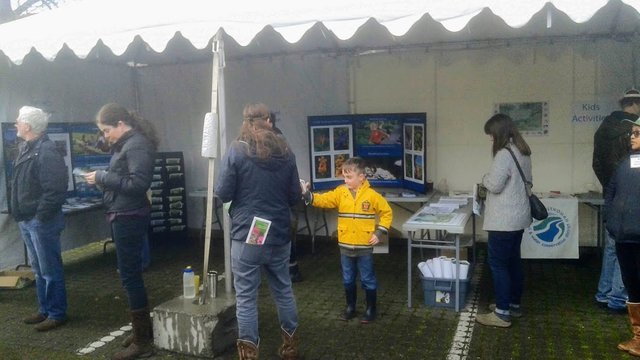
To the right side of the lot, a tent offering free learning guides to help identify invasive weeds and garden pests. Various free posters, stickers, plant identification brochures, and planting instructions were also available.
Everyone also got a free t-shirt with a new color and logo on it. It actually looks pretty cool, so I'll have to show you what it looks like some time (green with an evergreen tree logo on the front).
Free donut holes and coffee were also provided.
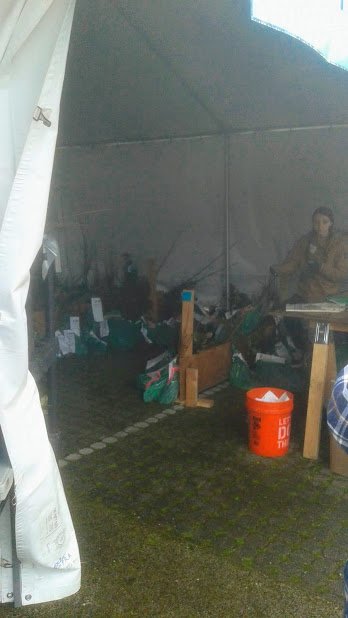
Inside the plant tent, everyone's items were pre-sorted and bagged up. It's easy for the volunteers to look up our online orders and retrieve our bundled items this way.
Most of the trees were in bare-root form. No leaves on the deciduous dormant trees. Green sacks tied around the roots keep the trees from drying out.
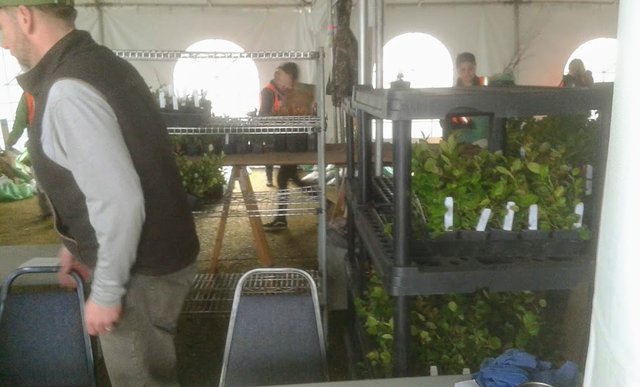
Other plants are potted up because they cannot be bare-rooted. These might be the Evergreen Huckleberry here in the front. Hard to say for sure.
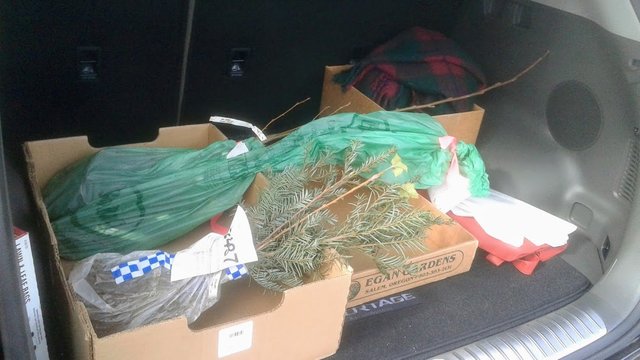
Here's all of our trees stacked in the back trunk. The largest tree in the bunch turned out to be my Red Alder.
Getting Started Planting
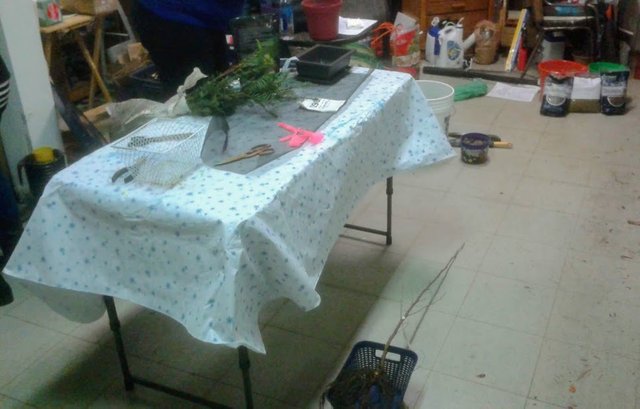
One of my friends offered to let us use a large space in the back of their garage to work on planting our trees. This was incredibly useful, so we could stay dry and warm while we worked quickly.
We all knew this was likely going to require a lot of different tools, supplies, soil, and materials. The three of us all arranged to bring our own supplies here, so we laid it out and started working.
While pizza lunch was being baked inside, I was quickly besieged with questions. Being the only person who had any knowledge of how to grow bonsai trees, I did my best to answer most questions by providing answers written down on past notes I received from the local bonsai club.
Preparing the Bonsai Pots
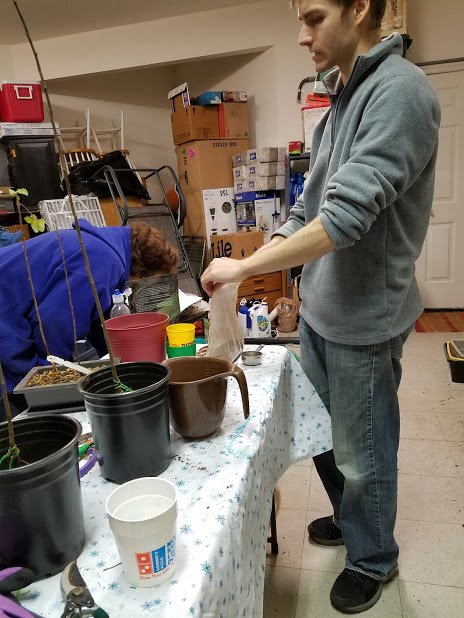
We spent quite a bit of time first working on the pots we would be using to plant the trees in. I always forget how hard this part can be. Everyone had at least one or two trees they wanted to plant as a bonsai tree.
One person brought a modern bonsai pot, which I had never seen before. It had large drainage holes with a 1/8 inch screen actually built into the pot. Another person used tall nursery pots, and had to add some extra drilled holes into the center to allow for better drainage. I used a plastic basket, which I thought might make a good training pot to encourage wide-spreading root growth.
I showed everyone how to cut the screen material. We used window screen. Then I showed how to twist the wires to secure the screen over holes. Lastly, I demonstrated how to place additional wires to support and secure the trees once planted inside the pot.
We had to start over a few times because learning how to work with wire for the first time is not easy. Do it wrong and the wires will not hold onto anything. The soil can spill out of the pot and the tree can even fall out. Having a few extra helping hands available makes everything a lot easier.
Pouring the Soil
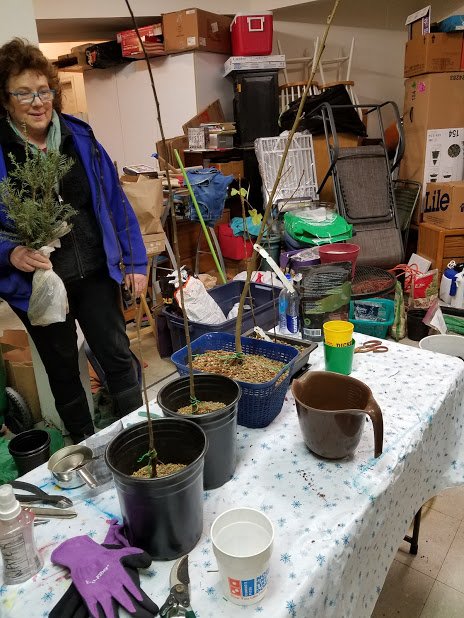
The biggest concern everyone seemed to have this day was based on the type of soil that should be used. Everyone brought what they had, I described how to make the ideal Bonsai soil mixture.
According to my notes, the perfect mixture for Deciduous trees (which we were all preparing for bonsai) was:
Boon Soil
- 1 part Akadama
- 1 part Cinder (lava rock)
- 1 part Pumice.
Inorganic bonsai soil materials, like these, all have to be between 1/4 and 1/2 inch in size, with finer and larger grains sifted out, to allow for perfect drainage.
I demonstrated how to mix them together in correct proportions, and I shared it freely with others.
One person had purchased online a bag of pre-mixed bonsai soil that matched this same soil recipe, and had just barely enough to fill her pot.
The Akadama is the rarest material, since it comes from Japan. Fortunately I had sourced plenty enough of the required soil material to cover the roots of our bonsai trees.
Some helpful tools. A gallon measuring cup, and a half-cup measuring cup worked well to help us to quickly scoop and pour the soil into our pots.
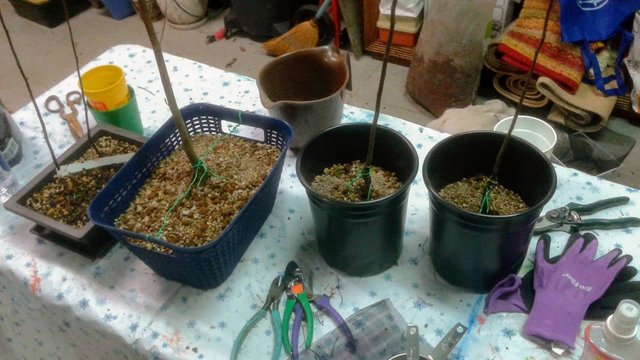
For the bottom layer of soil, I shared some pumice gravel from pieces larger than my 1/2 inch sift. Fortunately, we did not have to do any sifting today; I had done this a few weeks earlier.
Each of us did prune our roots slightly to fit inside the given size of our pots. We used the anchor wires to secure the trees into the pots. Chopsticks were used to punch out any air-pockets in the soil, and to press the soil in around the roots.
For everyone's finished tree, I gave them a tablespoon of Azomite on top, which is nutrient rock minerals that will leech into the soil over time.
To avoid making a mess, we did not water our trees until we got home. We did use a spray bottle to mist the roots slightly as we worked.
Any other non-bonsai trees that did not get planted in bonsai soil, we planted into organic bark mulch so they could go into the garden or elsewhere.
Conclusion
What a rush!
I think we got everything done in the span of a couple hours. As far as I know, everybody's trees are still alive. We're still waiting for the leaf buds to pop up and sprout their first green leaves of the year.
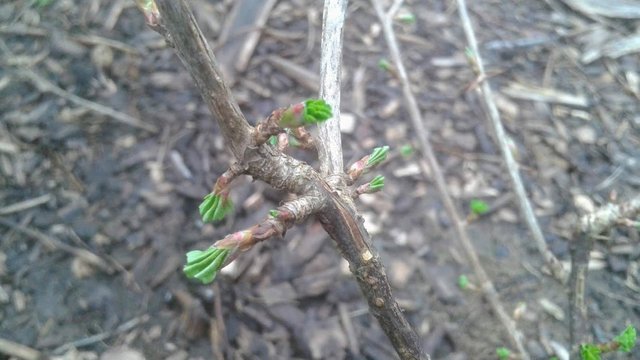
The very next day, at home I found a different native tree shrub I planted years ago is starting to sprout new leaves.
Below is my Black Coastal Gooseberry.
I always wondered: Is it called this because it comes from a land called the Black Coast, or because the plant variety is called a Black Gooseberry? The berries are green. Total mystery!
It will eventually sprout wonderful pixie flowers, and later on develop green globes of fruit resembling grapes colored with deep green veins like a watermelon. I haven't had a super harvest yet since it started fruiting two years ago. I may consider covering a few of the pollinated branches this year to help protect the ripening fruit.
Next time I share an update on my newly planted trees, I have some interesting things to show. Later that week I did make some radical design changes to my Red Alder using wire to bend the trunk to my devilish will.
Tune in to find out how that went.
#diy #red-alder #alder #native-plants #native-trees #trees #gooseberry #shrub #berries #fruit #educational #planting #tree-planting #soil #bonsai-soil #bonsai-wiring #akadama #community #deciduous

Congratulations @creativetruth!
Your post was featured on our daily build newsletter. We've sent 250 liquid BUILD tokens to your wallet upon which you can sell, trade or buy on steem engine or SteemLeo.
Build-it is a central hub for DIY and How-To projects. It's an opportunity to find and share the latest in DIY, and How-To tutorials. The recommended tags required when creating a DIY article are #diy, #build-it. #how-to, or #doityourself. Please subscribe to our community here.
Chat with us on our discord and telegram channels Discord, Telegram.
Thank you @build-it.daily. Super Generous!
Some awesome trees you’ve got. I hadn’t realized how different the nutrients each plant needs is. I had an avocado tree that was doing fairly well until I gave it the wrong fertilizer and the poor thing died quickly before the right fertilizer came in.
The gooseberry tree looks awesome, really looking forward to growing a few different kinds of trees when we get a house. Would be really cool!