How I Self-Published My First Book of Poetry - Part 2 - Designing the Interior of Your Book

Click here for Part 1 of the tutorial
In today's post, I will show you how to setup the interior of your book on Create Space. When you log back into your Create Space account you will see a list of your projects that are completed or ongoing. If this is your first time using Create Space then you should have only one project. Click on the project title to continue.

Now we are taken to our dashboard where we can see the progress that we have made on our project. Tasks that you have completed with have a green check beside them. If you remember from the last post, we did select an ISBN number. The reason mine is shown as incomplete is because this is not a real project and I don't want to assign an ISBN to a fictional project. Yours should have a green check. What we will do next is click on the "Interior" link to go to that section.

There are quite a few options to go through here but don't worry, most of them are pretty straight forward. The first thing we have to choose is the interior type and the page colour. The interior type can be black & white or full colour. This will be determined by the content of your book. For my book of poetry, I chose black & white because I didn't have any photographs or content that required colour.
The page colour can be white or cream. I went with cream because to me white text on cream paper is a bit easier to read. The choice is entirely up to you. For this example, I am going to assume that there is no need for full colour, so I will select black & white on cream paper.

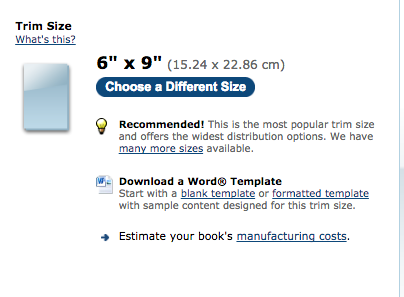
The next choice we have is the trim size of our book. The default is 6" x 9" but this can easily be changed. 6" x 9" is the most popular trim size in Create Space and offers the widest distribution options. For my book of poetry, I went by 5" x 8". If you are having trouble visualising what the book size might look like, what I did was go to my bookshelf and pull off a variety of books and measure them with a ruler to get a sense of the sizes that I liked the most.

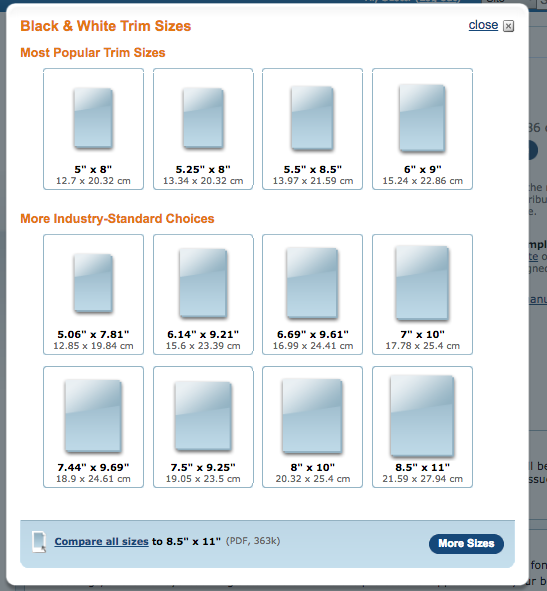
If you click on the Choose a Different Size button you will get to see all of the options that are available to you. Remember, your book content will determine the size on your book. For example, a book of Haiku poetry would not likely require an 8.5 x 11" book. For the purpose of this tutorial, I will select 5" x 8"

This next step is highly recommended for the beginner self-publisher. There is an option to download a Microsoft Word template. This is definitely a huge help when it comes to laying out your book. You can start with either a blank template or a formatted template which contains dummy information such as a table of contents, acknowledgements and so on. Try both to see which way you prefer it. I am going to select a blank template. Clicking on either link will download a MicrosoftWord document to your computer.

The final option in this section is to choose how we want to submit our completed interior once you have laid out your book using the Microsoft Word template. Since this is a DIY project we are going to select the option to upload our book file because we do not want to have to pay for Amazon's professional design services. You will only complete this step once you have completed your layout We will now click the Save button to save our progress.

In the next tutorial, I will show you how to design your book cover.
Click here for Part 1 of the tutorial
Images are my own or screenshots.

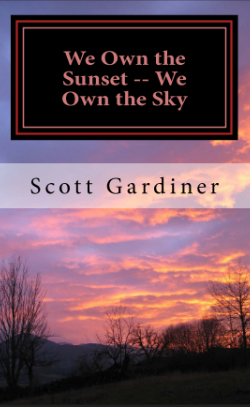
To buy an ebook please send me what you think the book is worth to you in Steem or SBD and send your email address in the memo and I will send you a PDF version of the book.
Thanks for the re-Steem @ericvancewalton.
Posting for you now on the SBC pages, hope that helps buddy
Thanks a lot my friend. :)
Anytime, you know me...always down to help where I can for you guys.
I appreciate it very much @sflaherty!
Thanks for sharing this useful information. I want to pulish my shotstories of the pink princess in a book to but I don't know yet how. I will read your post another time when I am finished with the corrections and see if Imanage to publish too :)
Thank you. If you ever need any help you know where to find me. :)
Thank you mate ;)
Cool! nice book! Looks like you've been busy @sgtechservices.
Yep, thank you. It's been so much fun!
I always wanted to publish a book, this info will might help me along the way. Thanks @sgtechservices :)
I certainly hope it helps. Thanks for the comment. :)
Thank you for this valuable information, my son love to write and I think he will find this very helpful.
I'm glad you enjoyed it. Part 3 will be coming tomorrow. :)
Hi Scot, I have just gone through 50% of your book. I am touched by your honest outlook to life which gives your work a unique and authentic flavour. You definitely had me in tears! Thank you, I will write a full review when I finish.
Thank you so much @linzo. That means a lot to me. I'm so happy that you like it so far. If you'd ever like to connect to talk poetry please just let me know. I will be anxiously awaiting your final review. :)
Wow, awesome stuff. I was thinking about creating a little book for all of my poems :)
Do it! It doesn't cost you anything until you order books, and even then it's only a couple dollars per book. :)