"SEC20/WK4: Graphic Design Hands - On practical 1"
How are you? Hope so everyone would be safe and sound just like me as I am also safe Alhamdulillah....
Today I am very happy that I am going to take part in this engagement challenge which is all about hands on practice and practical 1 so step by step I will go through this topic.

I would like to explain step by step procedure of making this design along with some of the techniques I used to make this design.
 |  |  |
|---|
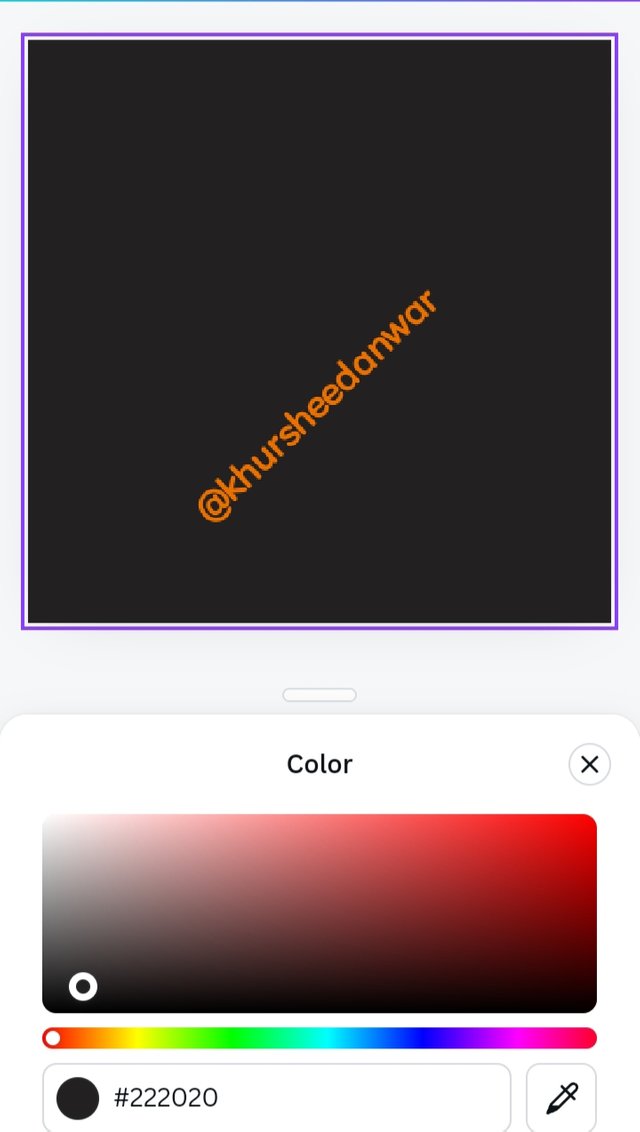
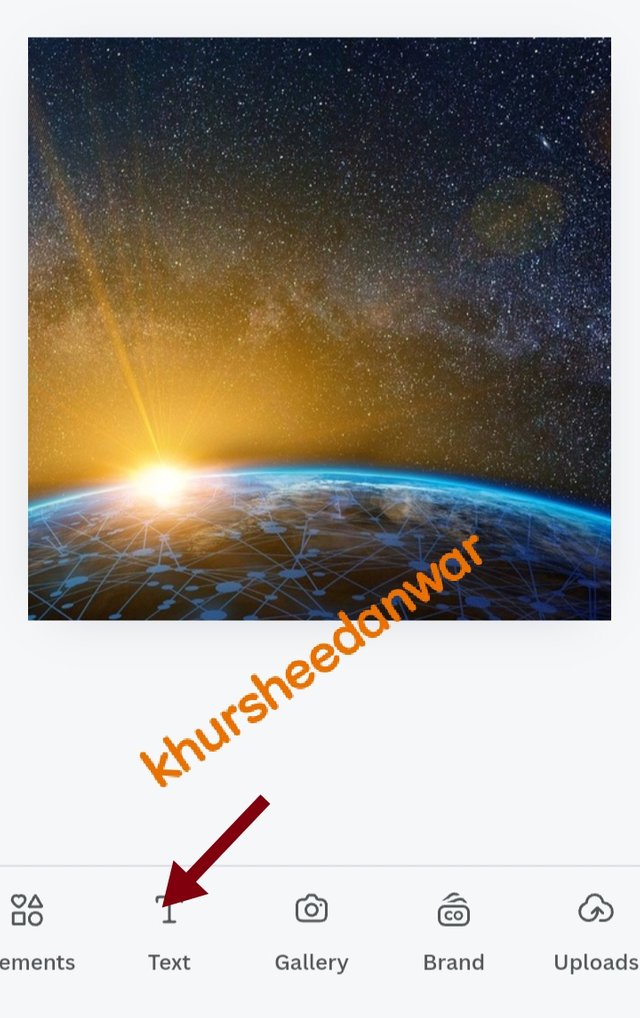
First of all from above screenshot it is clear that you just need to open your canva app first of all. After that you can select any size of your post so here I have choose Instagram post and I give black colour to its according to my own choice and then below in the screenshot you can see there is an option of gallery so from gallery you can insert any image but prefer to add relevant images so I have added one image from my gallery as you can see.
 |  |  |
|---|
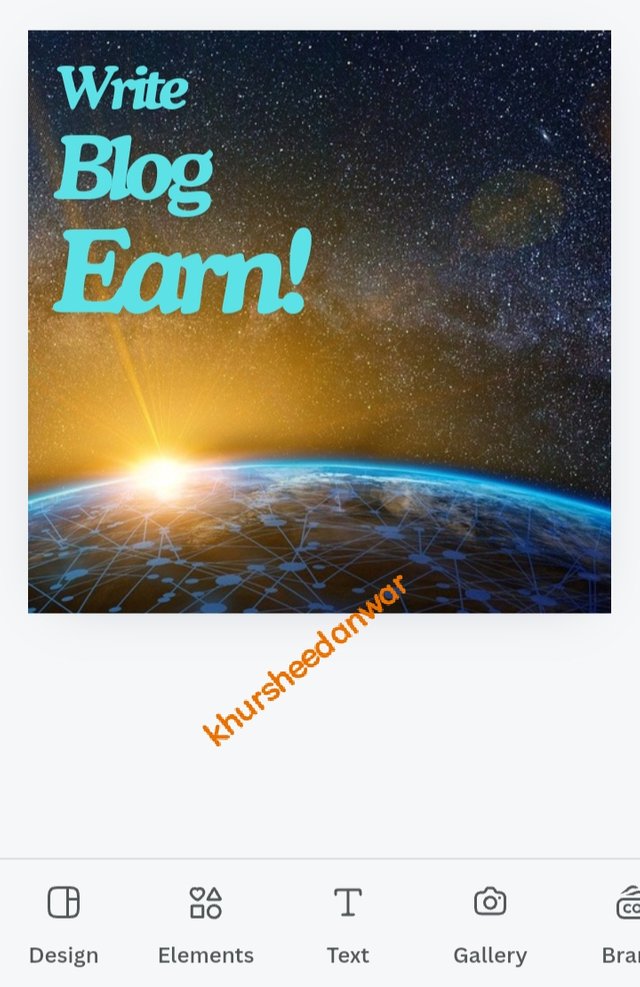
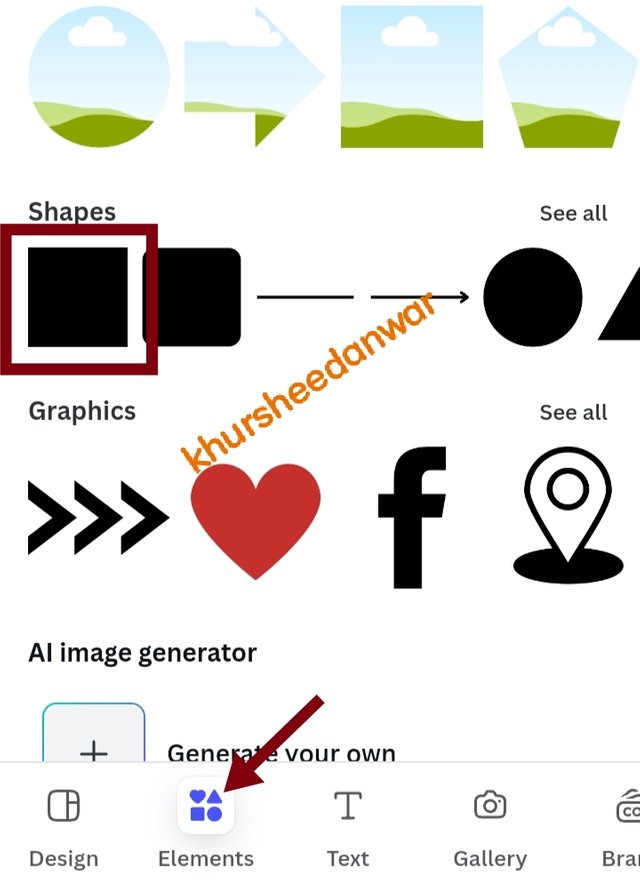
After that I have used option of text that is again at bottom as I have also water mark in my screenshot so from option of text you can choose any text so I have choose bold letters and used hierarchy pattern of writing my text and then related to colour I have used monotony.(Monotony is basically a technique in which you use one colour only in your text as I have choose sky blue colour). After that you can see that I go into elements option and then I choose square shape element which I insert at my design page by clicking on it so now you can see that I reshaped it by changing its size according to my choice and keep it under my text and then it is up to me which colour I want to give it to that shape or element so for now I will go with white colour and later on if I find out any need to change it then I may change its colour again.
 |  |
|---|
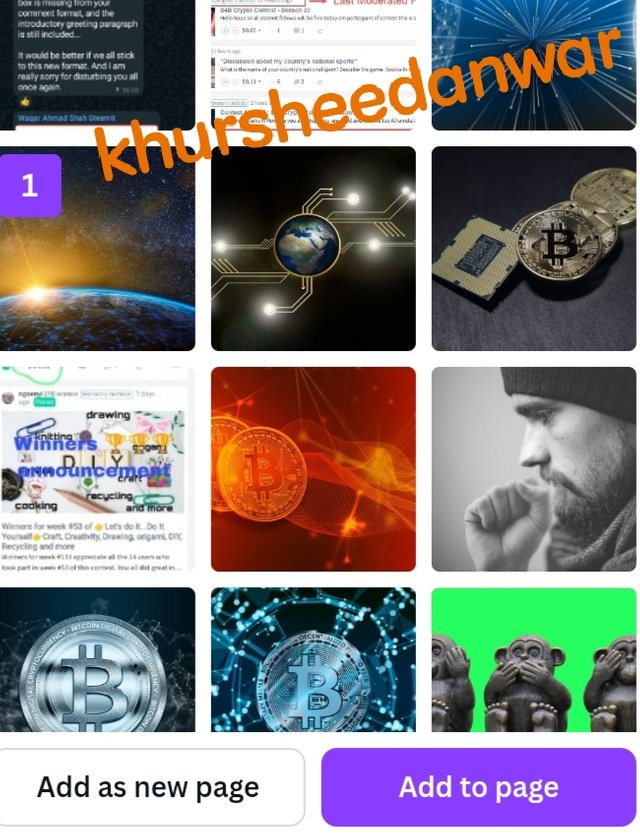
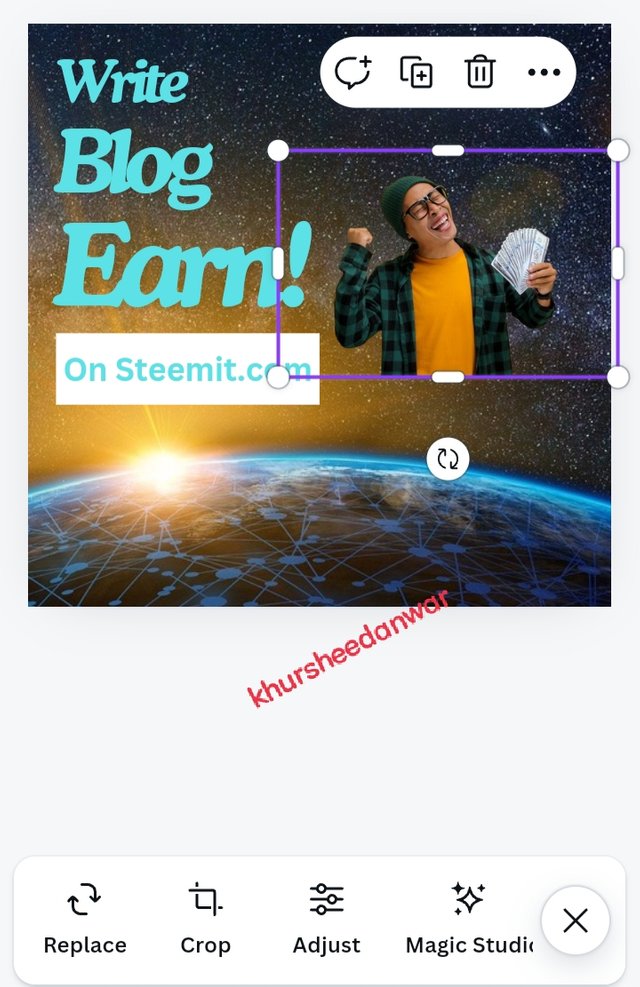
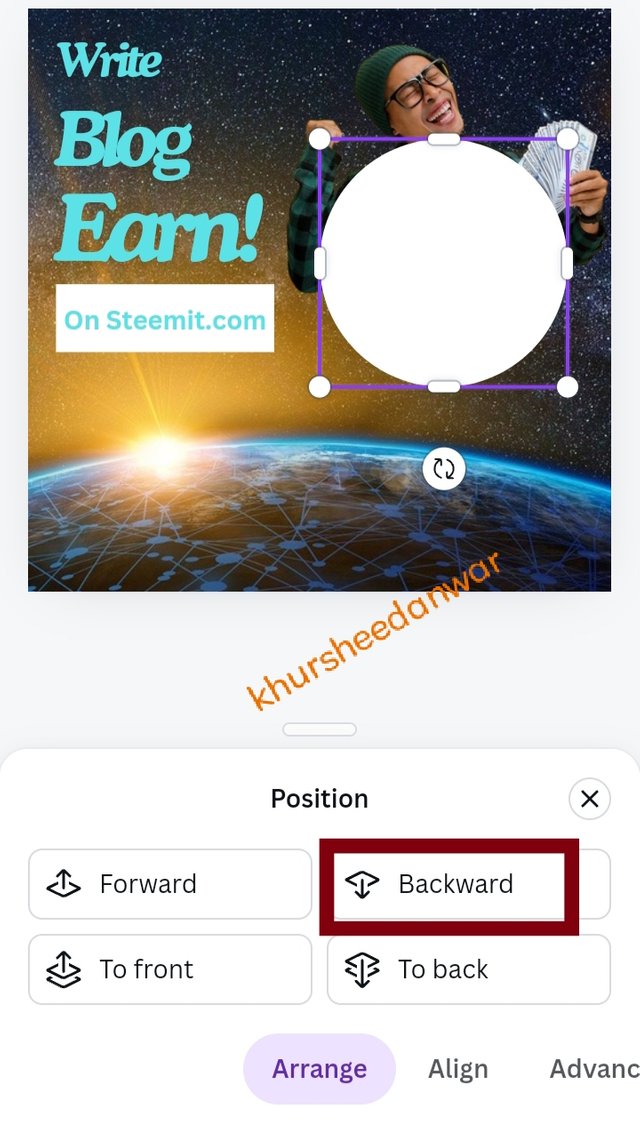
Now this is almost second last and last step of my design in which I have inserted another image whose background was already removed and I again select it from my gallery and give it a position according to my choice. After that again I go into element and I choose circular shape as I need to know finish my design by enclosing my image into a proper element or shape so that it may be come more prominent so again I have selected circular element but for keeping it backward I choose an option of position that was shown to me when I click on that shape and then there are 4 options more that I am able to see as you can see in the screenshot but as I need this shape in background of that image that's why I choosed backward option so now here you can see that it is at its right place.
| Final result |
|---|
Now this is final result which is above you can see clearly!!Hope you like it!
Special invitation to;
You have explained in detail the process of creating a graphic design. You've explained step by step how you used various tools and elements, such as choosing the size of an Instagram post, choosing colors, inserting images, adding text with solid colors, and Using elements like squares and circles to enhance the design. You have actually created a great post and I wish you the best of luck
0.00 SBD,
2.86 STEEM,
2.86 SP
0.00 SBD,
0.01 STEEM,
0.01 SP
Upvoted. Thank You for sending some of your rewards to @null. It will make Steem stronger.