Hello All! Drop The Box. Own The Cloud - Part 1
Hello All! Drop The Box. Own The Cloud - Part 1
Why I'm Writing This Post...
I first of all want to say I am very happy to be apart of the Steem community, and from what I see I think this will be an excellent place to share content, ideas, and thoughts that will be helpful for a lot of people.
So I was thinking...
What is the best way that I could introduce myself to the Steem
community and providing some unique value to everyone right away?
So I decided to share something I think you can use that not only can benefit you, but also, that you can use to perhaps provide value to someone else if you wanted to. So, if you want to use the information I'm sharing with you & you think you can make money providing this as a service, then I say... "Go for it!"
That is exactly what I'd love to see you do with it.
Now, let me talk briefly about what I'm about to share with you...
I have taken it upon myself to learn something unique, that companies like Dropbox, Google Drive, and Amazon S3 use to make millions of dollars every single day. That is, how to create a cloud storage that you can use to store, share, and distribute files, videos, and any other content you want using any domain you own, or web server you want.
To do this, I have found a highly evolved (little-known) open source software that allows you to create your own cloud(s) to install on your own domains. The more I got into it, the more I saw the potential in teaching it to others, but there wasn't any real step by step simple training that I could find that I felt was easy to follow.
So what did I do? Well, what I did was create my own step-by-step training, and I have every intention to sell this training to the public very soon.
I am just waiting because I had a hickup dealing with a developer who was creating a software that I am planning on selling as an upsell to this product. He bailed on me 2 days before the software was due to be completed! So, needless to say, that set me back, and now the project is on hold until I can get the software made. Probably will be in a month or so from the time of writing this post.
That being the case, I have already had the training ready to go! I have a step-by-step guide and over the shoulder video trainings that will be sold as an upsell as well.
So, to say "Hello" to the entire steem community - I decided to just to GIVE you guys this training guide!
There are steps to the guide, so I will be publishing this in step-by-step parts over the next several days beginning with THIS post which is "Part 1" of the guide. You can just follow the posts to learn the basics on how to set up your own cloud.
Again, I hope after you learn this skill you can use it for your own benefit and even for someone else as well.
By the way, when the product goes live I will put a link at the end of each part of this series, so if you want the "over the shoulder video training" to create your own cloud you can get that as well.
Ok, that being said, lets get started...
I think you'll enjoy having your own cloud that you can control and that you own.
In this cloud you'll be able to do several things, for example, you'll be able to access everything that you personally care for. You'll be able to store your pictures, documents, calendar, and contacts, on your own cloud server and anyplace that you want.
For example, you can have your own cloud server at your home, on a VPS like I do, or on a public provider for cloud setups like this. You can also use your FTP, or you can use external storage spaces like Dropbox, Amazon S3, Google Drive, and other places as well.
You can use all of these sources all at once and connect them to your very own cloud seamlessly. You can access all of the data that you want in one place super easily.
You will be able to share links with the public whenever you want to, you can store information, you can share and collaborate data with anybody you want to, and you can sync your mobile device and your desktop with all of the data as well.
By the way, you can play music, create picture galleries, password protect anything that you share, and many many other applications that you can use in your cloud.
There are no limitations to your cloud you can extend as far as you want, and you can expand however you want, it's really just up to you.
We can't cover everything that you can do with your new cloud set up, but I thought it was important to share with you the high points of what you will be able to accomplish with your new cloud. In this training what you will learn is how to install and set up your cloud to your own domain and your own hosting.
You also learn how to use a few popular storage external sources to extend your cloud.
You will learn step-by-step exactly how to have your cloud up and running by following the simple steps outlined in this PDF.
Before we get into installing and creating your cloud, one more thing I would like to mention is that there is a community that you can utilize that will help you with any questions or problems or help you might need with your cloud set up now, or in the future.
Also, don't hesitate to reach out to me with any questions as it relates to this course. If I do not have the answers, I will certainly try my best to find those answers for you as well.
If you have not already purchased the upgrade that gives you over the shoulder video tutorials on setting up your cloud I highly suggest that you purchase that, because you will see firsthand everything that was done to create your cloud, and it just makes the process that much easier.
Also if you think that you would prefer to have your cloud set up for you, we have an additional upgrade where we will do the installation, and set up for you on your hosting account. There is an upgrade that you can purchase to get that done as well.
Okay, now let's get into the building and installing your brand-new cloud.

OWNCLOUD INSTALLATION
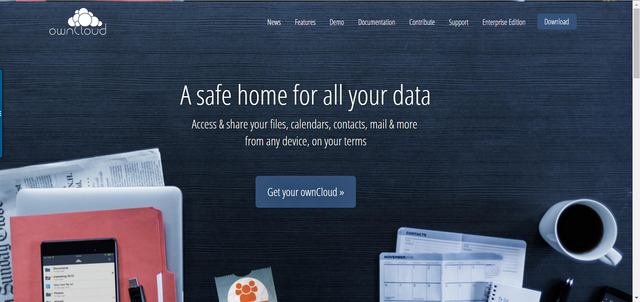
So the first thing you will notice is the homepage at owncloud where you will be able to download the file that you need to begin to build and create your own cloud.
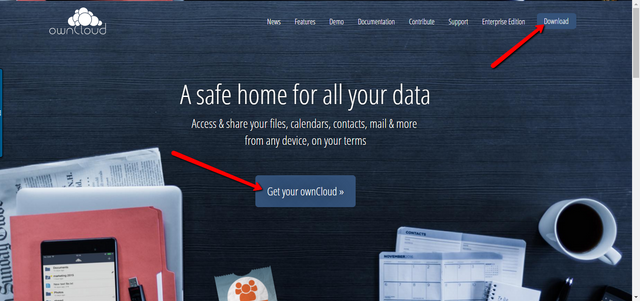
On the top right-hand corner of the homepage you will see a blue button that says download you will want to click that button. You can also click the button in the middle that says get your own cloud as well.
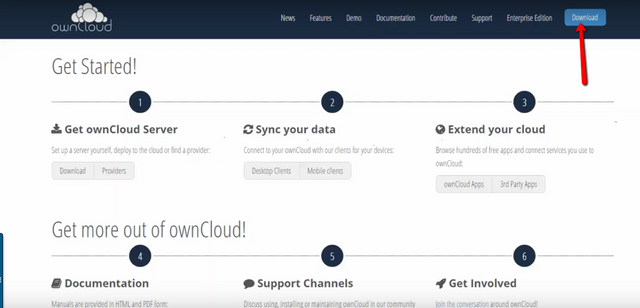
Once you click the button, you will come to a page that says get started!
On that page, you will see steps that outlined to get your cloud server up and running. What you want to do is to click on the download button under the number one step under the get on cloud server section of the page.
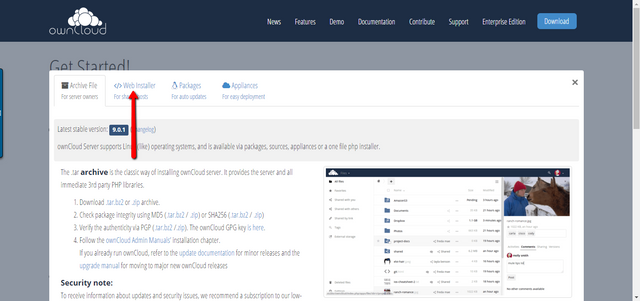
When you click the download button, a pop-up box will appear, and there will be four options that you can choose. You will want to choose the second option which says web installer. You are choosing that option because that is the option necessary to get the file that you will upload it to your hosting account.
One thing that we need to mention here is that you may want to go ahead and purchase a brand-new domain, or use a domain that you already have for your cloud. You can install your own cloud on a domain that you already have content on, but you will need to put your cloud in its own directory. Of course, the easiest thing to do is to have a brand-new domain with nothing on it that you can use strictly for your own cloud. Either way, will work, though.
Once you have chosen the web installer tab there will be some information underneath that talks about the web installer, and it will give you five steps to follow in order to install the file needed to begin building and installing your own cloud.
In step number one there will be a hyperlink to download the file that you will need. The file is called setup–owncloud.php
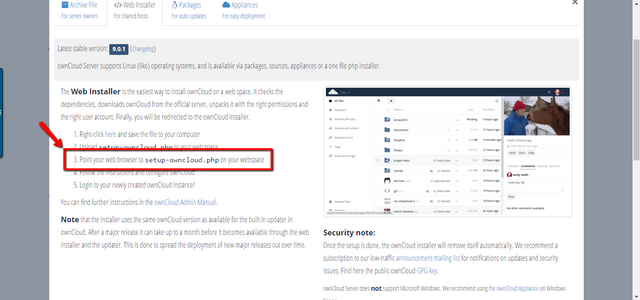
Once you have the file downloaded to your computer you will want to go to your hosting account and upload the file to the domain that you are going to use for your cloud via your file manager in your cPanel of your hosting account.
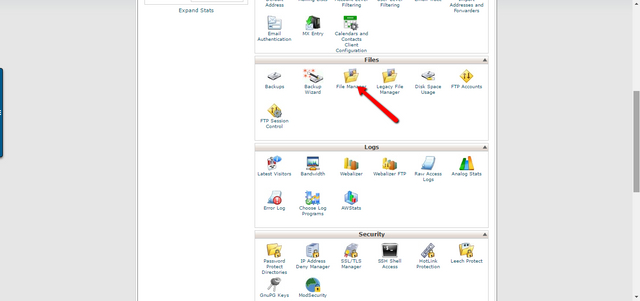
If you're familiar with Filezilla or some other software that allows you to upload and download files on your server you can use that as well.
For the sake of this example, though, I’ll show you how to do it via your cPanel.
As you can see, I have a domain that I've designated to use for this installation. I am going to put this installation of my own cloud in the main directory of this domain, so once we install this on cloud in my domain, I will be able to go to my domain and access my own cloud.
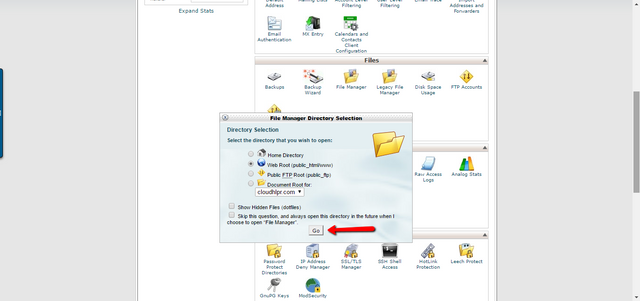
So when in your cPanel what you want to do is go inside of your domain's files and go to the upload icon. Click that icon to get to the uploaded files page.
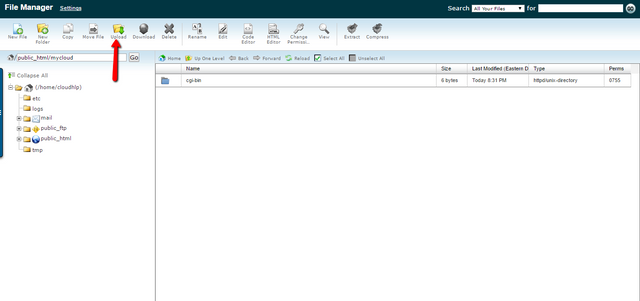
Click the Choose file button and upload the file that you downloaded from owncloud.
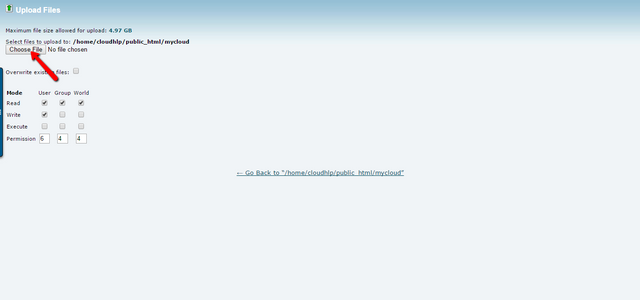
Once the file uploads to your domain, then you want to set the web browser to the link of the file.

Which will be http://... yourdomain.com/setup-owncloud.php
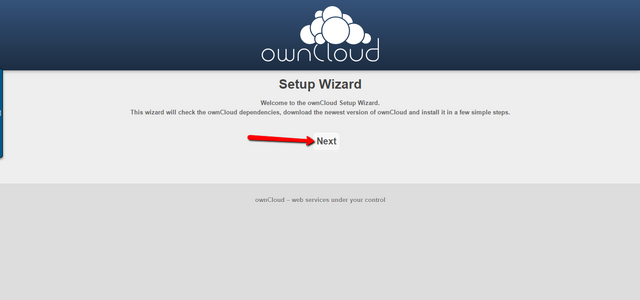
At this point, you should see be installation setup Wizard for your own cloud installation. Now that you're on the screen you will want to hit the button that says next.
Now you should see a page that says dependency check. This page is the page where you need to decide what directory you are going to install your new cloud storage set up.
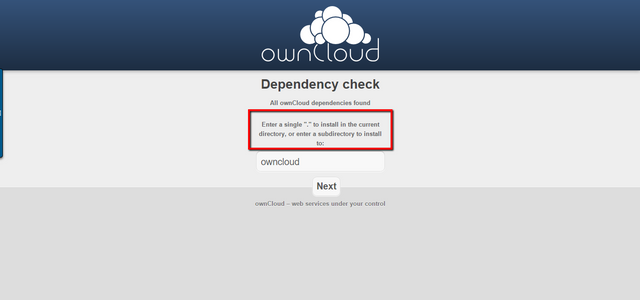
By default, it will say ownCloud. You can leave that as it is if you want, but you can also create another name for the directory, whatever name you want, or put an *
to install it in the current directory that you have the file uploaded.
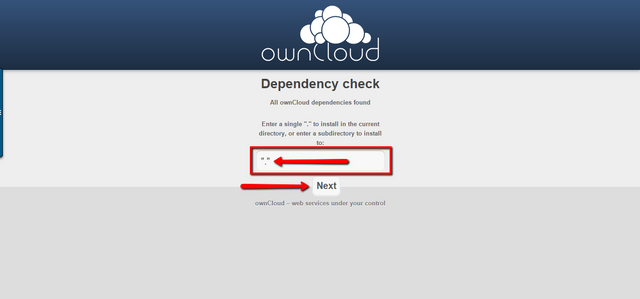
Once you have done that, click next again.
After you have chosen the directory, the script should have installed the cloud set up into your hosting account, and you should see a screen that says… “Success… ownCloud is now installed!”
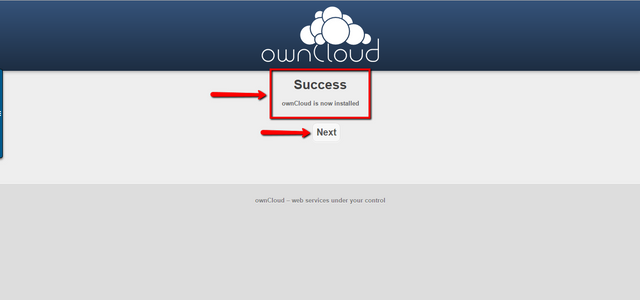
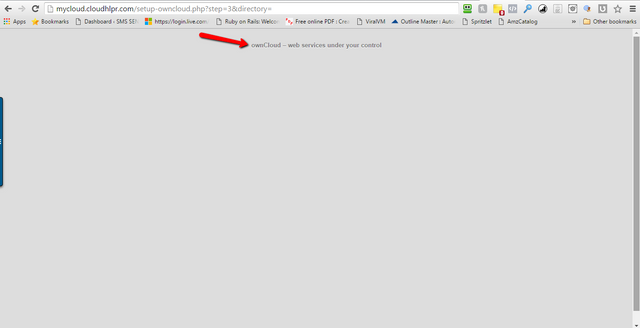
If so, all you have to do now is press the next button. You may now see a page that simply has the ownCloud tagline on the page.
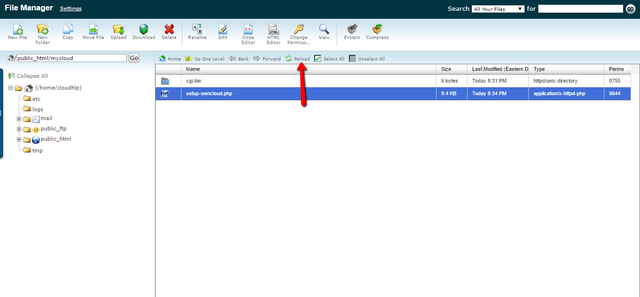
Now what you want to do is to go back to your directory where you have the setup file installed and click the reload button in your cPanel.
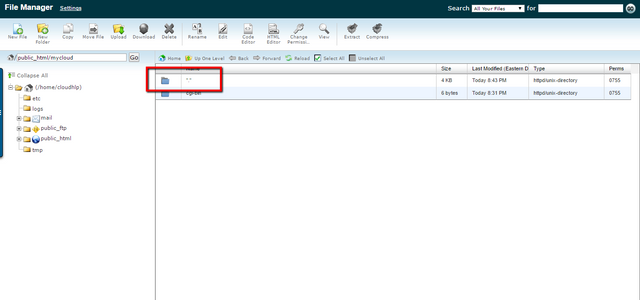
You should then see your files that have just installed in the directory. If you installed it in a different directory folder, it will be there. If not, you will see the files in your main directory; that is if you installed your cloud in your main directory.
Now in your web browser, type in the domain name that you have the cloud installed in, and if you have it in a particular directory put that directory URL in your domain address. It will go to the homepage of your new cloud site.
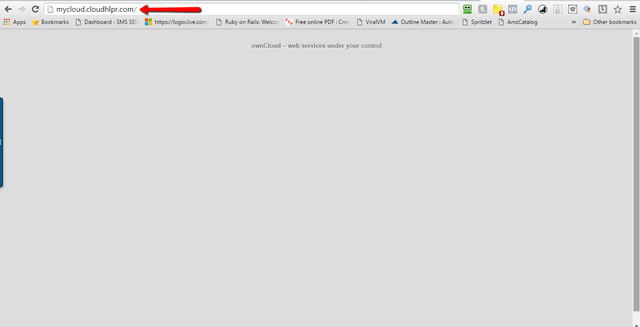
Ok, that's it for Part 1 of the Drop The Box. Own The Cloud series.
In the up coming posts here's what we will cover...
- ownCoud Creating A Database
- ownCoud Creating An Admin Account
- Other ownCloud Installation Options
- The ownCoud Community
- ownCoud Amazon S3 Integration
- ownCoud FTP Integration
- ownCoud Google Drive Integration
- ownCoud Dropbox Integration
- Installing The ownCoud Desktop Application
- The ownCloud Apps Section
- ownCloud App Updates
- Why your business needs its own cloud
All of these topics will be taught step-by-step so you can have your own cloud storage up and moving. See you in Part 2!
Thanks @sms - Wow. That's a lot of steps. I've saved the page for later reading. I'll want to have all the parts before attempting this. If I could create a secure storage for myself, I might share it with others. Just a suggestion, I would start with Why Your Business Needs Its Own Storage. Convince people they need this before getting into the nitty gritty of how to do it.
@pinkyh60 I actually thought about that as well. I think that's a good idea. I'll rearrange it to put that on the top of the list. For some reason I'm having issues posting right now, but as soon as I get it sorted out I'll make that post and update the others. Thanks again for the suggestion!
I had no idea you could do this. nice post
@rangertx Hey, I appreciate that!
I'm continually impressed by the brilliance of Steemit minds. That's really neat!
@steemitpatina I'm very appreciative of the kind words. I'll be posting the rest of the parts over the next few days as well. I plan to have a few more posted today.