Hellboy Private Commission Part 2
Hey y’all. Finally got to get down on some airbrushing today on the Hellboy private commission. You can check out the original post on my page, but you catch y’all up, here is where things left off.
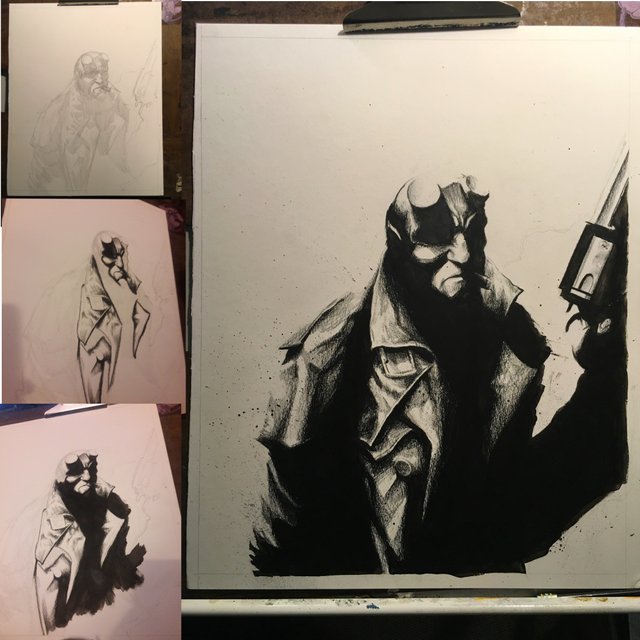
So for airbrushing, I use Dr. Martains acrylics ink, distilled with alcohol. First I laid down the base layers for the background and the coat.
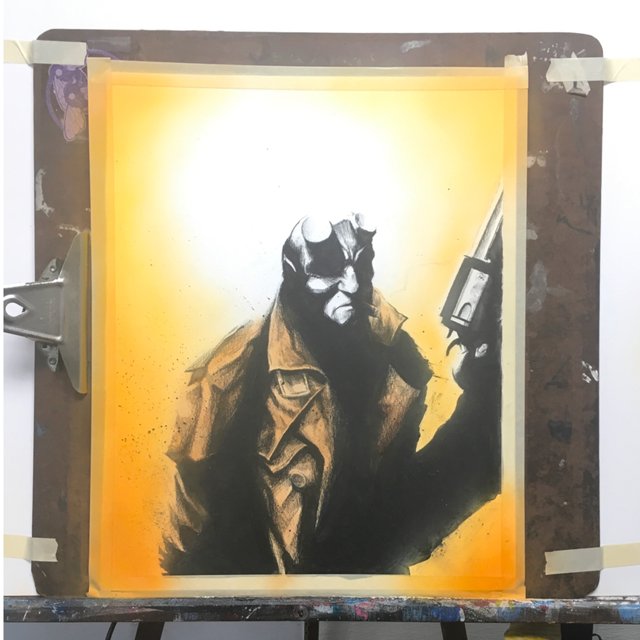
Following that, I add the first layer of shading on the coat, as well as th base color of the skin. I already had th id a of a super strong ligh source in my head, so I figured I’d keep the detailing pretty late. And by using sem transparent inks, the initial shading done with the colored pencil and paint does most of the work.
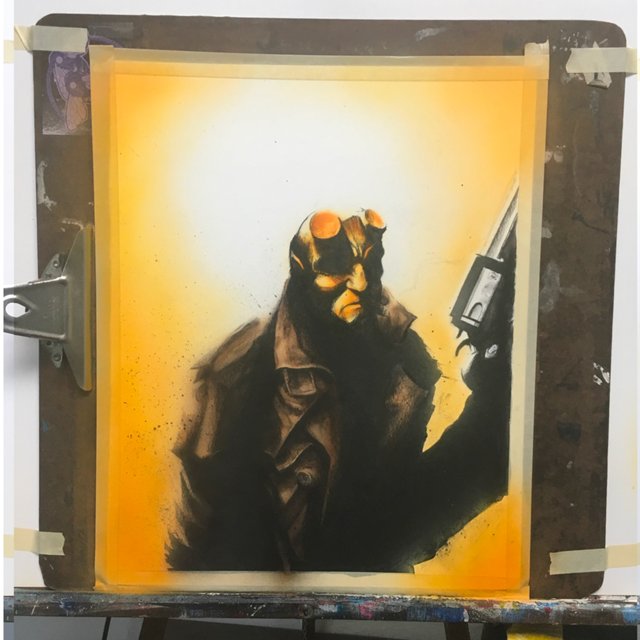
Next up is the red on the skin, base colors for the gun, and some final dark layers on the coat. I feel like I should be saying more, but this process for this piece is fairly straightforward.
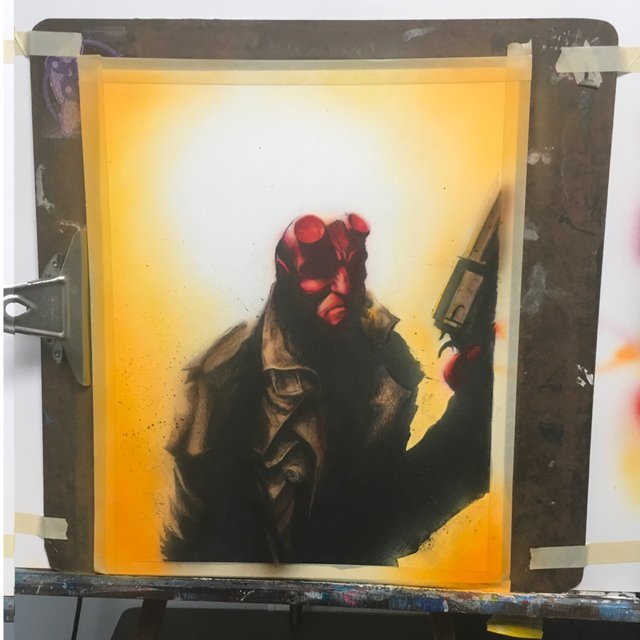
Next step finishing up the gun, and a little tightening here and there.
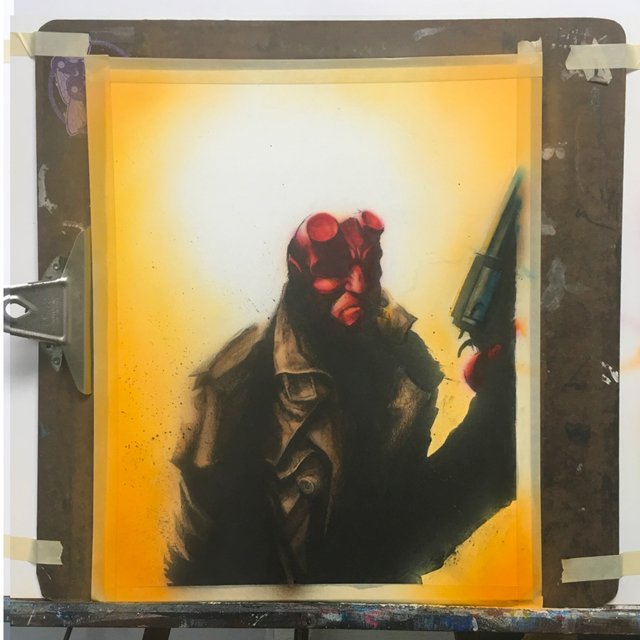
The last step for the airbrushed to overlay and flush out the light source. This is the step I was most excited about, and why it didn’t seem too important to dial in the details with the paint. From the get-go, I wanted it to be an atmospheric, as at this point the general details of Hellboy’s appearance are fairly well known.
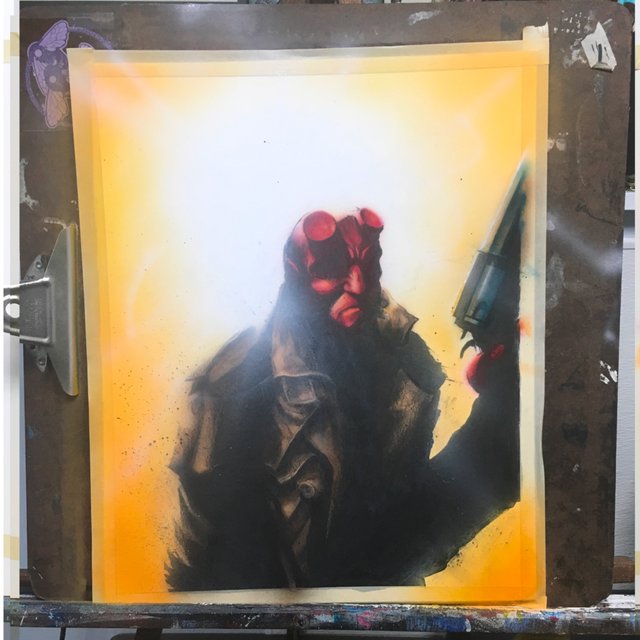
The last step is just a little bit of highlighting with a white colored pencil, as well as a little darkening with a black colored pencil. And here is the final, all ready to head to its new home.
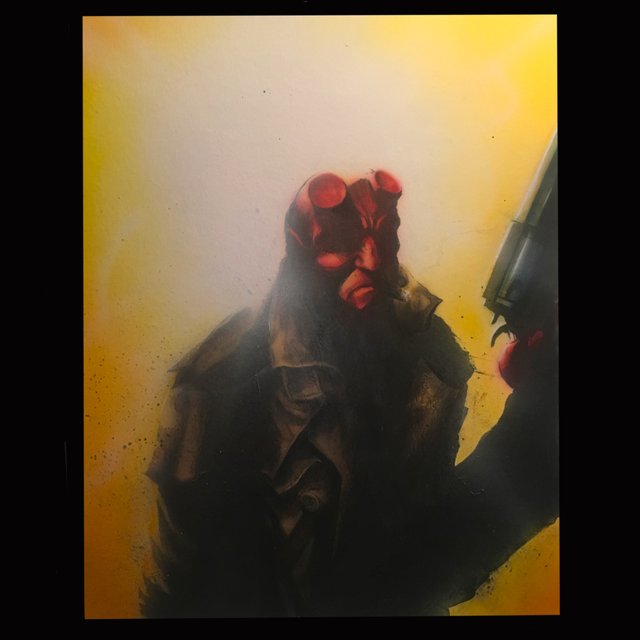
So that’s that! I have a few portraits I’ll be attempting a similar process on tomorrow, hopefully I’ll remember to take some pictures. Thanks for looking!
That looks amazing. Someone will be lucky to hang that on their wall. Well done
Thank you kindly. Looking forward to doing more in this style.
Love it, Adam :) The colours add a lot of moodiness onto the picture <3