[WIP] Miku With You 2019 for FIBD ?

Heya !
Today I'm coming back for a huge update on my Miku With You 2019 costume ! I made the two bracers last weekend, this is the only thing I achieve to work on.
To make the bracers, I started by creating a pattern. I measured my arm to get the desired height for my bracer. For the arm circumference, I multiplied the number by two to be able to gather both ends. To help you situate a bit, I made a beatiful drawing of where I took my measurement.
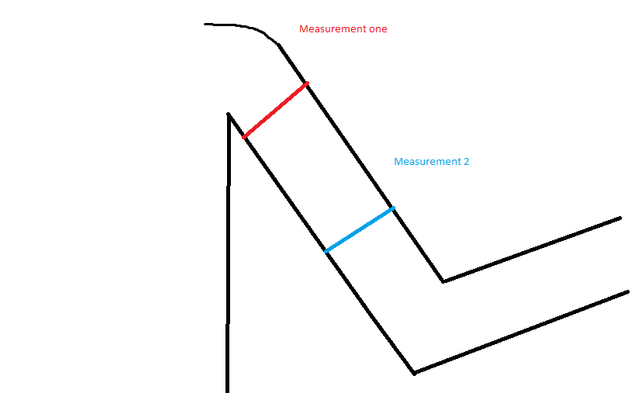
Beautiful scheme, I know
The complicated part came here. Your arm circumference is smaller near the elbow so the pattern isn't a rectangle but a trapeze ! To get your pattern, trace your longest measurement on your fabric (or on paper) then calculate the difference between the longest and the smaller measurement.
To give you an example, my longest measure was 56cm and my smaller was 52cm so I had a difference of 4cm.
Then, equally mark that difference divided by 2 on both end of your line. To continue with my example, I made two mark at 2cm and 50cm (the 0 is the start of my line).
If you have geometrical tools, get them out of their boxes because without that, you'll spend 1 hour on the next step (like me x) ). From the mark, trace a perpendicular line of the height your want your bracers to have, then link the end of the longest line to the end of the nearest perpendiuclar line. If you measure, normally, you have your smallest measurement between the end of the two perpendicular line. Normally. If not, tamper your perpendicular lines until you get approximatively the right measure. (spoiler, this is what took me that long x)).
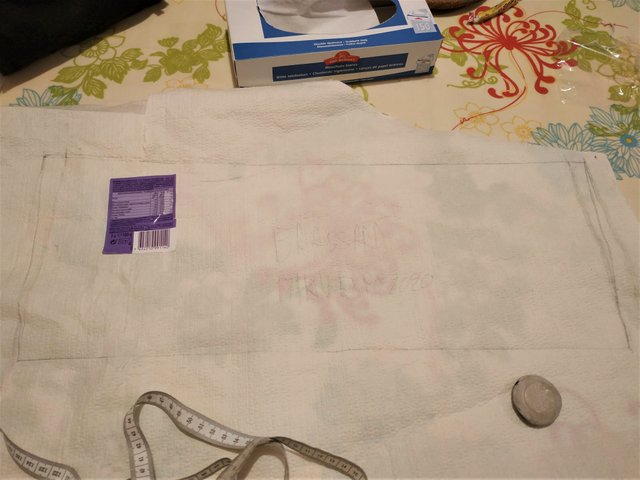
The real pattern
The pattern is created ! Pin it on your fabric (don't forget to fold your fabric so that you'll have two bracers that are identical) and cut. After that, I took 1m20 of elastic and cut 2 parts of my upper arm measurement and 2 part of my down part measurement. Sew them in circle (you'll have to get 4 elastic circle after that step).
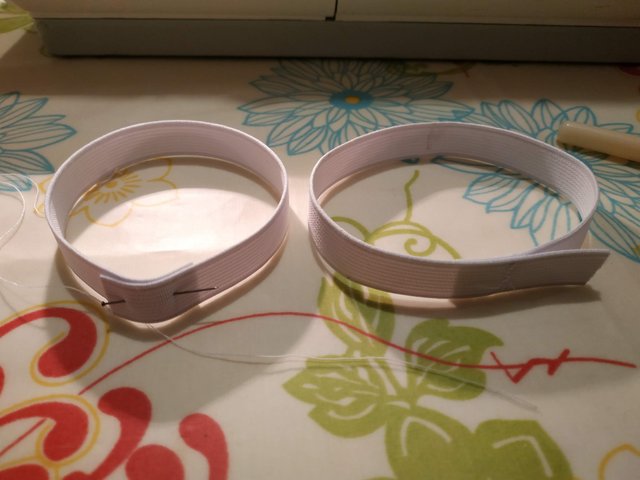
The two biggest elastic of the bracers
As the organza is a delicate fabric, I choose to use a gather thread (I hope this is understandable as I don't know the exact term in english !) instead of pining my fabirc at 4 point and manage the ease between every needle, like a sleeve.
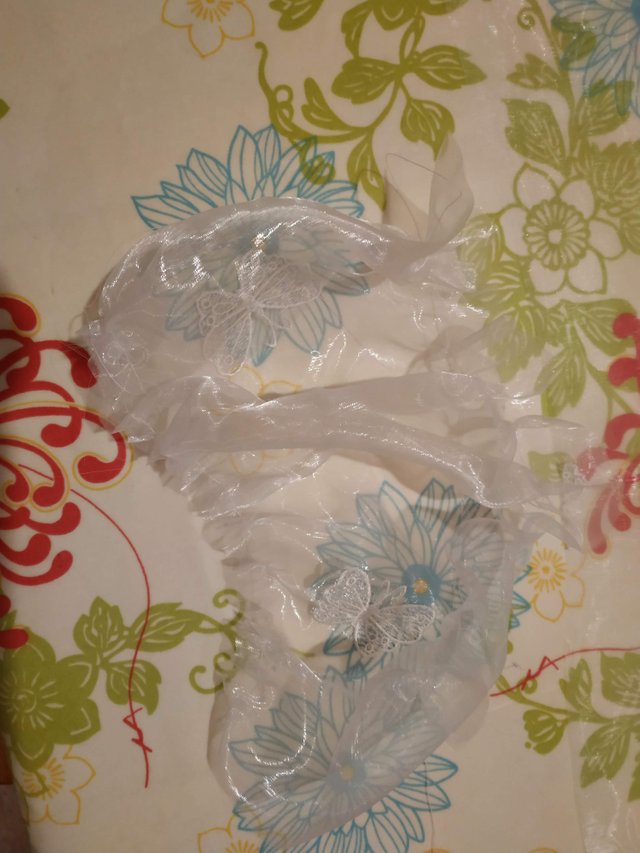
One bracer gathered at both ends
So after gathering my fabric evenly, I pinned it on the elastic band (according to the right measurement, a useful trick was the nodes of my gather thread : the one closest to the fabric was the down part !). I sew the edge of the organza to make a gathered tube and then sew the top and bottom edge on the elastic. After the tube sewing (so before attach it to the elastic) I burned the edge of the fabric a bit to seal them so that.
My bracers were done !
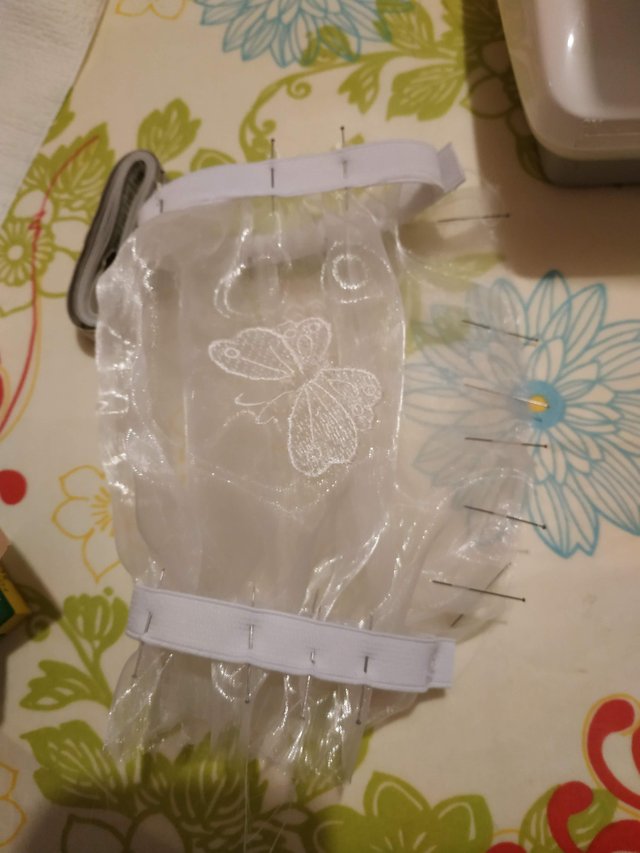
Pinned bracer
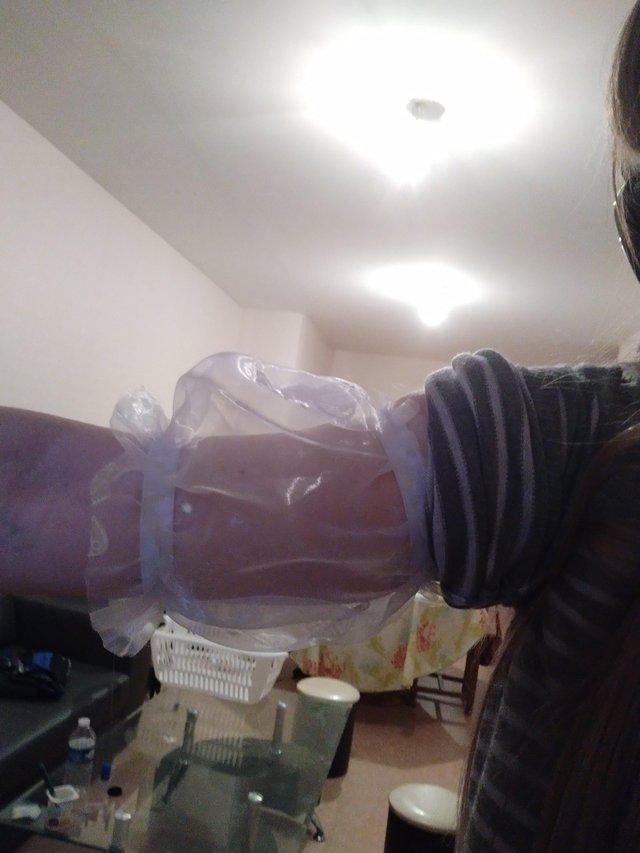
Final look for the bracer
This weekend, this was the end of my big one month project for school and fortunately, we manage to finish the project one day before the deadline that was fixed for this saturday :)
My goal was to finish the dress this week as my vacation start this friday (the 20th december) and I wouldn't be able to sew during those two weeks off. Spoiler alert : i achieved my goal ☺
On friday night, I listed what remains to do on the dress :
- Making the hole upper skirt in the organza
- fix the shoulder straps
- sew the hem on top and bottom part of the dress
- make the little part of organza that float at the waist
But let's reserve that for another post.
For the news : this costume is complete and I manage to finish everything for the FIBD so I just have to catch up all my late WIP and I'll be able to show you the final result :)
See you soon !
Thank you for using the #diy. This post has been manually rewarded with BUILD tokens in the form of an upvote. You can buy, stake, and exchange our "BUILD" tokens for steem on steem engine or SteemLeo
Build-it is a central hub for DIY and How-To projects. It's an opportunity to find and share the latest in DIY, and How-To tutorials. The recommended tags required when creating a DIY article are #diy, #build-it. #how-to, or #doityourself. Please subscribe to our community here
Chat with us on our discord and telegram channels Discord, Telegram.