Step by step guide on how to setup DarkPayCoin Masternode on GIN Platform [1-click mn hosting]
DarkPayCoin is one of the best performing Masternode projects of the month with nearly 1500 MN online, approaching to reach the tow thousands milestone. To speed it up, I thought to write a guide for newbies to setting up masternode on GIN platform which is a simplified masternode hosting platform. The steps are similar to most 1-click mn hosting platforms so you can follow it even if you aren't using Gin platform. However, I'll show you the steps with the Gin platform to create a DarkPayCoin masternode within few minutes. So, In this post, you'll learn how to set up a DKPC masternode 1-click hosting like Gin, Gentarium etc.
You'll need to follow all the steps one by one, here is the summary:
- Create an account on p.ginplatform.io (If you don't have one)
- Make sure you have some Gin coin to cover the hosting fees
- Purchase 10001 DKPC (MN collateral 10000 DKPC)
- Set the transaction hash
- Activate
- You are done.
Before we dive into the hosting tutorial, I think it would be much better to give you an option to use a self-hosted masternode. You can follow my previously published tutorial for self-hosted masternode on DigitalOcean VPS for DarkPayCoin or any other node.
Hosting DKPC masternode on Gin platform
Step 1. Create an account on Gin platform
If you already have an account there you can skip this step and start following from step 2. But if you don't have one, create by visiting https://p.ginplatform.io
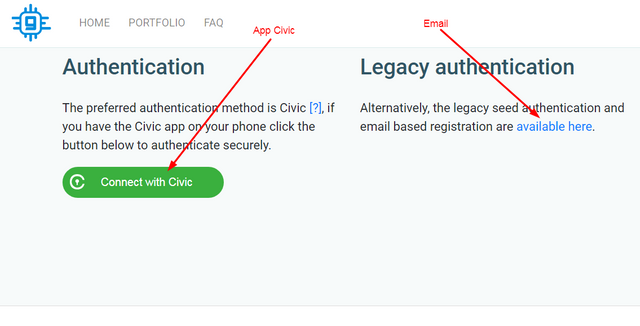
Step 1.1:
Visit Gin platform and make your profile by connecting through the Civic app or sign up with your email. I'll go with the Civic app. See the image below to quickly find both options.
Step 2. Deposit Gin coin
If you don't have Gin coin on the platform, deposit some to cover the hosting fees. Cloud nodes cost 0.15 USD + VAT per day paid in GIN at the rate of the launch/renewal time. If you need to know more about the fees visit the FAQ page. https://p.ginplatform.io/#!/faq
Step 3. Purchase DKPC and Set up wallet
DarkPayCoin masternode collateral is 10000 DKPC, so you'll need to purchase at least 10001 DKPC to cover transaction fees. Currently, you can buy from Crypto-bridge and Stex. Both exchanges are good at reputation while Cryptobridge holding higher volume for DKPC. Once you're done, send 10001 or more DKPC to your local wallet.
https://wallet.crypto-bridge.org/market/BRIDGE.DKPC_BRIDGE.BTC
https://app.stex.com/en/basic-trade/pair/BTC/DKPC/1D
Step 3.1:
Create a new receiving address in your local wallet with a preferred name to use for the masternode rewards. Now send exactly 10000 DKPC (this is important) to that address and give it some time to have enough confirmation (15) in the blockchain.
Step 3.2:
Open debug console. Type the following command to find the transaction ID.
Step 3.3:
Find your masternode transaction ID. Click on tools, then Debug console.
Type
> masternode outputs
and hit enter.
You'll get a transaction ID and a number 0 or 1. Note this for later use.
Step 4. Configure GIN platform
Go to the Gin platform and coin list page and start configuring your DKPC masternode. Follow the instruction below.
Step 4.1:
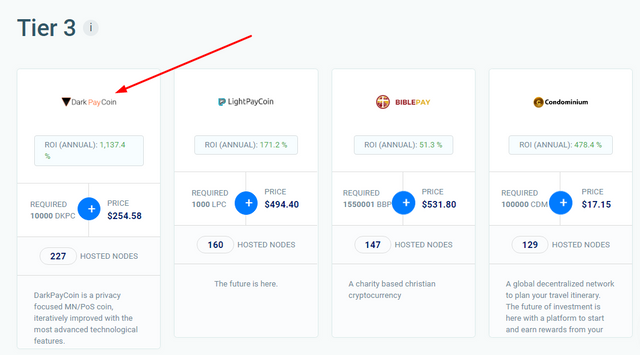
Find the DarkPayCoin on Gin platform, you should see it in Tire 3 lists.
Step 4.2:
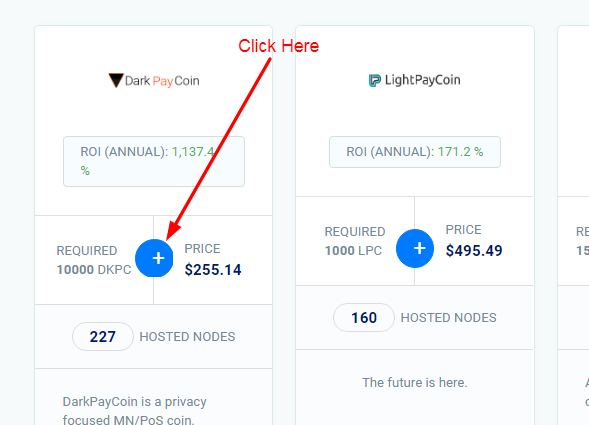
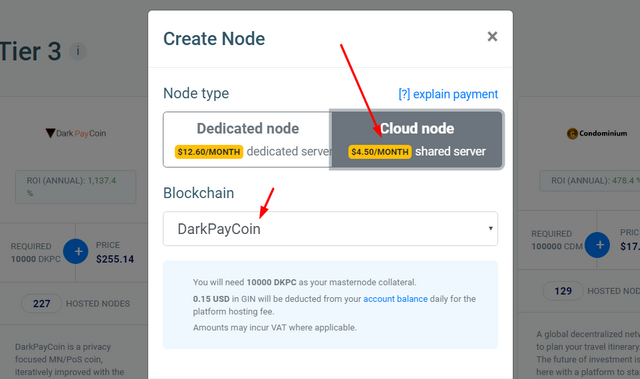
Click on the green plus (+) button to get started.
Step 4.3:
Select your server type. There is two type of server, dedicated and shared. Both are good but dedicated will cost higher fees. Usually, I use a shared server.
Step 4.4:
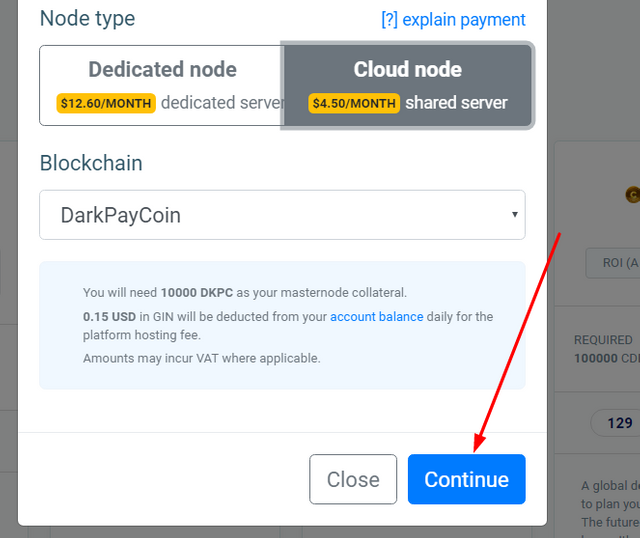
Click the "Continue" button at the bottom of the popped page.
Step 4.5:
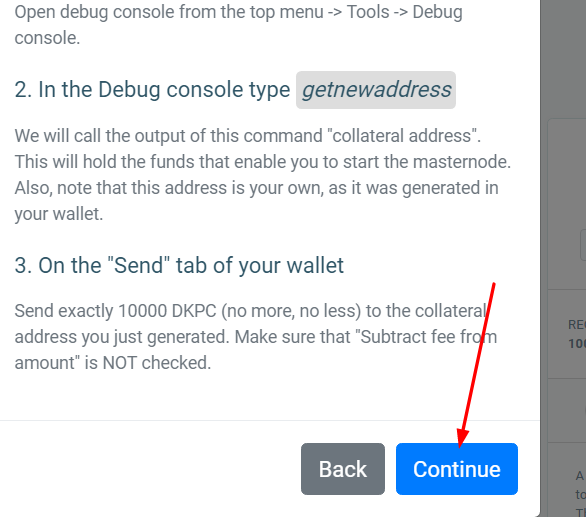
Now the next window will show you what you need to with the wallet. But you can skip reading there and follow my instruction here. Click the "Continue" button to proceed.
Step 4.6:
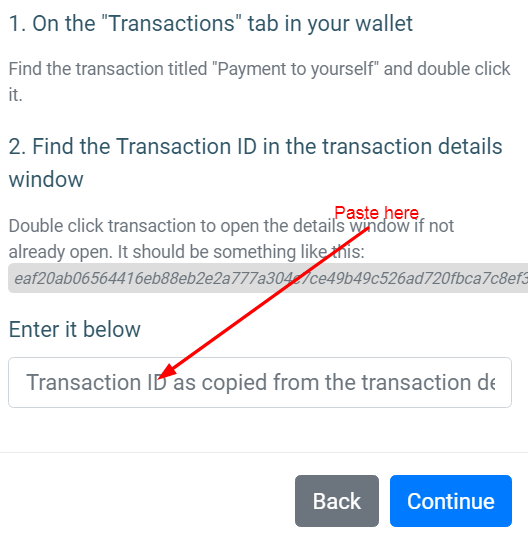
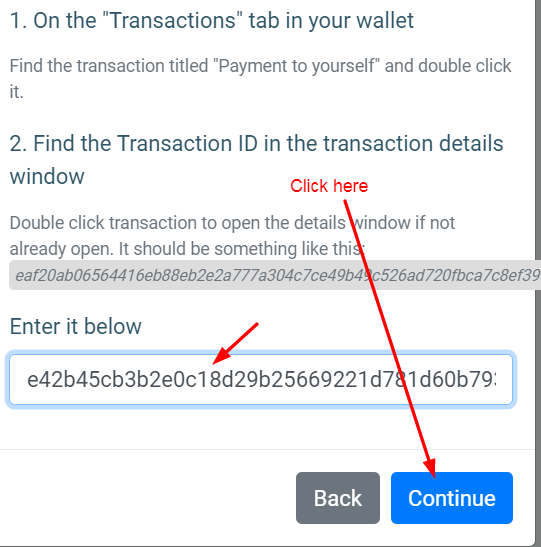
The next window asking for the masternode transaction hash id that you get from step 3.3. Copy that tx id and paste in the box.
Step 4.7:
Click on the green "Continue" button.
Step 4.8
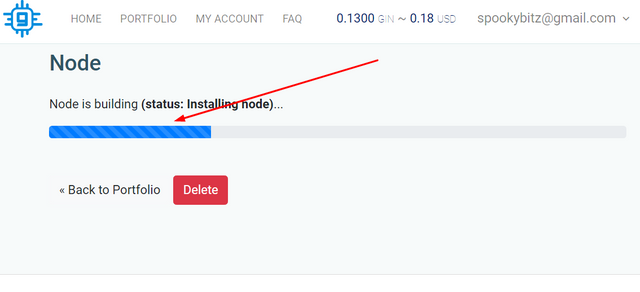
In the next window, you'll see the updating status bar. Once it's completed, it will give you masternode configuration file. Copy, paste and save them into your masternode wallet.
Step 4.9:
To do so, click on tools, then "Open Masternode Configuration File"
In the editor put your MN details as follows
MN Alias + VPS IP:Port + MN Private Key + Transaction ID + Input Code
After putting these data, save it. And close and re-open the wallet.
Step 4.10
Click on Masternode tab in your wallet. You'll see your masternode list here indicating "Missing". Click on it, and press "start Alias". It should show enabled, give it some time to sync fully, then it should be run perfectly.
Now you are good to go. Wait for your first reward, depending on the network first reward can take longer than you expect. Enjoy your DarkPayCoin masternode rewards.