DIY Wood GoT Stark Banner
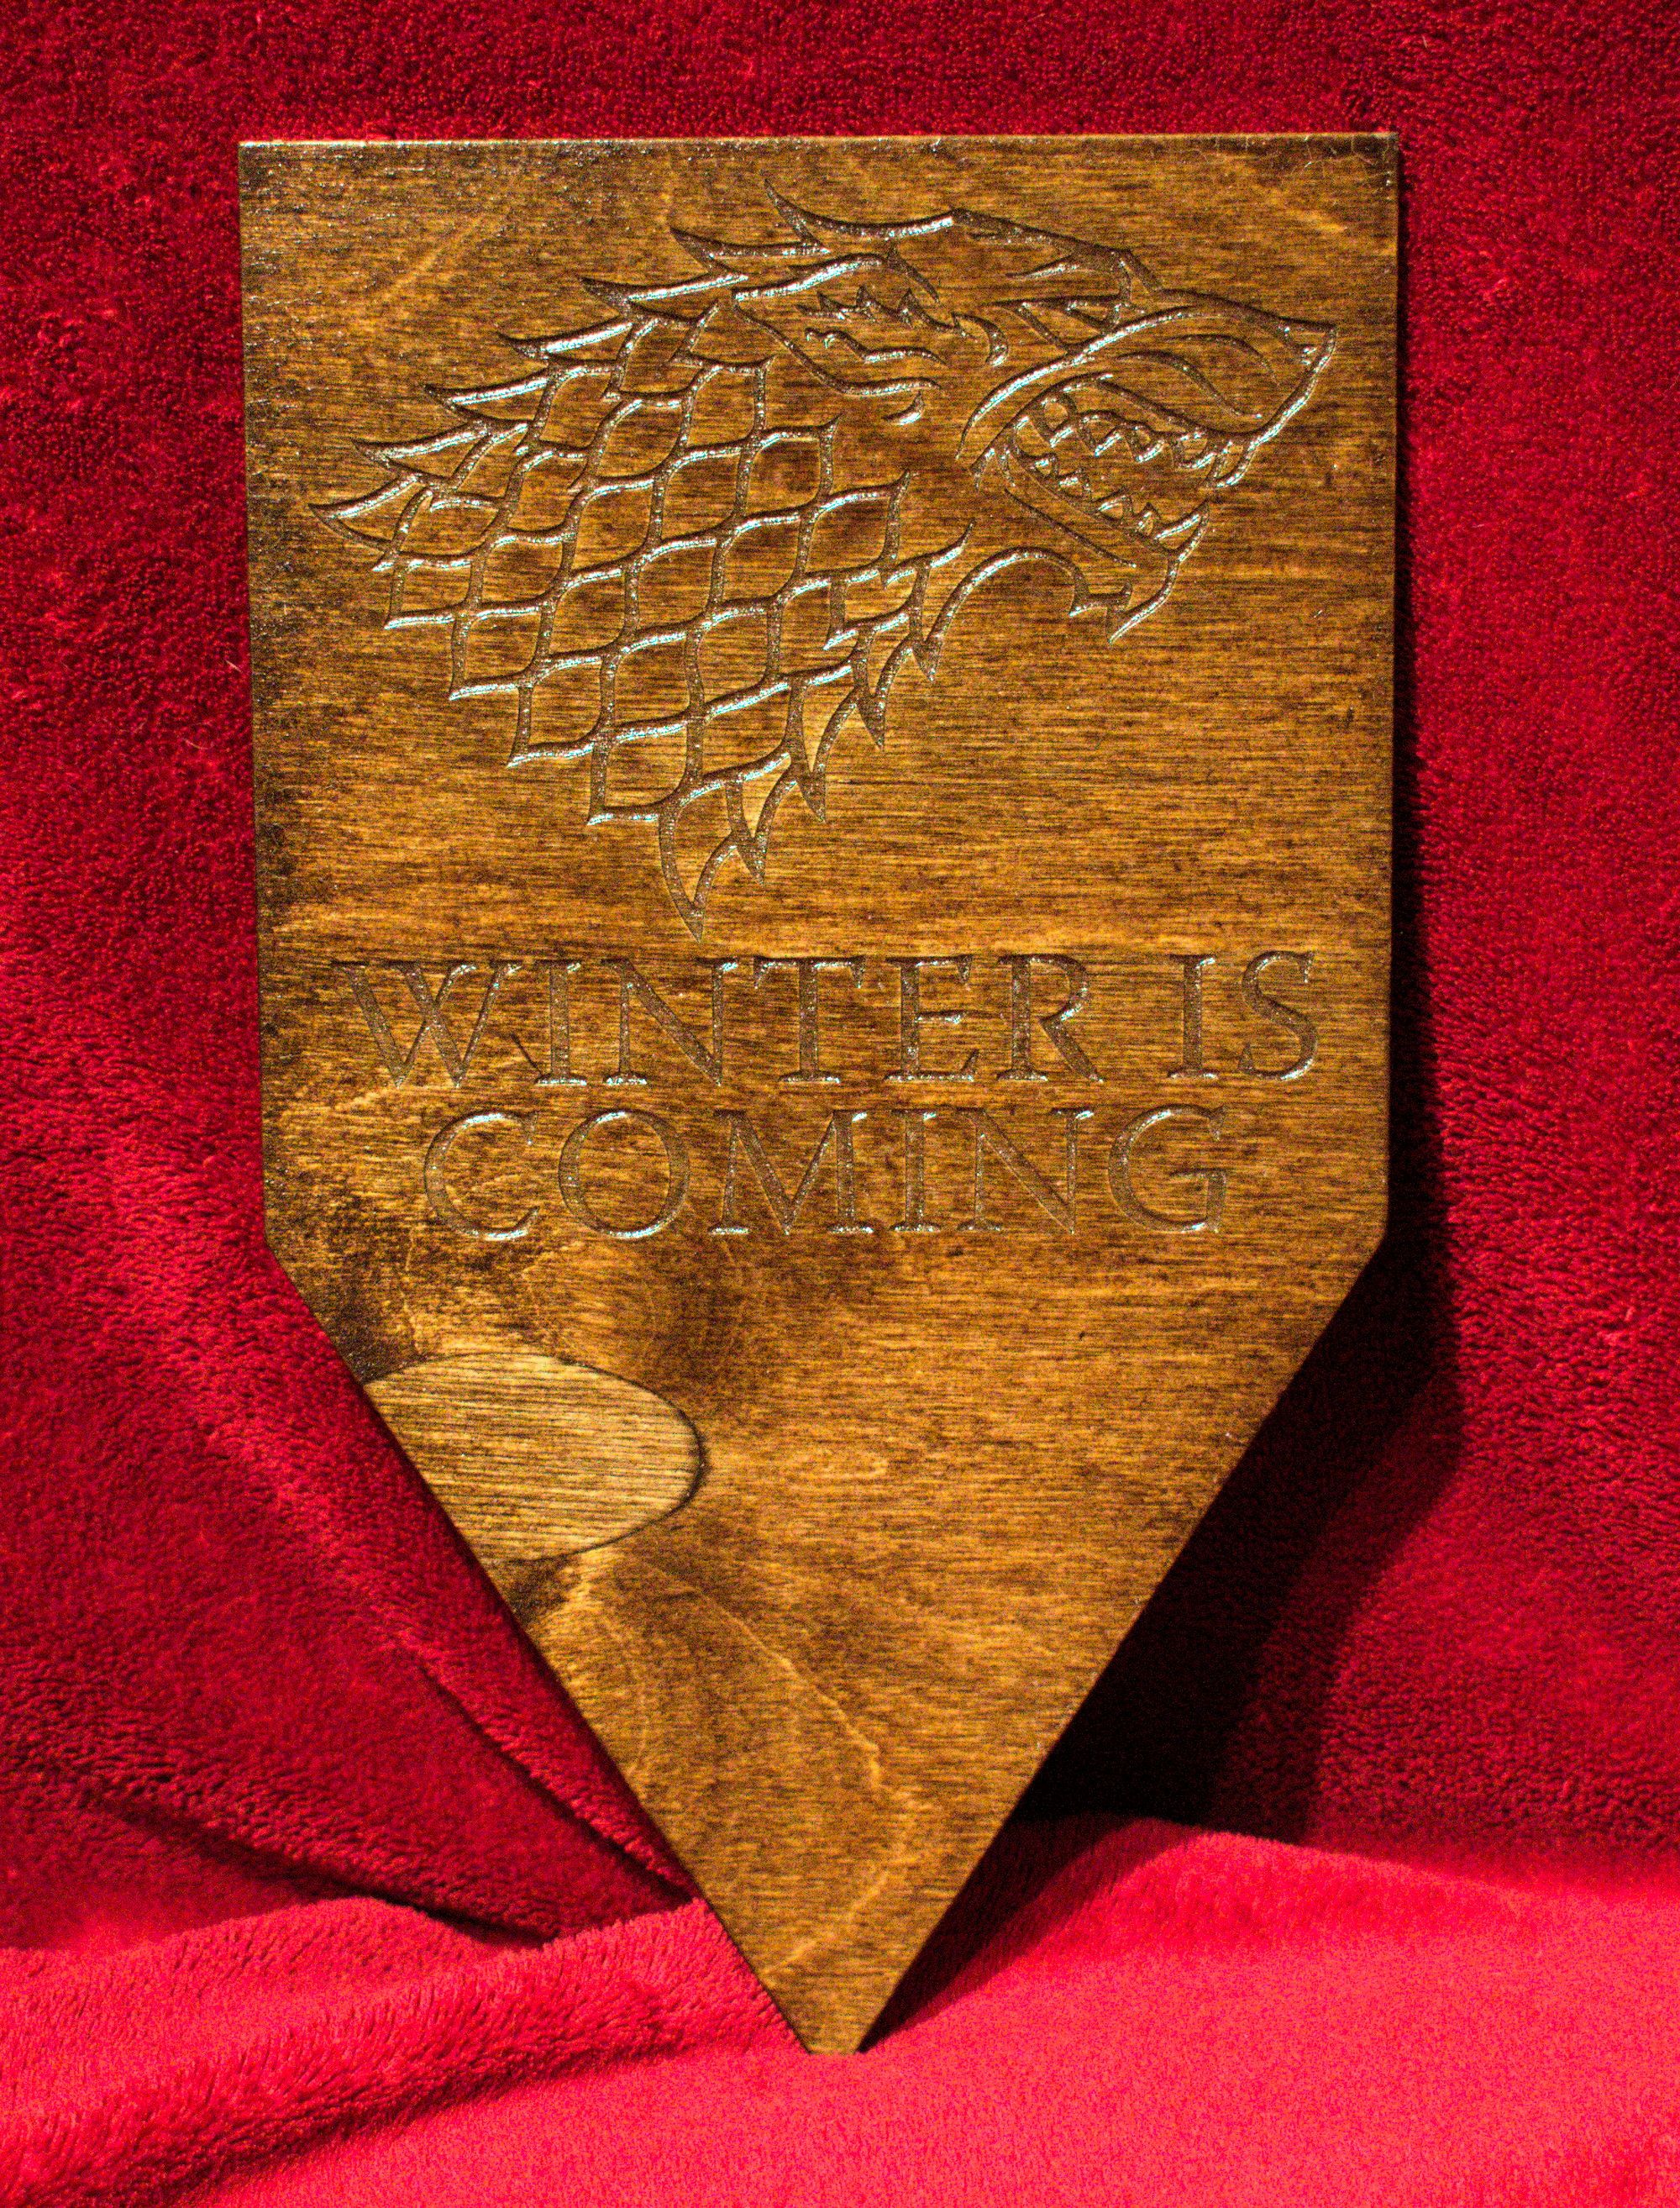
This is a laser cutting project that I did last summer because of the most recent Game of Thrones season. The project is actually pretty simple if you have access to a laser cutter (but a big if). For the project I vectorized the Stark house Sigil and added their motto "Winter is Coming" underneath
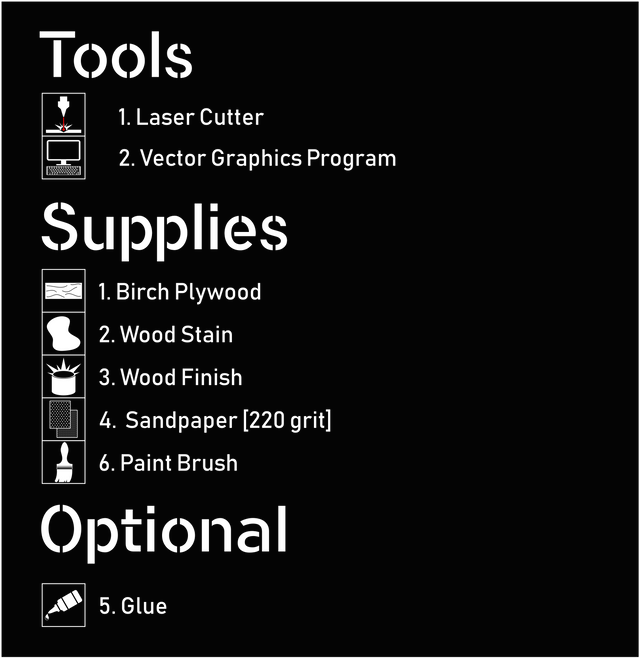
Tools:
Laser cutter
Vector Graphics Program
Supplies:
Birch plywood
Sand paper [220 grit]
Paint brush
Wood Stain
Wood finish
[Optional] Glue
-The vector graphics program is only necessary if you need to edit the files that I gave you or save them as a different file type for your laser cutter
-The wood glue is only necessary if you, like me used 1/8" thick birch plywood, and wanted to make it a bit thicker by gluing two boards together
Step 1: Laser Cut
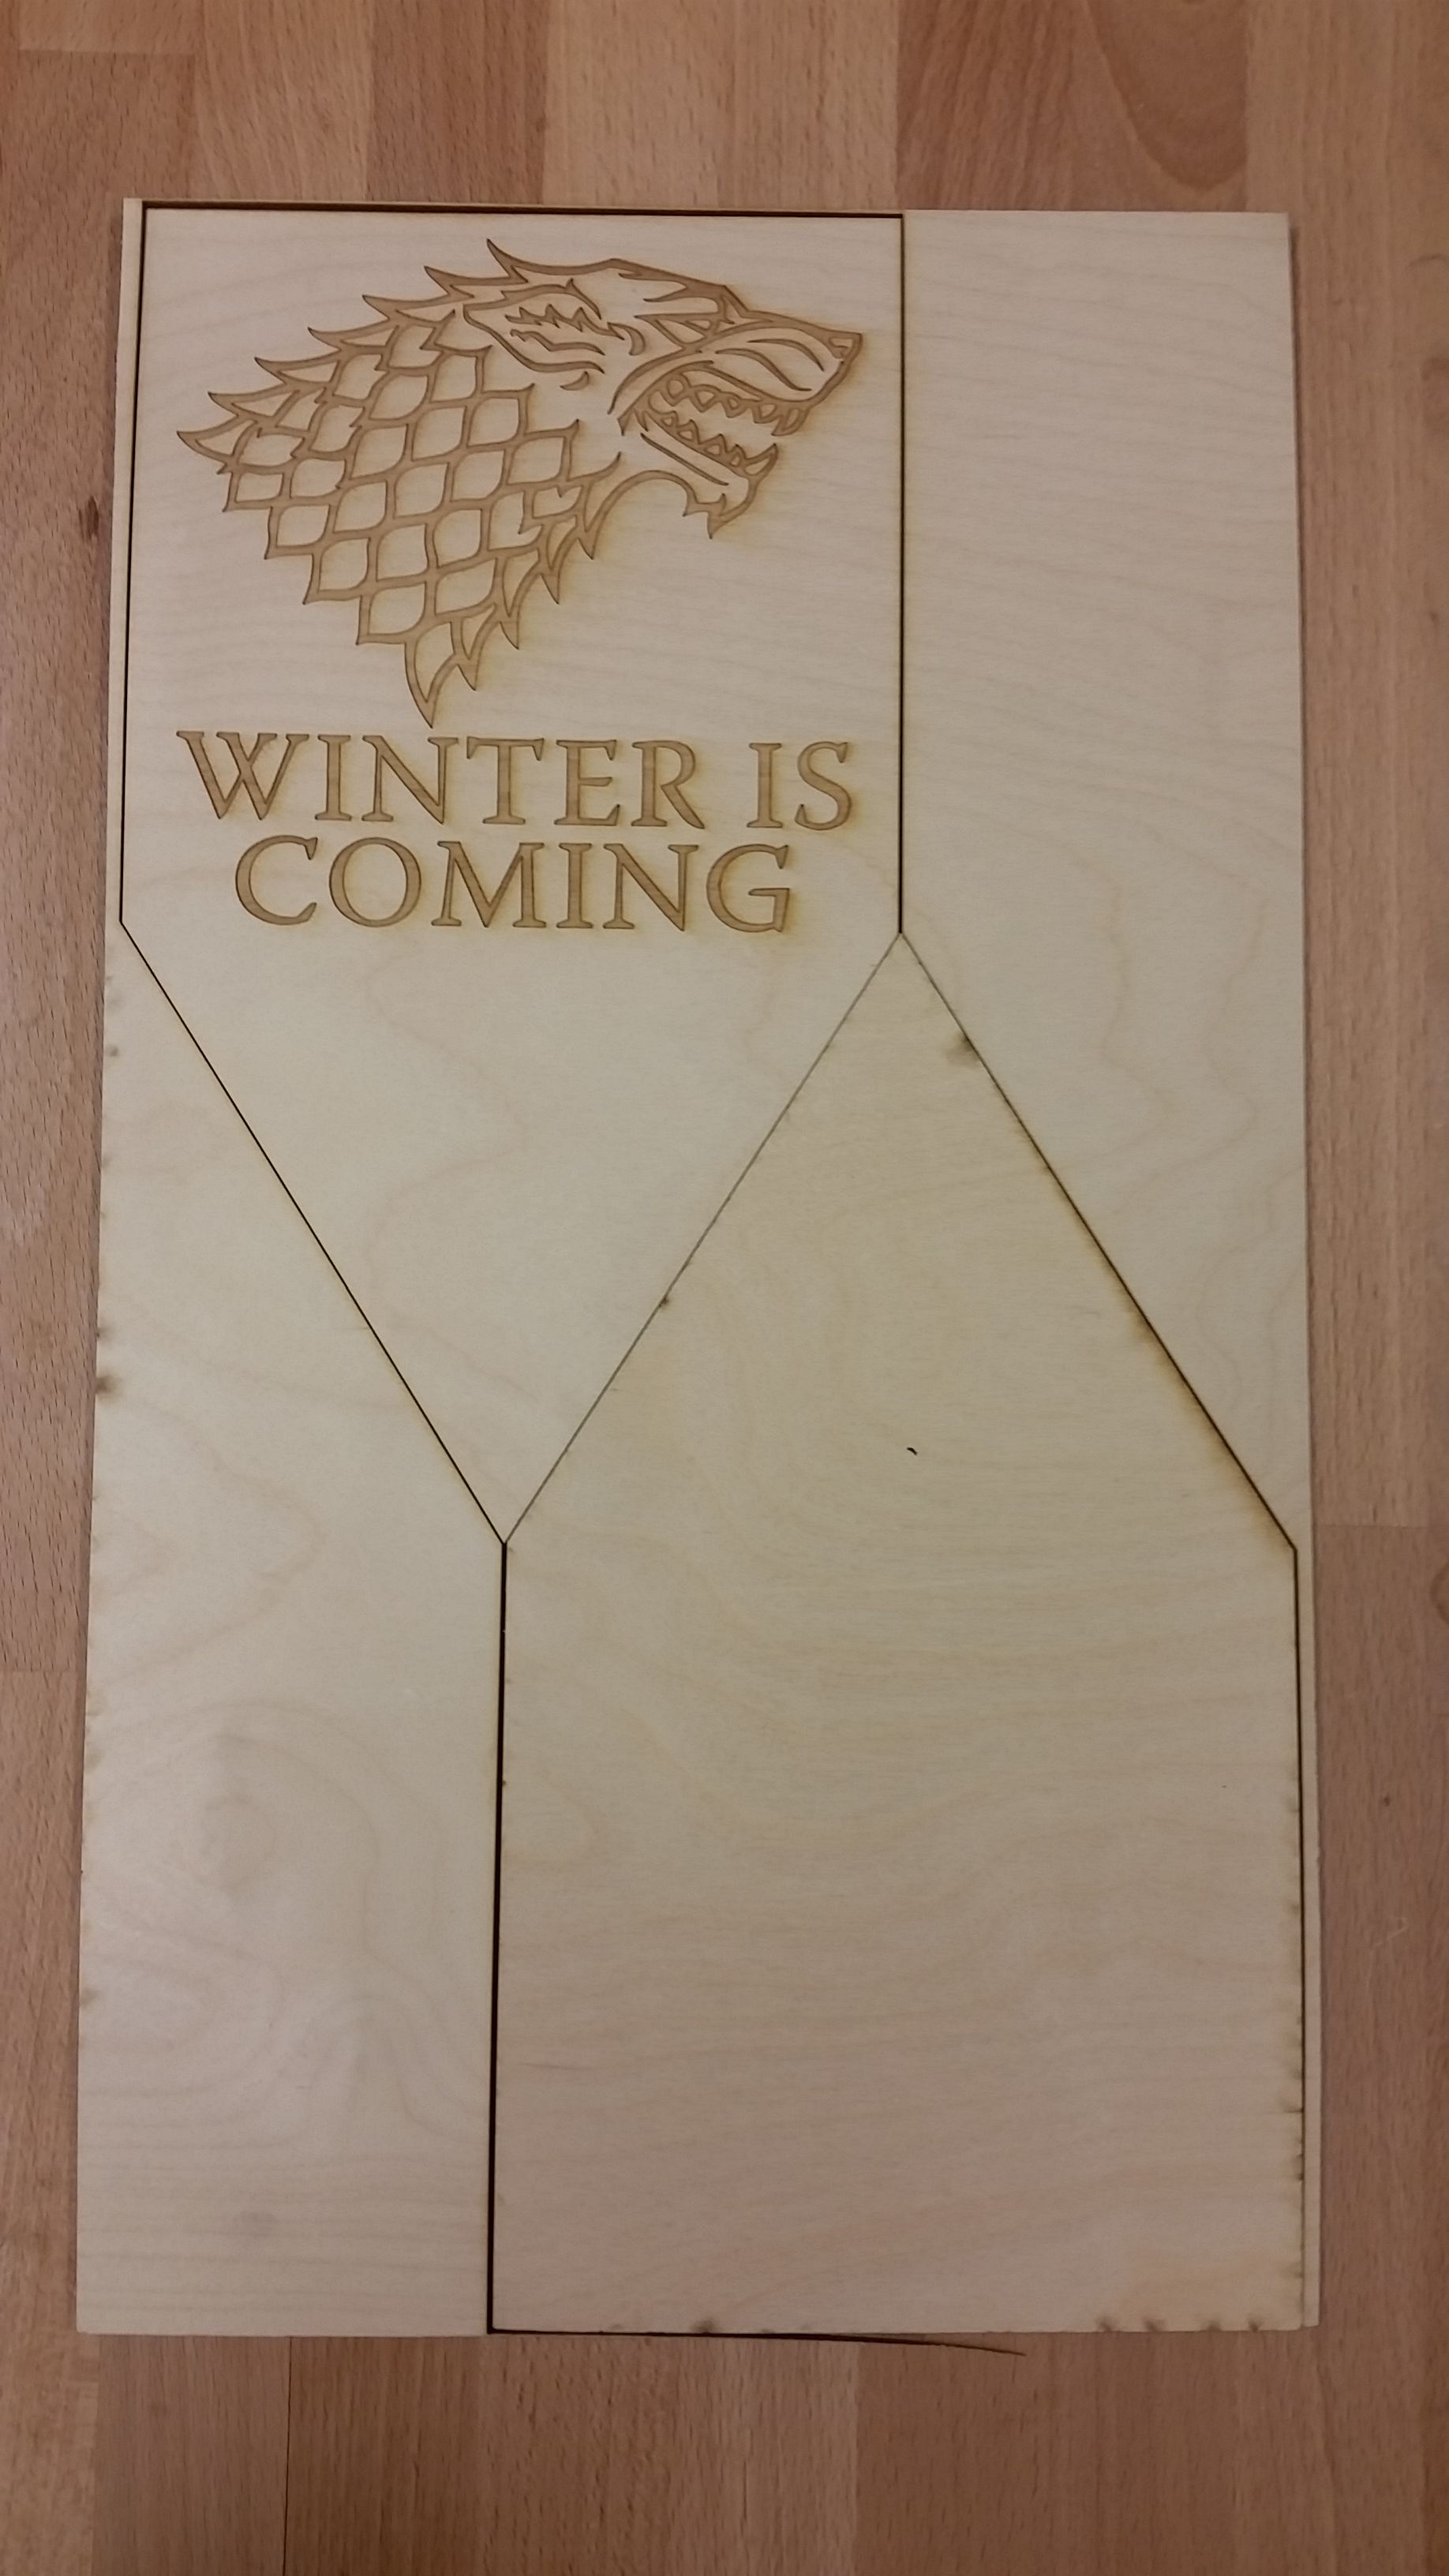
Attached below are the laser cutter files I used. Once downloaded, laser cut the parts.
-Because the plywood that I had was 1/8” thick, I cut two pieces (one “blank) so that I could glue them together and make it thicker
-I made this using Rhino, but also exported it to a couple different file types (if you’re not using Rhino, the .dxf file will probably be your best best)
-The dimensions are roughly 18” x 6.6” (and if your cutting two pieces like me, will then be 18” x 10”), but you can easily scale this to whatever size you want.
Step 2: Sand
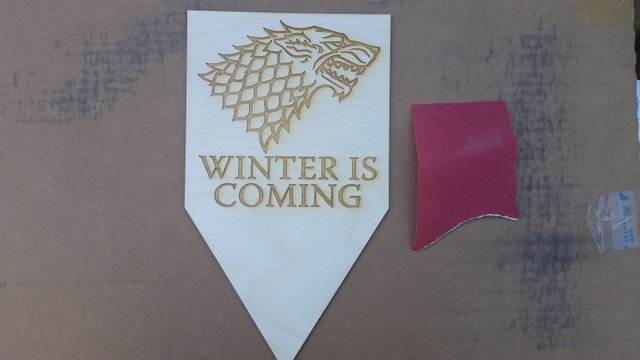
Sand the front piece relatively lightly, to make the staining more even
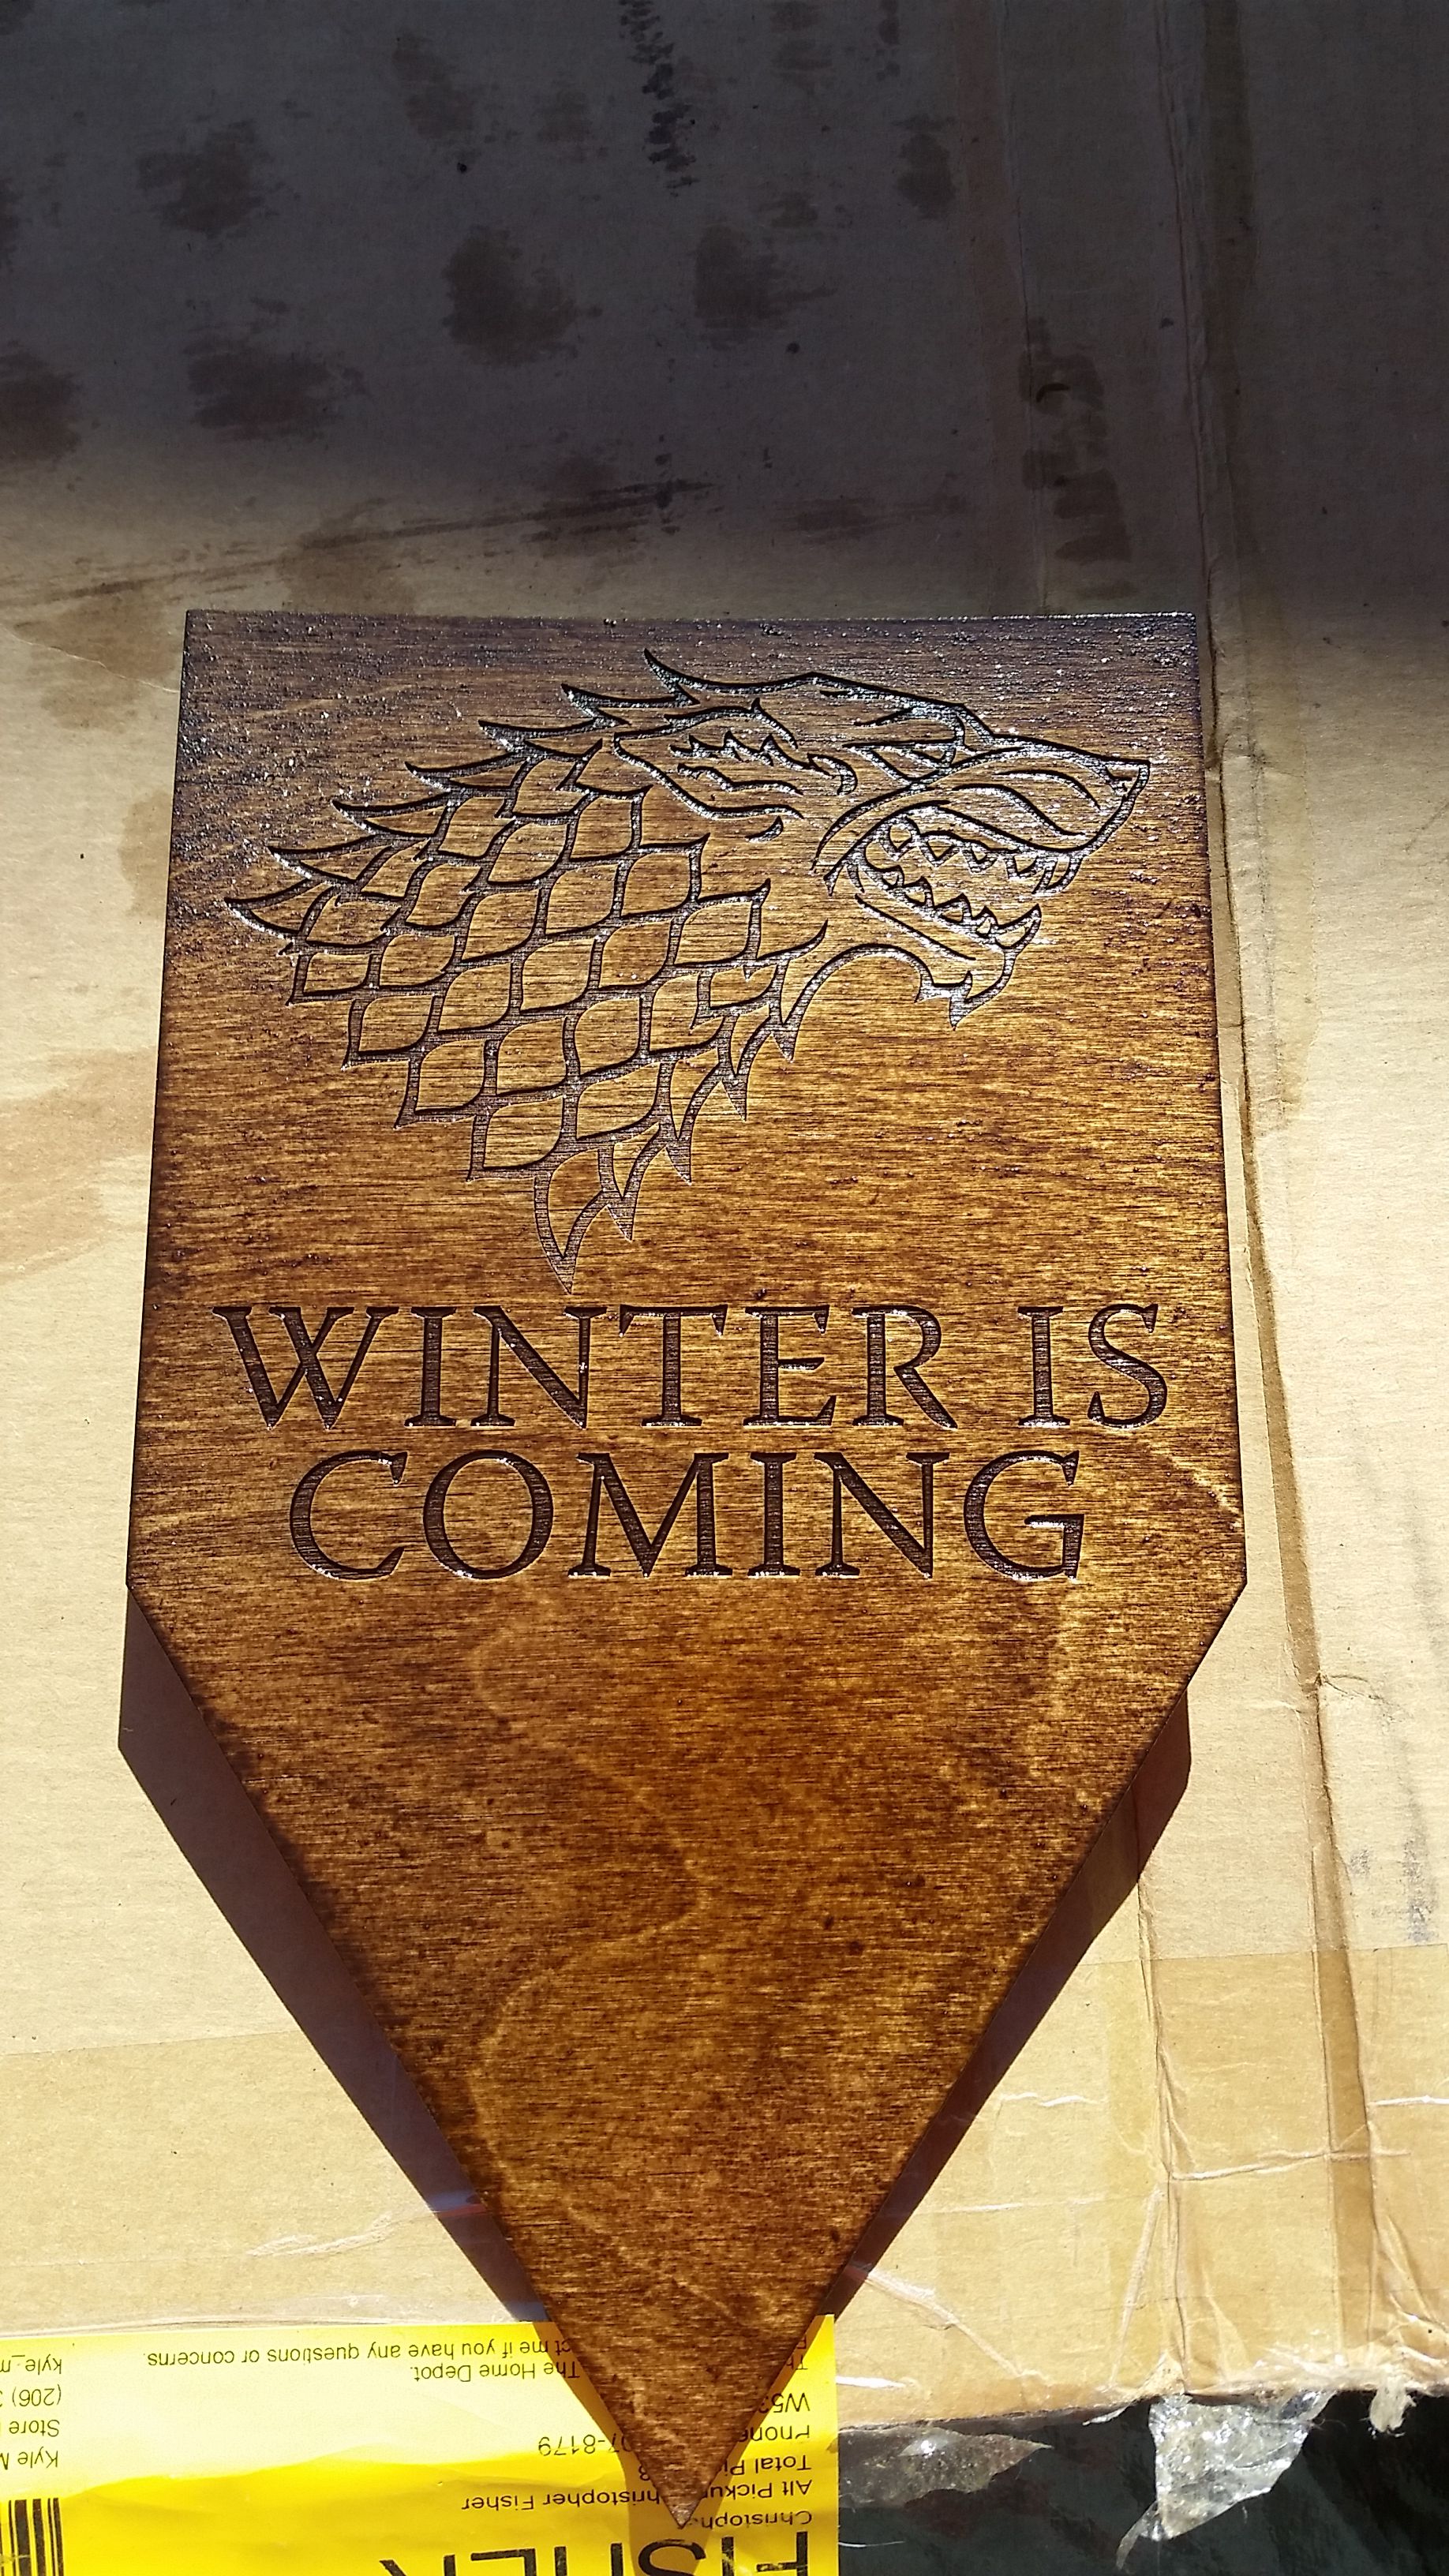
Step 3: Add Stain
Apply 2-3 coats of wood stain to the wood
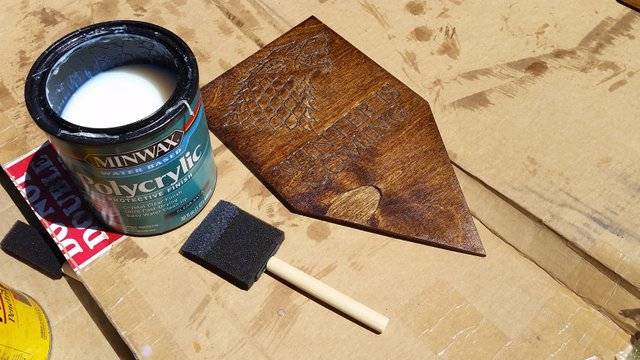
Step 4: Add Finish
Apply 2-3 coats of wood finish to the piece
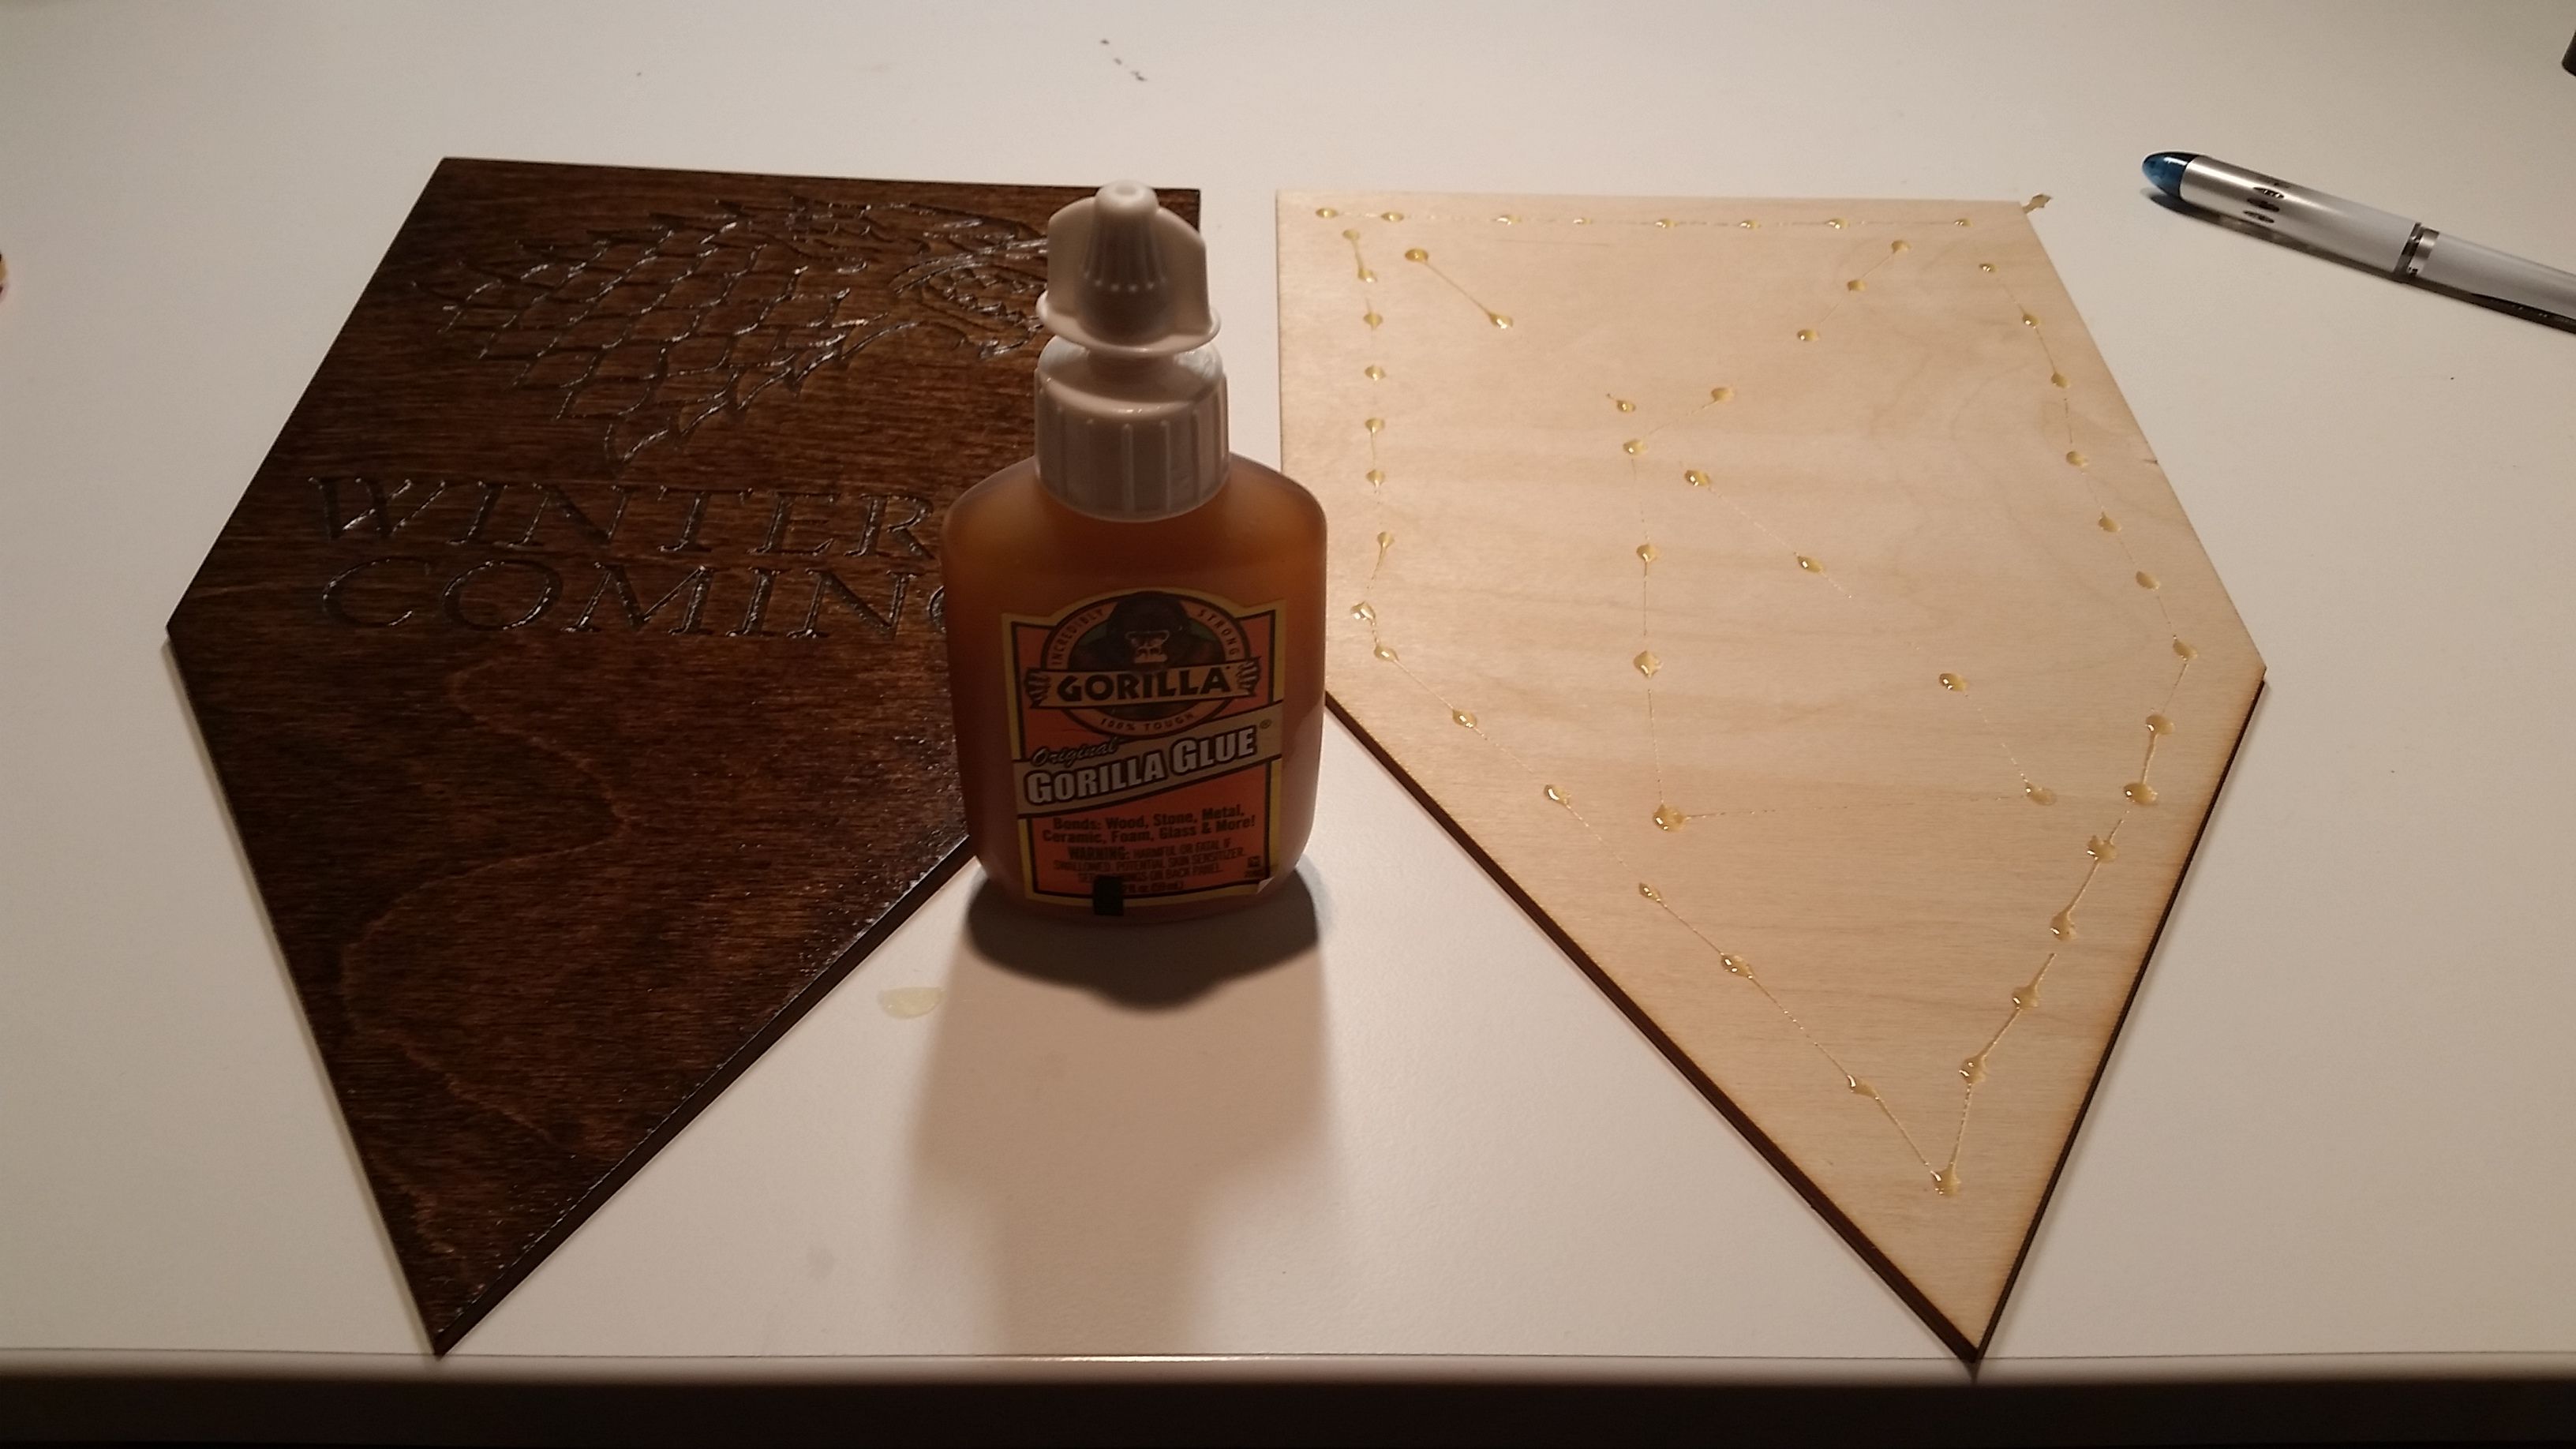
Step 5 [optional]: Glue together
If you cut two pieces for added thickness, glue the two pieces together.

And your done! Hope you enjoyed this tutorial, and let me know if you made one.
Great post. Laser cutting is something I want to research , It looks extremely useful.
I have started a woodworking category and there is a 'woodworking on steem ' Discord channel now. You should definitely check them out we would like to see you there and feel free to use the woodworking tag. Thanks