Drawing tutorial with the assembly technique.
Hello friends today I want to share with you the little knowledge I have about the drawing, this time I will talk about a technique called montage known mostly by drawing in engineering but I will teach how to apply it in the drawing artistic.
Before I begin I will explain a little about the assembly of drawing. The assembly of drawing is a technique popularly used by engineers to create drawings of pieces or constructions, this technique is based on helping the draftsman to square in the drawing or plan the different forms that are included in the way in which they contrast all and do not hinder the work.
Very well now I will begin to explain step by step how to apply this technique.
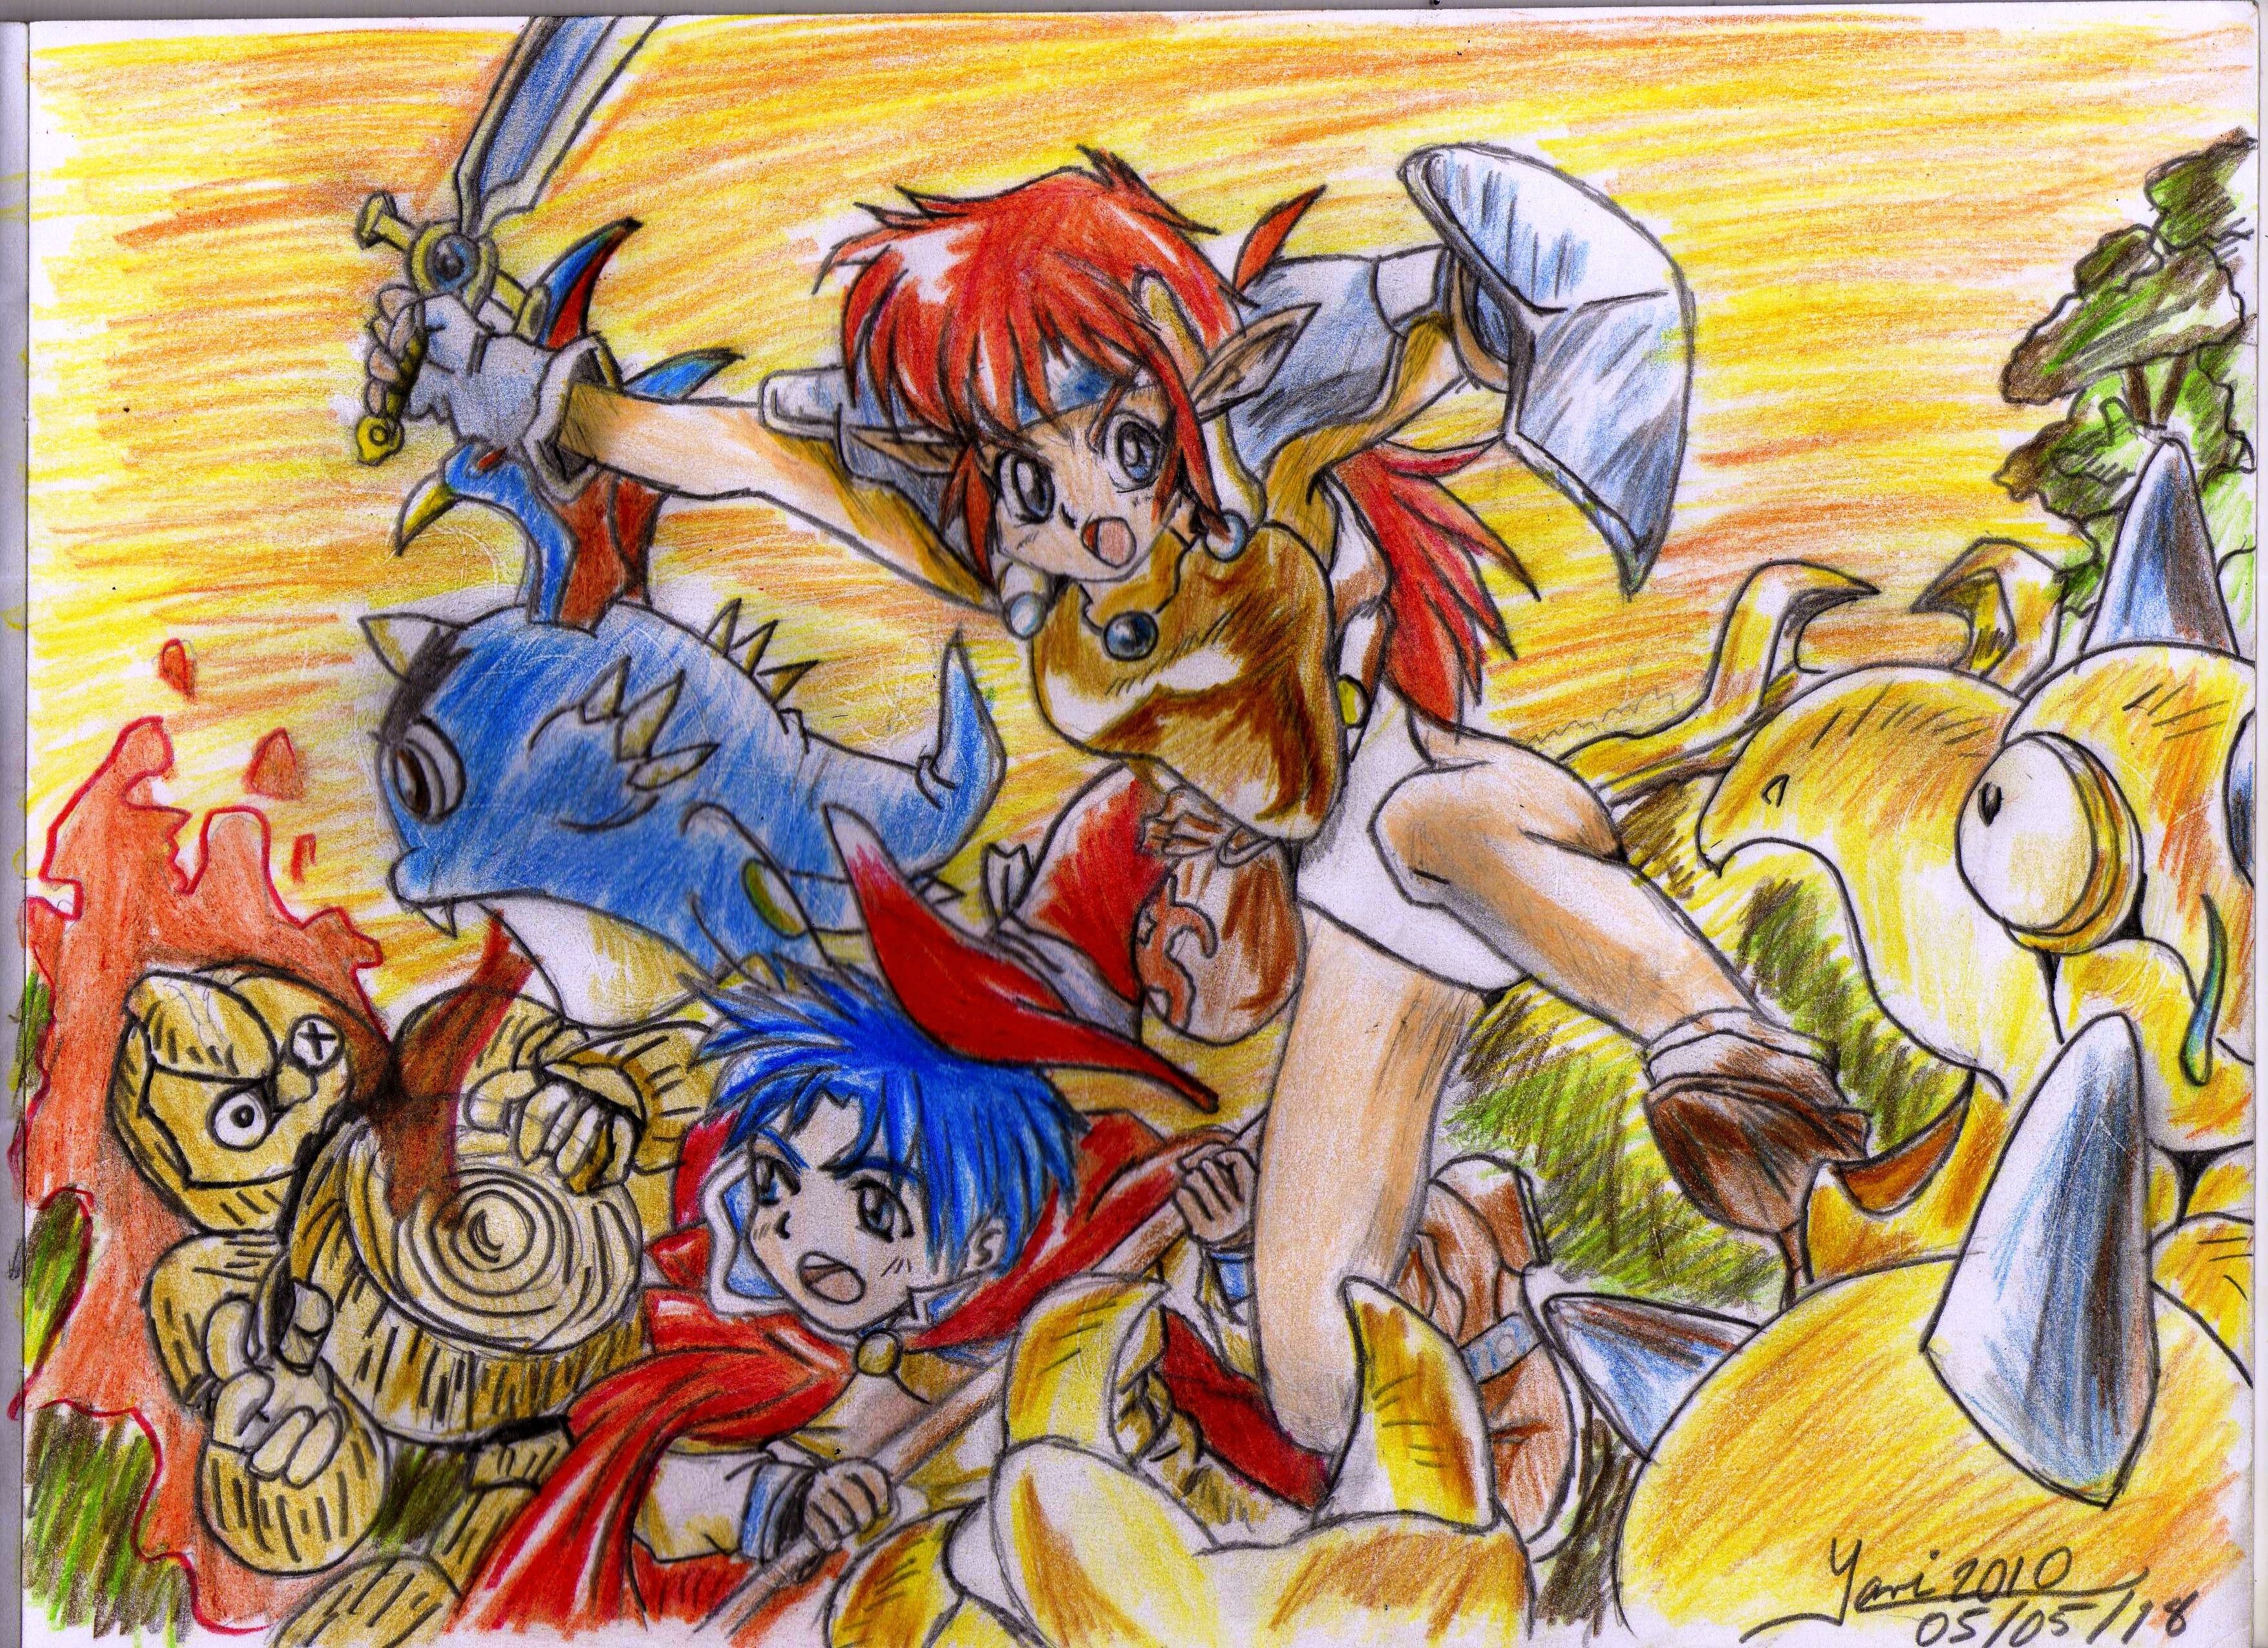
The drawing that I chose to show you is a drawing I made of a video game called The Legend of Heroes, in this image five characters are shown that I will show you how to draw them using the technique of drawing montage.

Paso a paso.

The first thing they must do is visualize the image they want to create and look for the connection point, in other words which is the character that connects with the other characters in order to have a guide to correctly fit the drawing and not to see as a result a scattered drawing.
In the case of this drawing the connection point is that of the redhead girl so I started drawing it, when they start to draw the connecting character try to do it the best possible no matter how long it takes them the important thing is that the measurements and The shape of the main drawing is as accurate as possible so that the other characters fit well in the drawing.
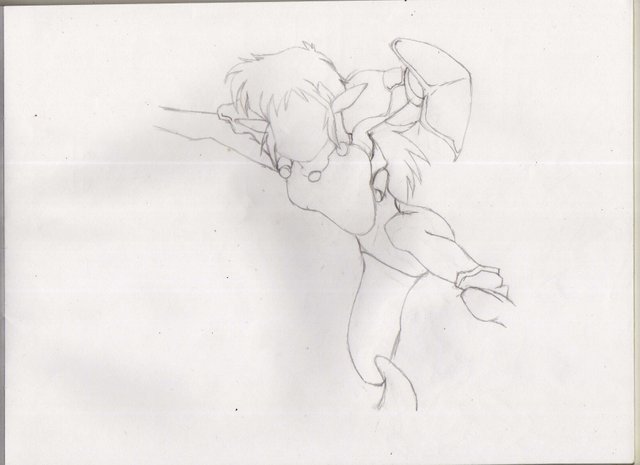
Once the connection image is made, the rest is like eating candy, you just have to start drawing the characters from the outside, what I want to say is that you begin to make the characters that connect with the character that is already drawing.
In my case the first secondary character that drew was the demon parrot, the point where this character connects with the redhead girl is in her shoes and the peak of him, also his hand is located on her leg , so as I explain, take the girl's body as a guide to perform the devil.
Then also perform the magician who was at the height of the main character's leg, you can see well this character connects right in the leg of the first character made.
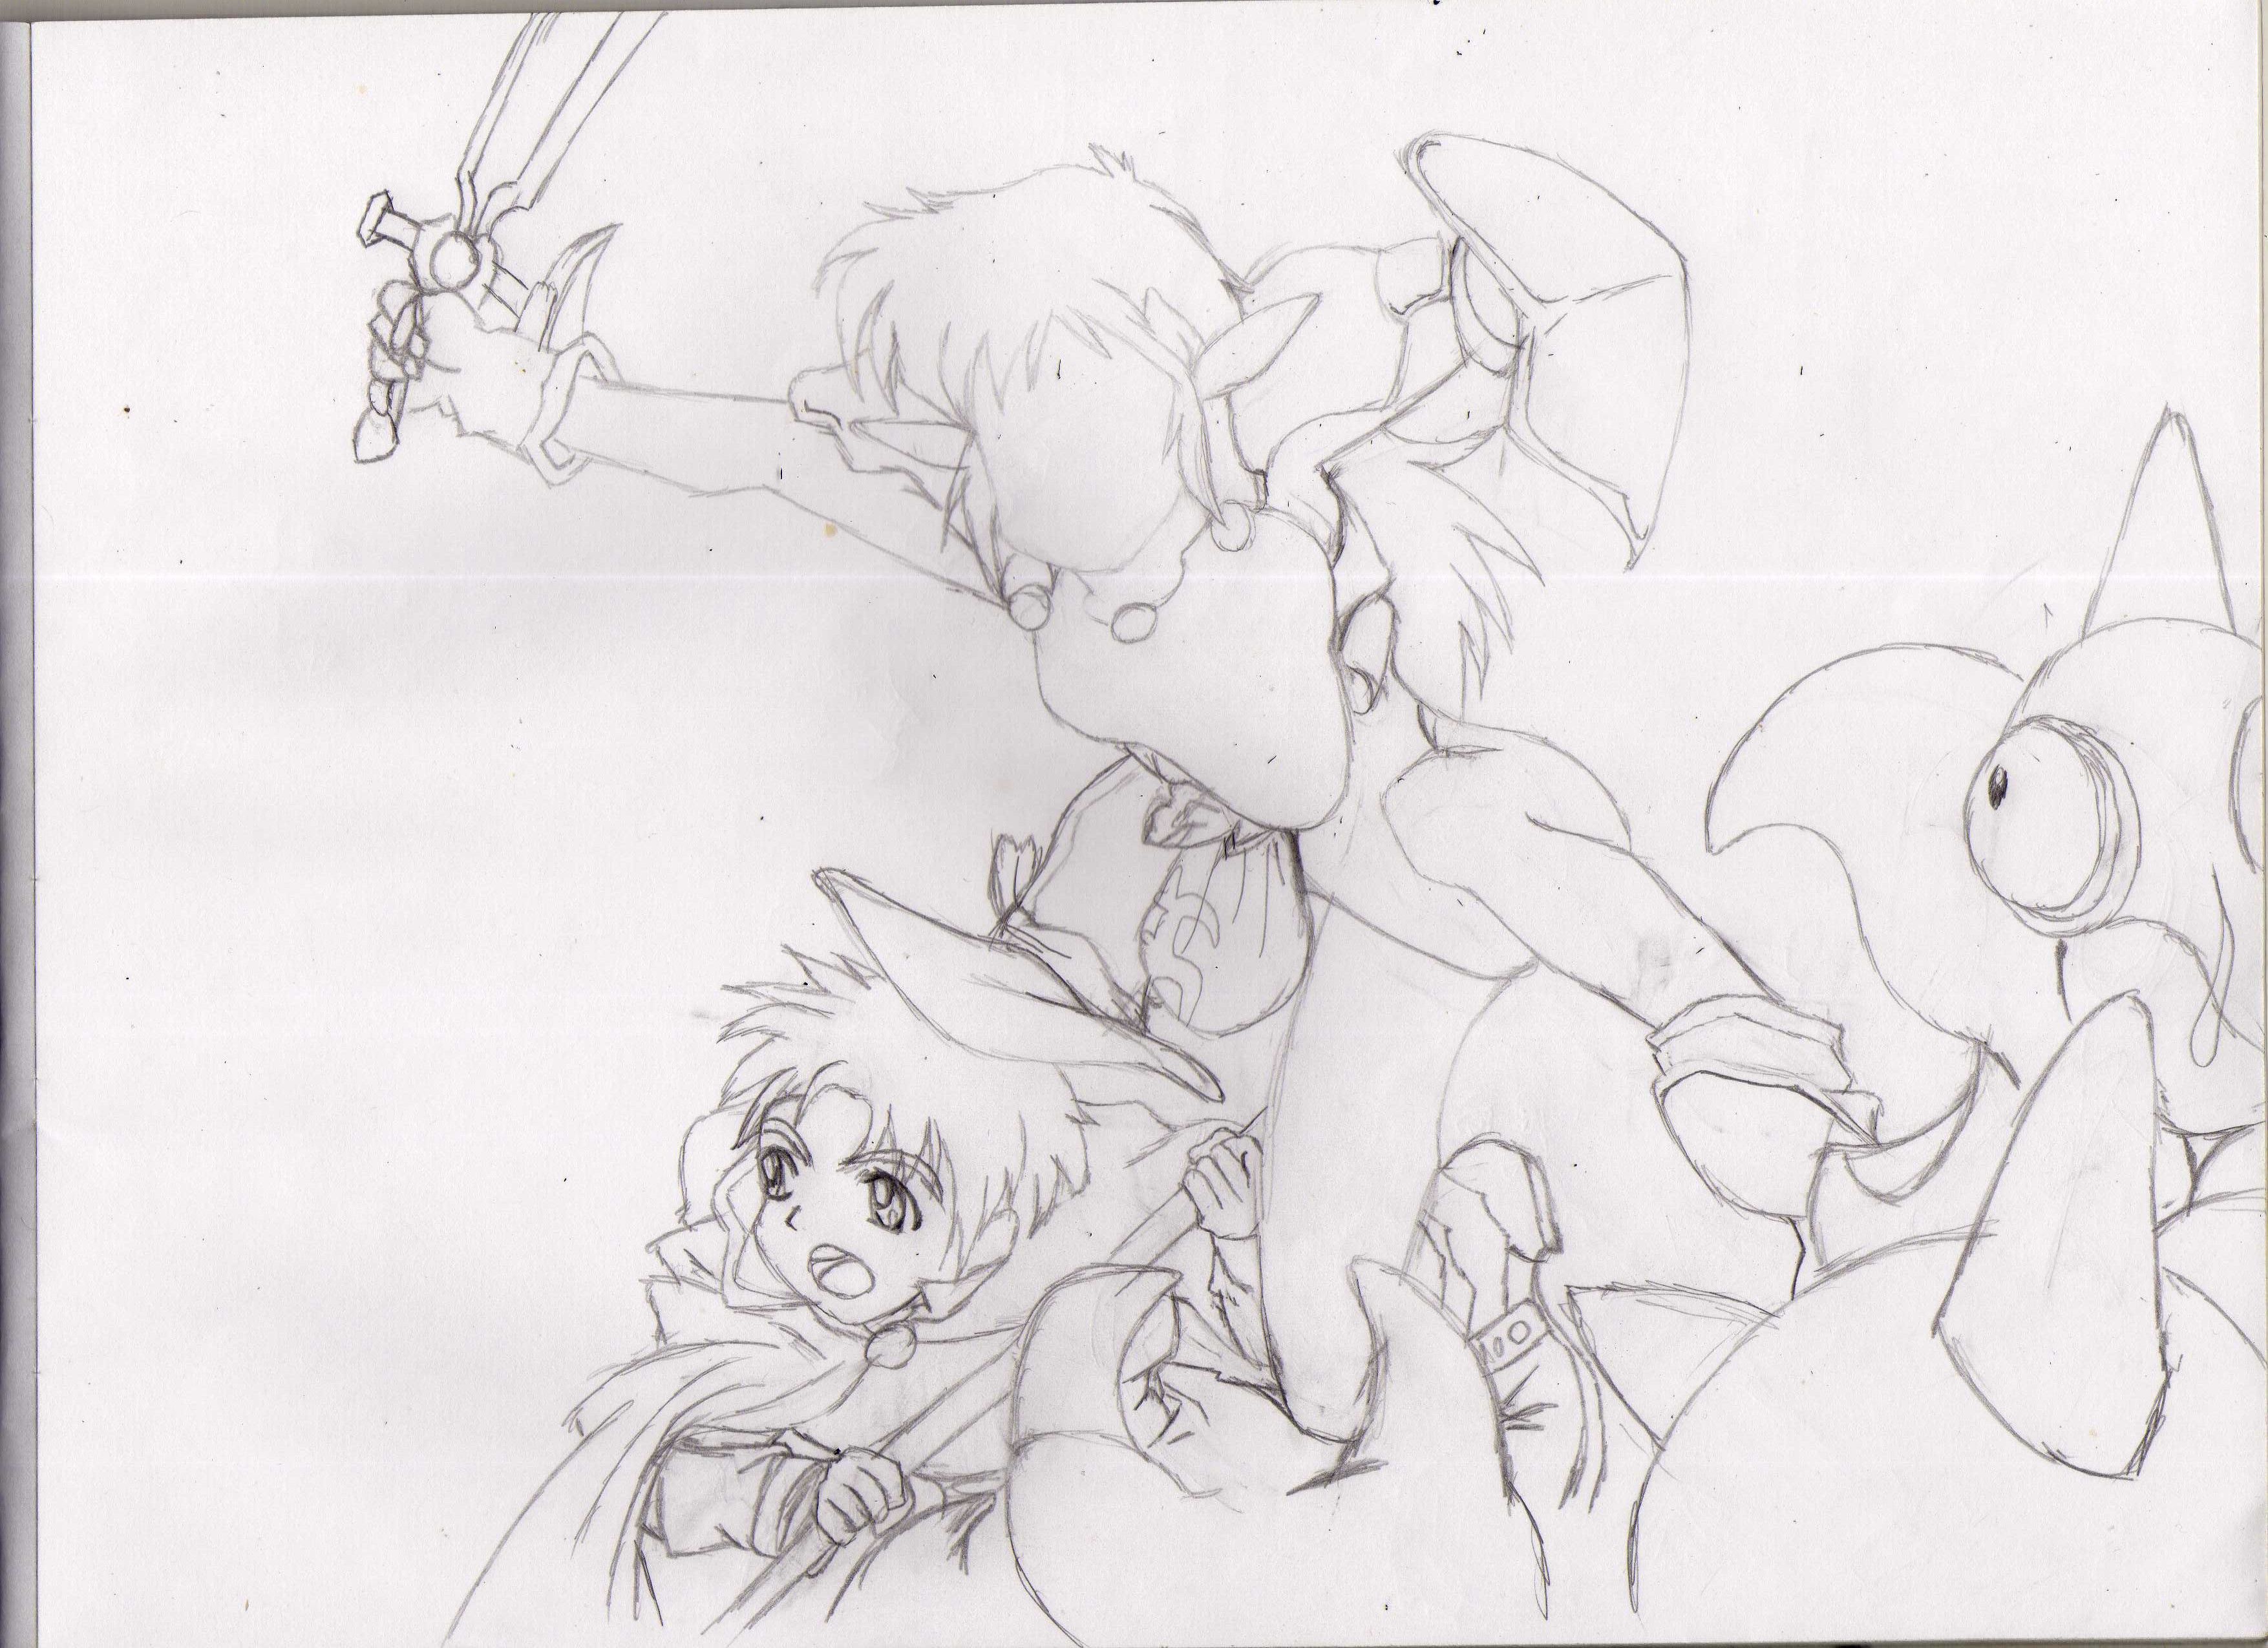
Then I made the figure of the dragon that was at the level of the right arm of the main character that intercepts with the dragon's alar and from there I began to take it as a guide to make the dragon's form.
To make the figure of the wooden character, use as a guide the dragon you had previously drawn.
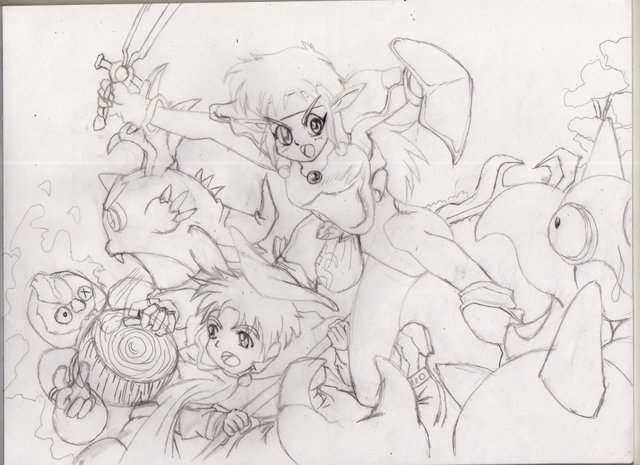
Ready and we have the finished drawing now only would be to paint the drawing, here I am going to show you this drawing already painted, but the painting techniques I will be teaching them in another post friends.
I started painting the character I made in the beginning.
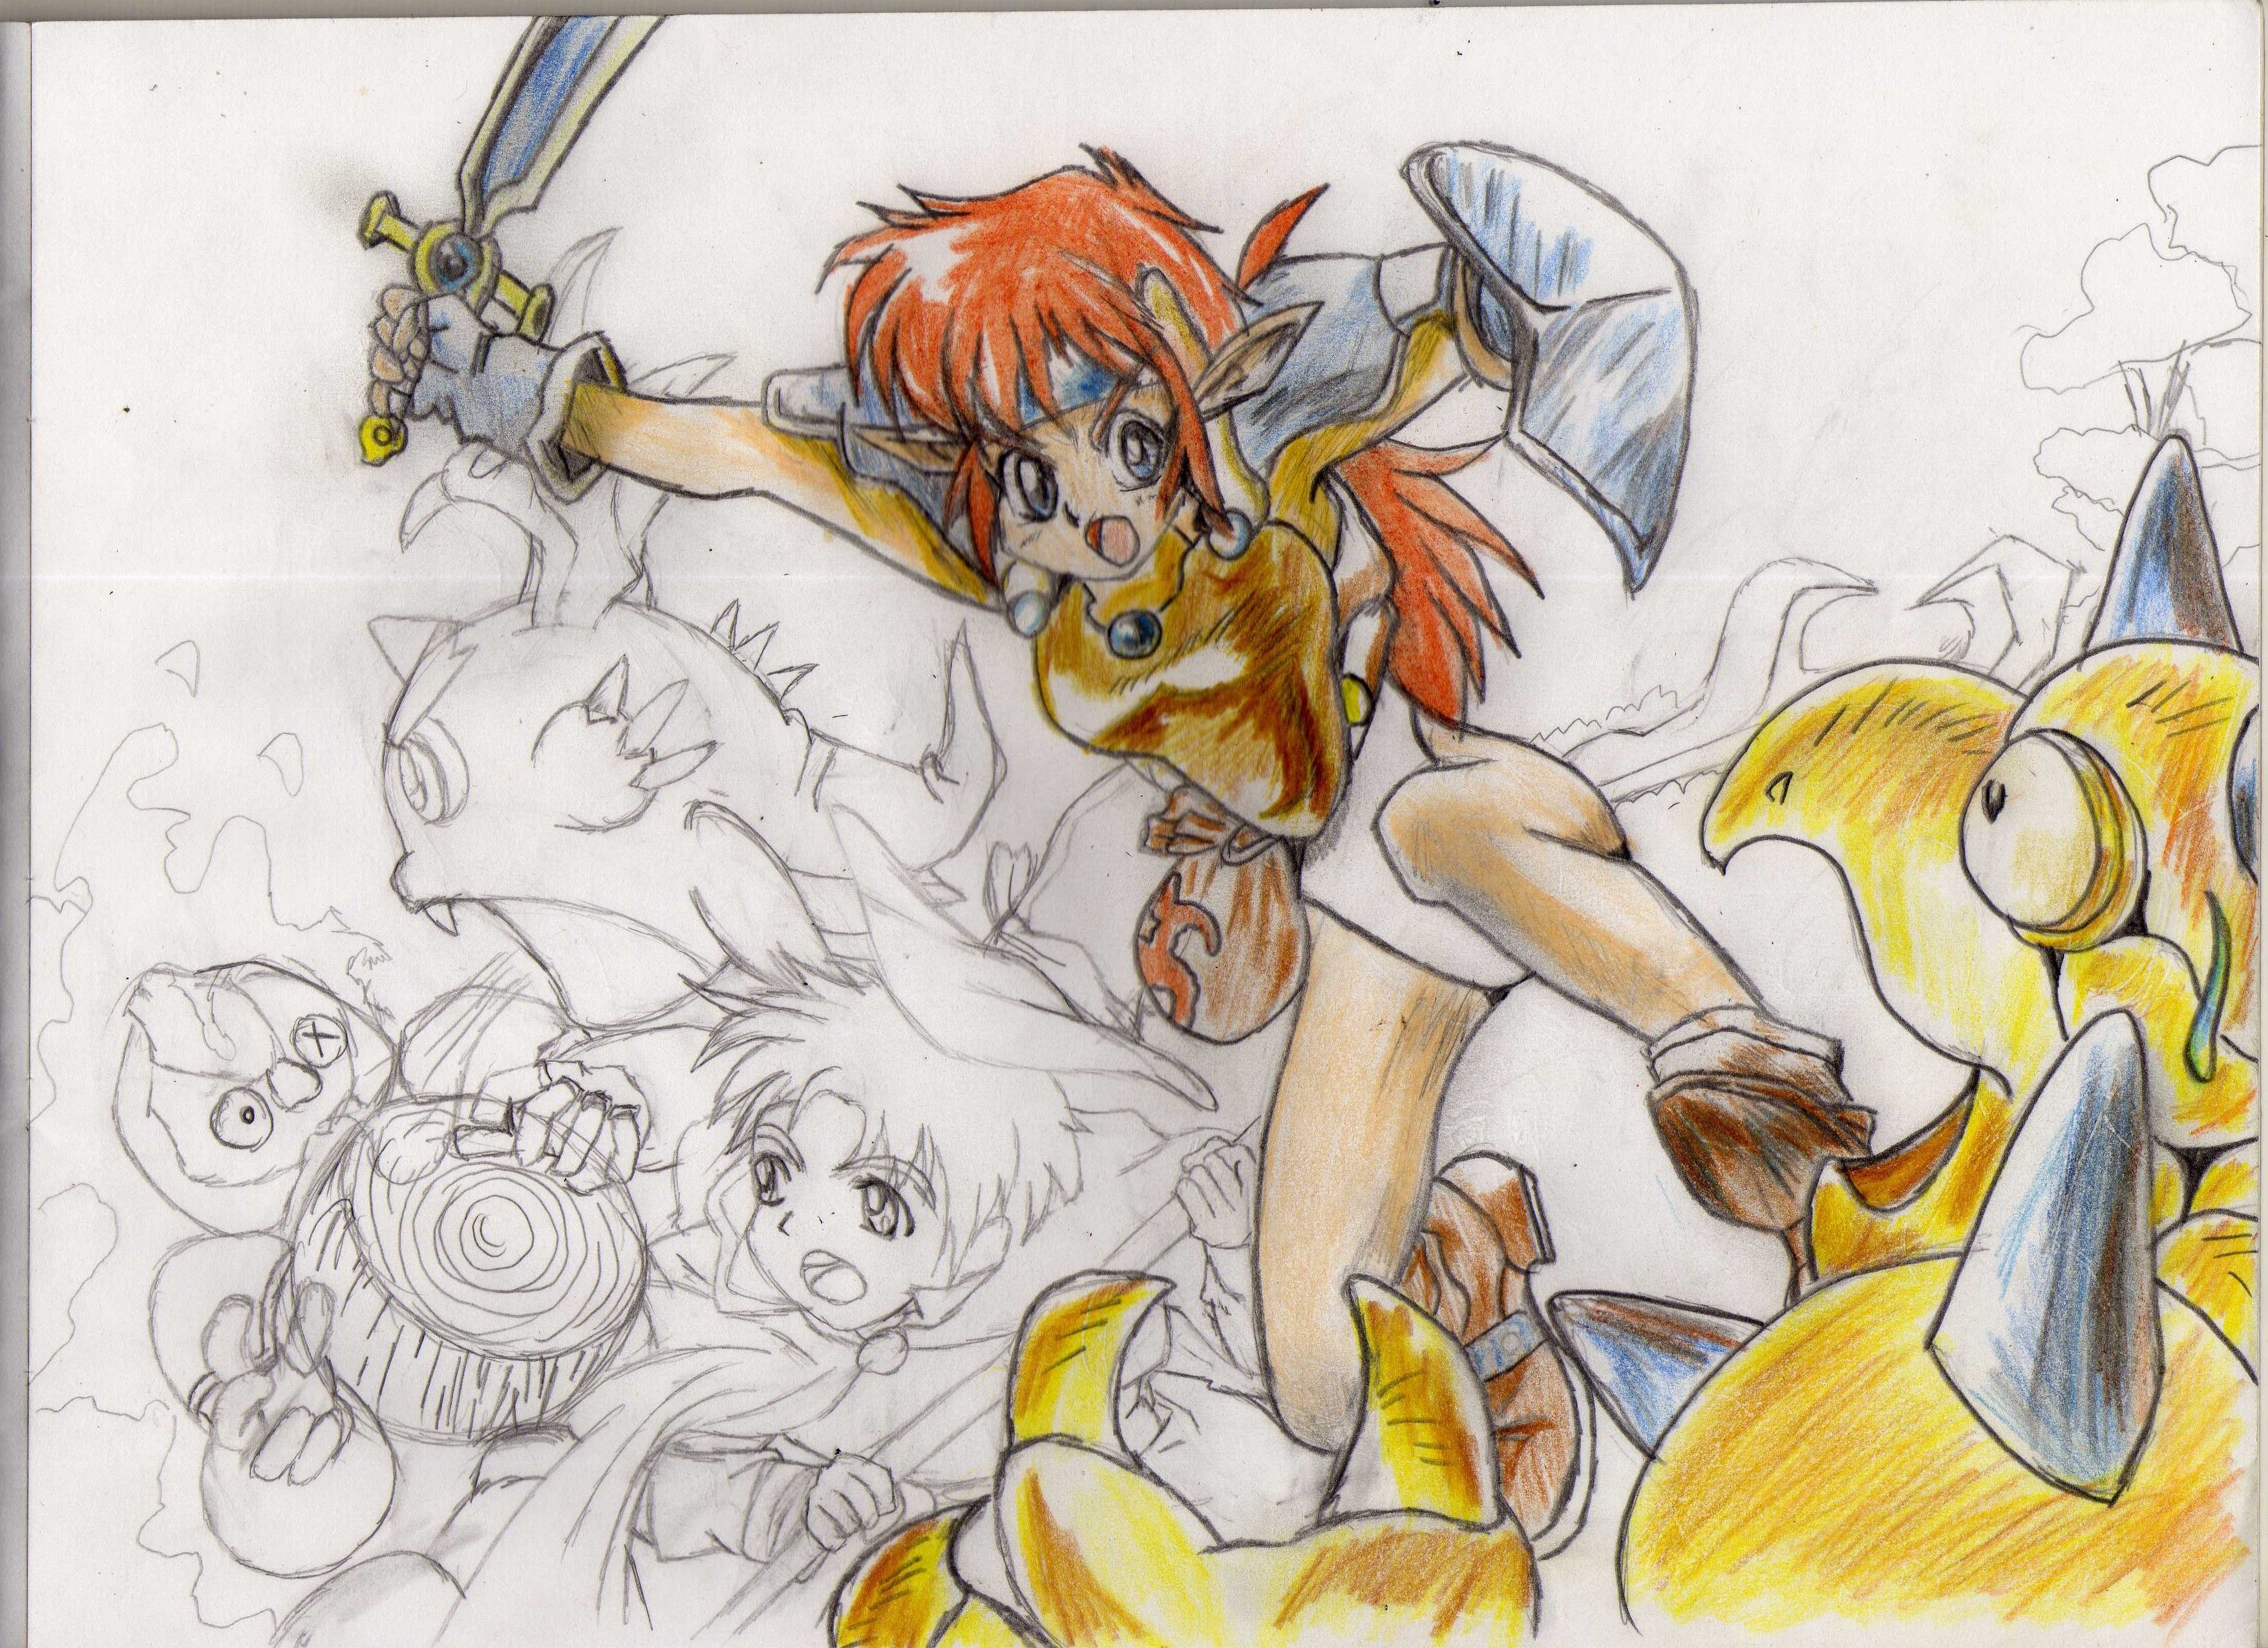
Then paint the demon that is located in the right corner, the magician and end with the dragon and the wooden demon, and I just needed to paint the background and ready.

Very good friends this was all my post I hope you liked them, remember that on another occasion is teaching the techniques to paint the drawings I use.
Thanks for watching and thanks for all your support.
Congratulations! This post has been upvoted from the communal account, @minnowsupport, by yari2010 from the Minnow Support Project. It's a witness project run by aggroed, ausbitbank, teamsteem, theprophet0, someguy123, neoxian, followbtcnews, and netuoso. The goal is to help Steemit grow by supporting Minnows. Please find us at the Peace, Abundance, and Liberty Network (PALnet) Discord Channel. It's a completely public and open space to all members of the Steemit community who voluntarily choose to be there.
If you would like to delegate to the Minnow Support Project you can do so by clicking on the following links: 50SP, 100SP, 250SP, 500SP, 1000SP, 5000SP.
Be sure to leave at least 50SP undelegated on your account.