SLC S21W1 || Creating Dynamic Interfaces with Python and Qt5
 |
|---|
Develop detailed documentation to guide a user through the installation of the working environment including Thonny and Qt5 Designer. This guide should be structured and contain the precise steps you followed to install these tools so that a beginner can reproduce the installation without difficulty.
Downloading and installing Thonny and Qt5 designers was very simple for me, based on the steps given by the professor. Let me first take you through the installation process of Thonny
Thonny Installation
- I visit the Thonny website.
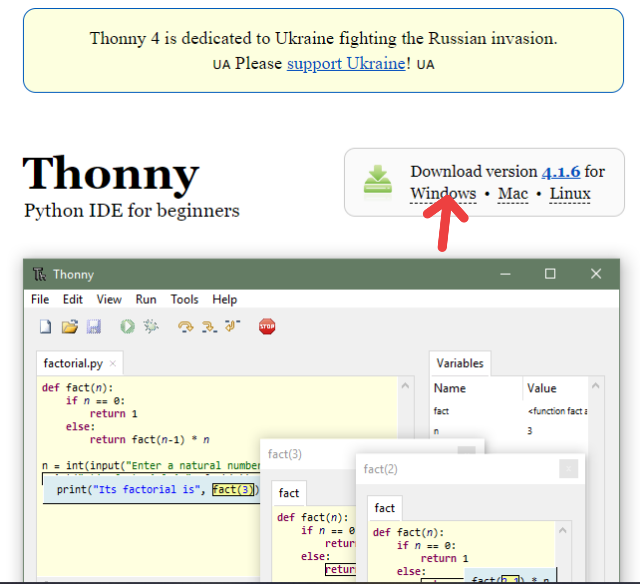
- From the Thonny website, I then click on Windows since my system isn't Linux or macOS. However, if you are using macOS or Linux you can select any of them.
I then choose the version of software that is compatible with my laptop. 64-bit is what my device is using which I then choose for my Windows 10.
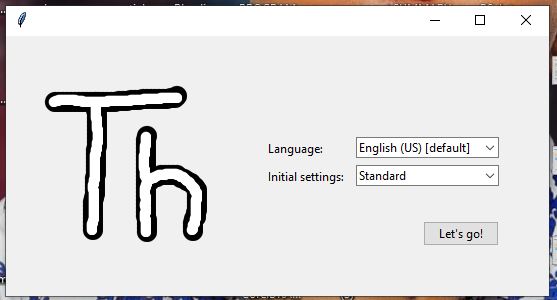
As you can see, I now have the Thonny Software downloaded on my PC which I then installed.
 |  |
|---|
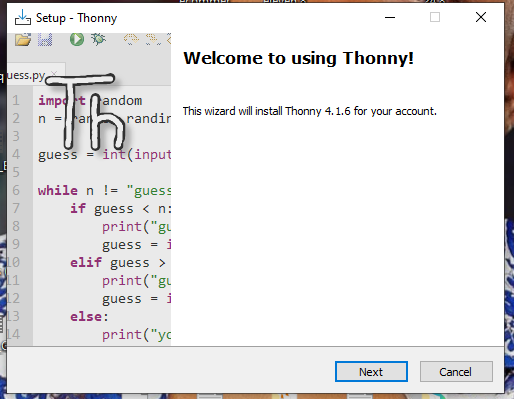
After I have downloaded Thonny, I then follow the installation process and install it. For the installation, I select "Install for me only" since it is a personal computer.
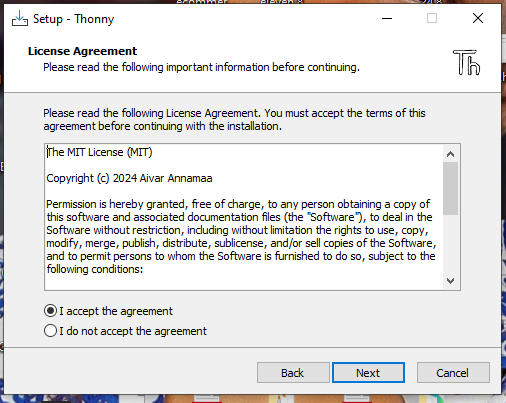
I then click on Next and Accept the installation license to use the software.
I select the folder in which I want the software to be installed.
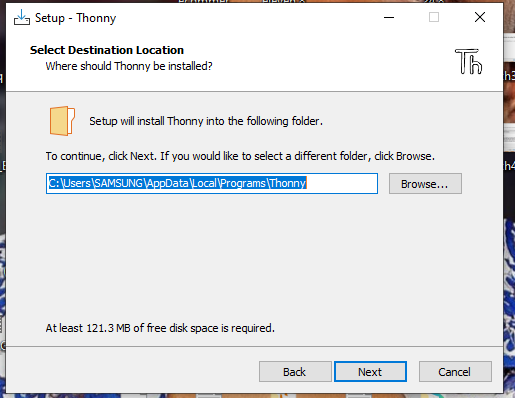 | 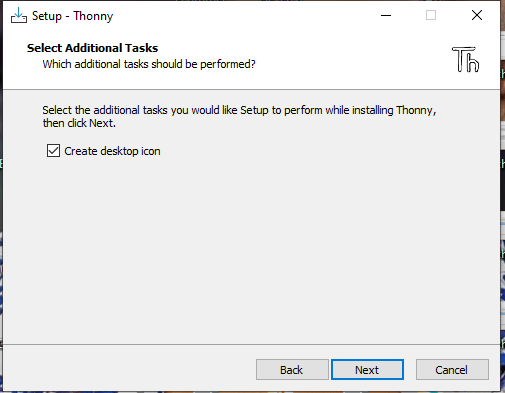 | 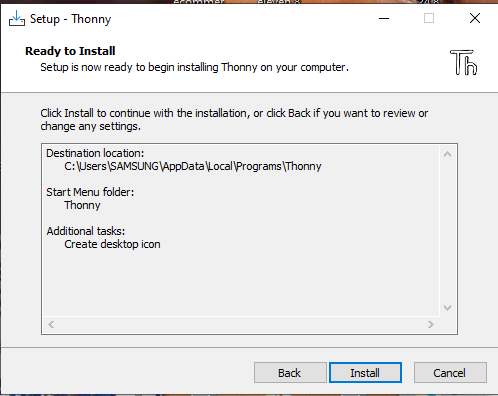 |
|---|
- I then create a desktop icon by clicking on the box that was shown to me and ready to install.
`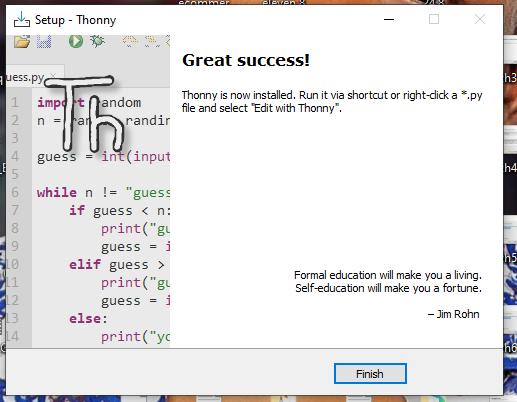 |  |
|---|
- I waited a few minutes for the installation process to be completed which then became a success which you can see in the provided screenshot.
Qt Designer Installation
Qt Designer is typically a tool for designing graphic user interfaces for the application using Qt which with the help of PyQt libraries can convert our design into Python code.
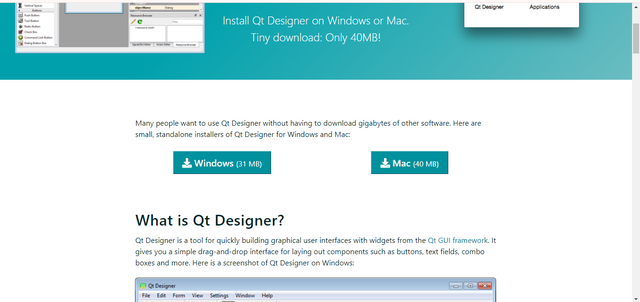
- I visit the Qt website.
- From the website, I choose Windows (31. MB) and wait for the Qt designer to be downloaded.
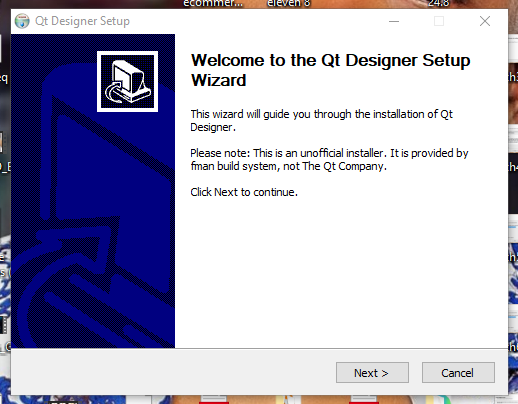
- From my browser, I checked my download and installed the QT designer.
 |  |
|---|
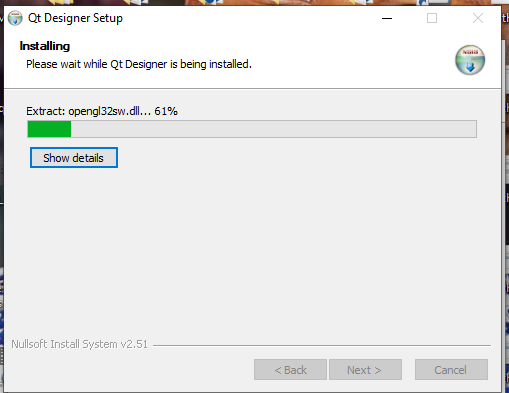
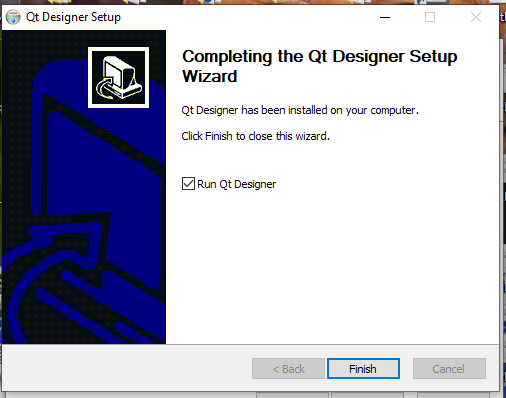
- The installation process, involves me clicking on Next, Install which I then waited for the installation to be completed.
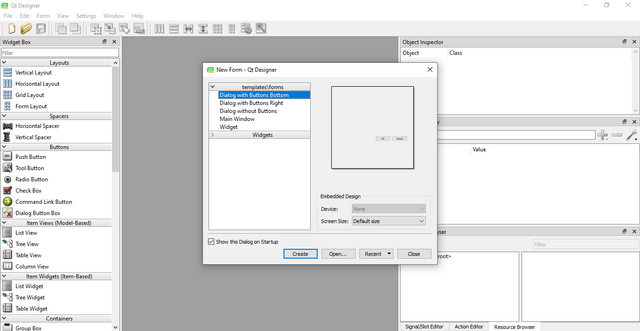
You can see that I have successfully installed the qt designer.
Configuring Thonny to Use Qt for Python
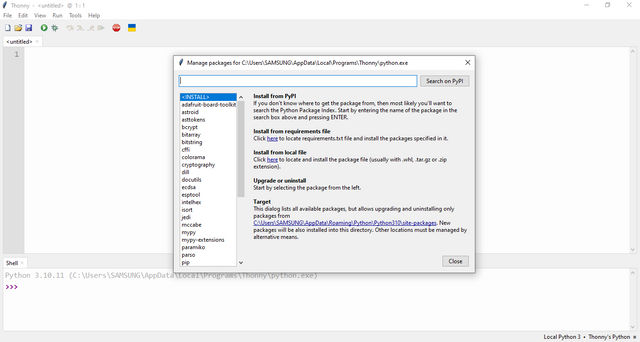
For me to work with PyQt5 in Thonny, I will need to install the PyQt5 package which I did the configuration directly from Thonny via the steps shared below.
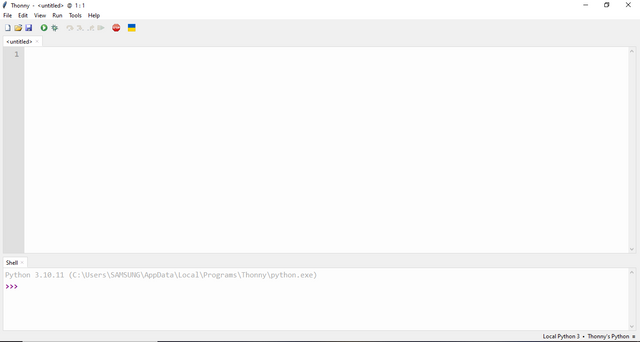
- I open Thonny which you can see from the screenshot.
- I go to Tools and then Manage Packages.
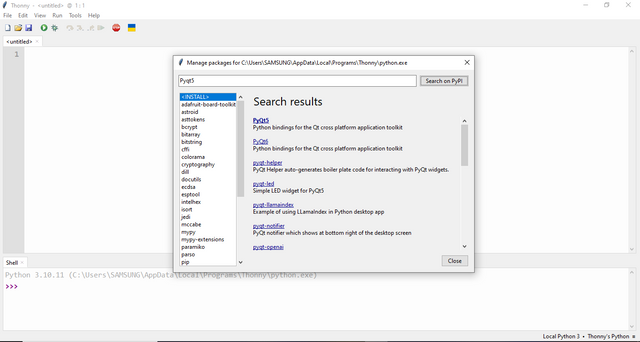
- I then type
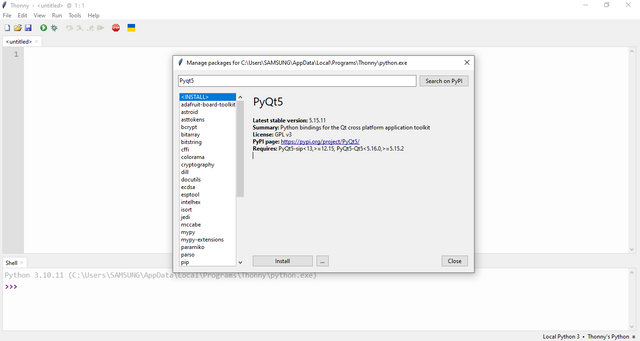
PyQt5in the search bar and select it
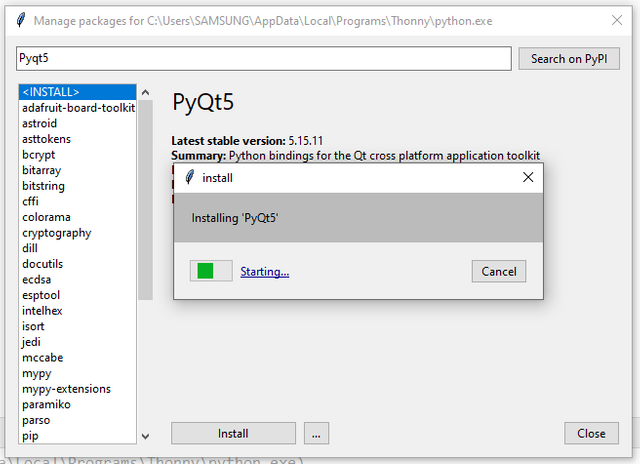
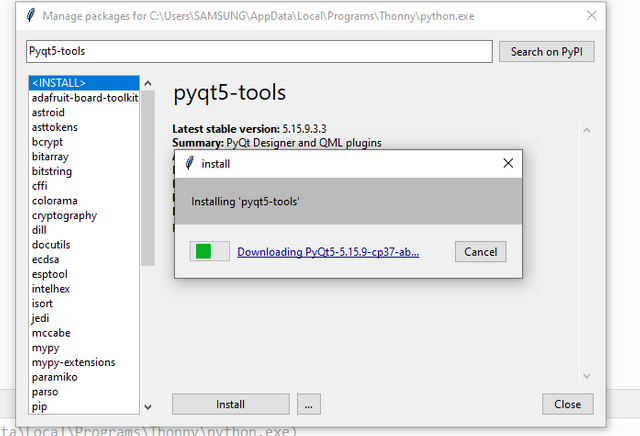
- I click on Install and wait for the installation process to be completed.
Installation of pyqt5-tools
PyQt5-tools is the tool that helps to build graphical user interfaces I will be showing you how you can install it in Thonny.
Form Thonny which you can see from the screenshot.
I go to Tools and then Manage Packages.
I then type
PyQt5-toolsin the search bar and select it
- I click on Install and wait for the installation process to be completed.
Verification of Installation
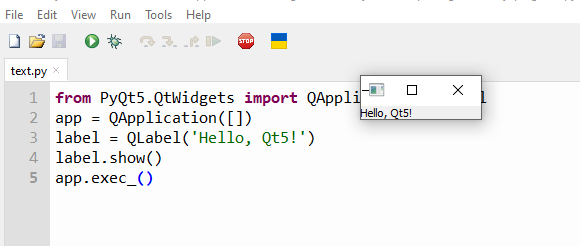
After the installation, I must verify the installation to ensure the smooth running of my program which I create a new Python file and import the PyQt5 libraries into the script as seen from the screenshot.
I then ran the code in Thonny to see the GUI which was successfully run as seen in the screenshot.
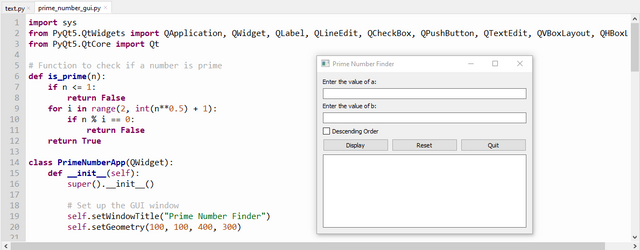
Create a GUI in PyQt5 to display prime numbers between two values a and b provided by the user.
Here I create a PyQt5 that lets the user input two values (a and b), choose to display the prime numbers between the two values in descending order if desired, and then display the results. Reset, and quit buttons are included.
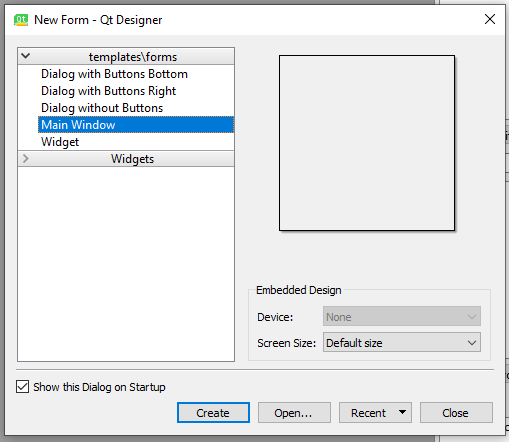
I Open Qt Designer and create the layout by clicking on the main window.
The input field is the QLineEdit widgets that allow users to input the values for
aandb.
The descending order checkbox is the QcheckBox that allows the user to choose to display the numbers in descending order.
Display, Reset, and Quit Buttons, display prime numbers in the interval, which the reset is to clear all input fields and results, whereas the quit, is to close the application. However, my challenge was adding colors to the design.
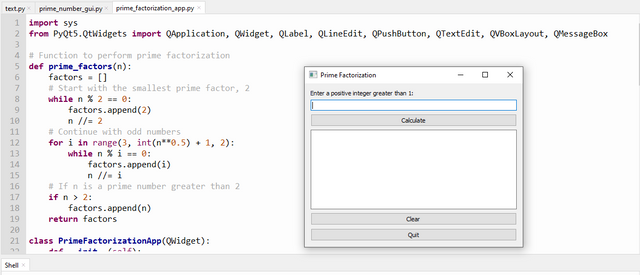
Develop a GUI in PyQt5 to perform the prime factorization of a positive integer greater than 1
This is the function that calculates the prime factors of n by dividing it by each factor beginning from 2 until the number is factories completely
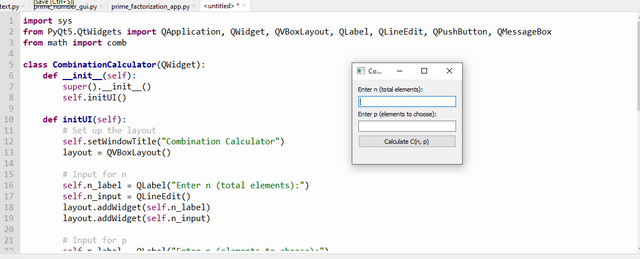
Develop a GUI in PyQt5 to calculate the number of combinations of p elements among n (notation ( C(n, p) )), where n > p > 0
Here I have created a basic PyQt5 GUI that lets users input values for n and p and then calculate the number of combinations.

Great job bro...it you dedication to these things for me, am still wondering if I can really understand this haven skipped lectures for a very long time.
Seriously you can even do better than me if you have the determination.
Omo you are really consistent oo. Sometimes I usually wonder whether I can have the type of dedication you have
TEAM 1
Congratulations! Your post has been upvoted through @steemcurator03. Good post here should be..Hi @jyoti-thelight, you shouldn't be voting on homework posts as per the new guidelines by steemitblog.
Oh ok, should I remove the vote now?
It's upto you. Removing it wouldn't bring the VP back, so if I were you, I would leave it as it is and try to avoid SLC posts in future.
Sure, I'll avoid voting on SLC posts in the future, thanks for bringing that out.