Drawing a girl in the TUMBLR style 2. Step by Step.
Hello to all the steemians !! Today I bring you a drawing of a Tumblr girl. This time I did something a little different, since I usually like to do busts, but with this I made a half body. I was inspired by the outfits and attitudes that girls have in this style, super cool. For the background use Adobe Photoshop. I really liked the final result. The girl has features inspired by iggy azalea, which is one of my favorite rap artists. :3 <3 💙
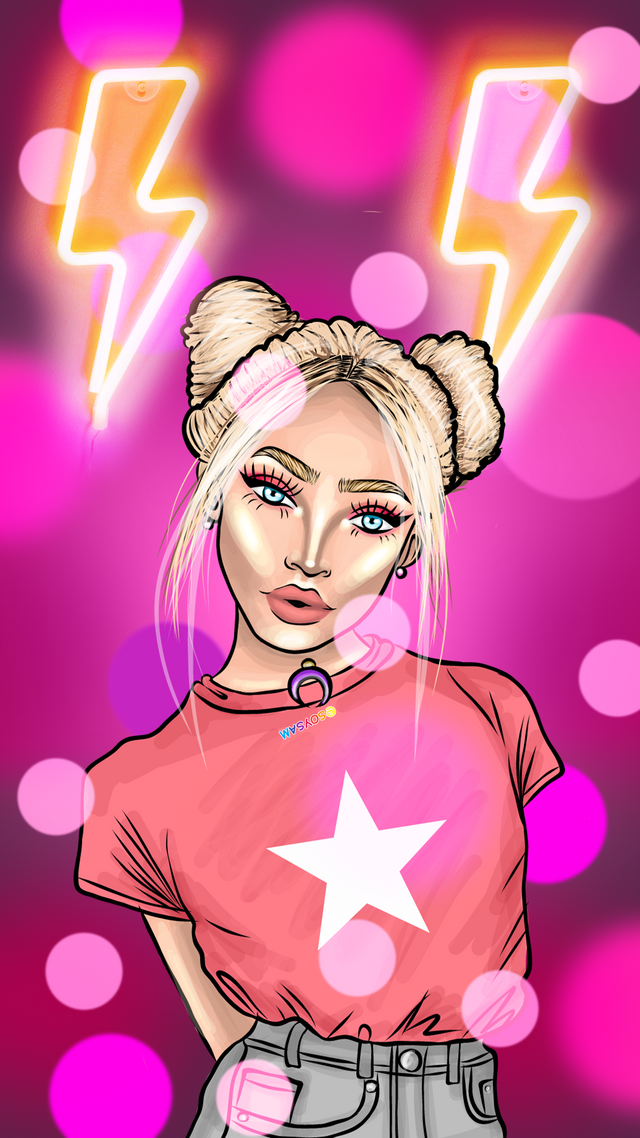
Here's the final result.❤
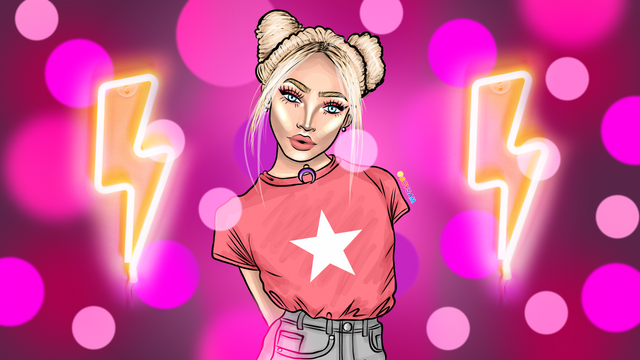
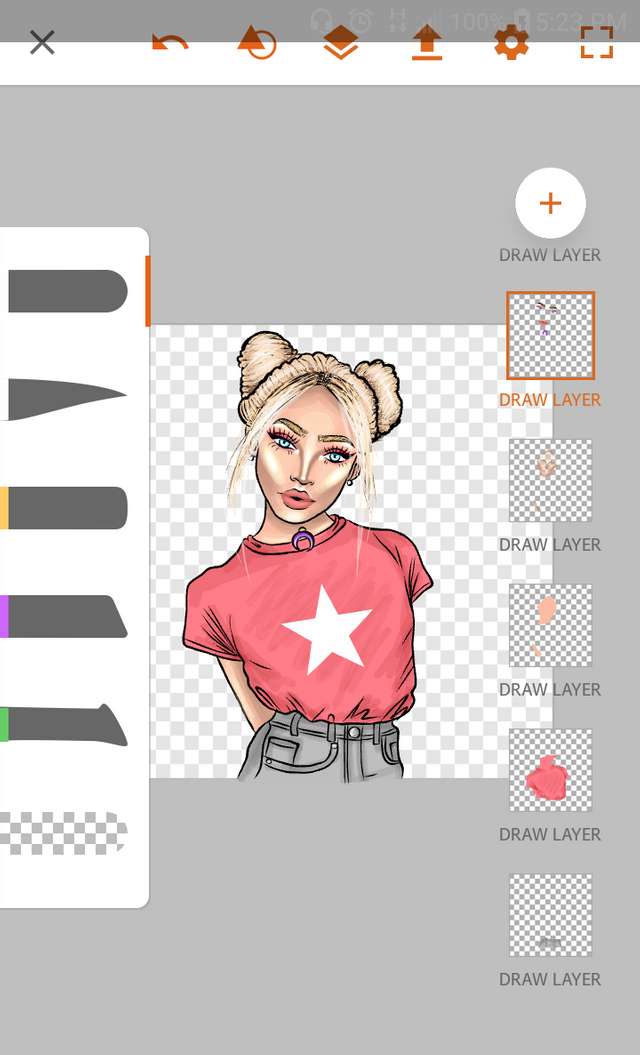
To make this drawing I used the Adobe Draw application on my mobile first and then the Adobe Photoshop application on my computer.

💙 STEP BY STEP.
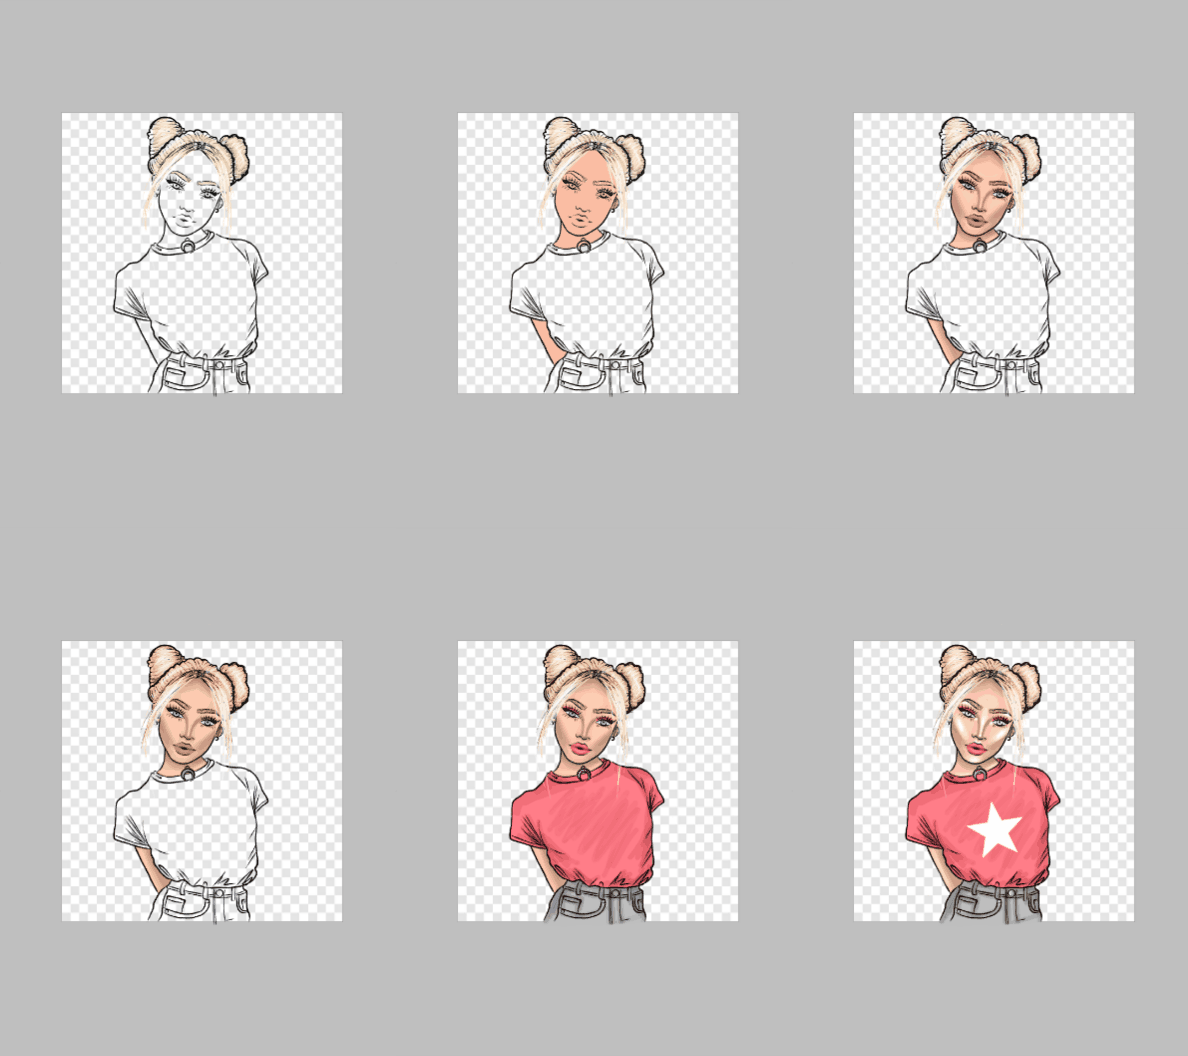
💙 Step 1: First I made the outline of the drawing with a pen pencil.
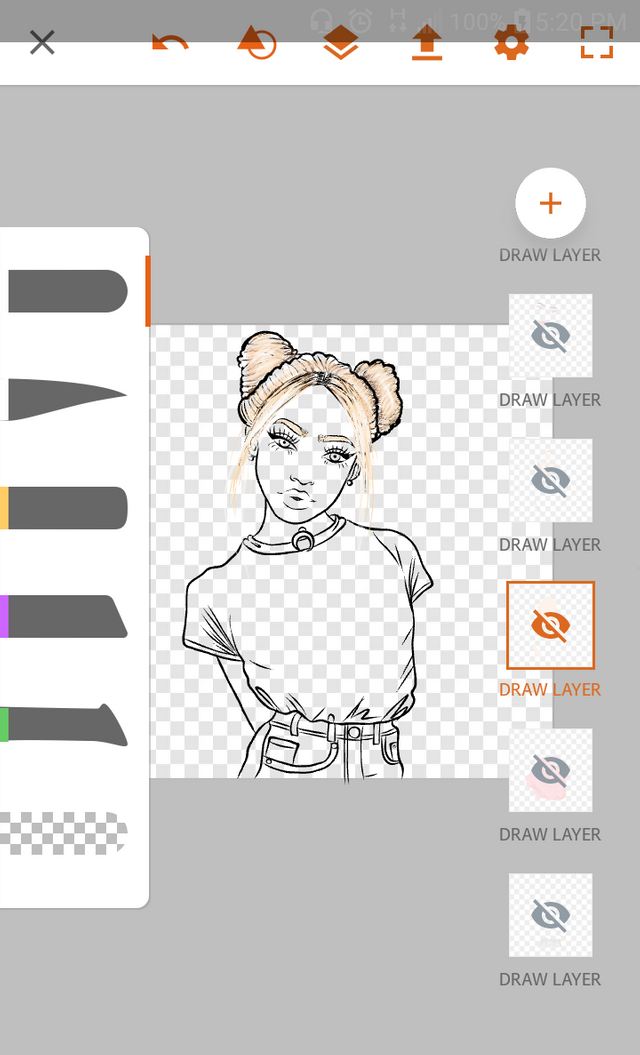
💙Step 2: I begin to paint The skin giving shades with brown and gray tones, and lights with cream and white tones. The skin in this case is a cream color, a little peach. Only using the base colors. Love the end of this at the end. I also do the shirt and other details of the face.
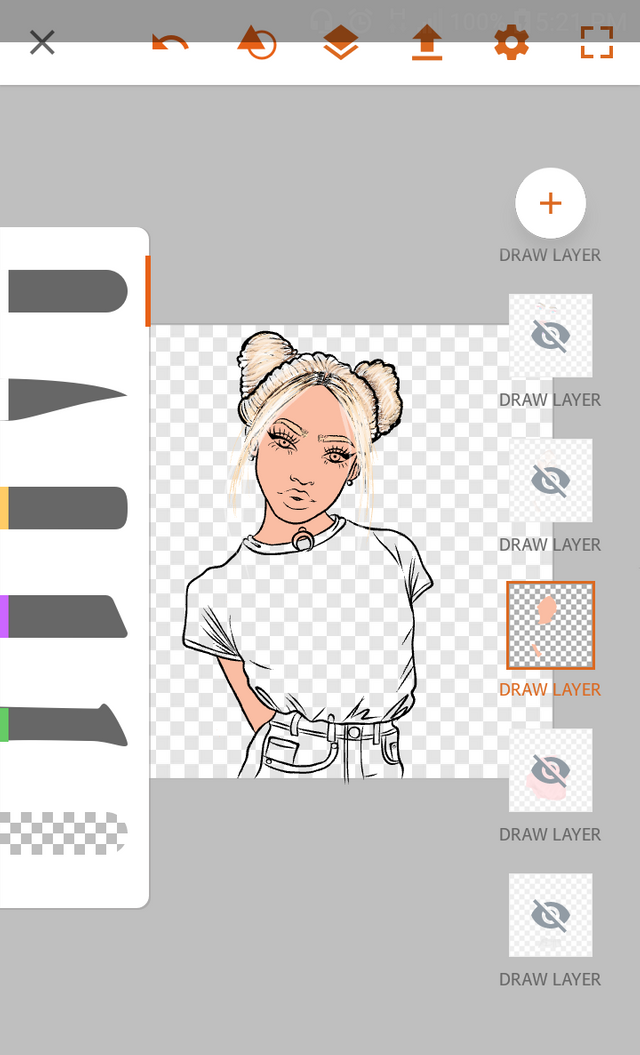
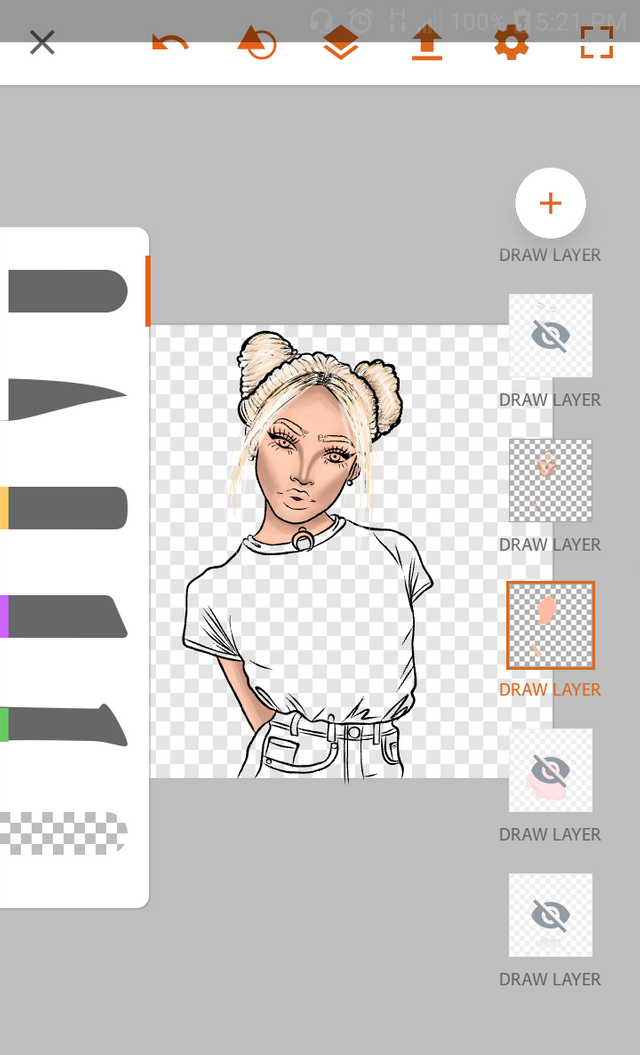
💙 Step 3: Now it's time to paint the eyes, eyebrows, mouth and other details. Now I proceed to mix and blur the colors, also to give shadows in the necessary areas and of course to give the outline on the face to create dimension. In this case the girl has a lot of makeup to highlight her features.
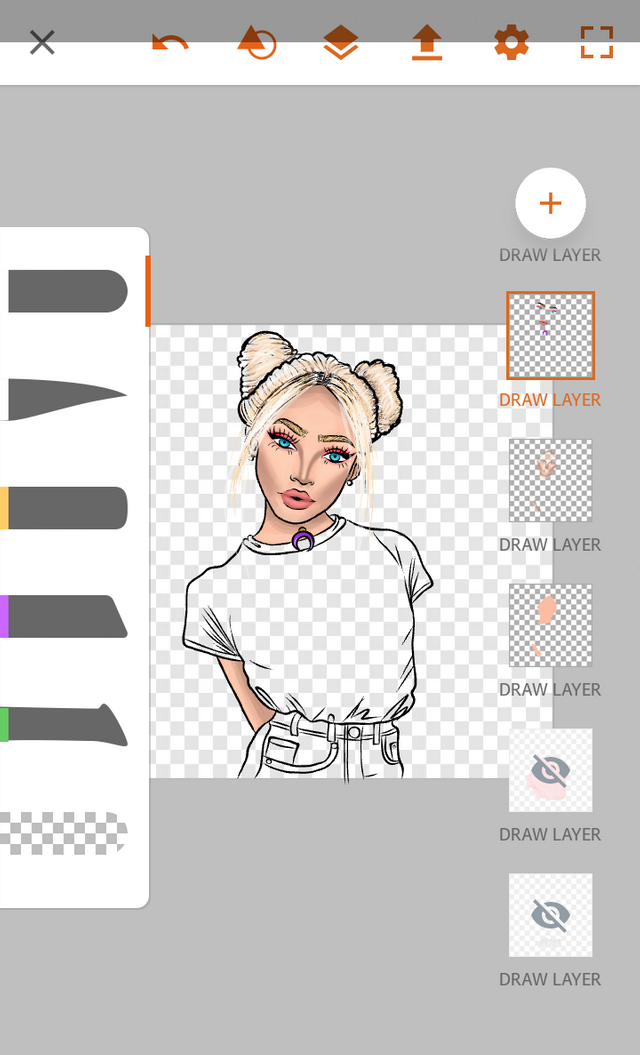
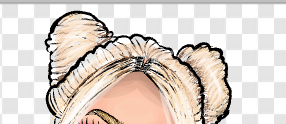
💙Step 4: I make the hair using the new technique learned, apart from mixing a bit of realism and minimalism. I wanted to achieve a sense of messy and lighted hair. So I start with the base color. And then making individual hairs in different colors, to achieve the desired effect. I think it went well. I like them more and more. And this time with the gloss finish, in the end it looks much better.:)
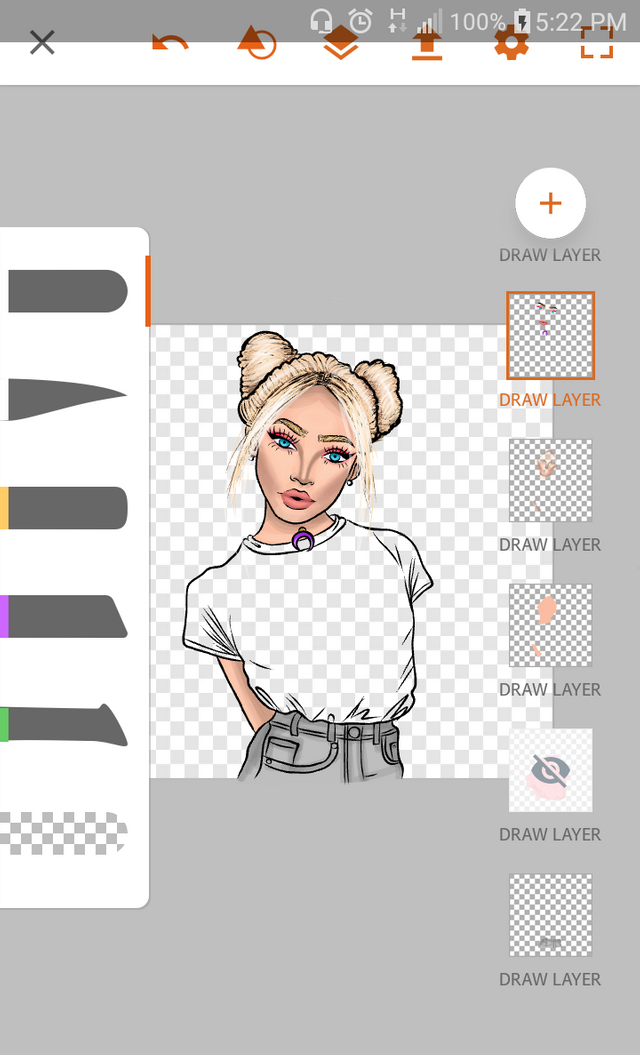
💙Step 5: Then I make the clothes of the girl that in this case, wears gray shorts, with a pink shirt. :)
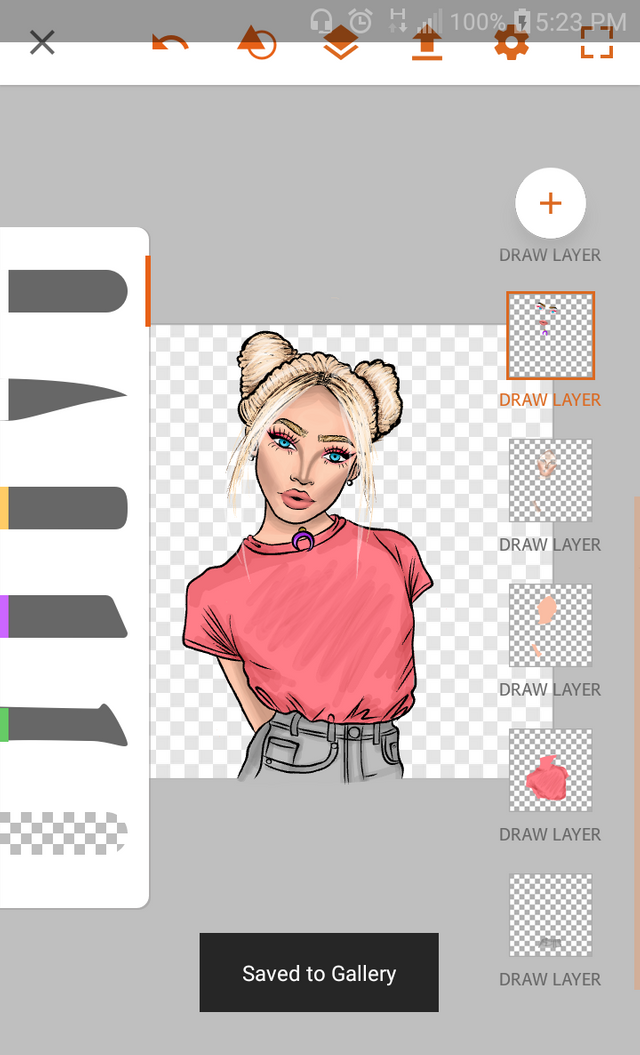
💙Step 6: And finally I do what most excites me and I love that it is the lighting in the key areas of the face such as the T zone, the cheekbones, the eyebrows, the lips and other parts. I also do details of light hair and small flashes in some areas like on the shirt. I mix the colors and I give a little depth.
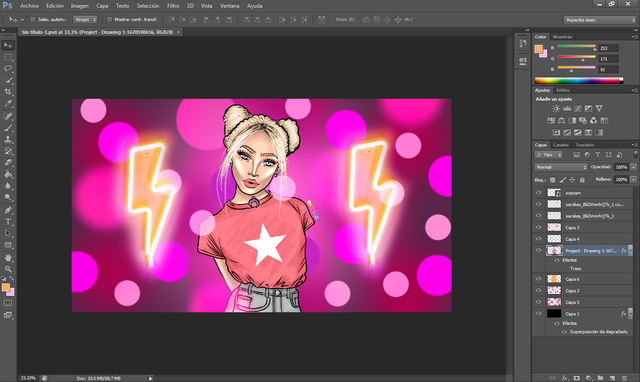
Edition in Adobe Photoshop.
I decided to play a bit with the editing by trying on Photoshop, duplicating layers, placing them in different shapes and sizes. I made the background mixing layers of fusion and images, and I experimented doing a bokeh effect to achieve a better finish.
DRAWING PROCESS IN GIF!
Gif made in GIF Maker Editor on my mobile.

I FINISHED DRAWING!
COPYRIGHT BY @soysam
- Duration: 6 Hours.
- Made in:Adobe Illustrator Draw, Adobe Photoshop.
- Difficulty: Hard.
- Size:3600 pixels x 3600 pixels. Trimmed in proportion 9:16 to 1920 pixels x 1080 pixels.

Click on the image to go directly to my Instagram and see exclusive material.!!
💙I hope you liked it a lot this drawing, see you later🌞🌠👟👦❤💙
nice drawing, @soysam, she is a very trendy girl ! :D I like the step by step explanation, also :D
Dear Artzonian, thanks for using the #ArtzOne hashtag. Your work is valuable to the @ArtzOne community. Quote of the week: Art, freedom and creativity will change society faster than politics. -Victor Pinchuk
Thanxs 💙💙💛
Posted using Partiko Android
This post was shared in the Curation Collective Discord community for curators, and upvoted and resteemed by the @c-squared community account after manual review.
@c-squared runs a community witness. Please consider using one of your witness votes on us here
Congratulations @soysam! You have completed the following achievement on the Steem blockchain and have been rewarded with new badge(s) :
Click here to view your Board of Honor
If you no longer want to receive notifications, reply to this comment with the word
STOP