QNAP TS-253B 2-Bay NAS Unboxing
NAS are low powered computers designed to store and share files. Boring, right? In the past few years QNAP have been trying to shake off this image by adding a ton of extra sexy features to their home NAS. In this post I'll be taking a look at one of QNAP's latest products, the TS-253B.
Introduction
The TS-253B is a brand new model from QNAP, and looks to be a combination of the previous TS-251A (home) and the TS-253A (business). The TS-253B is clearly designed to be used in the living room as a home media center. Here are some highlights of this model:
- Apollo Lake Intel Celeron J3455 quad-core CPU
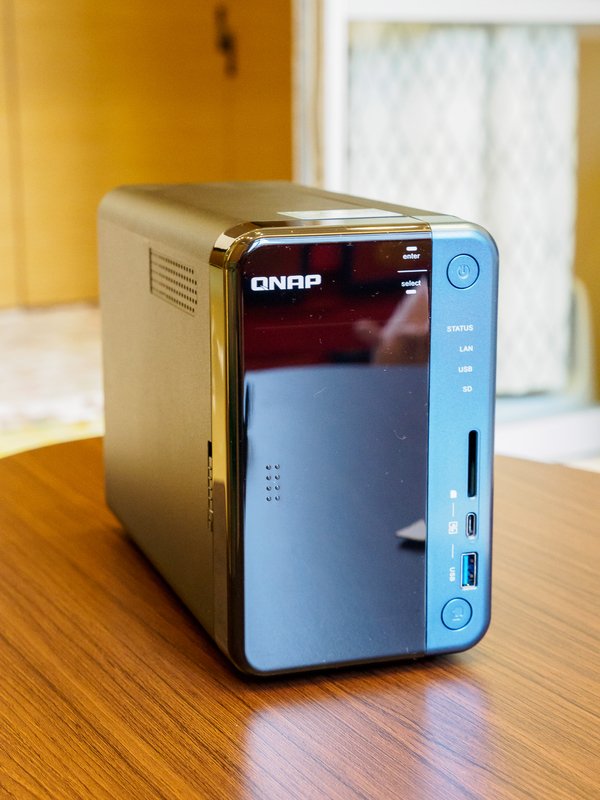
- New design with matte black body and mirrored front
- OLED display
- Two HDMI ports, both supporting 4K video playback
- USB-C Quick Connect port, for direct connection to a PC
- SD Card reader
- PCIe expansion slot
Full hardware specs can be found here.
Expected Usage
QNAP NAS are Linux based, and natively support Docker, so they can do a lot. Here's what I want to use this NAS for:
- Backing up my PC
- Backing up my cellphone
- Sharing large files externally with friends/family
- Running Parity (the Ethereum client)
- Running a Bitcoin node
- Running crypto trading bots.
- Watching movies
- Downloading (legal) torrent files
- Virtualization (maybe)
This NAS should replace three devices; a USB hard-drive, a Raspberry Pi and my PS4 (being used as a media player). The J3455 CPU is about twice as fast as the one in the older QNAP TS-251A, and totally blows the Raspberry Pi out of the water.
My model came with 4 GB of RAM, which is the minimum requirement to use some of the advanced OS features like snapshots, Virtualization Station (run VMs of Windows, Linux), and Linux Station (use the NAS as a Linux PC).
Unboxing
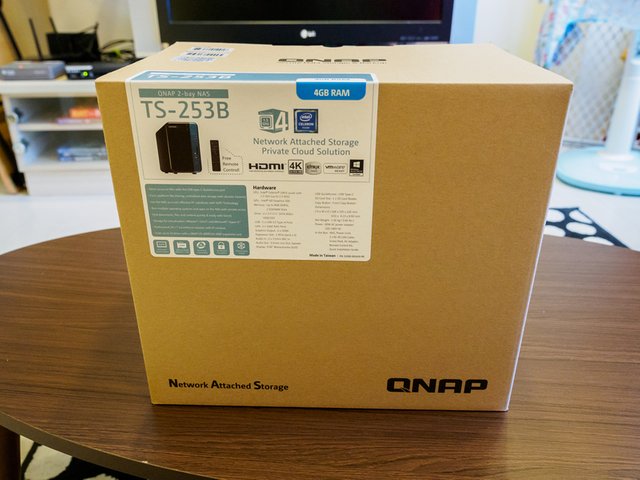
The NAS comes in a fairly low-key brown box, with the product details on a sticker. The serial number and the MAC addresses of the two network ports are printed on the top of the box.
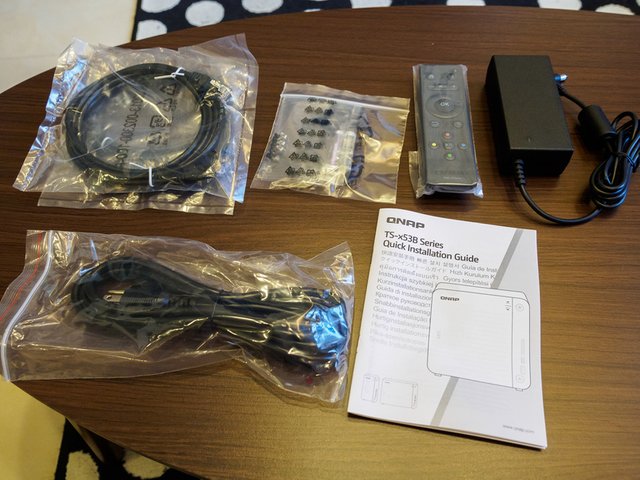
Included in the box:
- Power brick
- Screws (for 2.5-inch drives)
- Two 1m Ethernet cables
- Quick start guide
- IR remote control
- Two AAA batteries for the remote control.
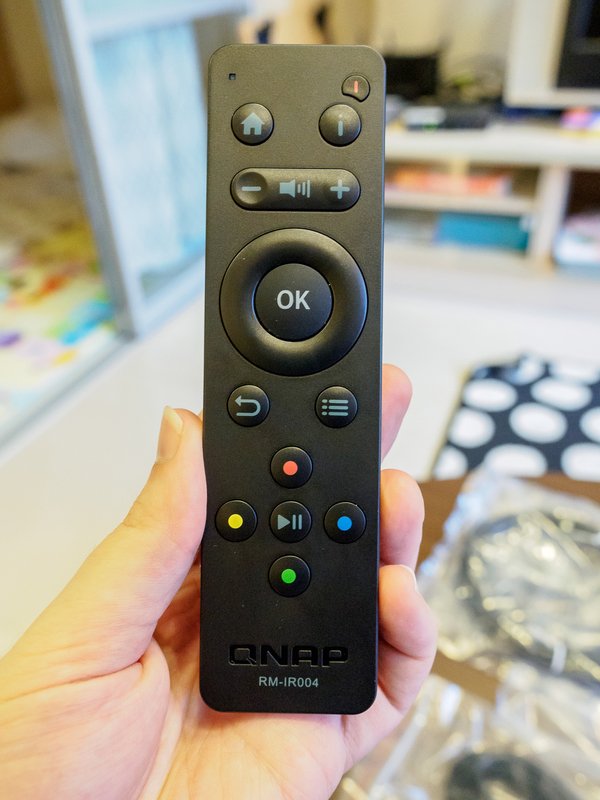
The remote control is for media playback. It looks great and feels decent, not too cheap. It uses infrared, unlike the latest media boxes like Apple TV and Xiaomi Box that use bluetooth for their remotes. I can't say how it performs as I haven't had time to test it yet.
Hardware
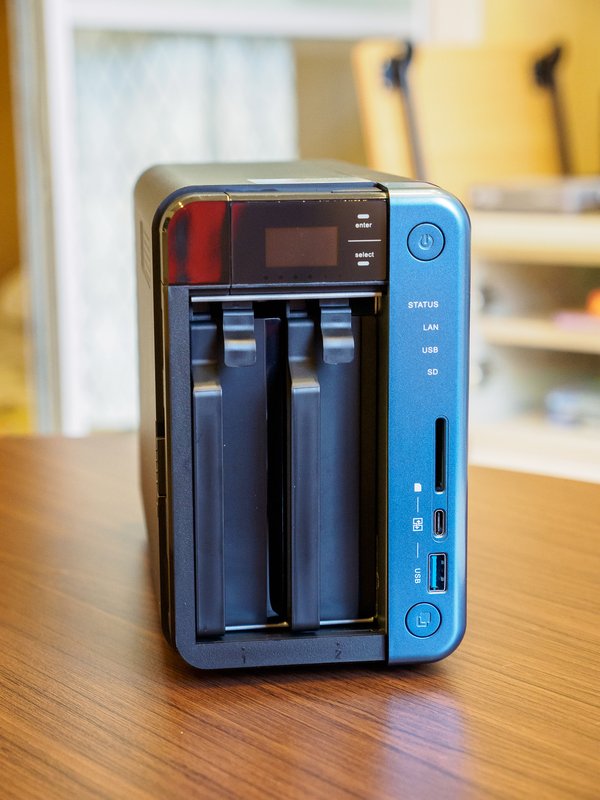
Here’s the NAS - looks very sexy, with it’s matte black metal body, blue control strip and mirrored front. Previously all of QNAP's home models came in white, which I don't really find attractive.

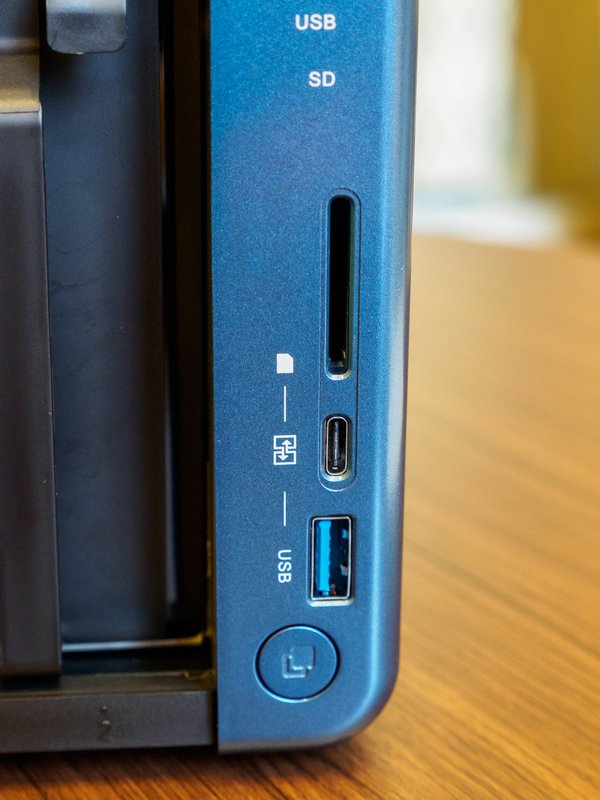
Here is the SD card reader, USB quick-connect port, and a front USB3.0 port. A USB-C cable is not included in the box, so if you want to use the USB quick-connect feature you have to buy one separately.
The button at the bottom is called “USB one-touch copy”, it enables importing and exporting files from a connected USB device. I’m hoping it will work when I connect my camera or cellphone.
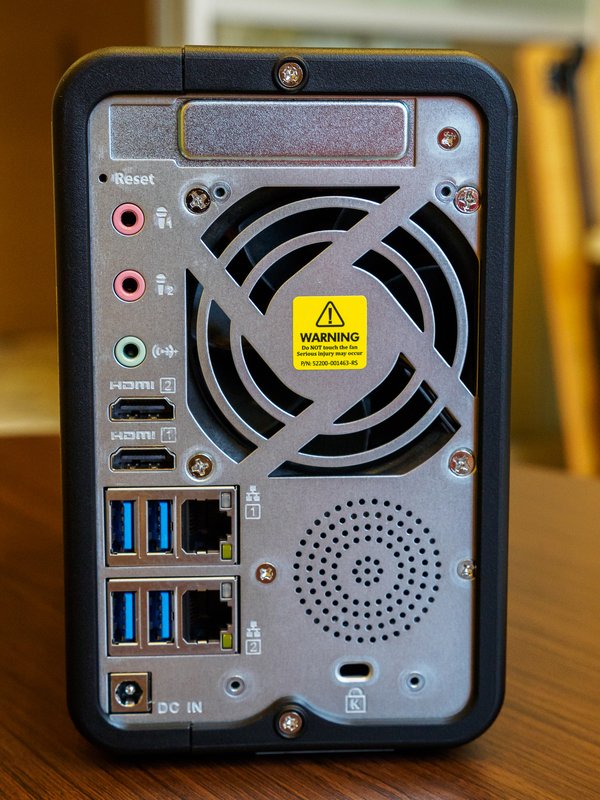
The back of the NAS is absolutely bristling with ports! It’s crazy considering how small the device is. Ports (from top to bottom):
- PCIe slot - I think this is the first 2-bay QNAP NAS with an expansion slot. A decent variety of cards are supported (see here, here and here), which gives this device some future proofing. The PCIe slot can add:
- 802.11n wifi
- Two USB3.1 ports
- Two actively cooled M.2 slots (SATA or PCIe)
- Two additional 1 gigabit network ports
- Two 10 Gigabit network ports
- Two 40 Gigabit network ports.
- Two M.2 slots AND one 10 Gigabit network port (QM2 card)
- Two audio in's - For connecting mics to use with the karaoke app (Ocean KTV). Karaoke is a big selling point in Asia!
- Audio out - For music playback
- Two HDMI ports - Can be used to play 4k movies, or for audio. So one HDMI port can be connected to the TV, and one to an audio amp. Also the NAS can be connected to a monitor and used as a basic PC.
- System fan - Large and pretty much silent.
- Four USB3 ports - for connecting USB expansion units (add 8 more drive bays), storage devices, keyboard and mice, printers (which can then be shared), webcams (for home surveillance), or USB wifi dongles (for connection to a wifi network).
- Two gigabit LAN ports - For network load balancing.
- Speaker - Audio alerts (and music playback?).
- Kensington lock hole
Drive Installation
This removable front panel connects to the chassis firmly using magnets, which is a really cool touch! There’s also a sliding latch on the left side to lock it in place. Sliding the front panel to the left reveal the two drive bays.
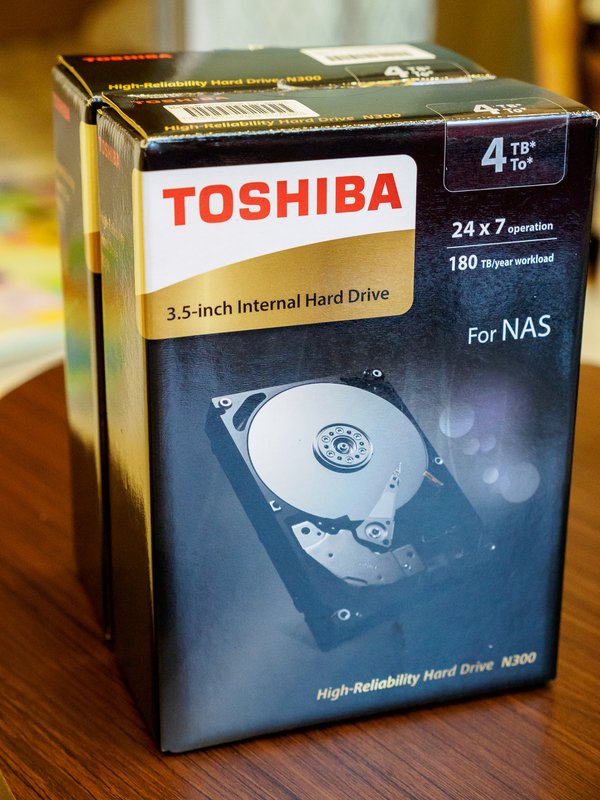
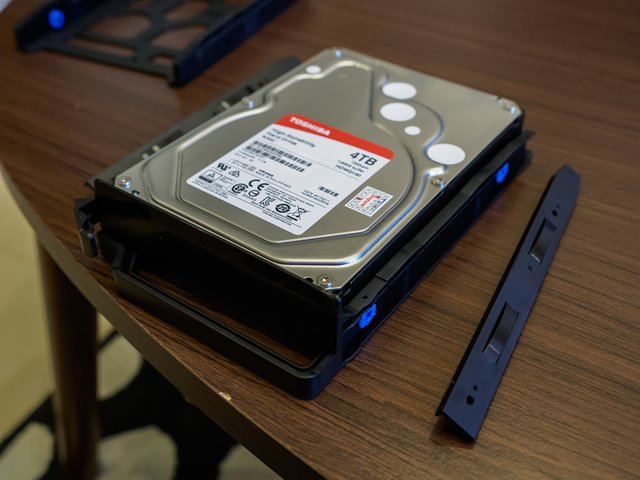
I bought two Toshiba 4TB 7200rpm 128MB N300 NAS drives to install in this NAS. These drives were cheaper than the equivalent WD Red 4TB 5400rpm drives, and are much faster. I’ll test them fully in a later blog post, however my initial impression is that they’re VERY noisy in use.
The drive trays are toolless for 3.5-inch drives, but require screws for 2.5-inch drives. 3.5-inch drives are mounted on 4 floating blue rubber grommets, which are designed to dampen vibration and noise.
Powering On
Turning the NAS on reveals the cool OLED display. I believe that this is the first 2-bay QNAP NAS to feature a screen. By default it shows NAS status, but you can cycle through the menu to see additional information such as firmware version, drive status and most usefully, the current IP addresses of the two network ports.
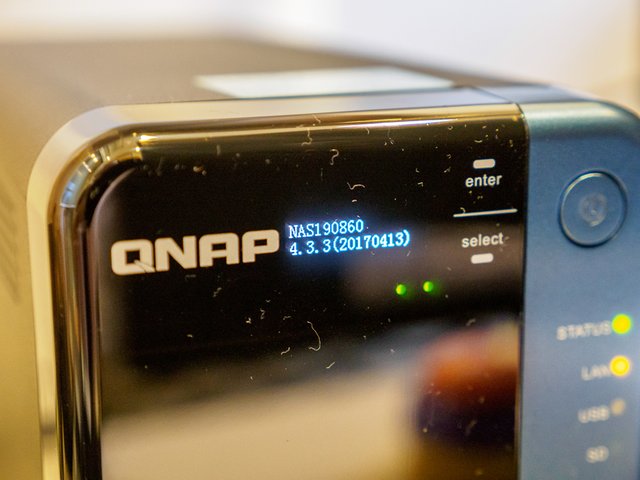
The “Enter” and “Select” buttons are quite annoying. They are capacitive touch, which means they need to detect your finger through the plastic front panel. Unfortunately presses occasionally don’t register. The front panel also attracts dust and fingerprints quite easily.
I took advantage of the two LAN ports, and connected one to my ASUS wireless router, and the other to my ISP’s router, which is solely for wired devices like my PS4.
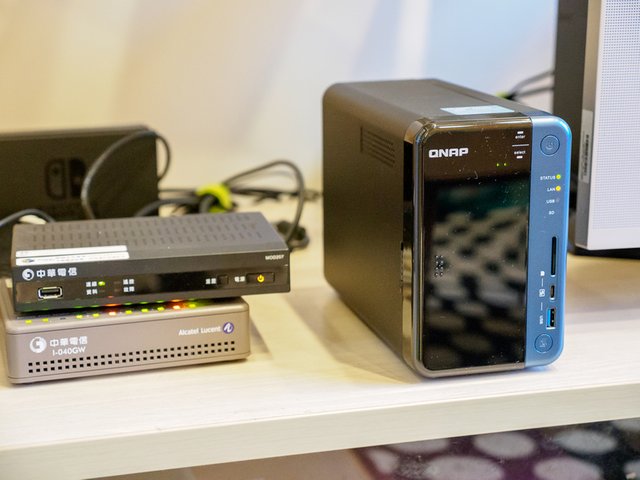
Looks great next to the TV! Also fits in perfectly with the PS4 and Nintendo Switch dock.
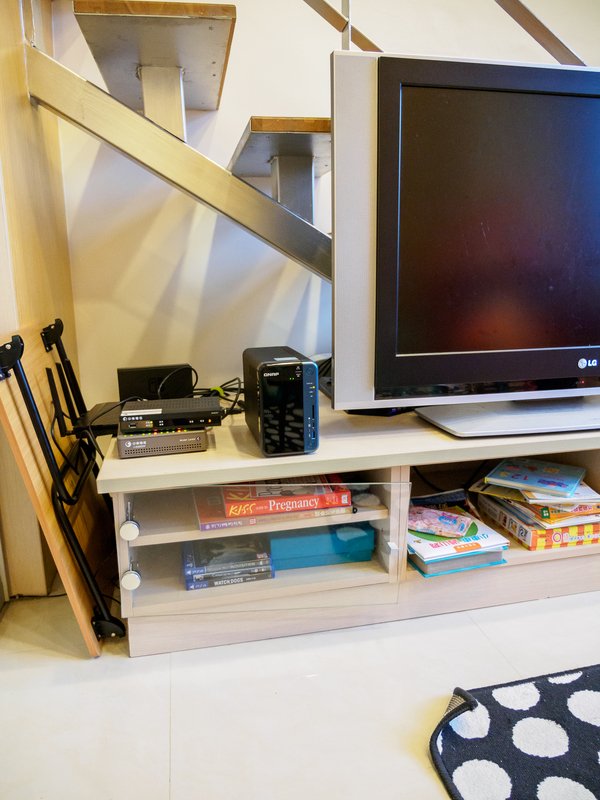
Unboxing done, review of setup, OS and performance in my next blog post! Thanks for reading.