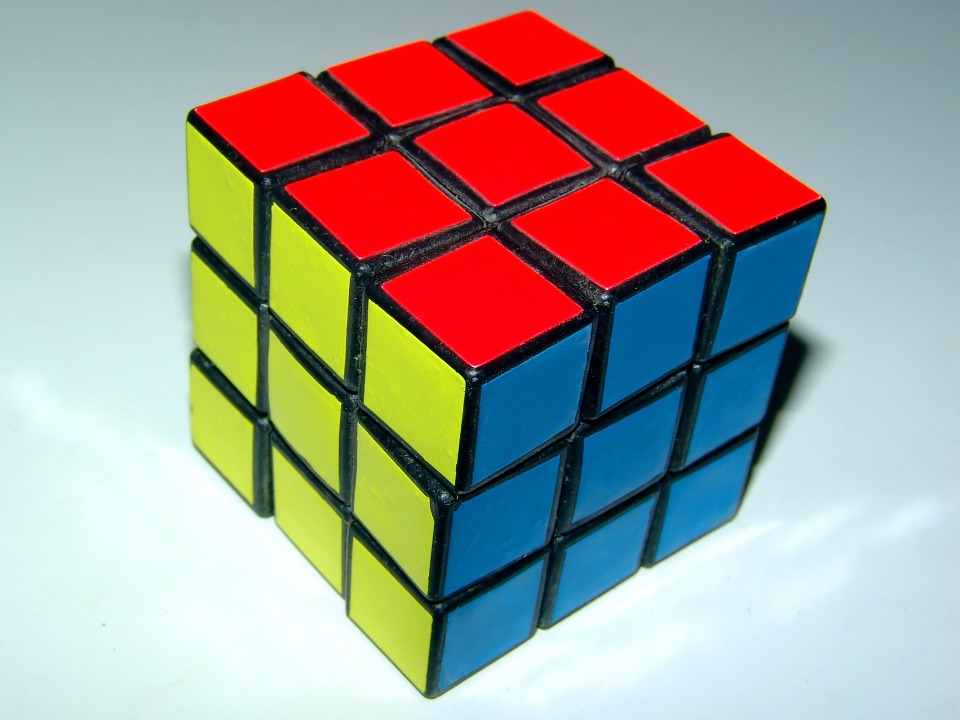
how to rubik!!

This is the simplest step, we just have to create a cross on the face
top of our Rubik's cube, so that the colors also match
in the attached layers. Observe that the color of each face will be fixed by the
center of this. I recommend you try it on your own, but in any
case the solution here.
Step 2: complete the top layer
To finish the first layer of our Rubik's cube, simply place the
four top vertices in place. Simple step, if you do not click here
and you can see how it is done.
Step 3: Complete the second layer
To complete the second layer we just have to put in its place the 4 edges
this. This step is a bit more difficult to deduce, but again you can see the
Solution here to see the resolution method.
Step 4: cross on the last side
To better attack the last layer, we will rotate the entire cube. Now what we should do
is that on the last side a cross is drawn. Unlike Step 1, now only
we focus on what is the face, giving us the same attached faces. To se her
solution click here.
Step 5: extend the cross to the last layer
Now we're going to worry about the adjoining faces. That's why we're going to make
the cross that we formed in the previous step has its lateral colors coinciding with
the attached faces. Click here as always to access the solution.
Step 6: place the last vertices
This step consists of placing the vertices of the last layer in its place although
they may be rotated. In our drawing you see that every corner
is in its place although three of them need a turn to be correctly
located. To know how to get to this click here.
Step 7: finish the cube
There is only one step left but this is the really complicated one. We have to turn the corners to
complete the Rubik's cube. Be careful with this step and read the instructions well.
A failure can bother you all the cube and then you would have to start over.