Version One Button Box
Hallo (Hello in Dutch).
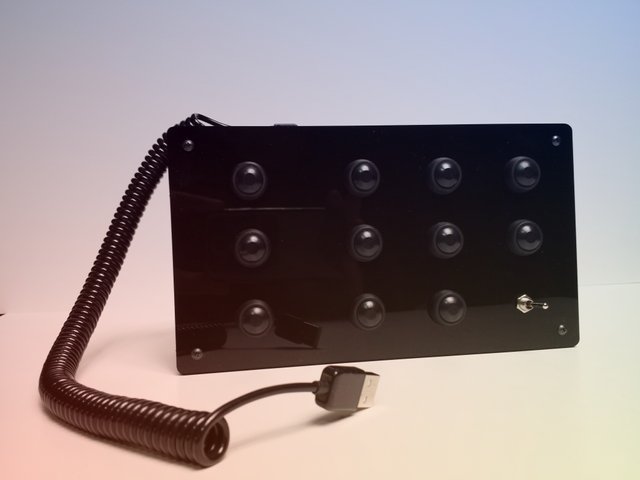
This is a button box; the buttons have assigned functions that can be activated without the use of a computer mouse (navigate a menu for example). This is specially useful in games but has other functions too. You can even open or close a specific tab on your browser with these gadgets.This one is for racing games!
This project makes use of eleven buttons, one switch, one acrylic sheet and a plastic box.
The aim is to make a cheap button box and a more expensive one, the button box V2.
On the cheaper version of the sim racing button box i used an Arduino Leonardo board and plastic push buttons.
First off, the materials:
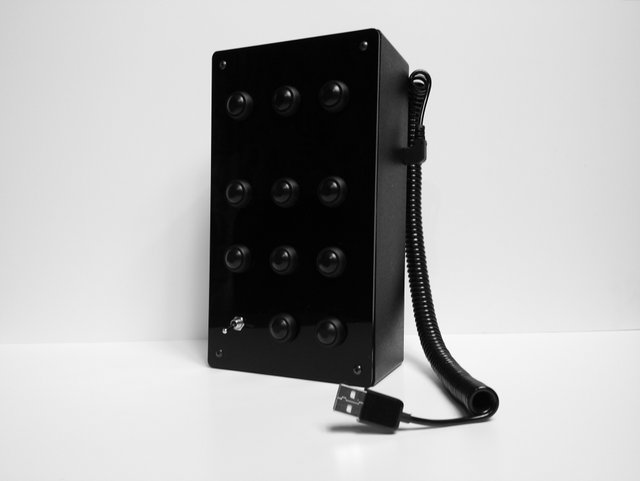
The Abs box used is a simple one, semi-rigid with a rugged texture.
This in particular uses screws to attach the cover to the main body.
The box´s finish is not state of the art and some marks of the molding process can be noticed, so the post-molding treatment it´s almost non existent.
It measures 200mm in length, 110mm wide and 60mm in depth.
The top cover of the box was laser cut as well as the acrylic and its ready for 12 buttons; 11 push buttons and 1 switch.
The acrylic is 3mm thick.
The push buttons:
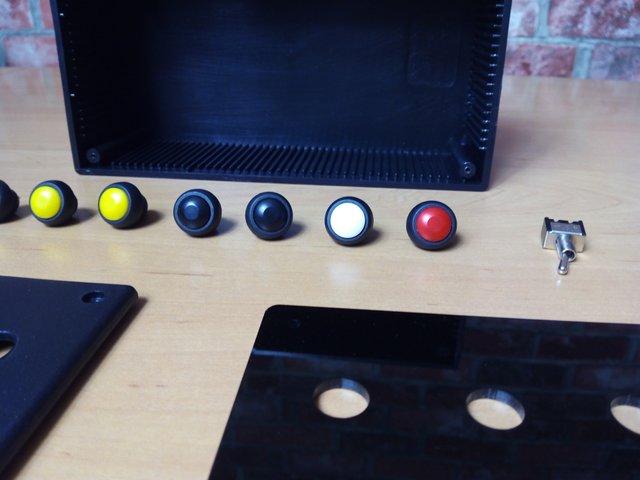
They are made from plastic, with good tactile feel but not extremely precise. I can say they are decent but that's all. It´s a bummer to use heat next to the contacts we want to solder because the plastic melts in 3 seconds.For the price of the buttons i do not mind this because for 1.98€ i can get 10 push buttons.
The dimensions of the buttons are 12 mm in diameter on the main body and 18mm in height.
I used a toggle switch and it is of good quality to use for pit limiter. It measures 6 mm in diameter.
Visuals
The multicolored option of the buttons are a good option because its visually easier to see and press but for now they will stay all black.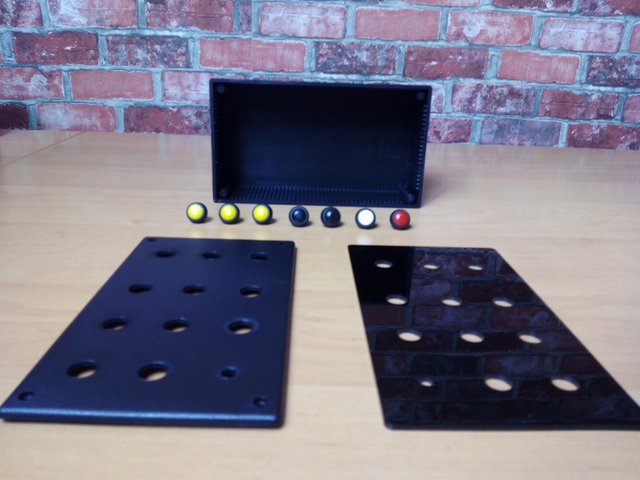
Multicolored push buttons.
I´ll approach the decals now;
There is a wide variety of stickers to these kind of projects but this box will stay simple, with no decals.Here are some examples;
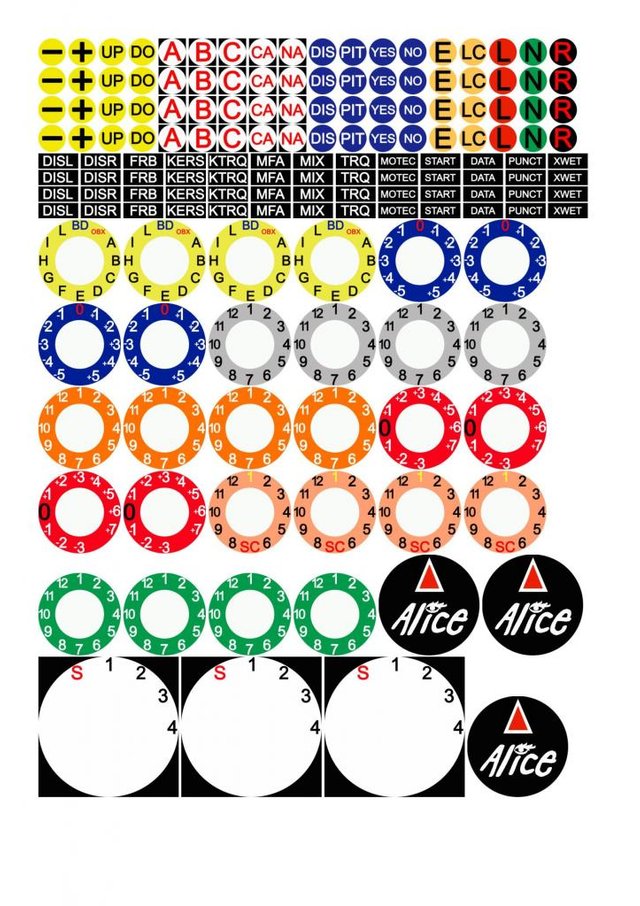
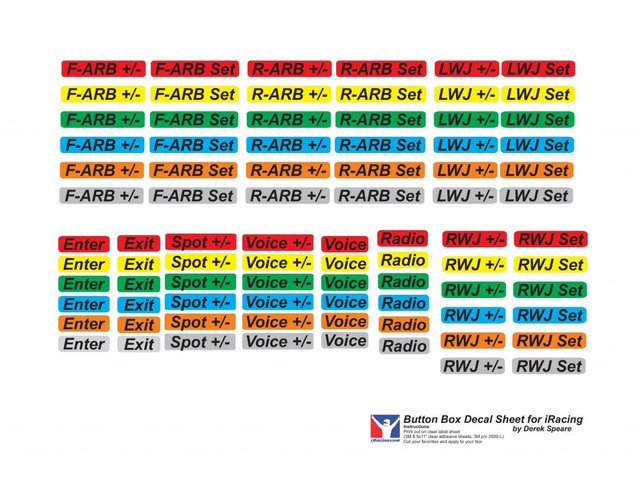
Derek Speare decals below
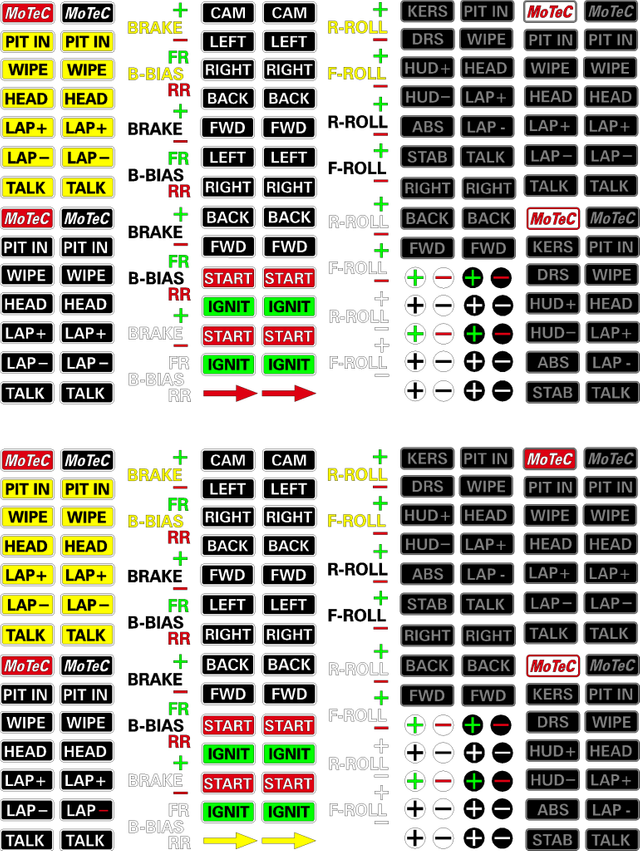
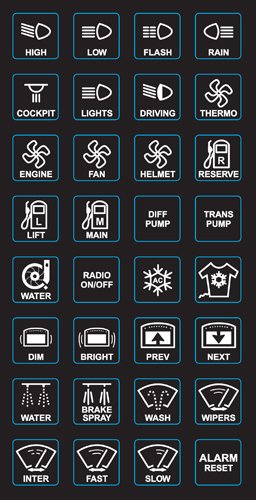 MoTeC style decals
Above are stickers from different agents.
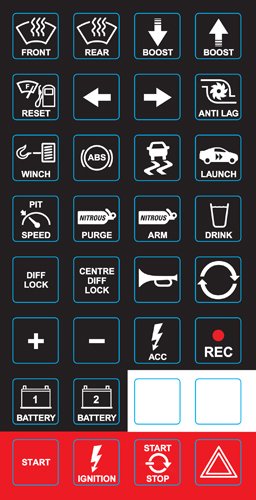
Bellow are some created specifically for the V2 Button Box, the more expensive button box (Next post).Being custom labels they were worked using a Mirroring technique.
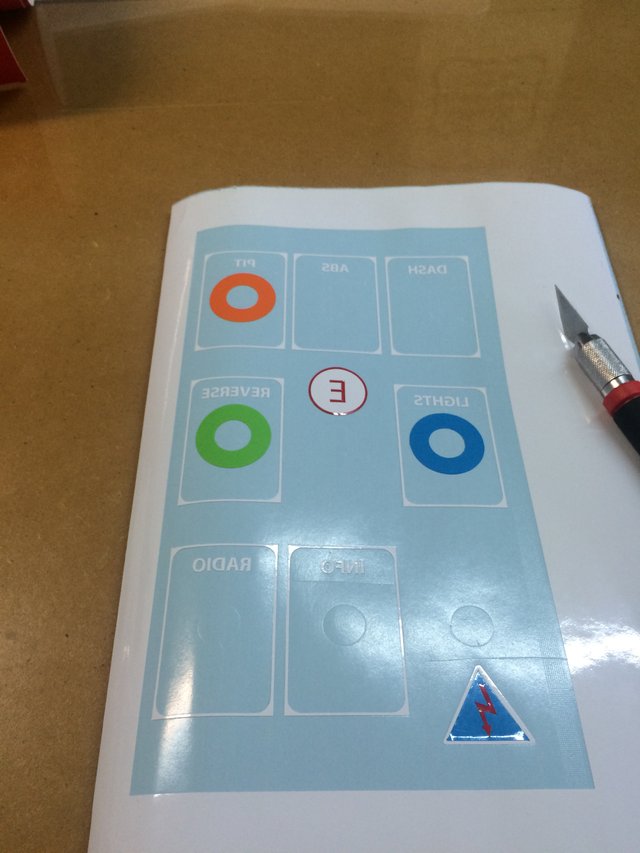
All what is seen on this decal is made separately, so the letters are made separate from images and/or lines so that you can apply them on the back side of a cover box and not be worried about peeling off with the use. More on that with in next project: Button Box V2.
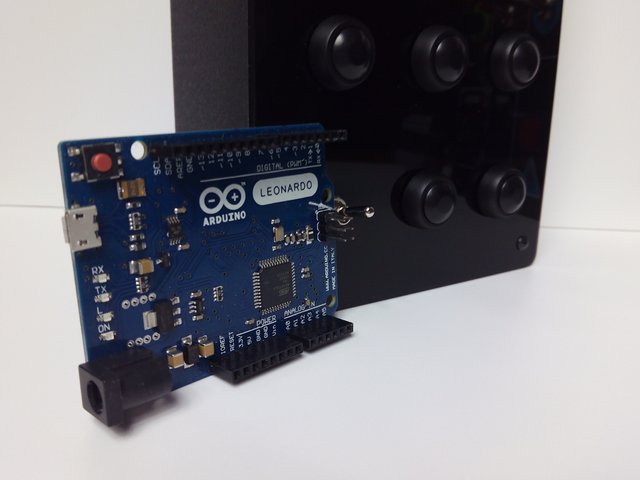 Button Box V1 powered by Arduino Leonardo
So i aim this project for 30€ total excluding labor.
One of its integral parts being the Board; Arduino Leonardo board with ide software version 1.6.6.
There is no need for a comment on this board, you just need to upload the sketch and its working. You might encounter a problem or two and if you do look for the official site, here.
If the arduino sketch asks for a Keyboard.h line (in the IDE program, when uploading to arduino) include the line: # include <Keyboard.h> , in the beginning of the code.
Now to the other important things:
I found (and used) several sketches and through my experience the Kevin Peat´s one is the easiest to work with.
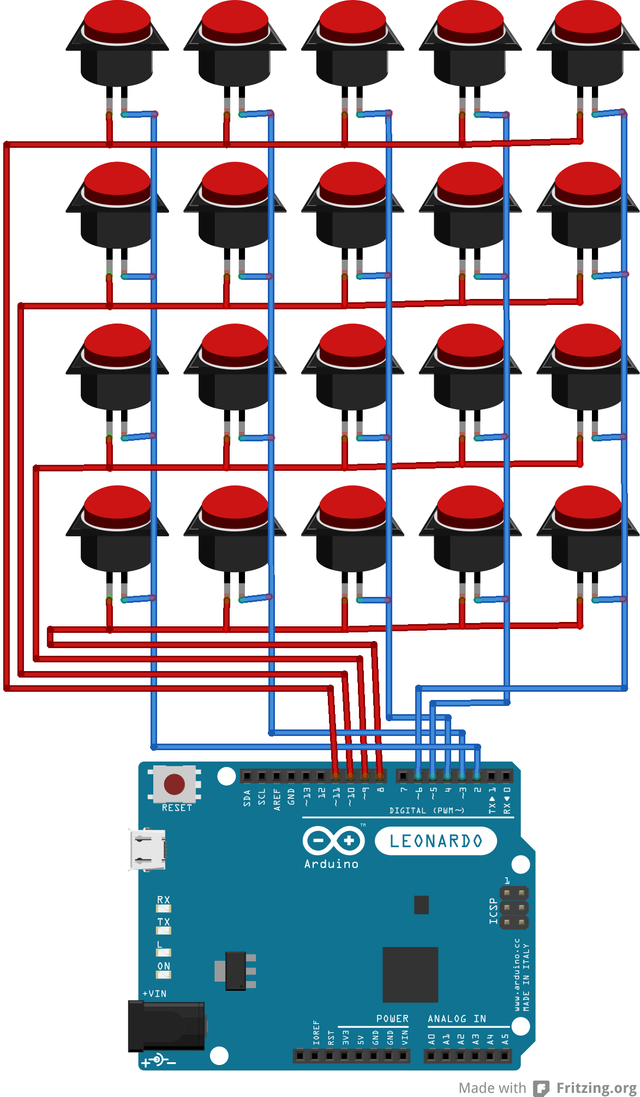 Kevin Peat schematics - Button Box
The buttons must be wired as columns and rows. If you watch this schematics, the blue wire is connected vertically to the buttons on that vertical row and the red wire is connected horizontally (to the buttons on that horizontal row).
There´s something that might help you, bellow;
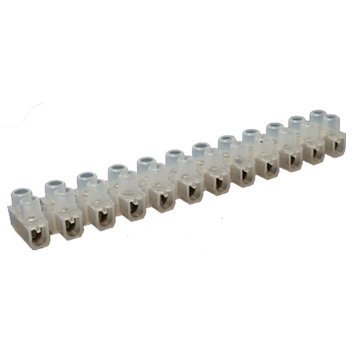 12 Point Screw Terminal
The above connector facilitates connecting more than 1 wire together.
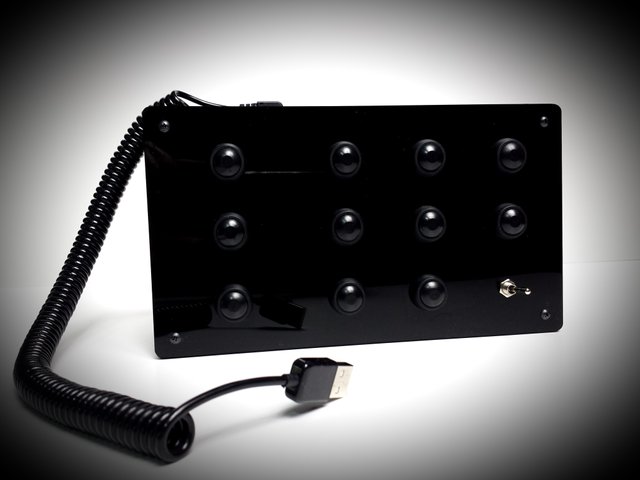
One more photo,

Some thoughts on closing:
- It is possible to make a nice looking box as a DIY project,
- More than 20 buttons can be used with the Arduino Sketch,
- Cheap cost,
- Basic solder know how,
- With this sketch you can only press one button at a time.
Links;
Mr. Peat´s homepage link:
http://www.kevinpeat.com/arduino_button_box.html
Arduino software:
https://www.arduino.cc/en/Main/Software
Is something missing?
Seeya soon, keep coming!