SEC20/WK4: Graphic Design Hands - On practical 1
I was eagerly awaiting for this lesson. I am learning graphic design from this course and I am loving it. I have learnt so many Details from this. No doubt @lhorgic teacher is doing so good. I am deeply grateful for this. In this lesson I will follow exactly what my course teacher did. I believe following your teacher can bring accurate knowledge. So, I am moving forward.

Step- I
 |  |  |
|---|
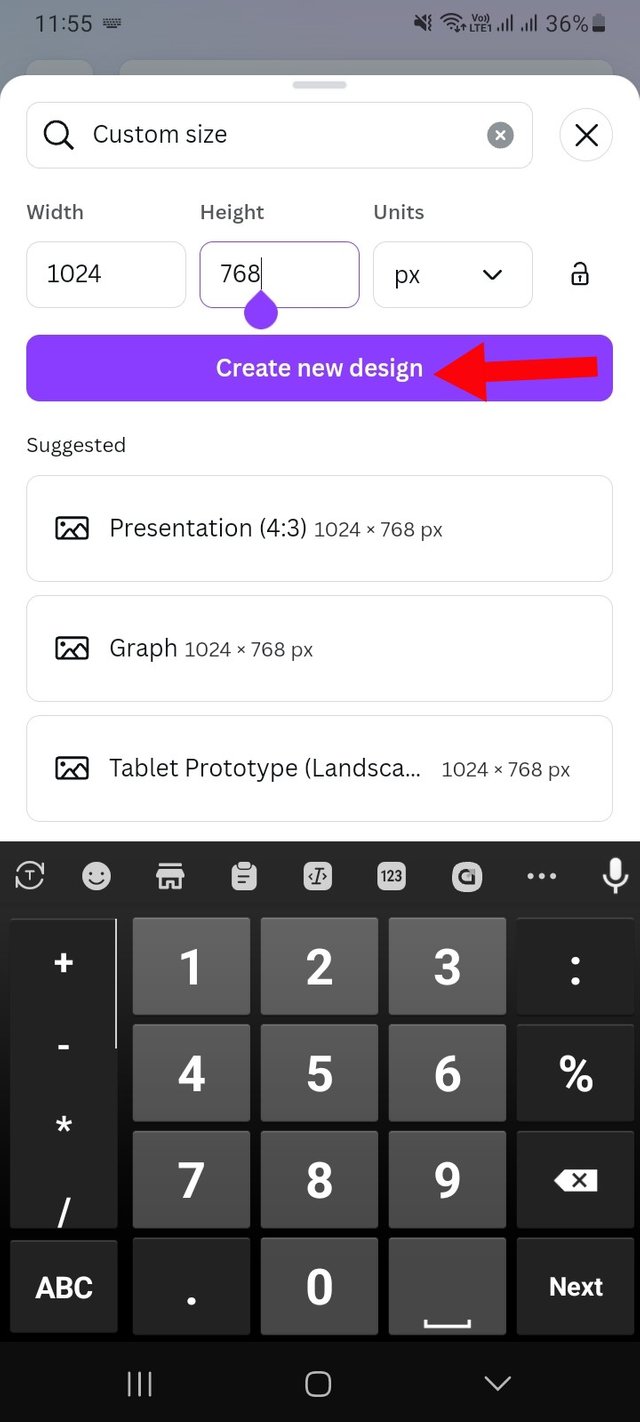
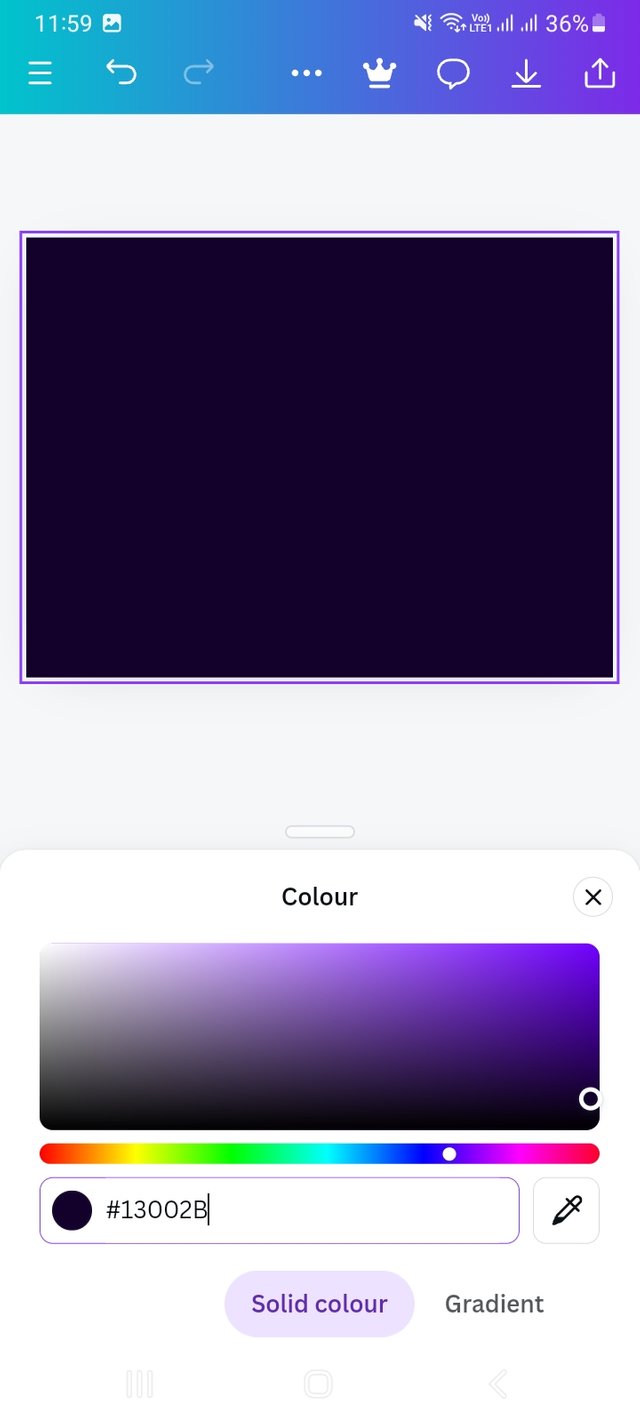
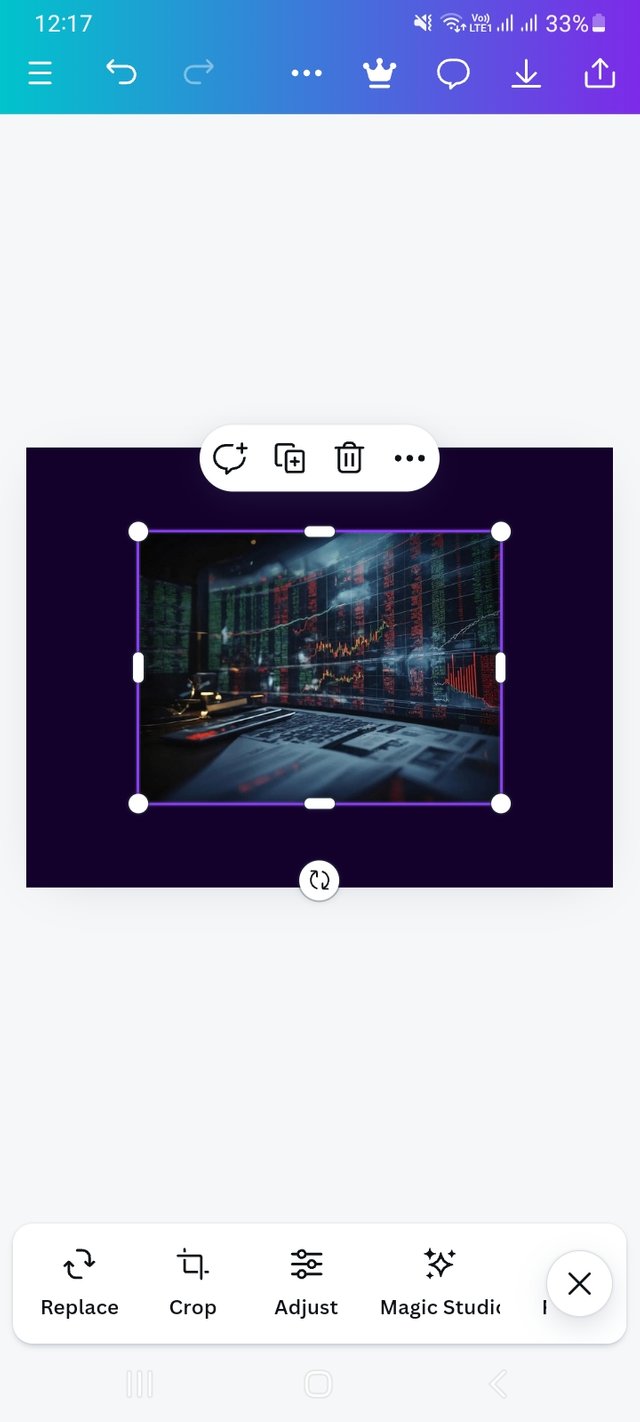
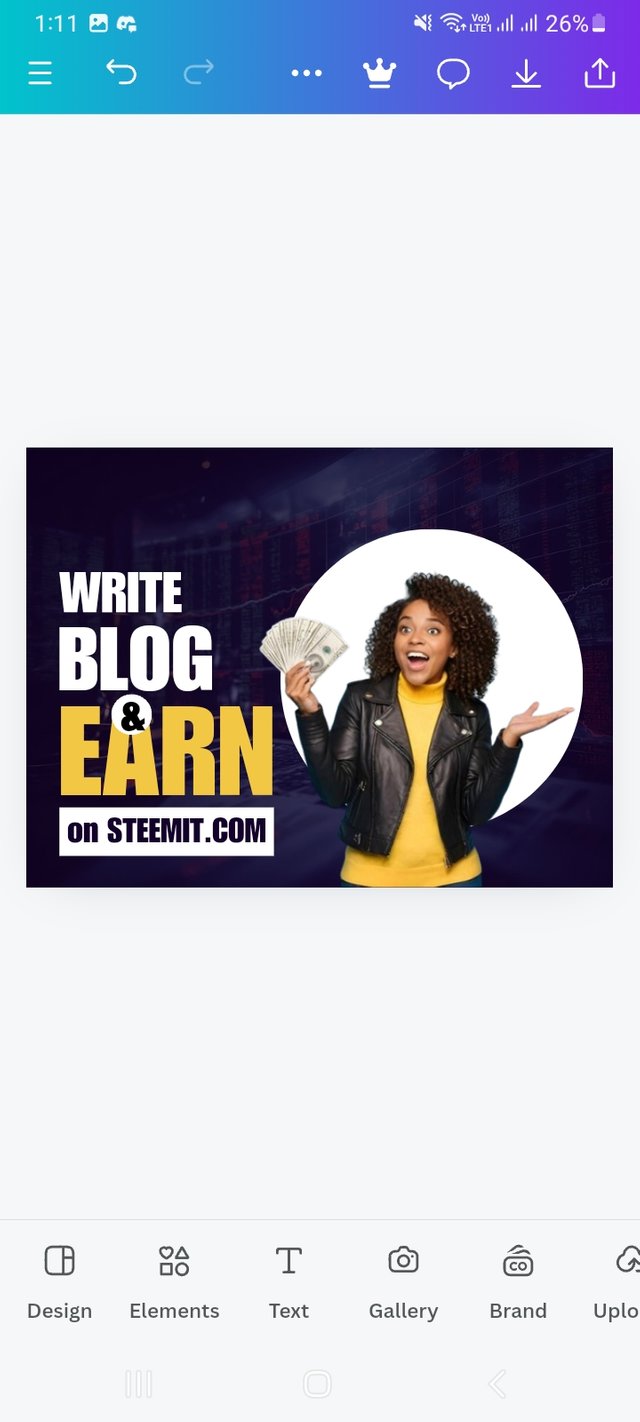
First I login to my Canva app. Then I select a customize design. I did it manually and the dimensions of the design are 1024X 768 px. To customize the design I entered my desired dimensions and clicked Create a new design. Next I clicked on the color option. First there was showing regular hex code. Since I said in the beginning that today I will follow my teacher so I edited his hex code in my hex code box. This I learned from lesson 02. Lesson-2 has information details about color theory and color hex code.
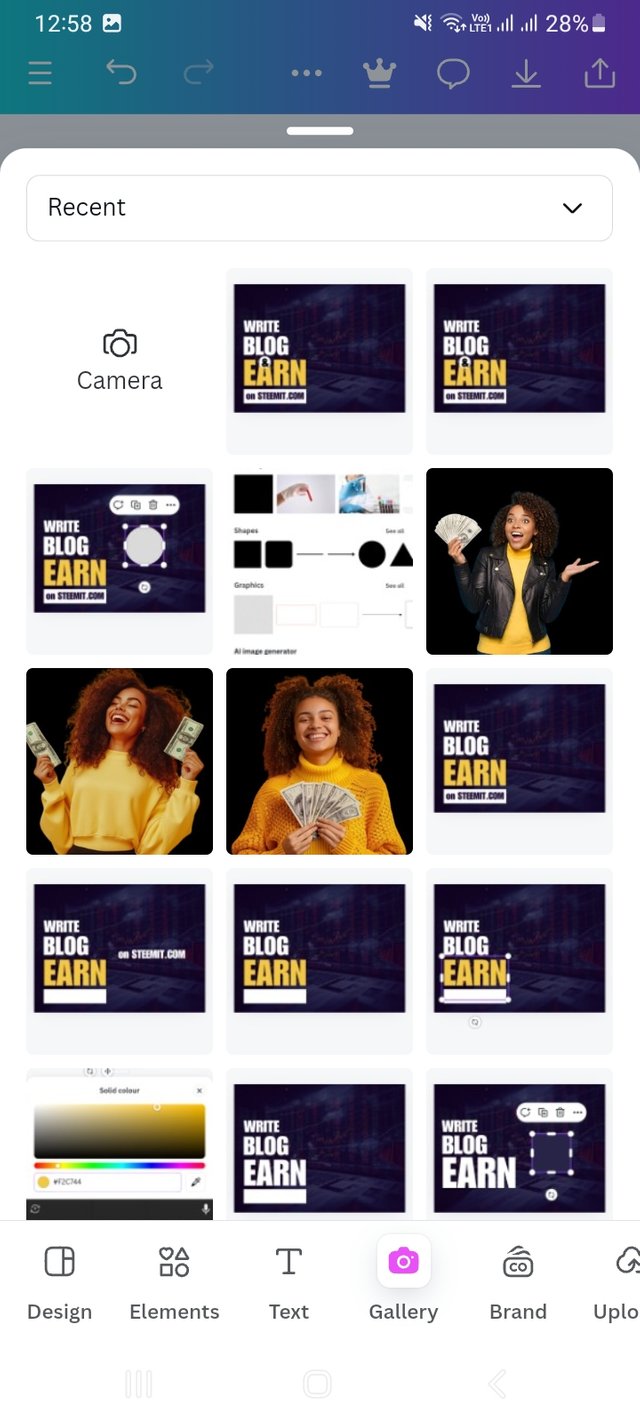
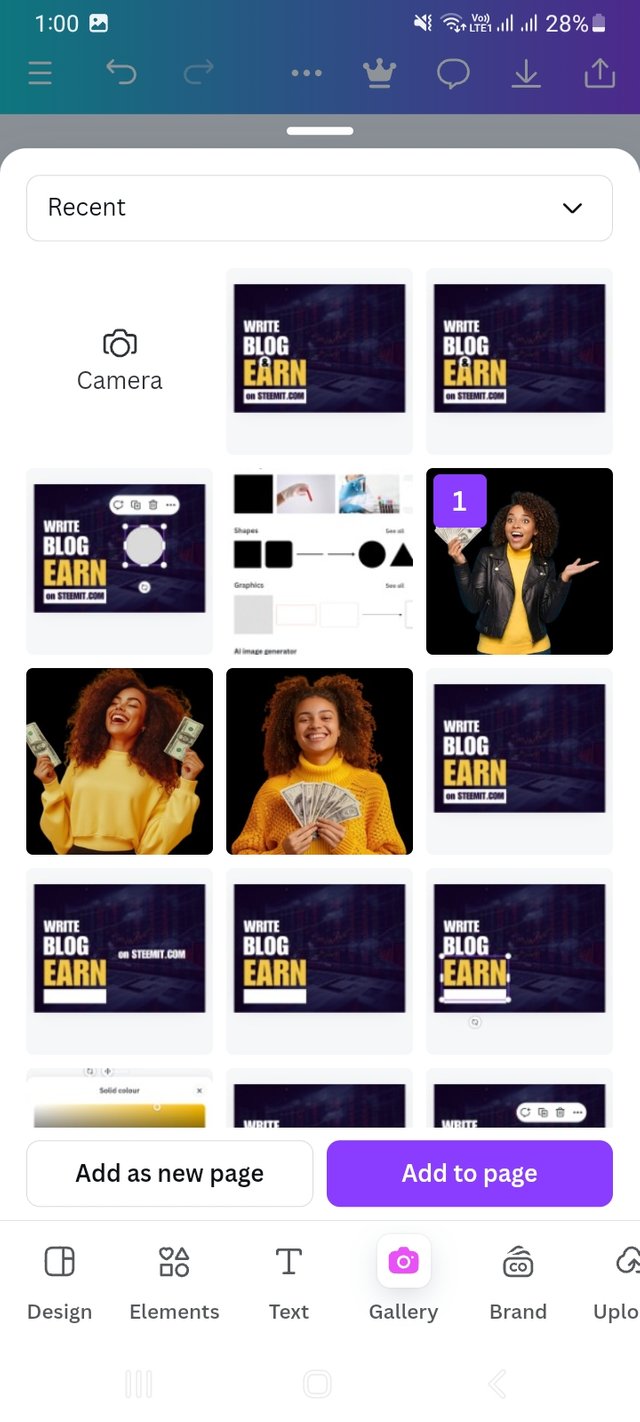
Step- II
 |  |
|---|
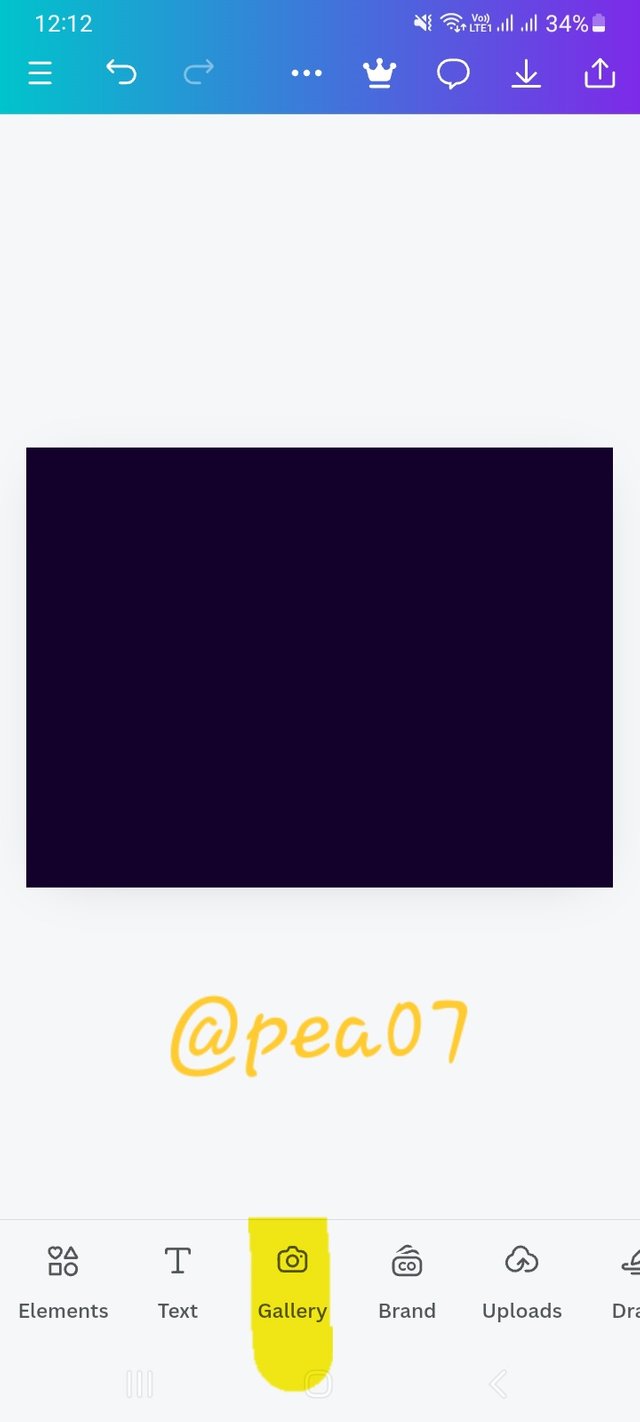
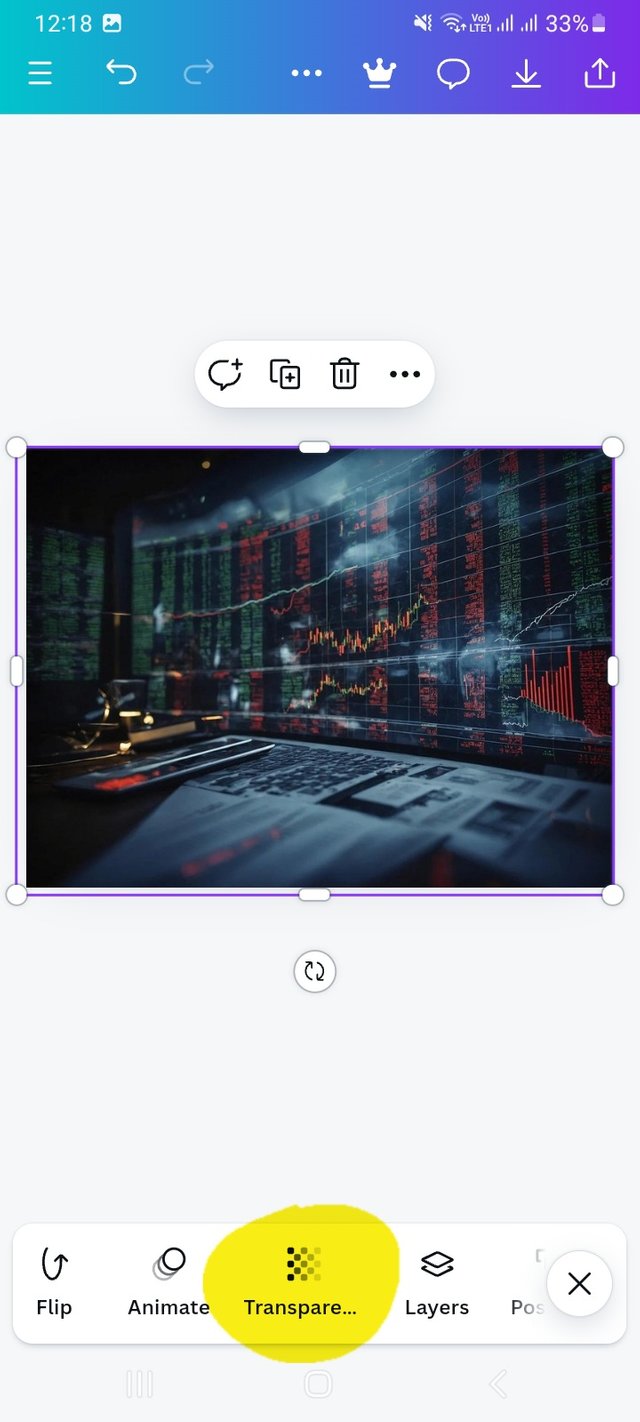
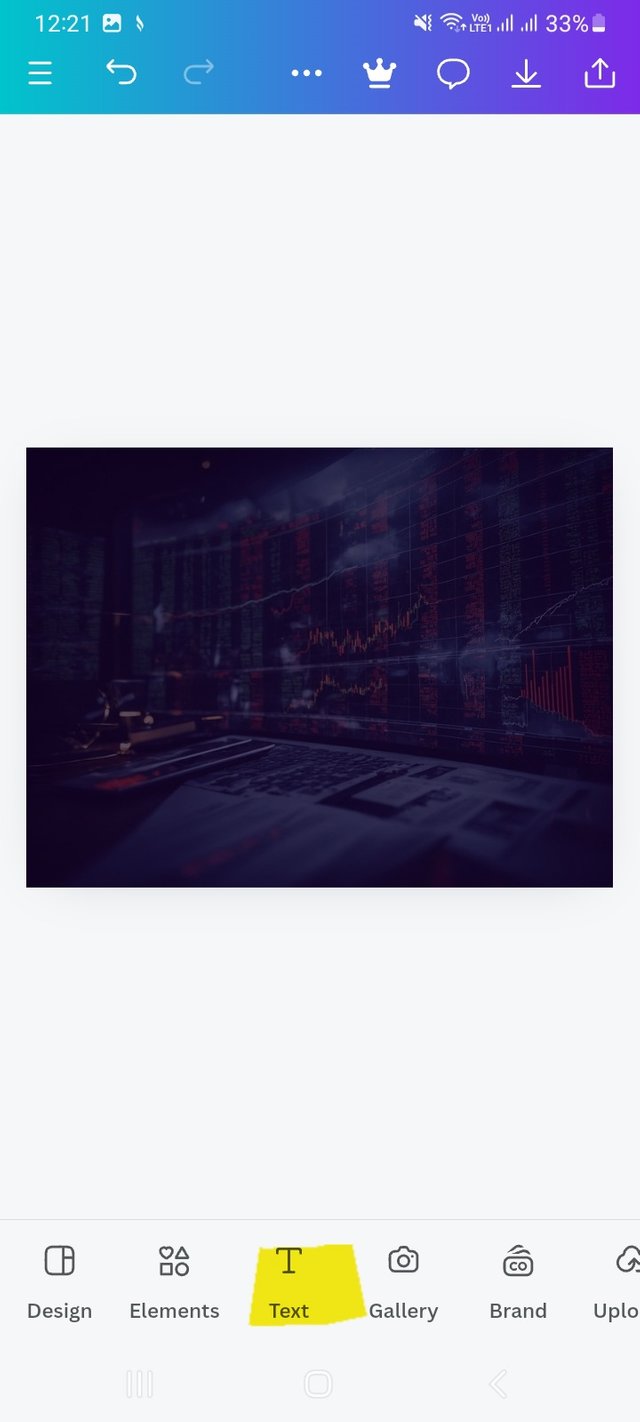
Then I click on gallery option from there. I saved some copyright free money or finance related pictures for background effect in my gallery. I selected a picture from there and added it to the design.
Step- III
 |  |  |
|---|
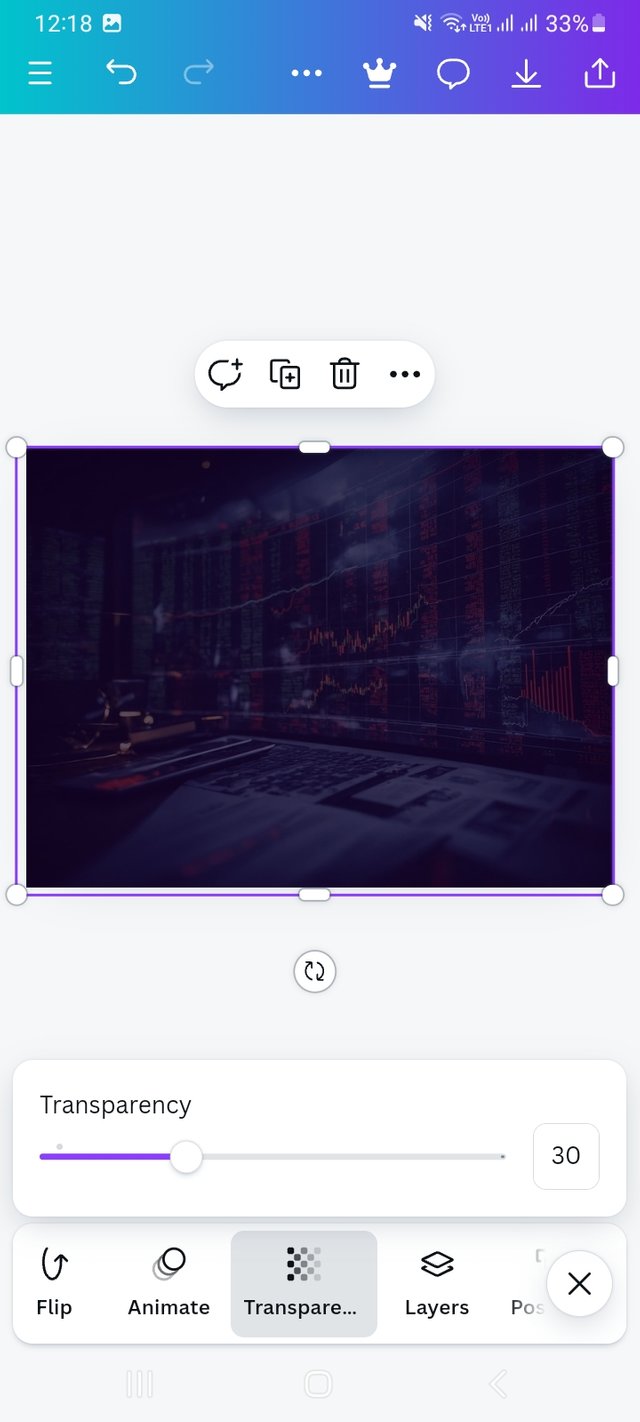
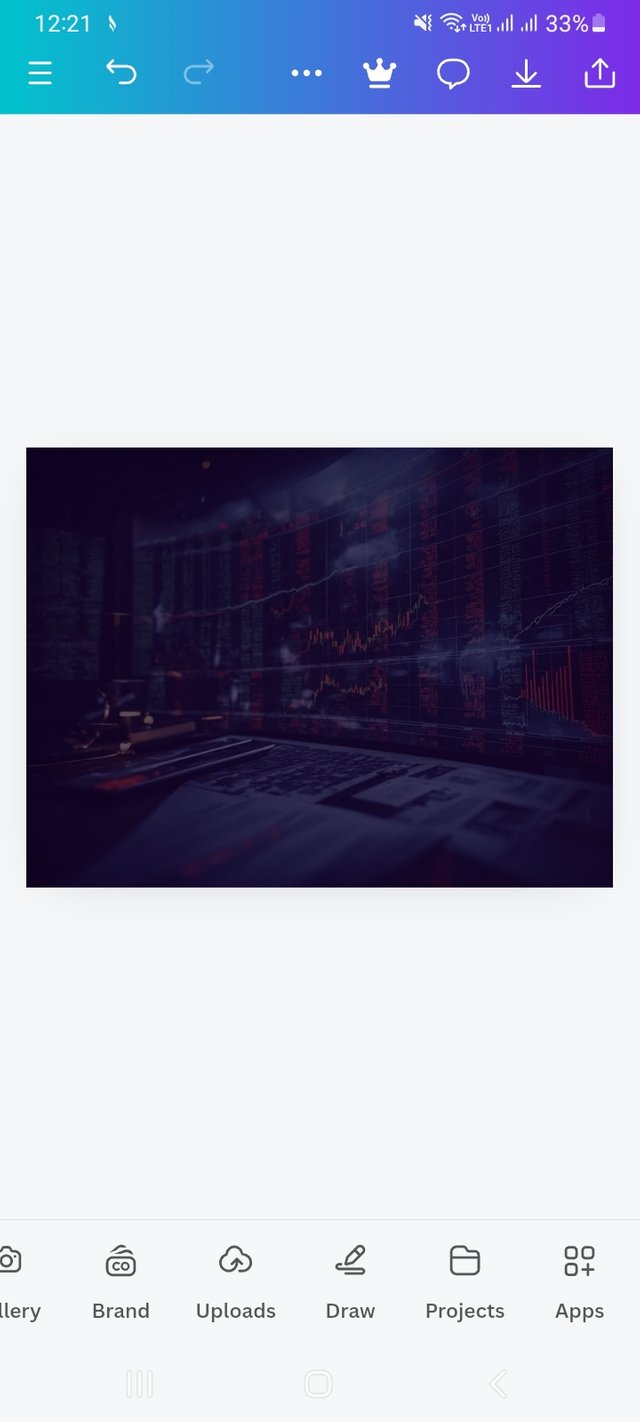
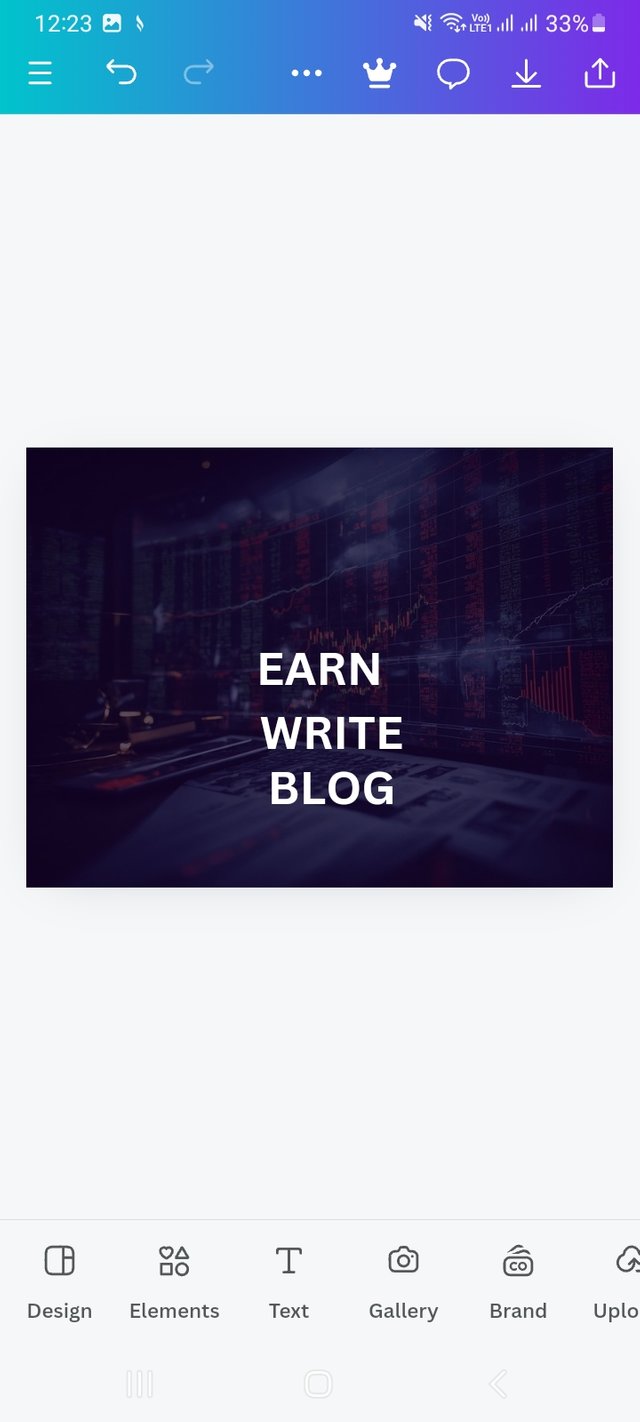
I then drag the image to fit the dimensions of my design. Then go to Transparency option. There I set Transparency to 30.
Step- IV
 |  |  |
|---|
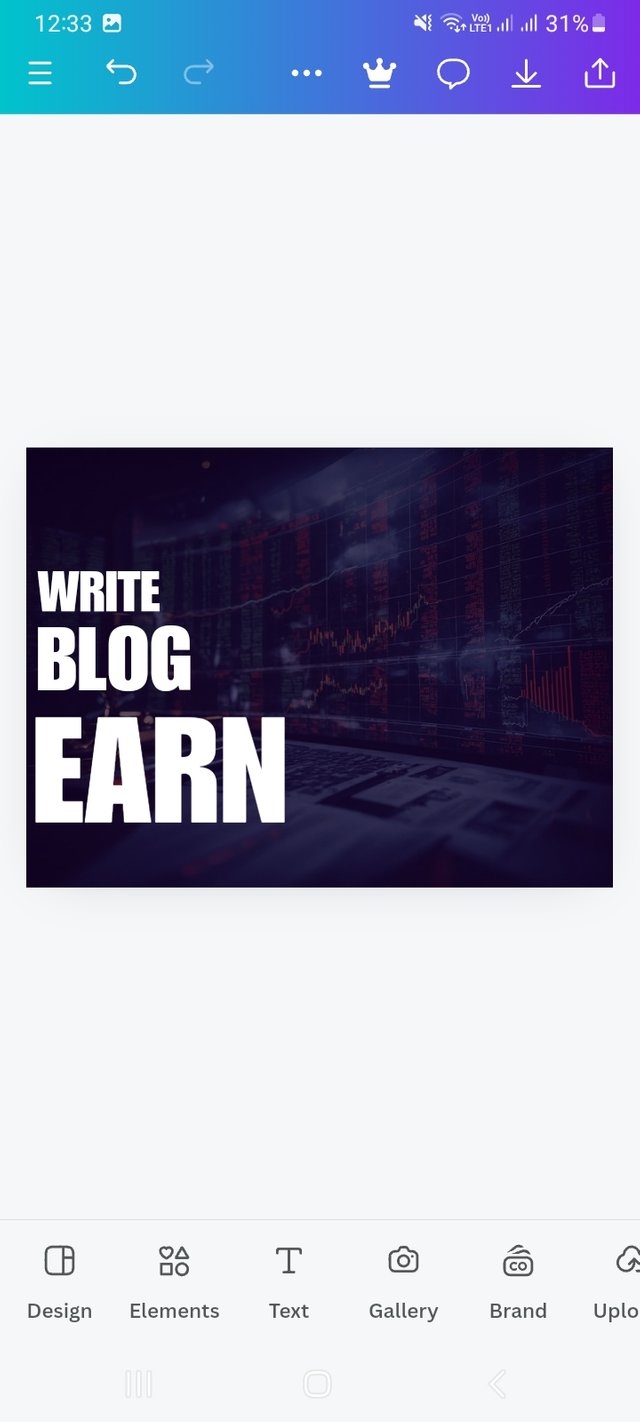
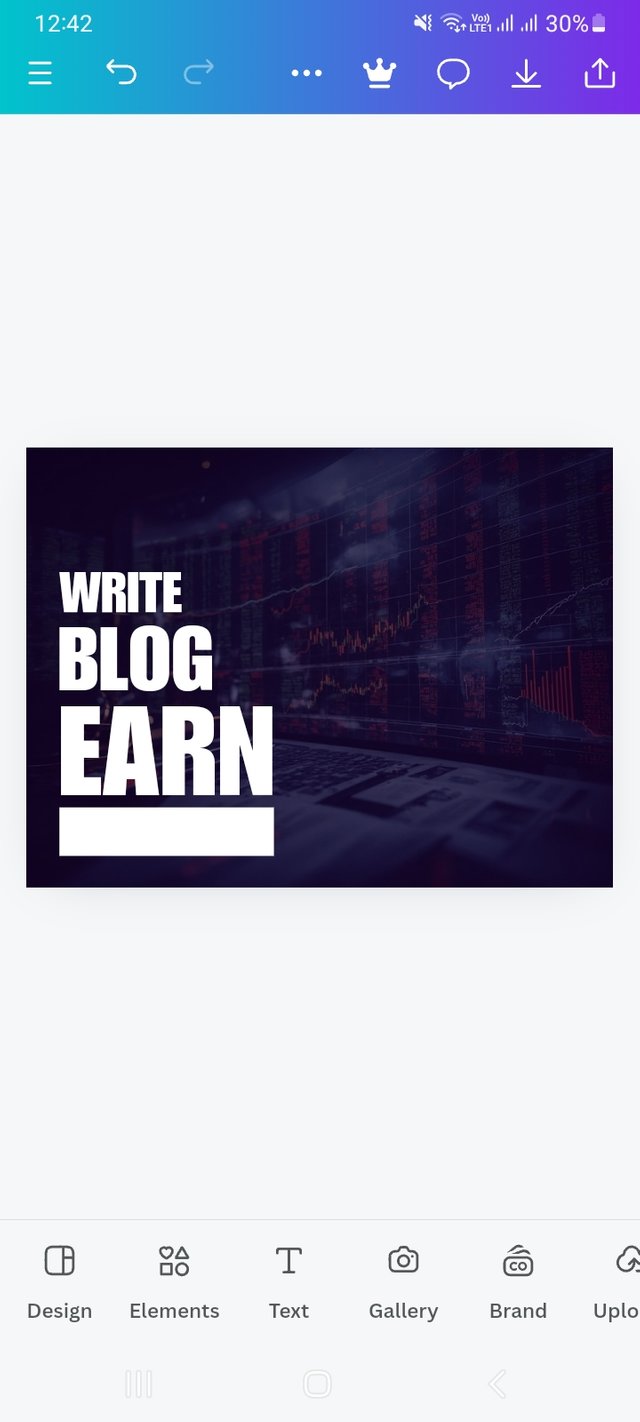
Background work is done. Now I add the text. This seems to me quite important in a design. It is through text that a designer communicates with others and conveys key content themes.
Step- V
 |  |  |
|---|
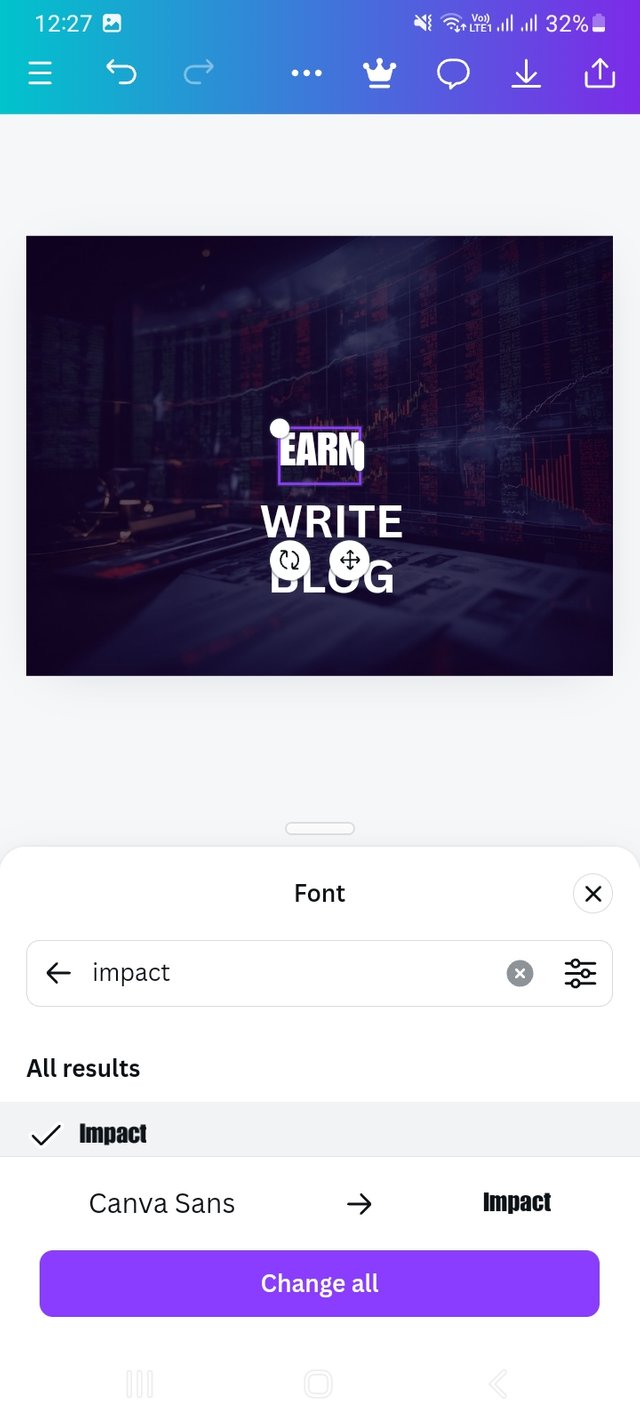
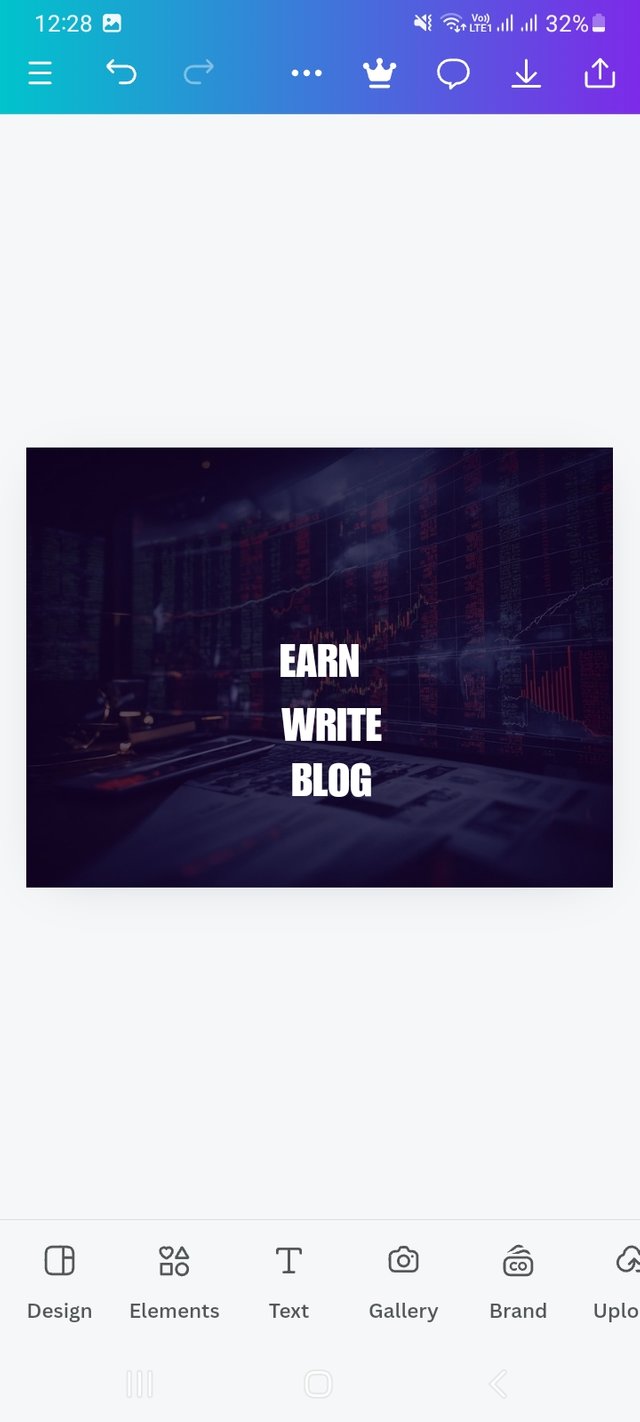
After that I do my favorite thing which is choosing the typeface. I learned a lot about this in the last lesson. I am grateful to the teacher for that. Here I have also used typeface (Impact). and arranged the texts. I increased the front size.
Step- VI
 |  |  |
|---|
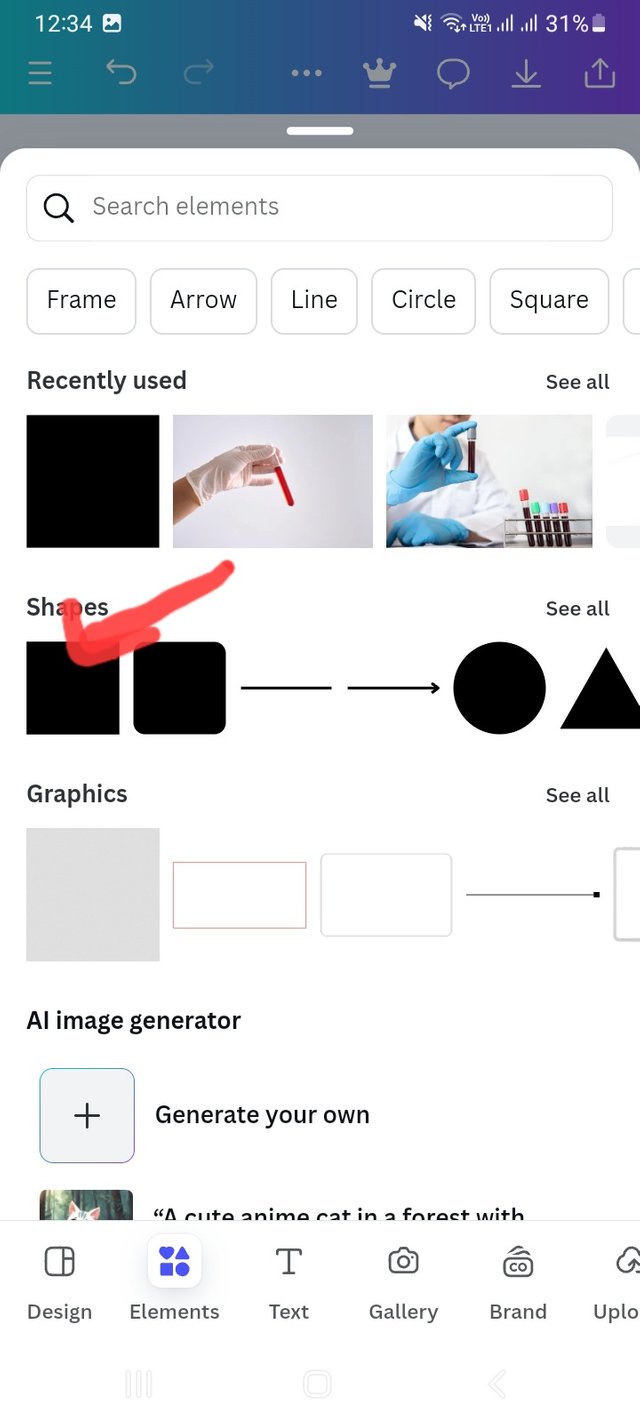
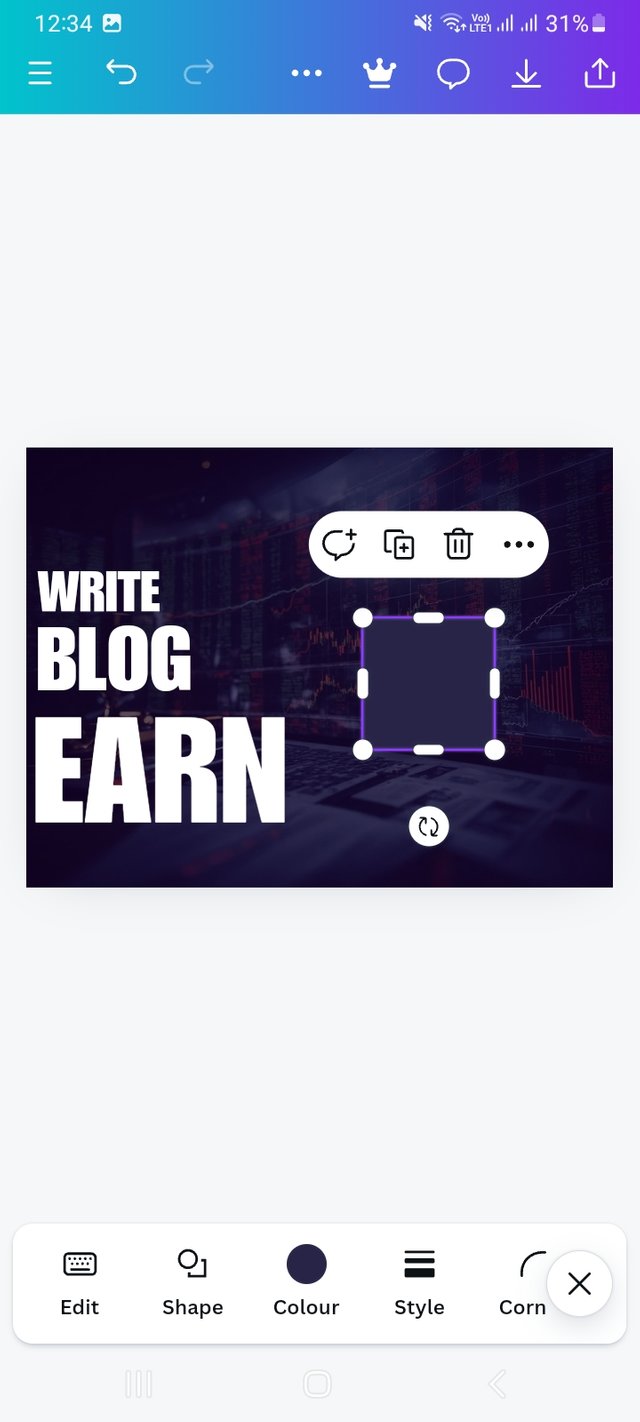
Then I clicked on Element option. From there I selected the square shape and added it to my design. Here I have moved my texts a bit to the right for a better look.
Step- VII
 |  |
|---|---|
 | 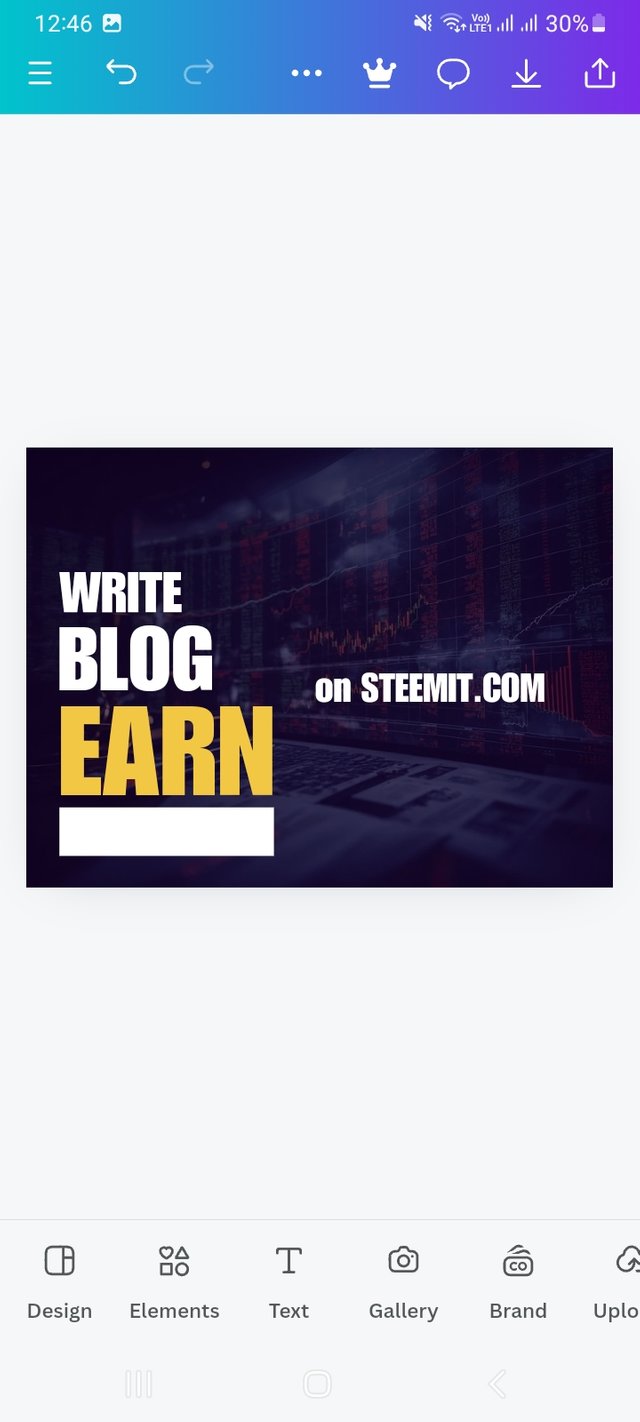 |
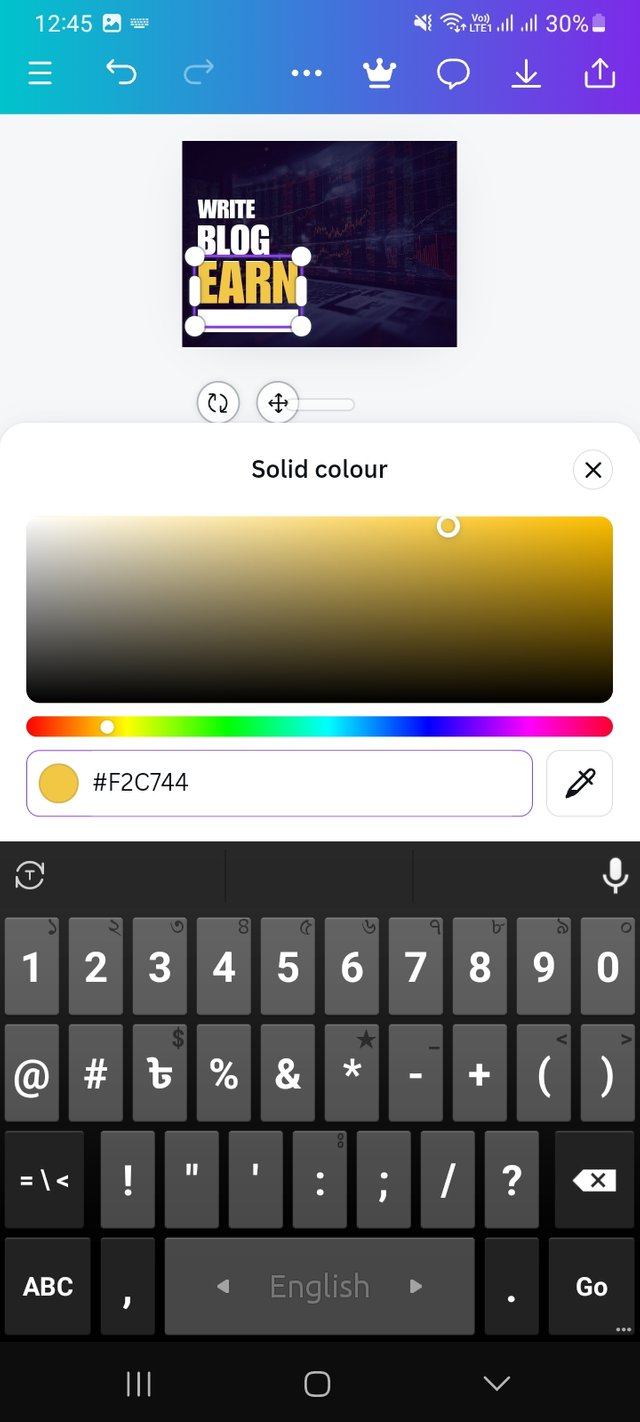
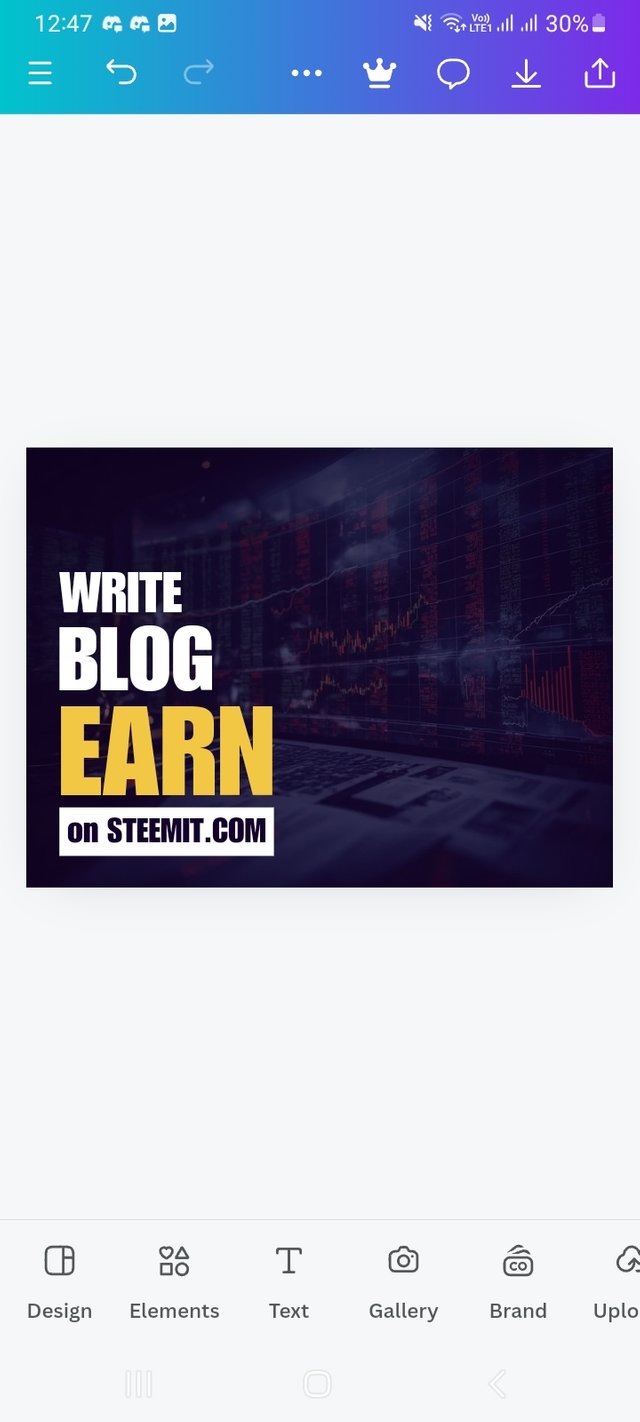
Here I have followed my teacher to resize the square shape and color it white and place it below EARN. Then changed the color of EARN. Here I used F2C744 color hex. I also added the text "on STEEMIT.COM".
Step- VIII
 |  |  |
|---|
Then I place the text below EARN. Add to my design by clicking on the Element option again and selecting a circle shape and adding &.
Step- IX
 |  |  |
|---|
Now I added the picture to the design and resized it. Select a shape from Element by following the previous process.
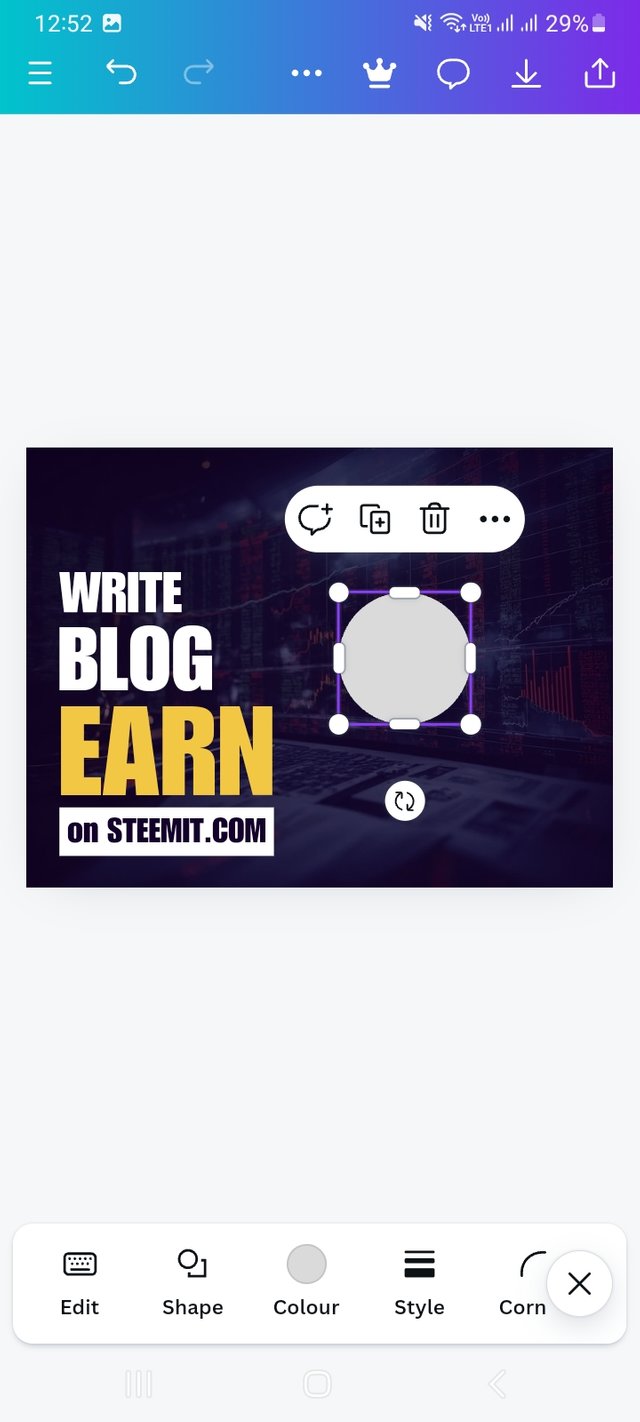
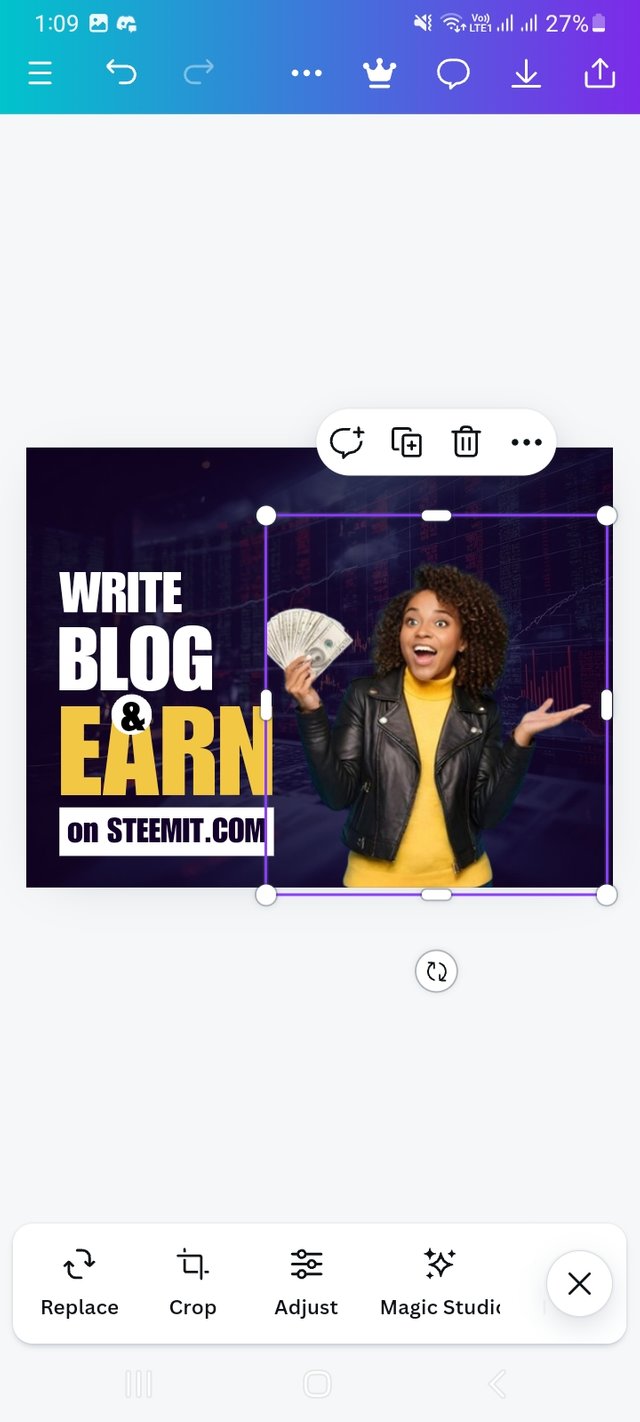
Step- X
 |  |  |
|---|
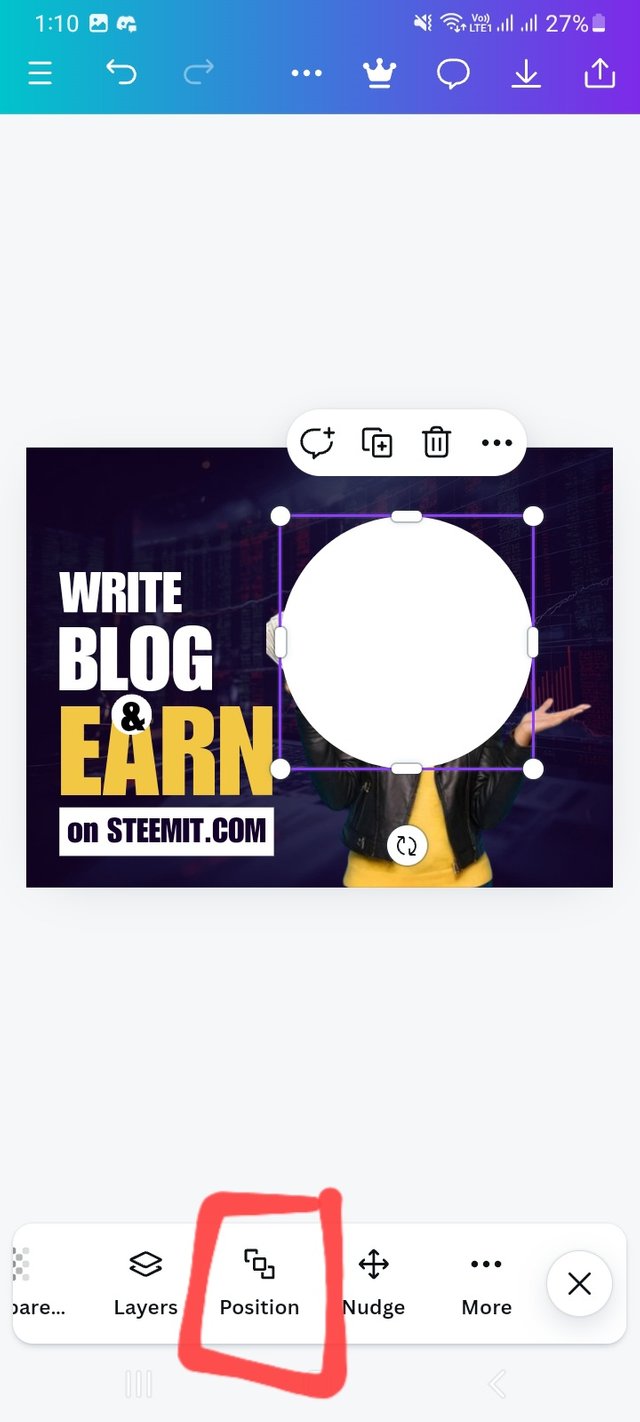
I have added to the design by selecting a circle shape from Element. Resized it. At the end of the resize, click on the position option and fix the position.
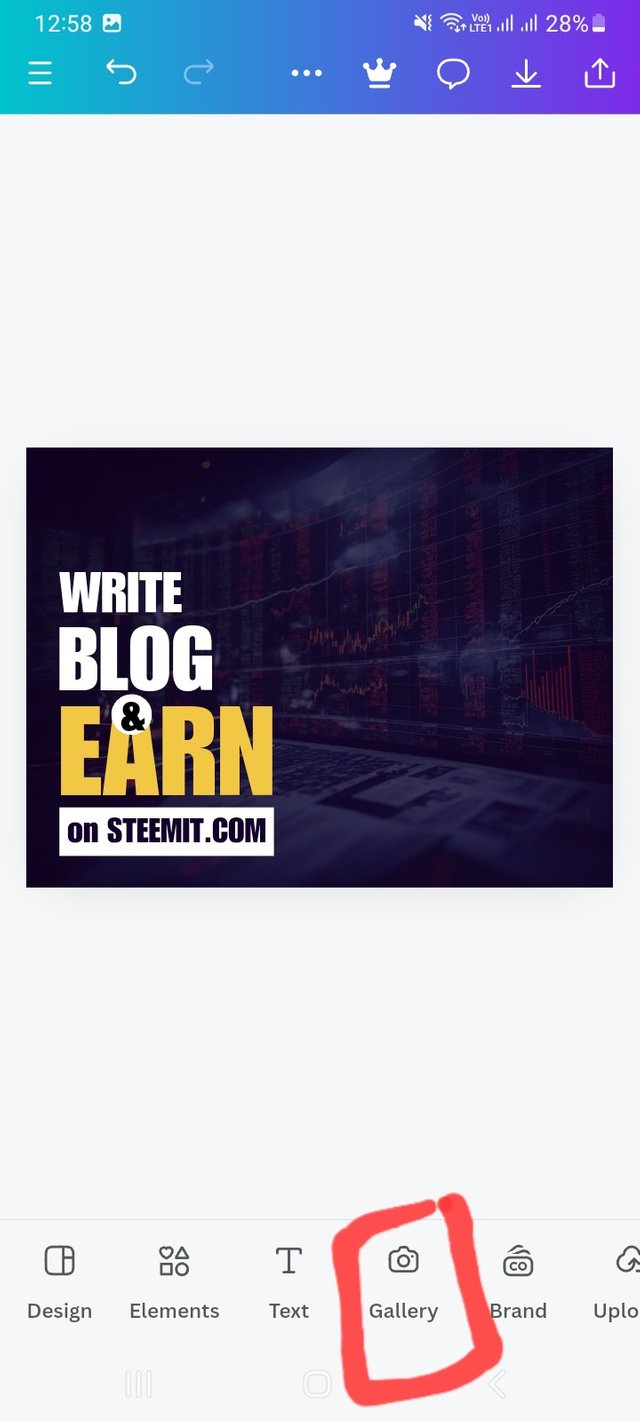
Step- XI
 |  |  |
|---|
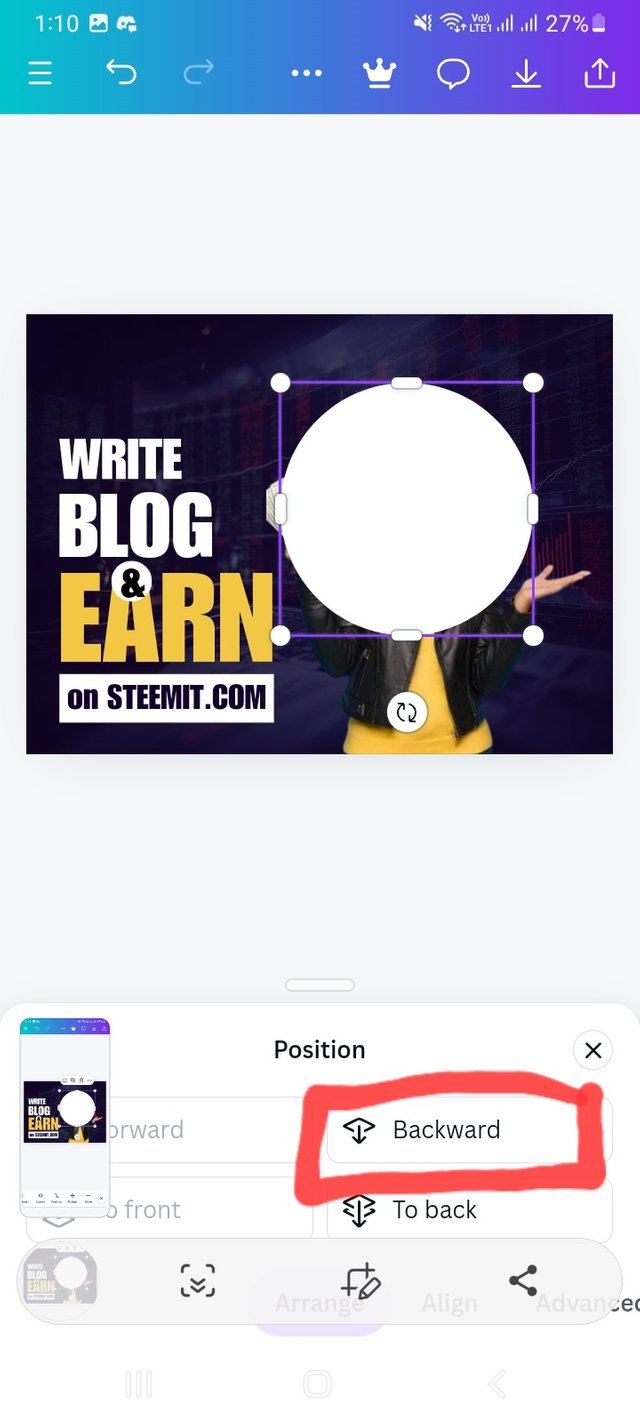
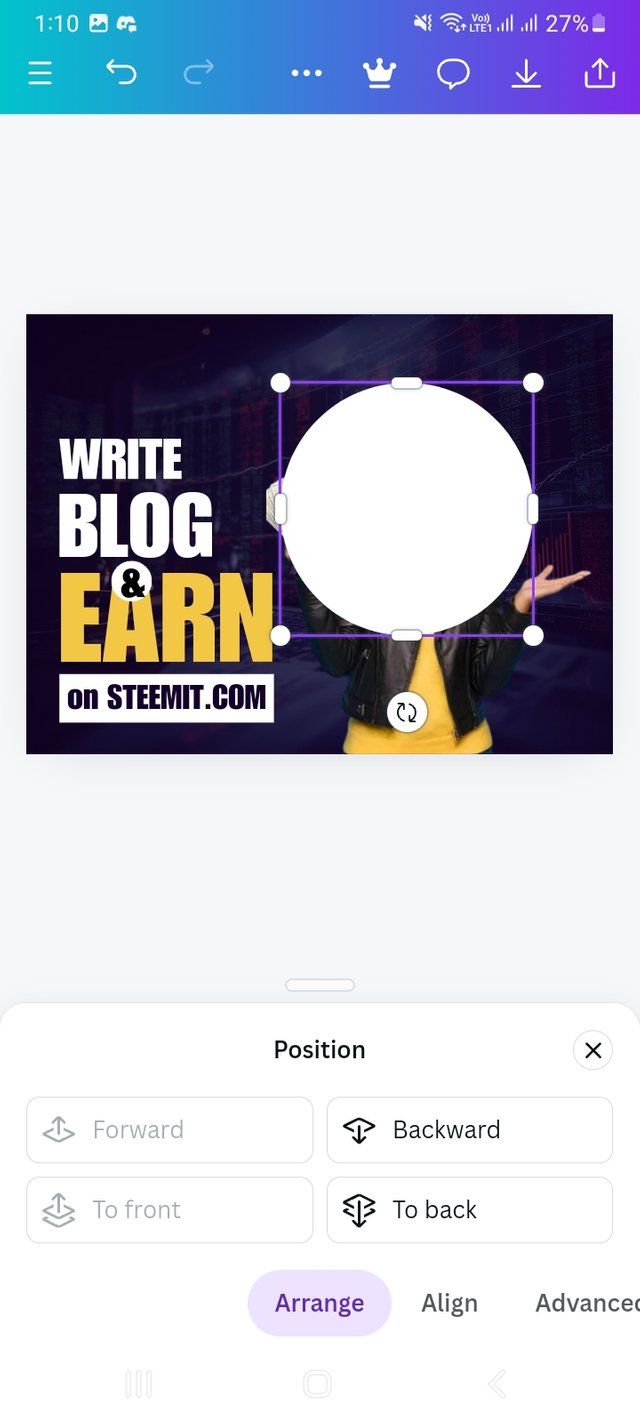
Finally I put the circle in the background of the pitcher by clicking backward. There is also a forward option to bring it back to the front. That was my learning today.
After making the above design I am interested in making another design which I have prepared to dedicate to my teacher.
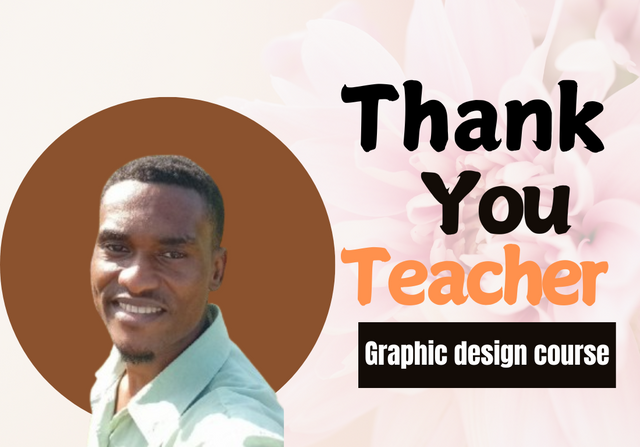
Hope you like this design created for you. Hope you like it. Here I have applied my knowledge from this course. Here
- I use a background picture with 30 transparency.
- Use single typeface
- Use shapes from Elements option
- Applice knowledge of position
- Use your provided remove.bg app to remove background from your picture.
- Conscious about white space
- Use word spacing
- Of course use colour Hex.
I am a new student, have a question. After I completed this it seemed to be too big for me. If I want to reduce the length or resize this complete design, how can I do it? Or once designed, its dimensions are unchangeable? Please let me know.
I am inviting my friends @sohanurrahman @arjinarahman and @m-fdo to have a look on this lesson. I deem this will help you all.
Upvoted. Thank You for sending some of your rewards to @null. It will make Steem stronger.