"SEC20/WK4: Graphic Design Hands - On practical 1"
Hello Everyone. I am @shiftitamanna
From #Bangladesh
.png)
Image created by Canva.
Assalamu Alaikum everyone. Like every week this time graphic design course is made by our dear professor @lhorgic on great topics. Honestly, these courses have allowed me to broaden my knowledge on design and learn new things. For this I thank the course teacher. Now practically we are going to complete the task from basic to pro level of design.
I will basically try to recreate the design that the teacher taught me in my own way. And I'll show you how to do this with my Canva Pro app. My design may have some differences but I have tried to follow the original design. Anyway, then I am presenting the practical task of the course step by step.
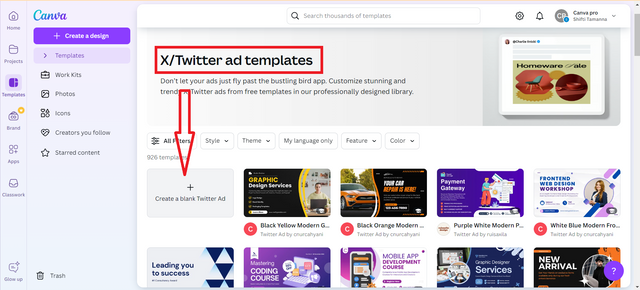
- First I'll go into my Canva app and choose a template. I've taken the template for the (twitter/X) ad here. The size of which is 1600px * 900px. And as you can see here I'm going to click on Create a Blank. Then I will have an interface with a blank template.
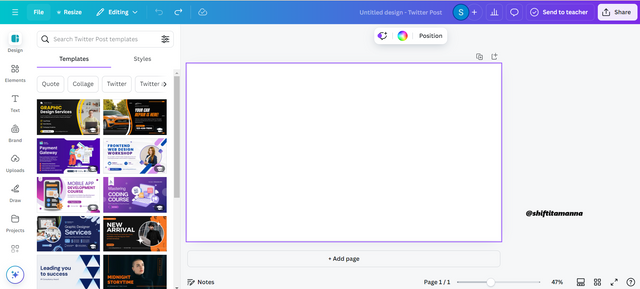
- So as you can see in the image below I've got a blank template on which I'll build my design.
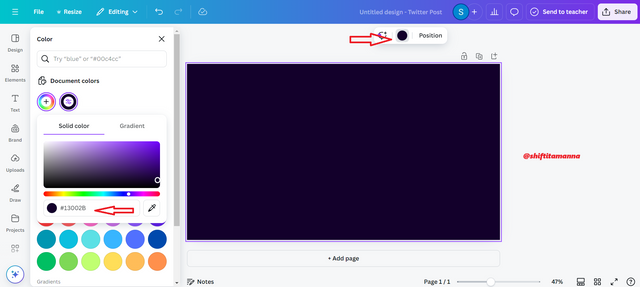
- Then I'll give my white template a dark color background so I'll click on the color option where I enter the code #13002b in the color search bar and my specific color palette will come up. Then my template will change to dark color all over.
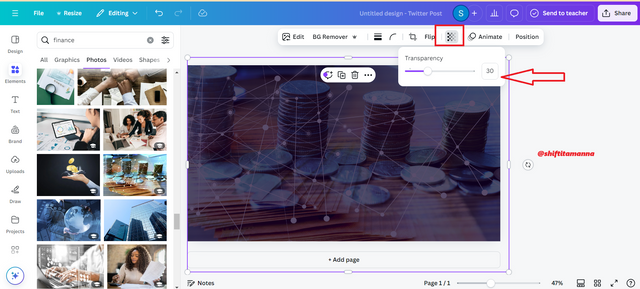
- Its time to replace an image. I will click on element and search by typing finance in photo. From there I will select a photo.
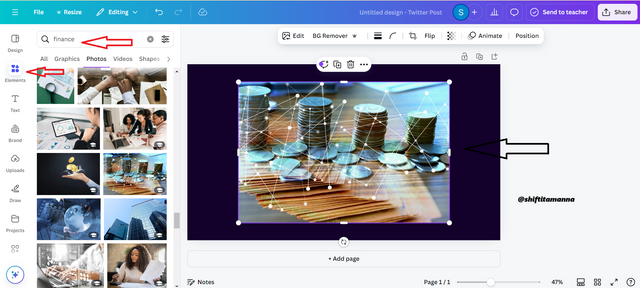
- Then I'm going to click there to make the photo transparent, click transparency above. There is a scale for how much to measure. I will keep its transparent level at 30 as per the original design.
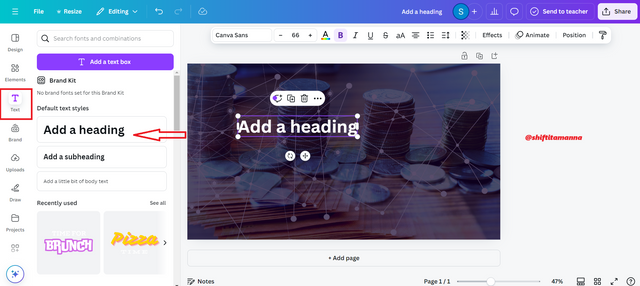
- Then I will click on Text to enter the title of the template. Then I will click on Add a heading.
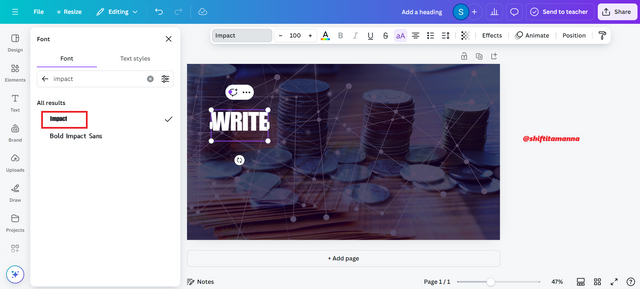
- Then I'll write the word write first with the impact font. The font size of which I have given is 100.
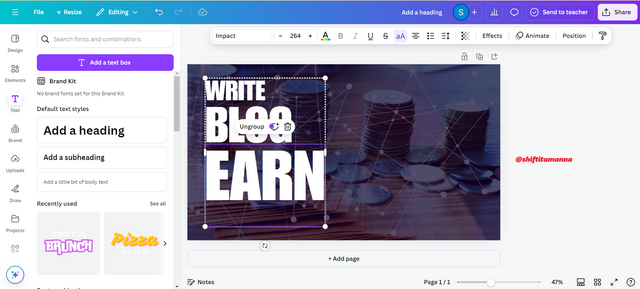
- After that, I will write the rest of the blog and the word Earn. And I have tried to give them the size of the original design. I have given the font size of the word blog to 170 and the font size of the word Earn has been given to 250. After that I will group the words according to the lines.
- Then I will click on element again and get a box of square shape. Which we will work with later.
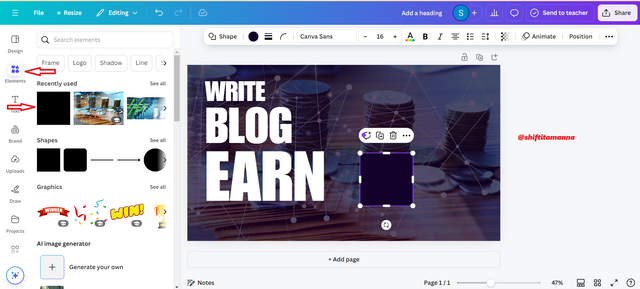
- After that I will replace that square shape box with the size of the word Earn.

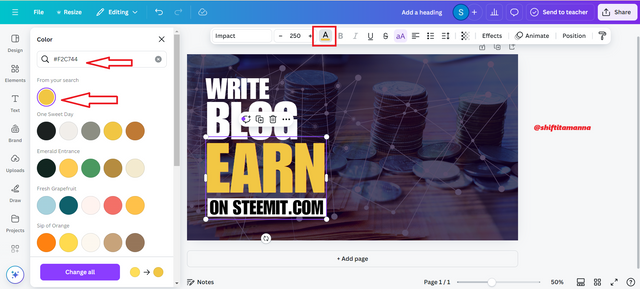
- Then I will go to my text and write ON STEEMIT.COM. Then I'll select the word EARN above me and click on Color. In the search bar, I will write the code (#f2c744) of the color palette and search. After that I get the desired yellow color. And the yellow color pops out nicely with the background of my template.
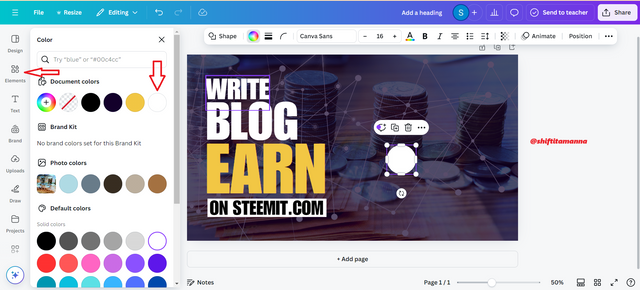
- After that I will draw a circle shape from the element. It must be of white color.
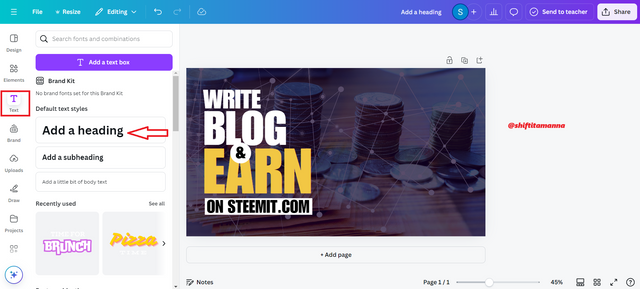
- Then with the help of text I will write (&) on the white circle in the impact font. And with the help of the position option, I will place it in the middle of writing blog and Earn.
- After that I will click on the upload option. And the photo of the design was already uploaded by me so as soon as I clicked on the image, the image would pop up on my template.
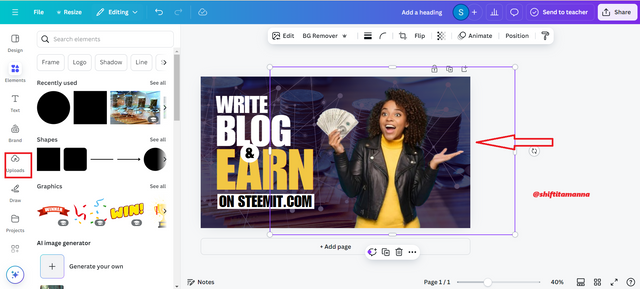
- Then I'll take another circle shape element that I'll place behind my photo.

- Then I will increase the size of the circle according to the original design. Then I will click again on position. Then I click on the layer and place the circle on the back of the woman.
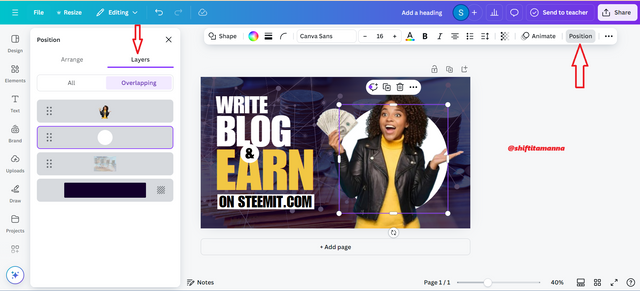
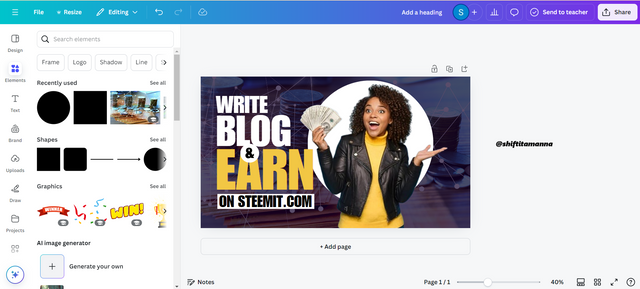
- In my last step I resized the white circle behind the woman to match the original design. And with this I have completed the practical task of this course.

All images in my article are my own.
%20(500%20x%2050%20px)%20(1).gif)
Finally I would like to say that I have tried to present the design in its perfect form. But I really enjoyed working the entire practical. And I learned a lot along with it. Also I would like to invite some of my steemian friends to participate in this challenge. I would like to invite my friends @mdkamran99, @irawandedy, @hotspotitaly to participate in this challenge.

I invite you to support @pennsif and @pennsif.witness to grow across the whole platform through robust communication at all levels and targeted high-yield developments with the resources available.

Click Here
%20(2).gif)
Upvoted. Thank You for sending some of your rewards to @null. It will make Steem stronger.