Hello..!!
My Dear Friends,
I am @mueeinislam from #Bangladesh 🇧🇩
Using Canva, The picture was made
Greetings to all my dear Steemian friends, Assalamu Alaikum. How are you all, I hope you are well by the grace of God. Alhamdulillah I am very well by the grace of Allah. Last week I attended, ["SEC20/WK4: Graphic Design Hands - On practical 1".] But I do something wrong there, I am sincerely sorry for my mistake..! It was not right for me to do that, I apologize to you for my mistake, please forgive me.
Like last week I was looking forward to participating in SEC20/WK5: Graphic Design Hands - On practical 2 this week. And following the design given by @lhorgic teacher, I will try to design same to same according to the design shown by him. I will try to show you, step by step, how I will design according to the design given by my teacher, using Kenba Pro application. So let's begin –––
- I first login and open my Canva Pro app, then click Create Design and choose a template. The size of which will be (Instagram post (Square) 1080×1080 px,) you can see that I got a blank template, on which I will build my design. The poster given by our teacher will not have any color in the background so I will not give any background color in my design and will keep it white.
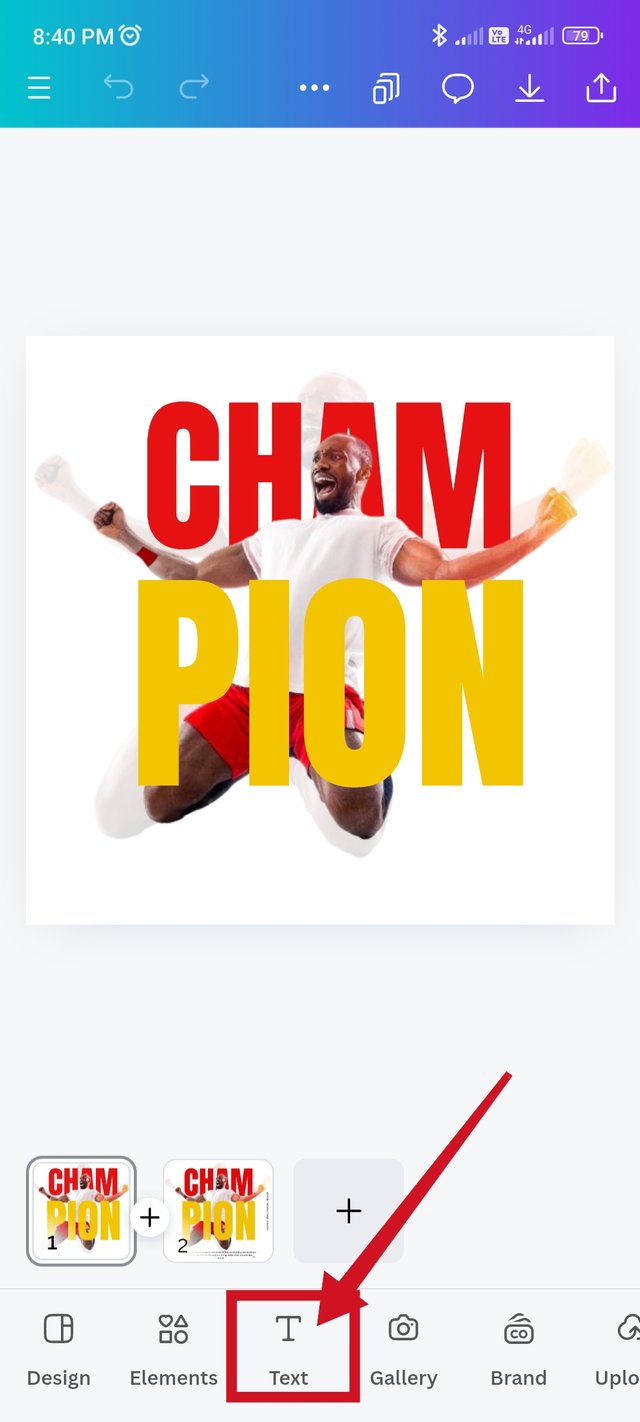
- To create the design shown by our teacher, we need an image which I have already downloaded from our teacher's post. And by clicking the (gallery option) from Cenva apps, selecting the image from the gallery and clicking the (Add to page option,) I added it to my design.
- Then I will make the image from my gallery (transparent) with the background. So I will silhouette the image of my design, keeping its transparent level at (15) according to the original design. I do this by using the transparent option.
- I already finish the background transparent work for my design. Next I clicked on the (upload option) again, I uploaded the image downloaded from our teacher's post to the Kenva Pro application. And add the image to my design from the upload option.
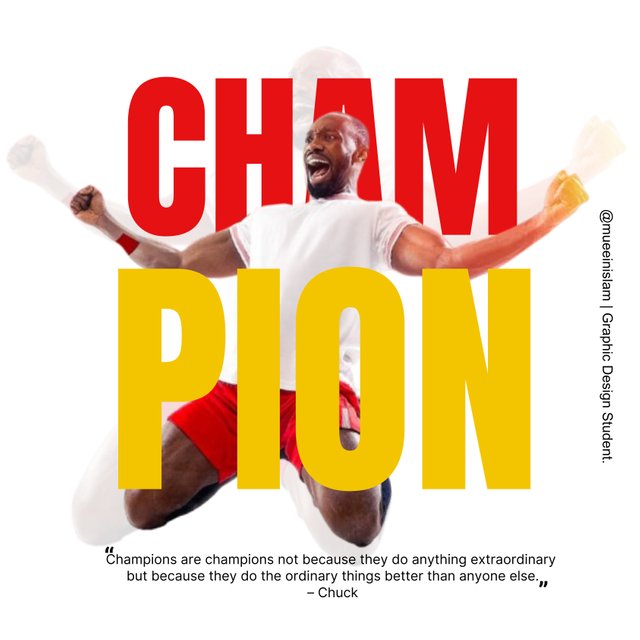
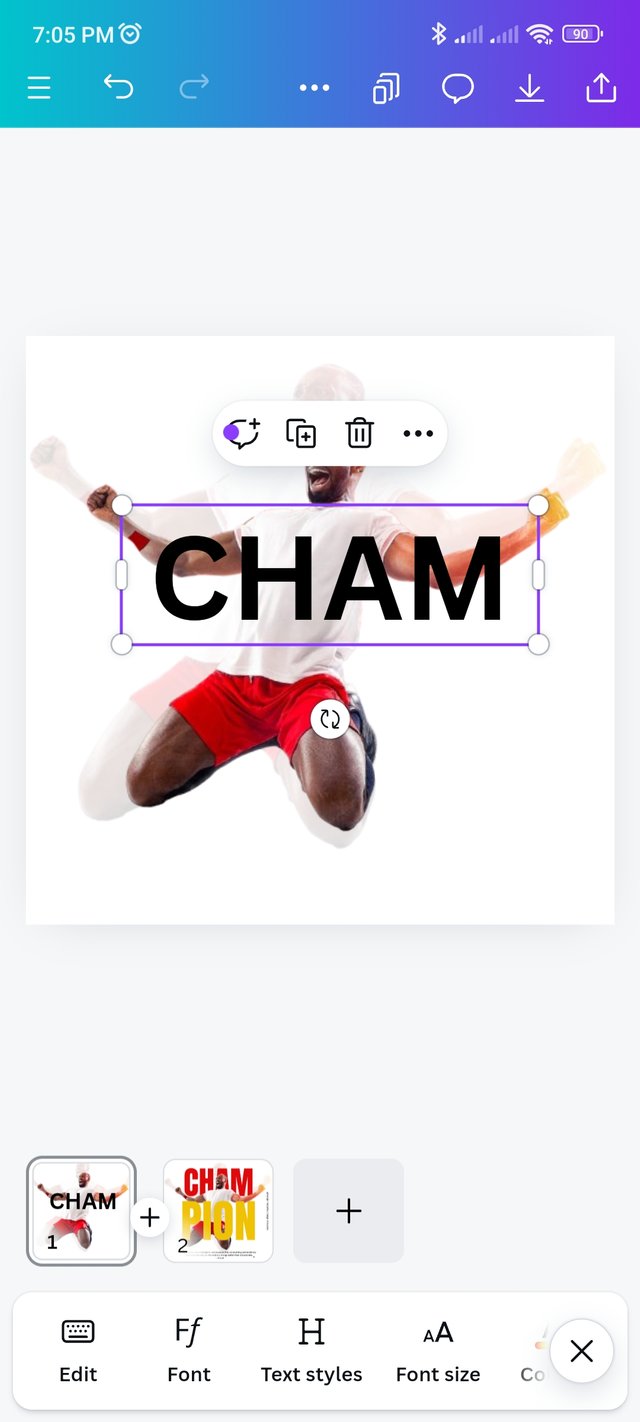
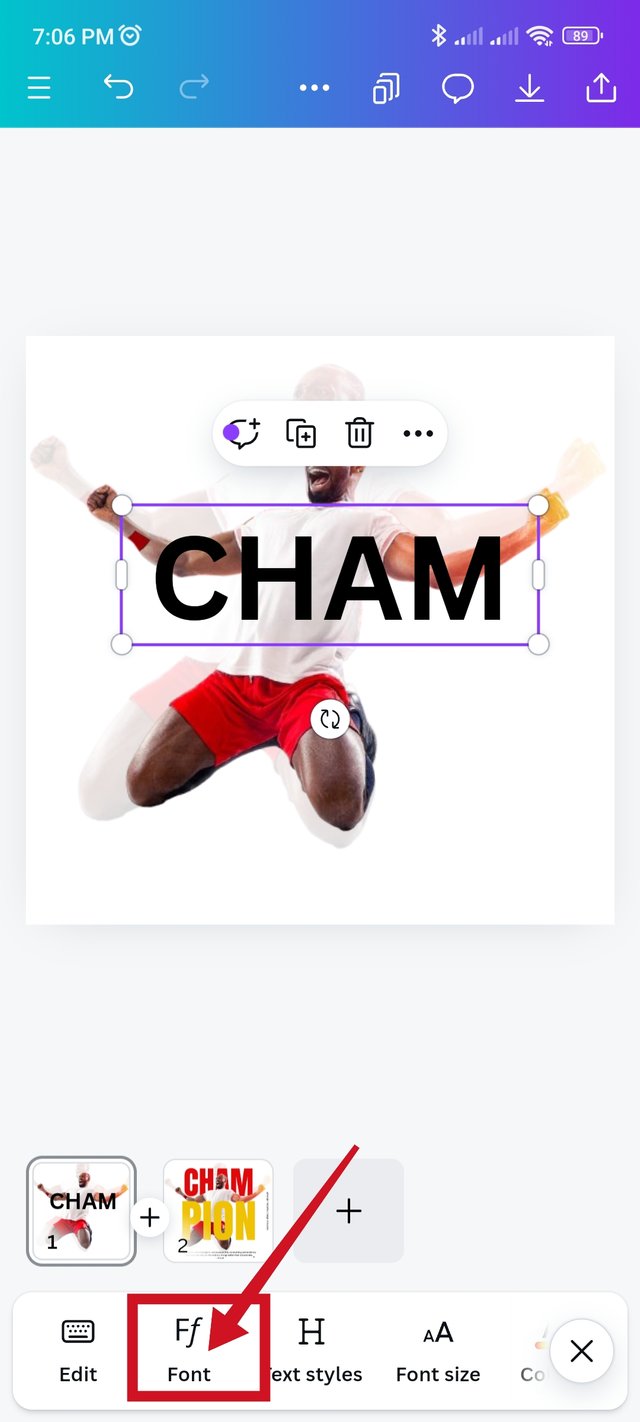
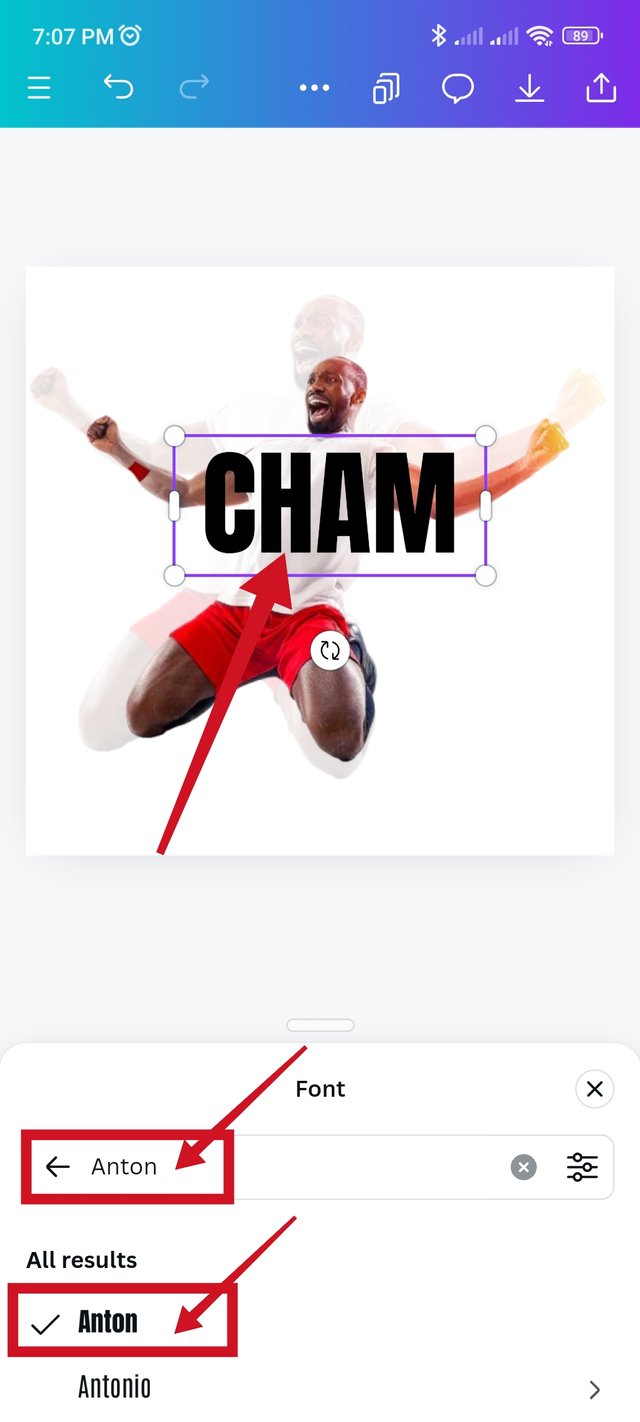
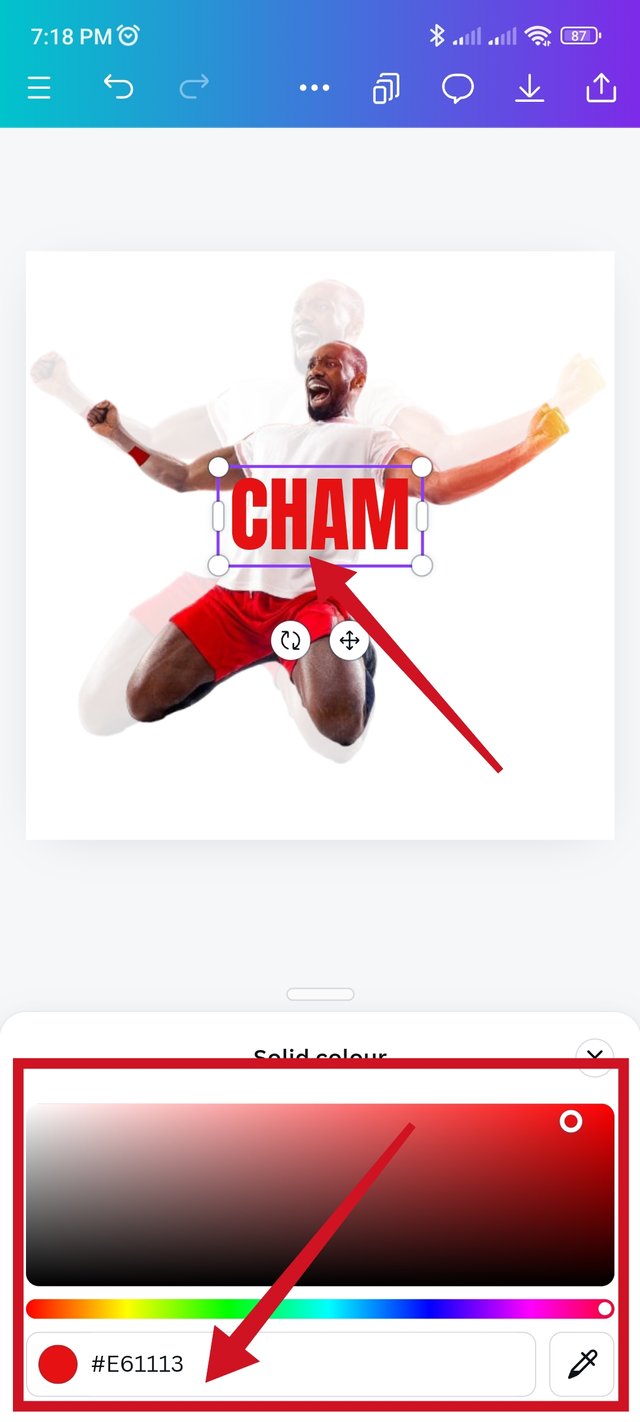
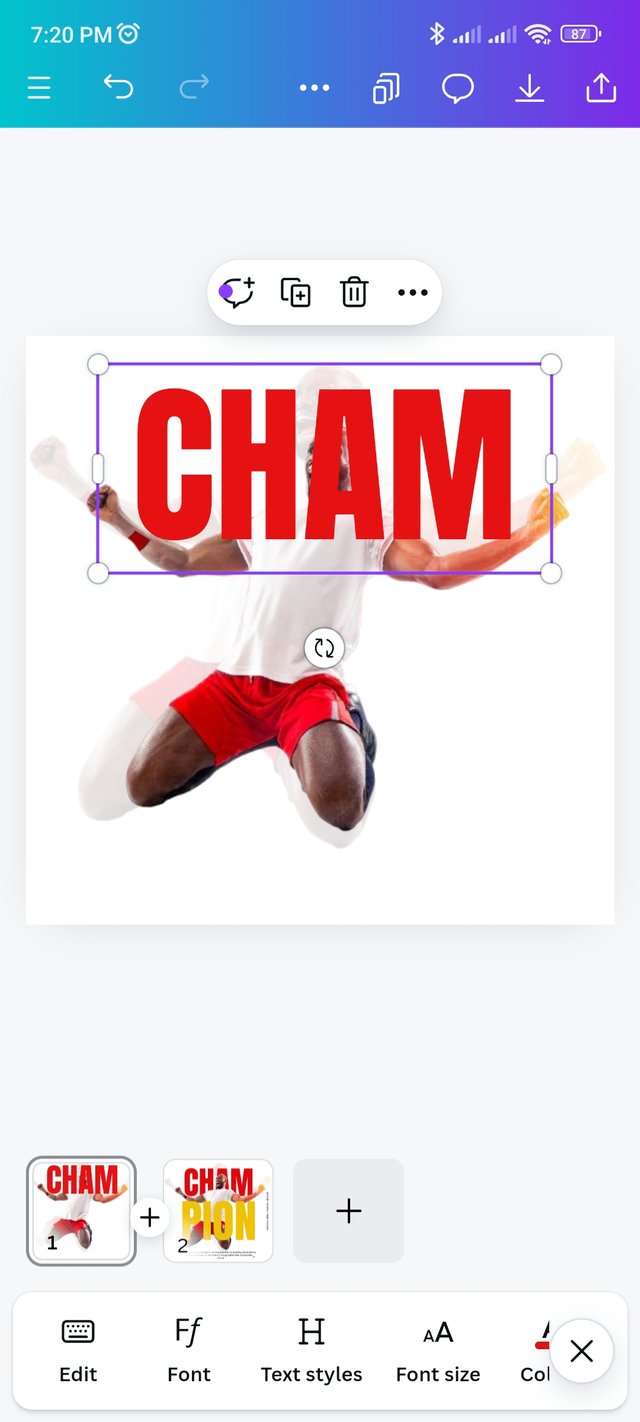
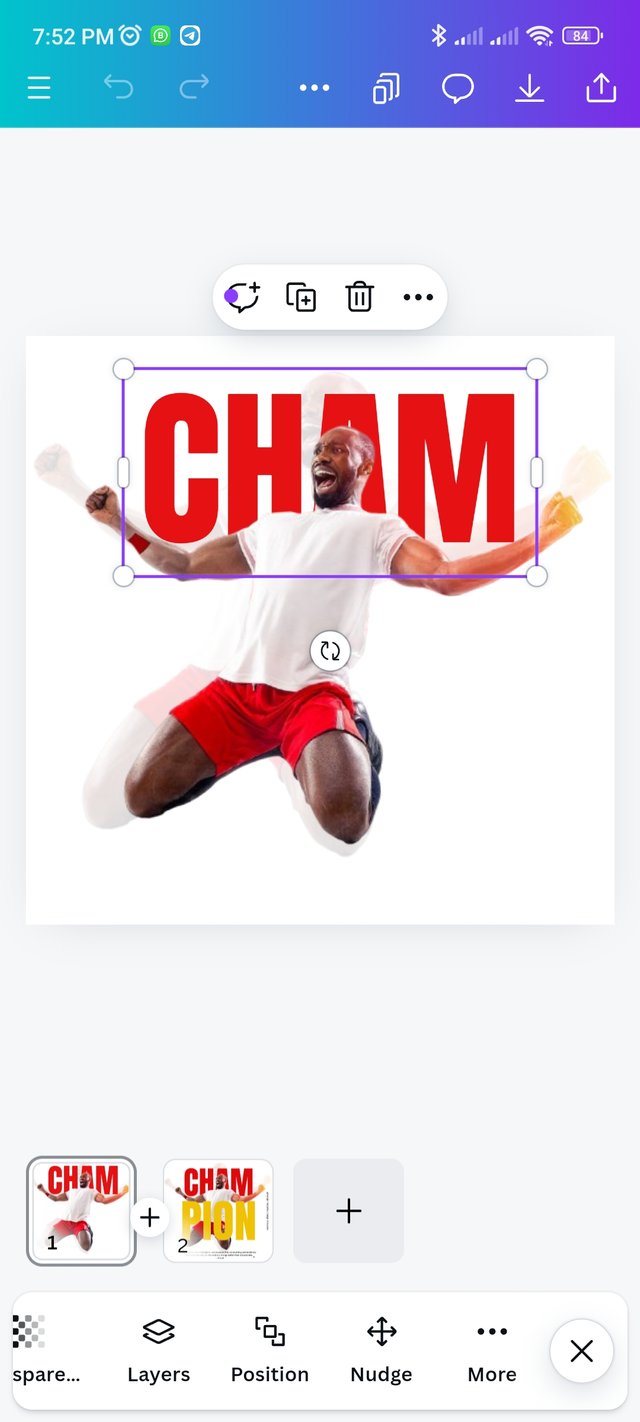
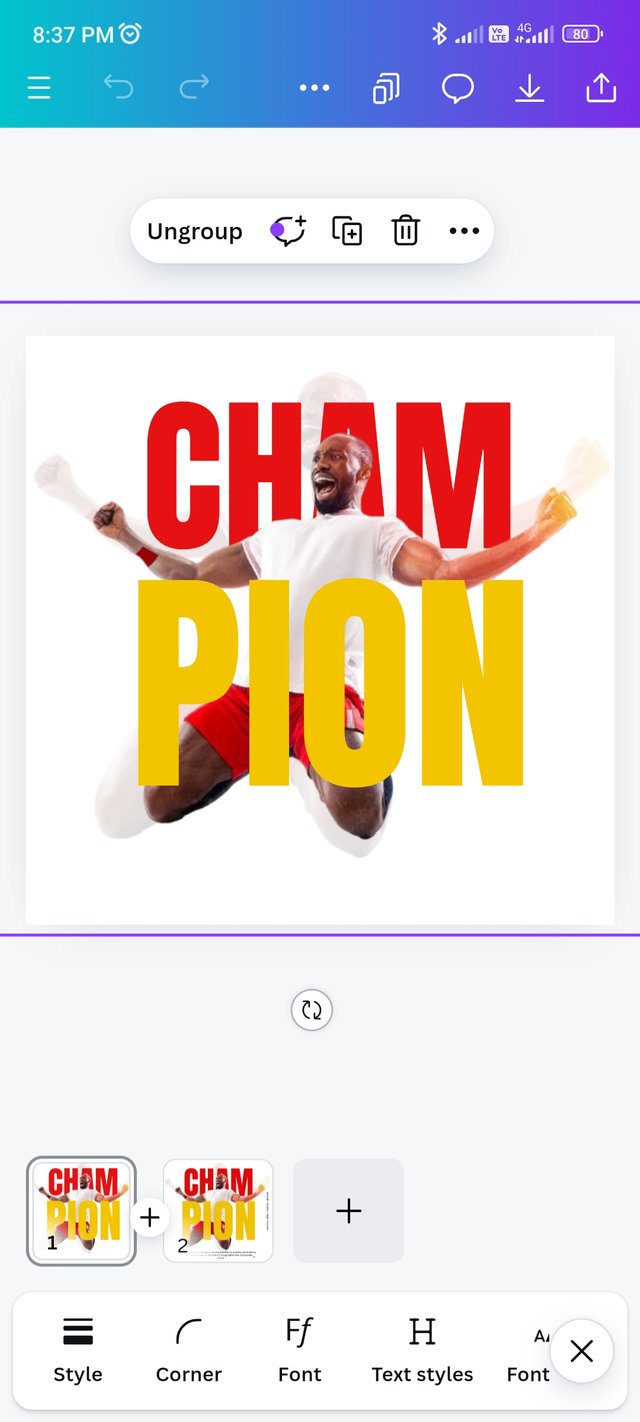
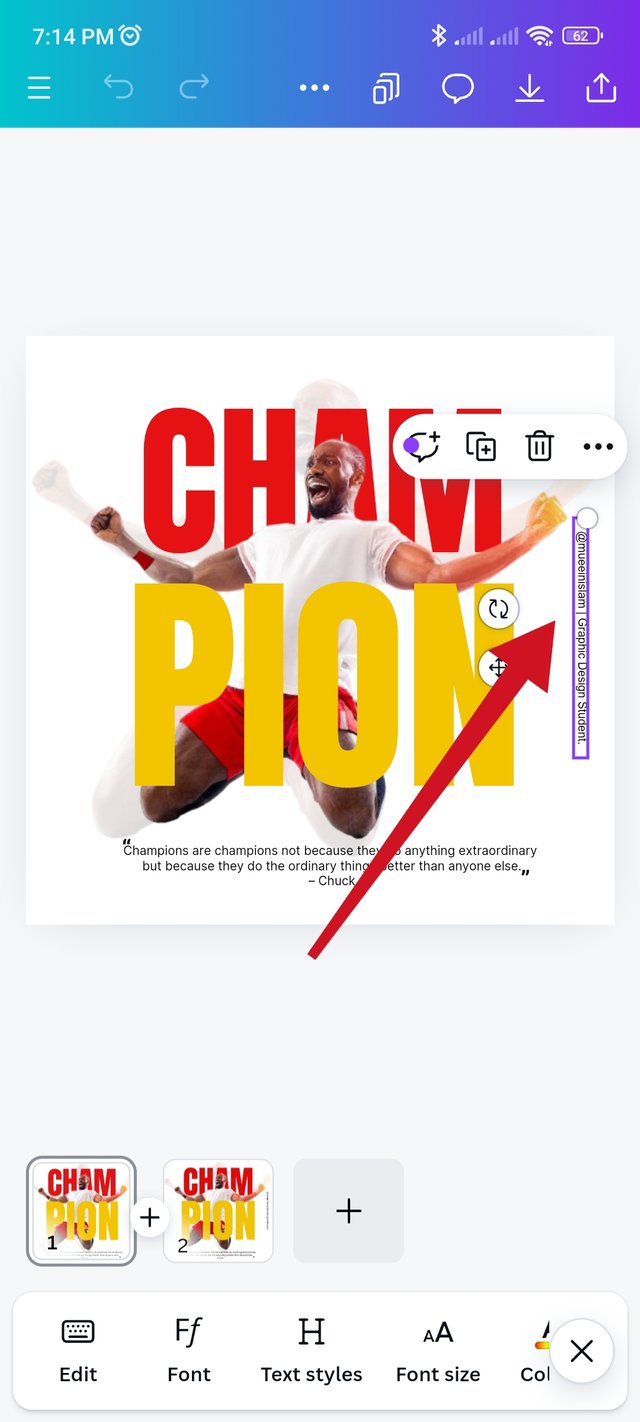
- Then I took a text by clicking add a heading from text option, by clicking text I wrote (CHAM.) I think this is very important in design.
- I click on my font options, and with my text selected, use the (Anton) font from the font options over my text. I then clicked on the color option to color the text, I used this #E61113 color hex for the Cham text, similar to the red color in the teacher's design.
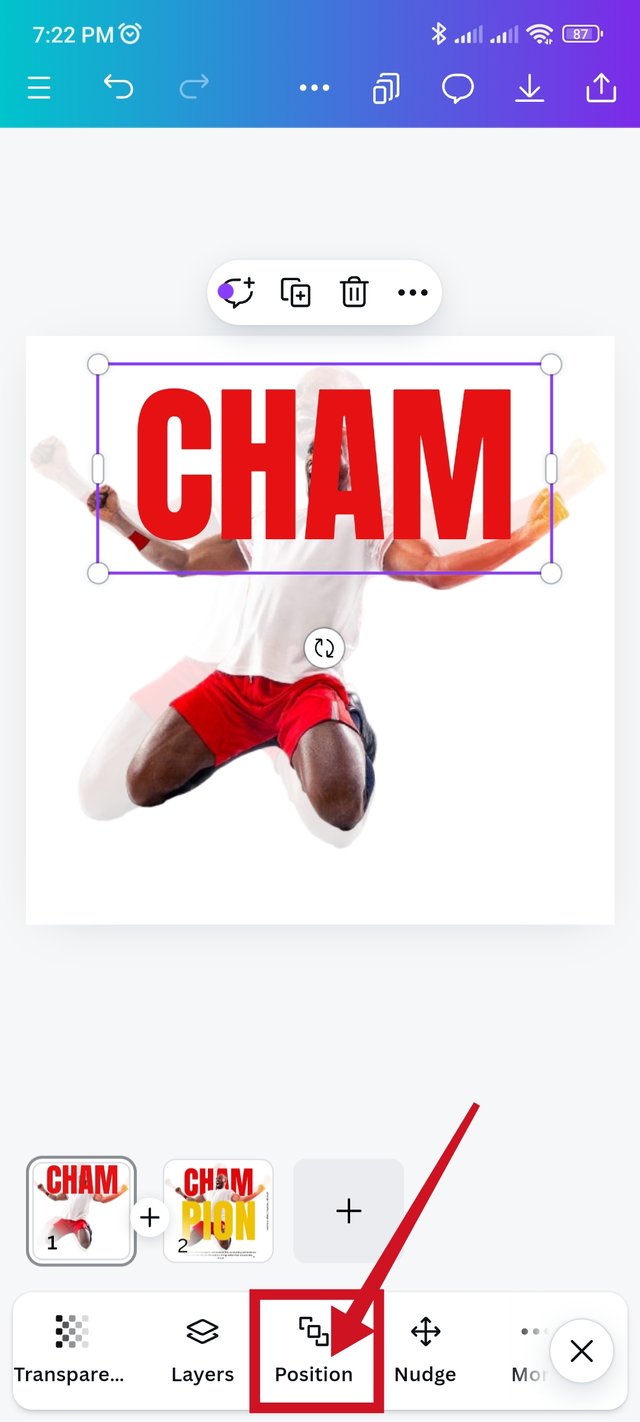
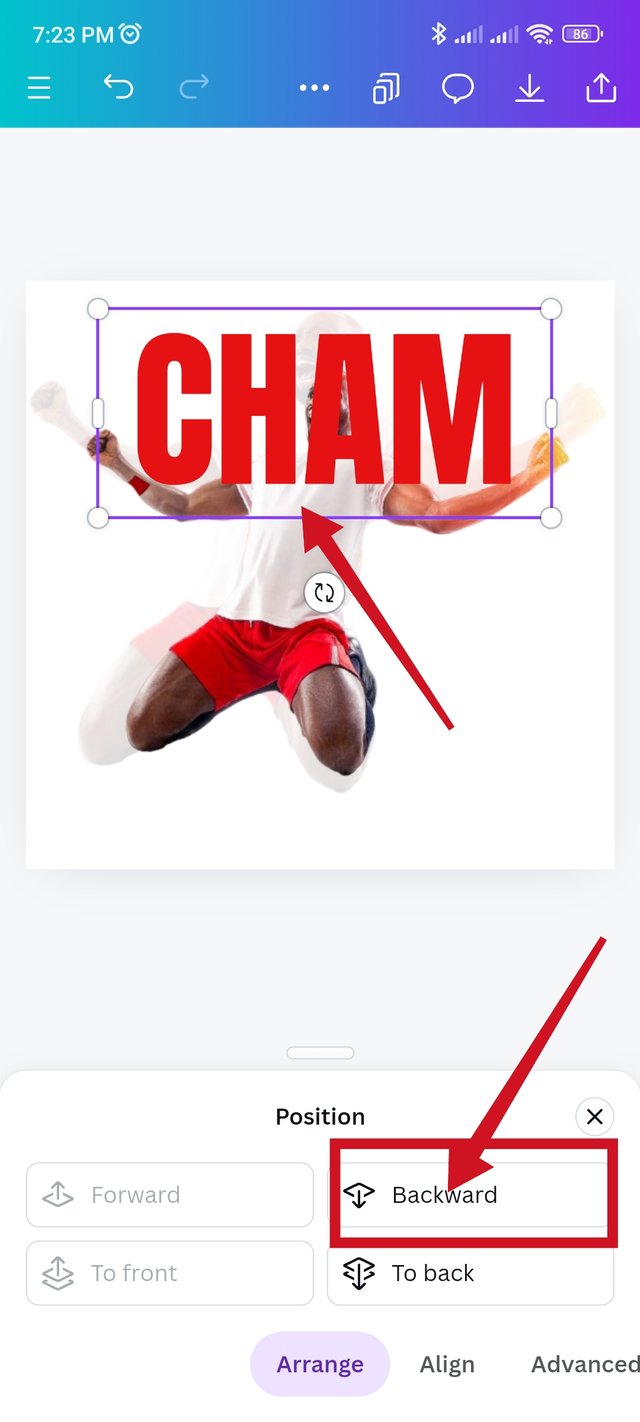
- I selected the CHAM text, increased the font size and placed it in the middle of the image. Then I click on the Postion option, and when I click Backward, the text moves behind the image.
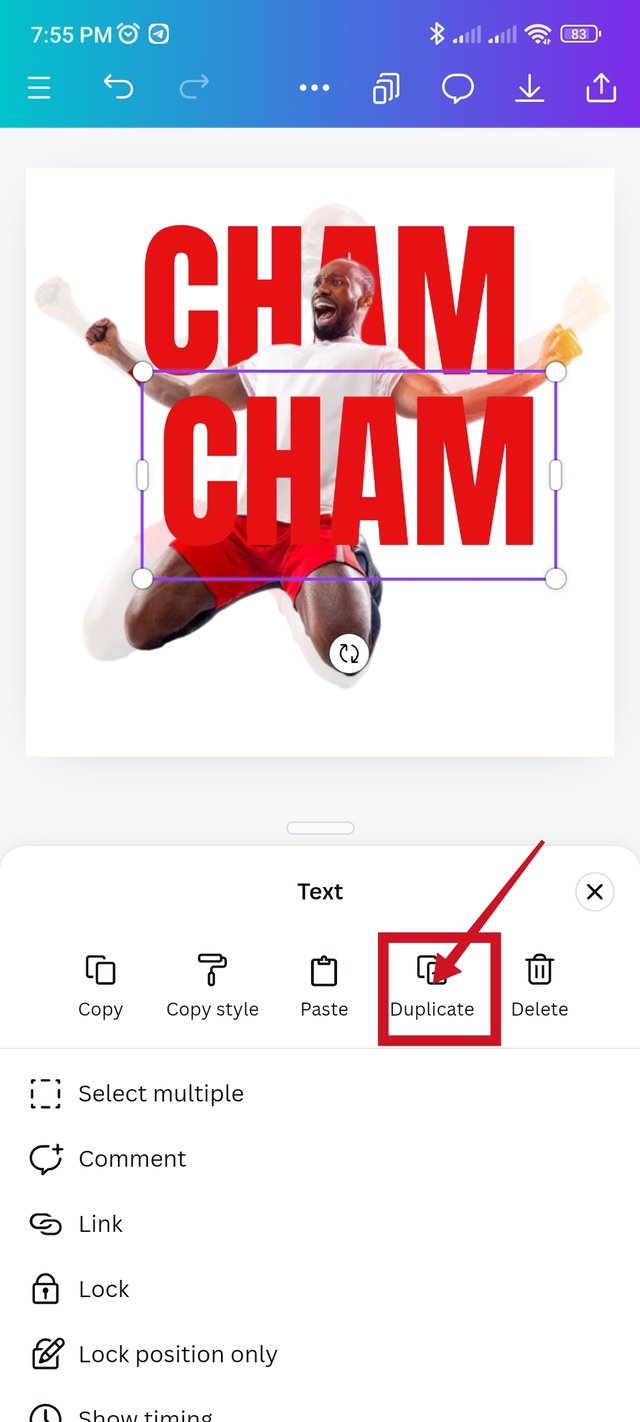
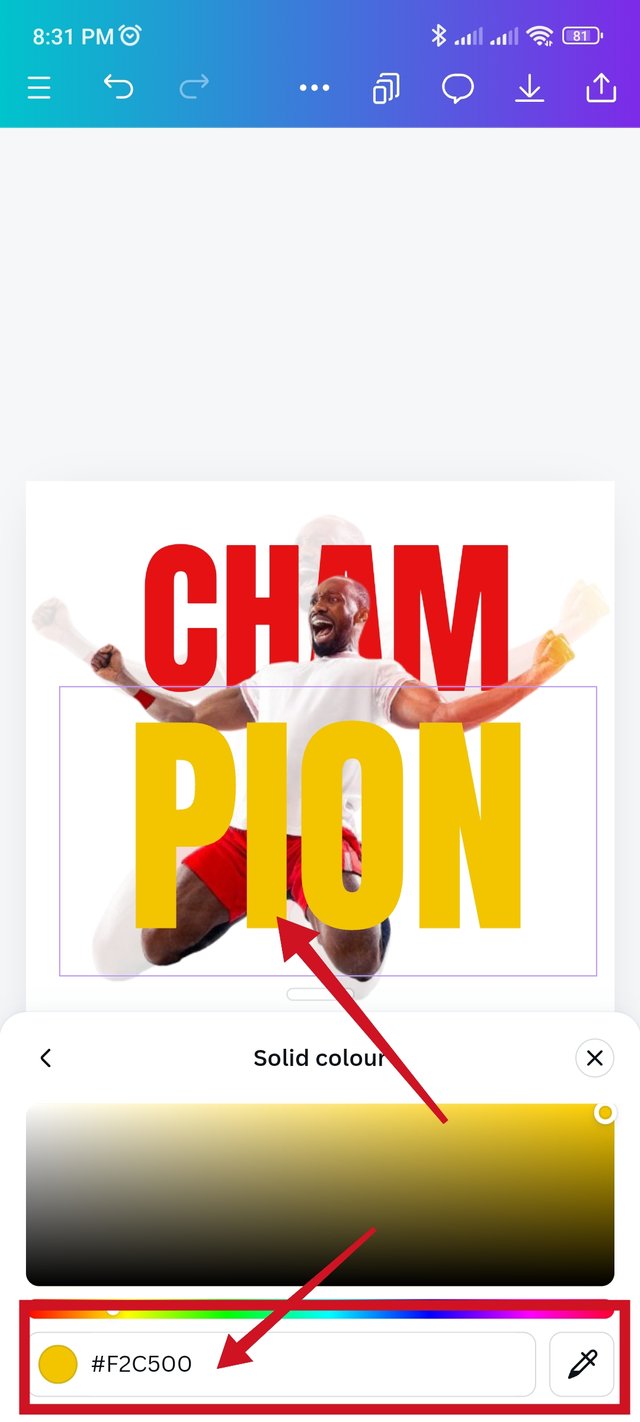
- Then I click on the text CHAM, Duplicate it. I wrote (PION) in texti, I use (Anton) font as my font as before. Next I apply the hex color (#F2C500) which is a yellow color to the PION text according to the teacher's design.
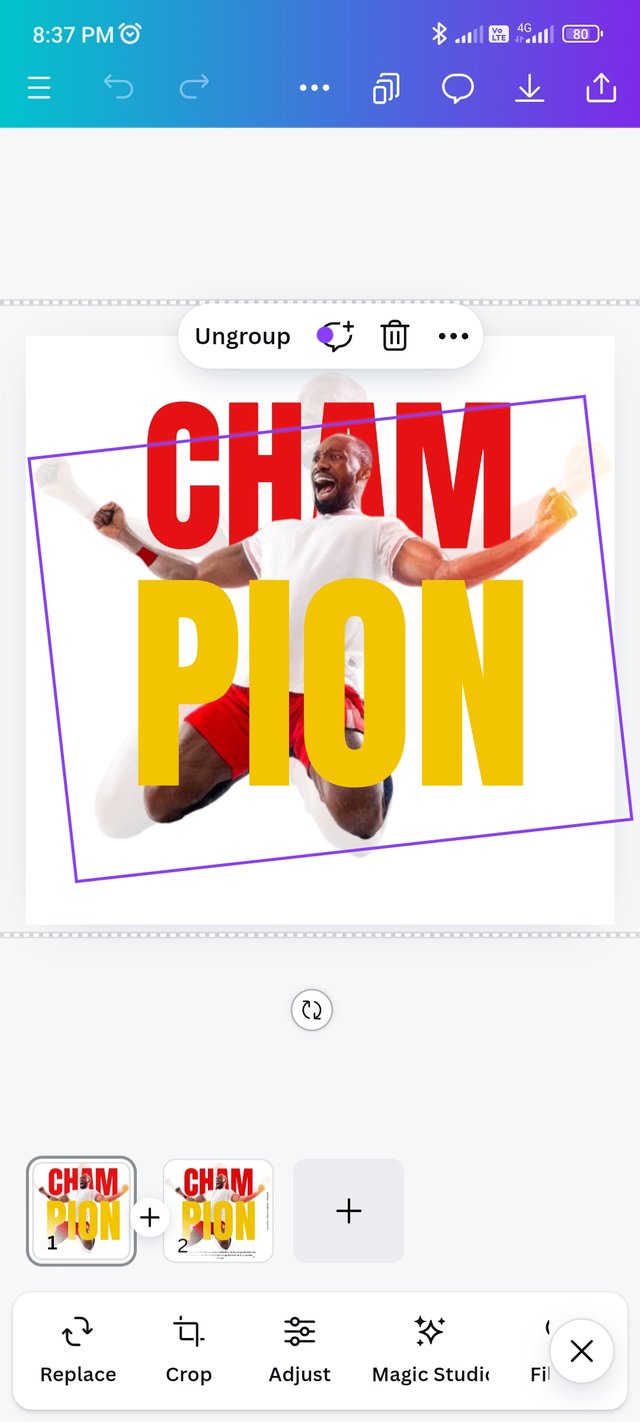
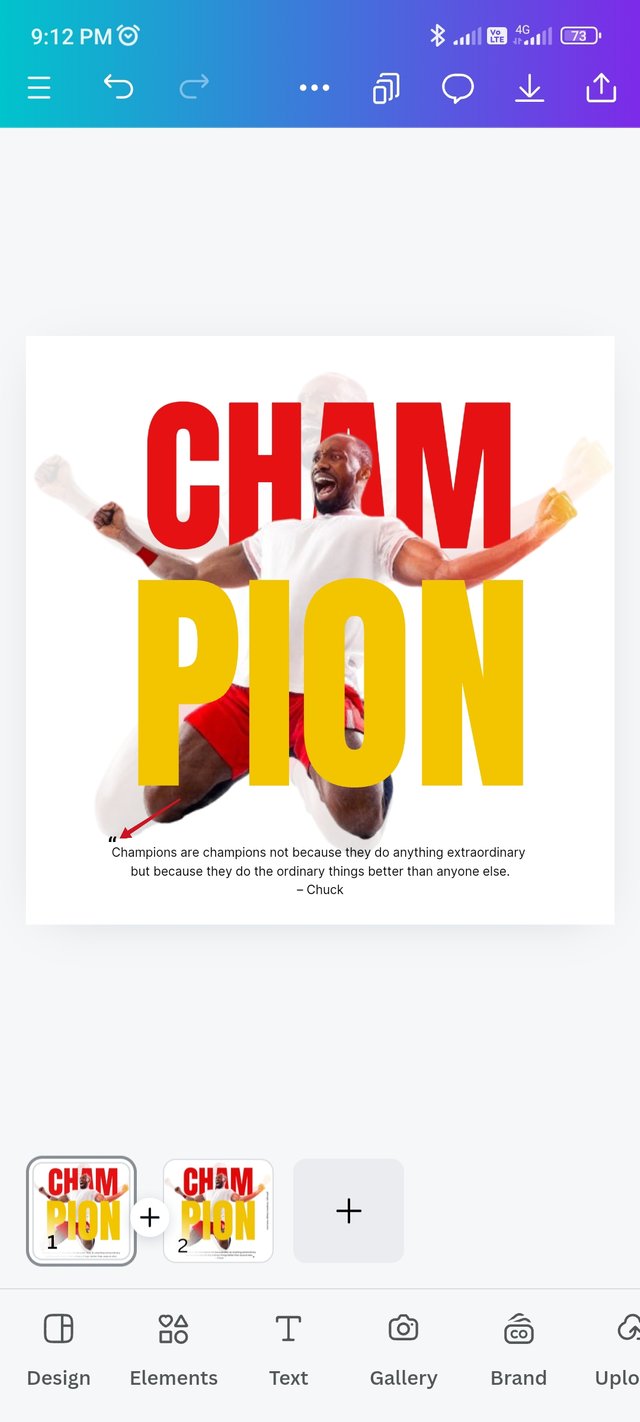
- So far I have selected and grouped everything that I have used in my design. And with all selected I put it in the middle position. You can see it in the two pictures above.
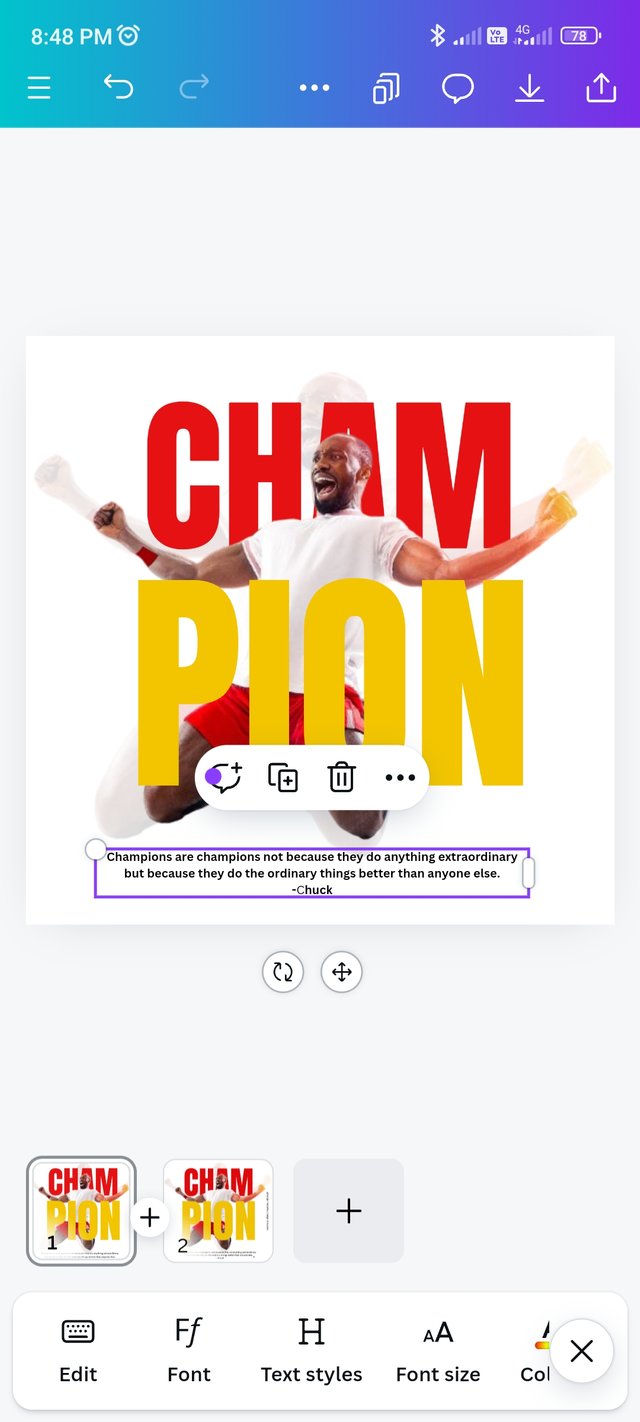
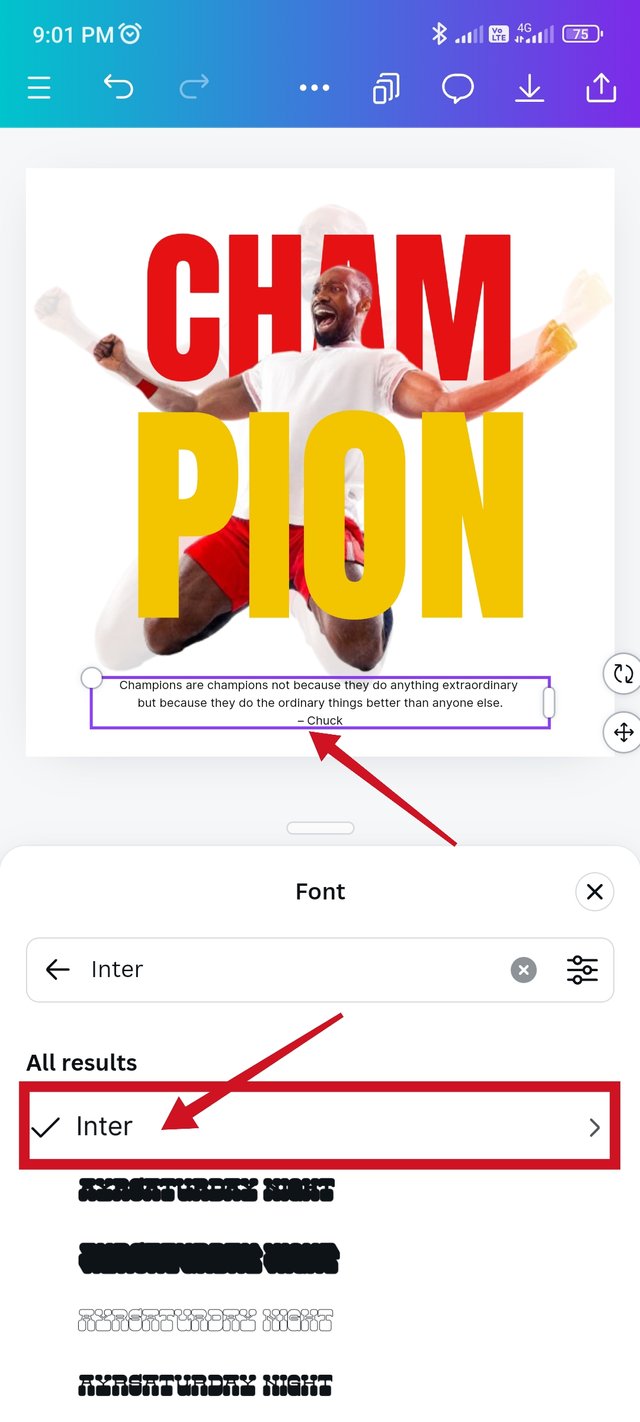
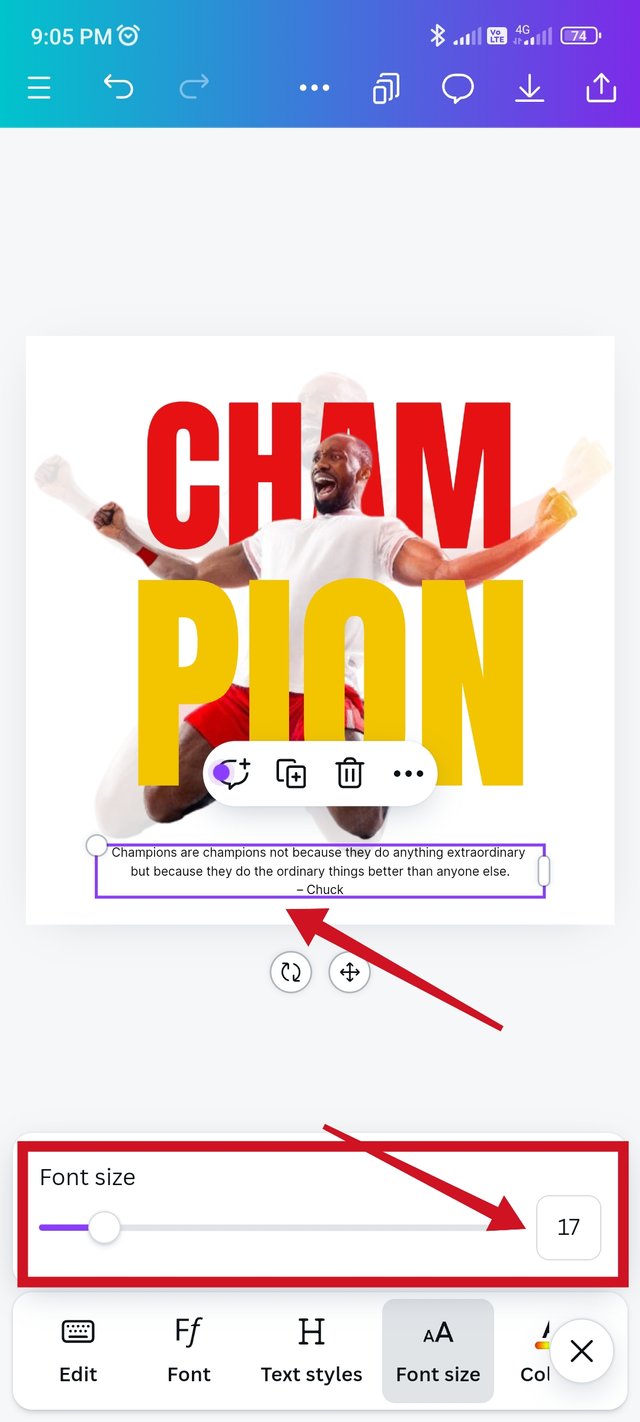
- Then I have to place the text under the design according to my teacher's design. So I click on the text option, write the quote which is (Champions are champions not because they do anything extraordinary but because they do the ordinary things better than anyone else. – Chuck) and select this text, from the font option (Inter) this font I use And I keep my font size 17, which fits my design.
- Following my teacher's design, (“Champions are champions not because they do anything extraordinary but because they do the ordinary things better than anyone else.„ – Chuck) I use a punctuation (“„) above and below this text, which I size in bold. As you can see in my picture.
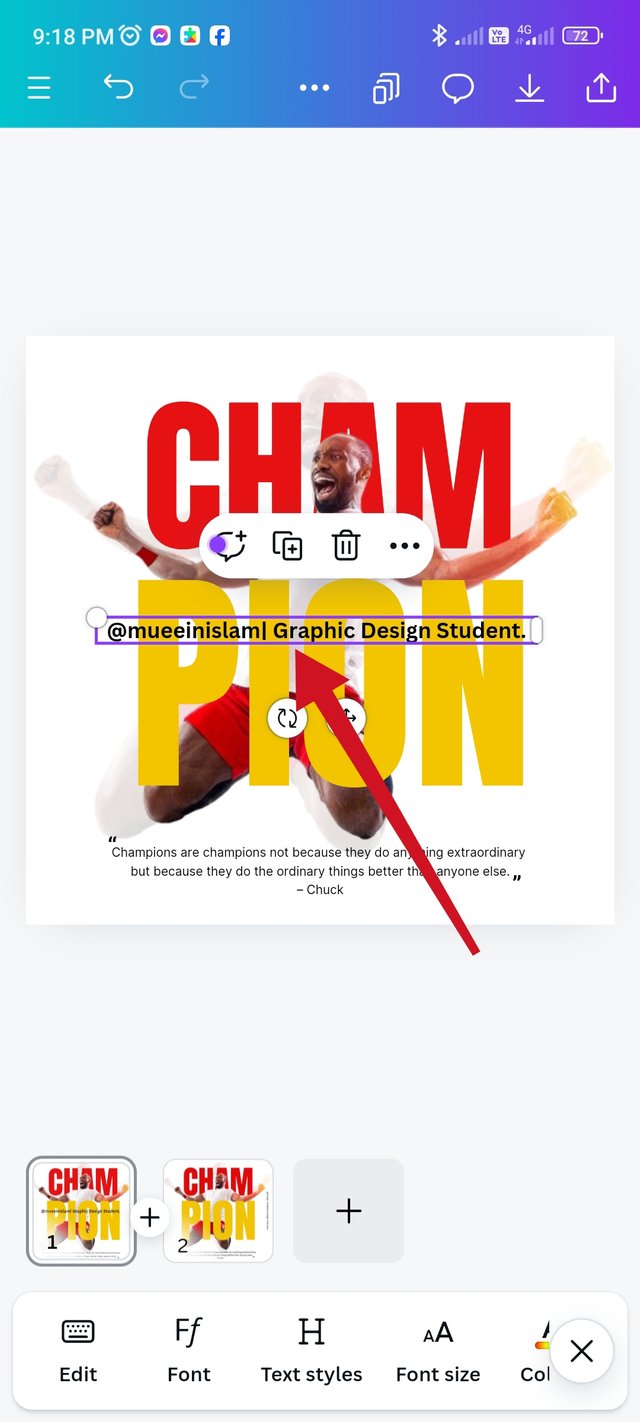
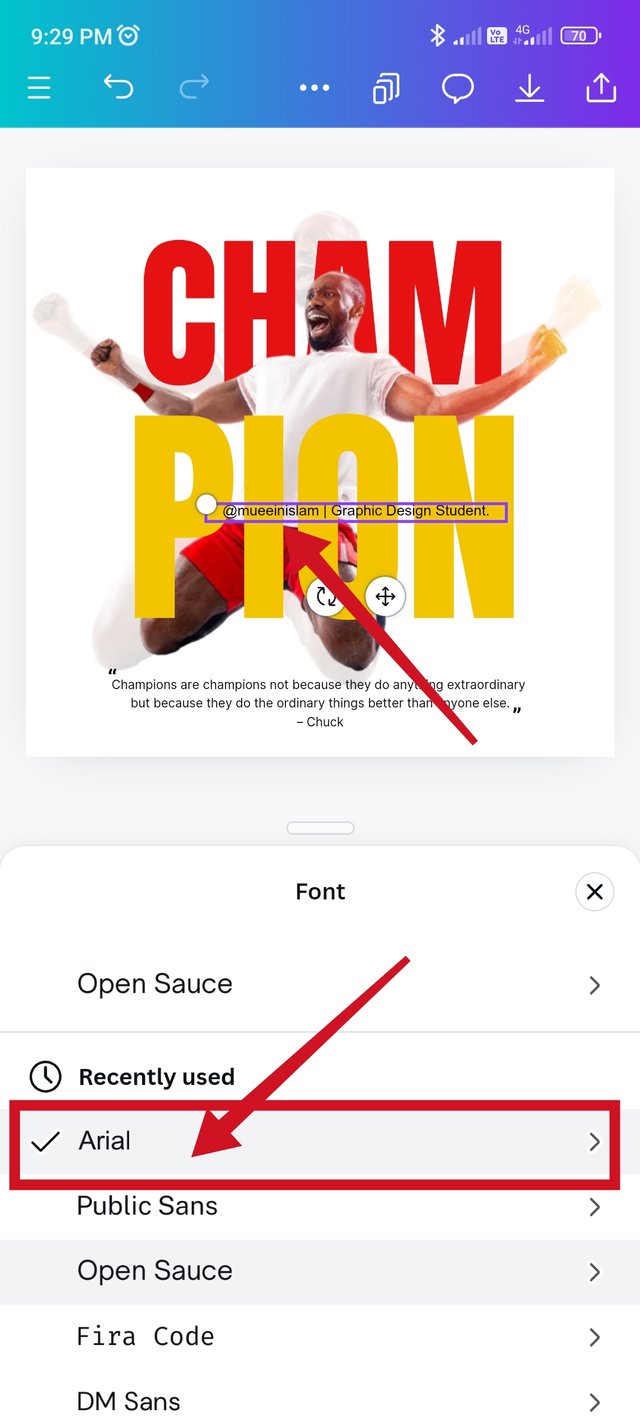
- I clicked on the text option again, and [@mueeinislam | Graphic Design Student]. I wrote this article. After selecting the text, I clicked on the font and used the (Arial) font. And keeping the text size (16), rotate the text, place the middle position on the right side of my design.

- The final step of my design is to match my teacher's original design, completing my design work. Hope you all like my design.
| The principles I employed in my design were: |
|---|
- Design Size & Dimension:- I first selected a template from Canva to create my design which is:-(Instagram post (Square)1080×1080 px,) I chose this template to create the design shown by our teacher. Social media platforms like Facebook, YouTube, Instagram, Twitter have Canva formats. And we can only use our skills as graphic designers to adjust our elements to fit the template size perfectly. I will create the entire design within this template.
- Hierarchy:- To highlight the titles of my designs, I highlighted the colors and sizes of my designs. For example, I color the text (CHAM) in red and the text (PION) in yellow in my design, and the font sizes are given according to the design. As a result, this design of mine will attract the attention of the audience.
- Typography:- I chose a typography in my design, according to my teacher's design, I use this (Anton) font in my text, CHAM & PION make these two text bigger, there I use red and yellow color. And add a text to give a message to the design and I kept the font size small.
- Emphasis:- I emphasized the text CHAMPION here in the design I made, as per my teacher's design. In particular, I have made the size and color of the CHAM & PION text in a way that helps to subject the viewer's eyes. And for this I emphasize the word champion of this design.
- Color Contrast:- Before we create any design we need to know the color of the color. Color is most important when it comes to design. We need to select colors to highlight the fonts of the design we have created. To create a design in any subject, the designer needs to master the colors. As per my teacher's design, I have tried to give same to same color in my design (CHAM & PION). And color the text red and yellow on the white background of my design (CHAM & PION). Which highlights the design I created on a white background.

I want to invite my friends @graceleon, @eliany, @suboohi, and @jyoti-thelight to participate in this "SEC20/WK5: Graphic Design Hands - On practical 2" challenge.
◦•●◉✿ Thank You ✿◉●•◦
Best Regards
@mueeinislam

.jpg)
.jpg)
.jpg)
.jpg)
.jpg)
.jpg)
.jpg)
.jpg)
.jpg)
.jpg)
.jpg)
.jpg)
.jpg)
.jpg)


Upvoted. Thank You for sending some of your rewards to @null. It will make Steem stronger.
Twitter share link:
https://x.com/mueeinislam/status/1844067755521343518?s=19
Congratulations! - Your post has been upvoted through steemcurator06
Curated by : @rosselena - Selective Team
Thanks you dear @rosselena ma'am for your Valuable Support 🥰
¡Saludos amigo!🤗
La tipografía Anton tiene una geometría y simétrica que se adapta fácilmente a todo tipo de diseño ya que, su característica sencilla le da ese toque fresco a nivel visual que tanto nos encanta ver en los diseños.
Te deseo mucho éxito en la dinámica... Un fuerte abrazo💚
Muchas gracias señora.🥰