SEC20/WK6: Graphic Design Hands - On practical 3"
Hello teacher
It's been a beautiful journey so far. 6 amazing free graphic design course. This has given me the opportunity to practice more on designing as I have always wanted to learn how to design.
I say thank you to the steemit team for this opportunity and to my great teacher @lhorgic you have been super great.
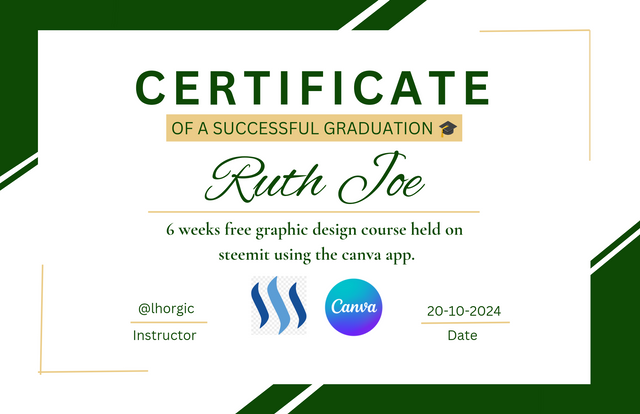
It's the last week of engagement challenge season 20 and I have designed a beautiful certificate to show my successful learning and practice in this course. The steps taken to design this certificate is below;
Step 1
 A A | 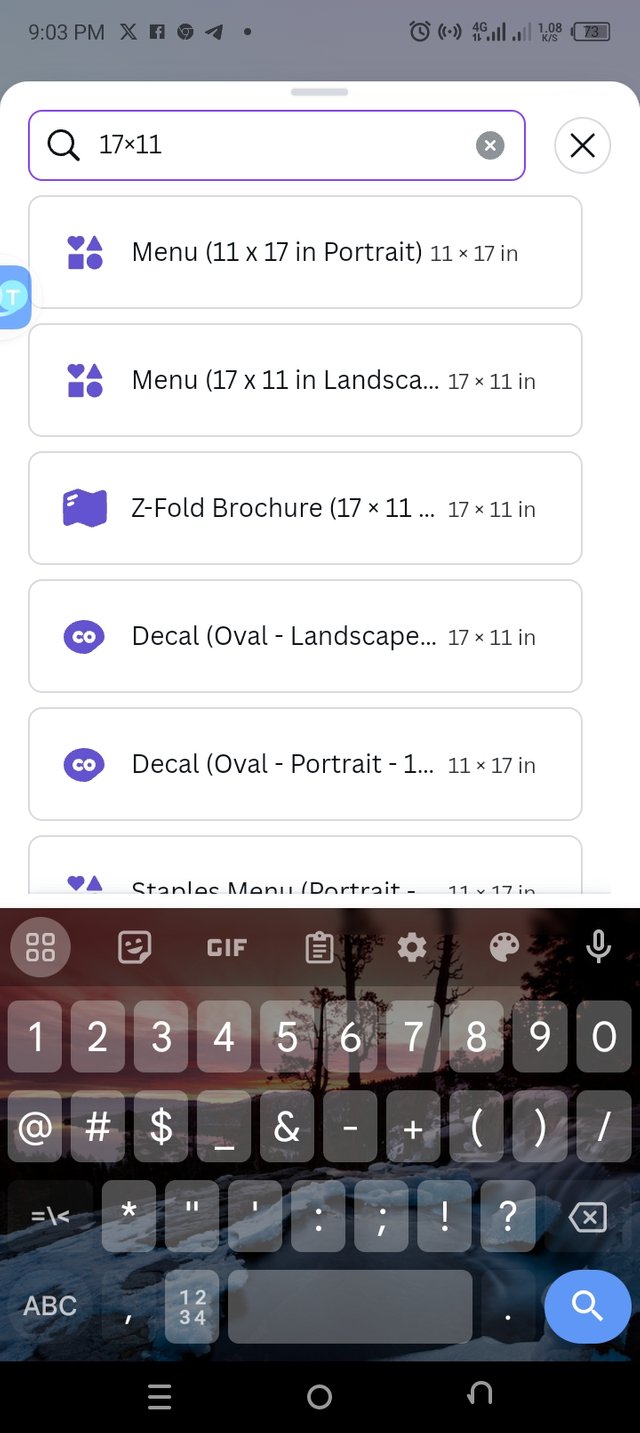 B B | 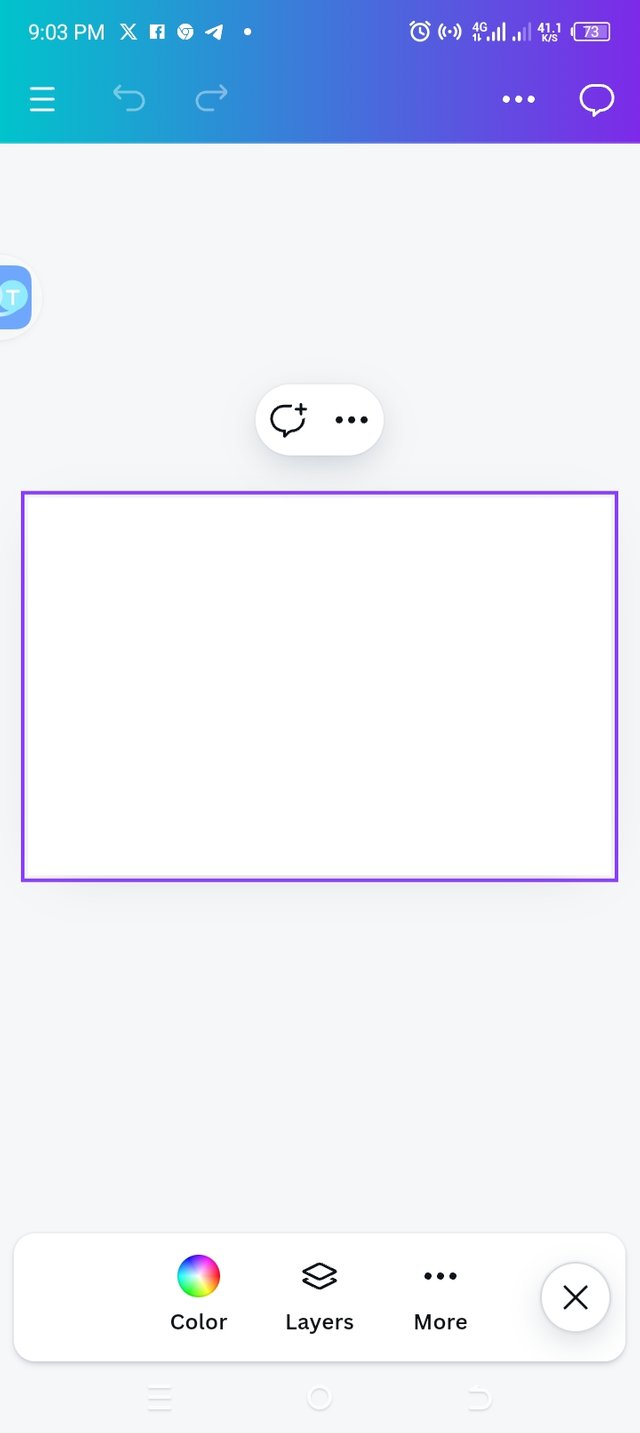 C C |  D D |
|---|
• I opened up my canvas app and clicked on the + button to choose the size of my workspace.
• I chose 17×11 landscape because I was working with just few words of a certificate.
• I launched my workspace and chose the right color for it. I chose white hex code #FFFFFF
Step 2
 E E | 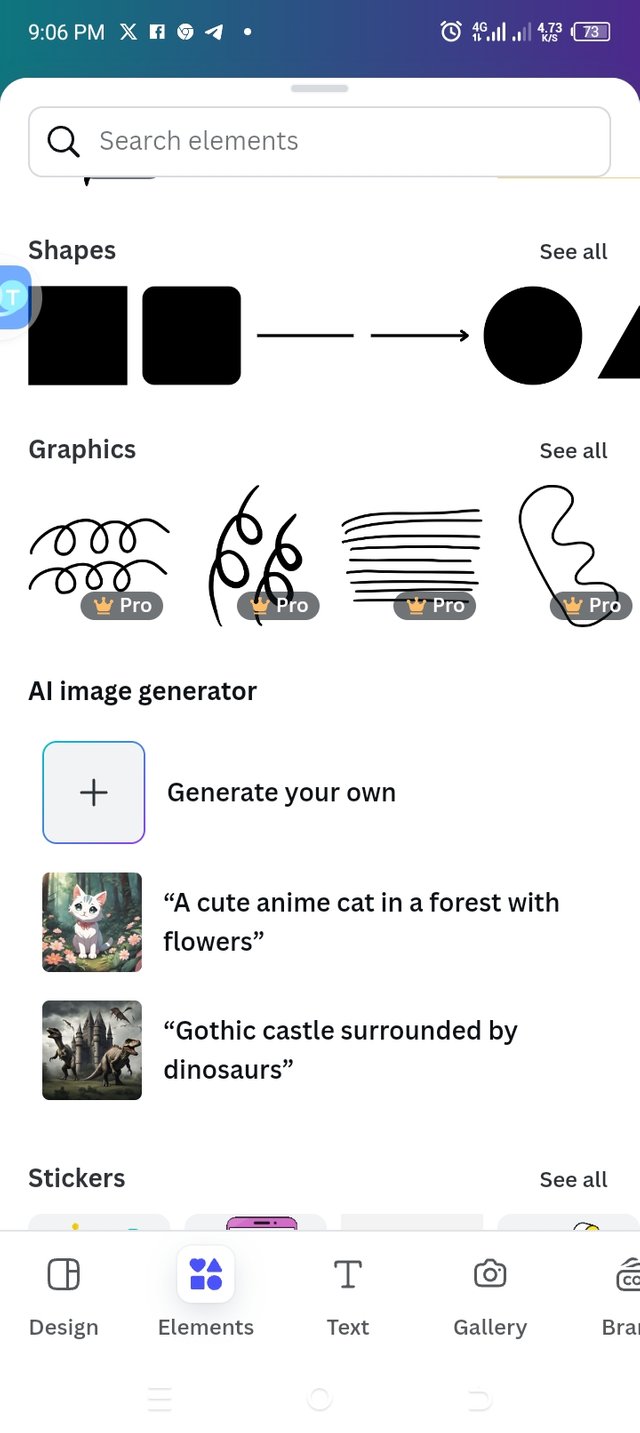 F F | 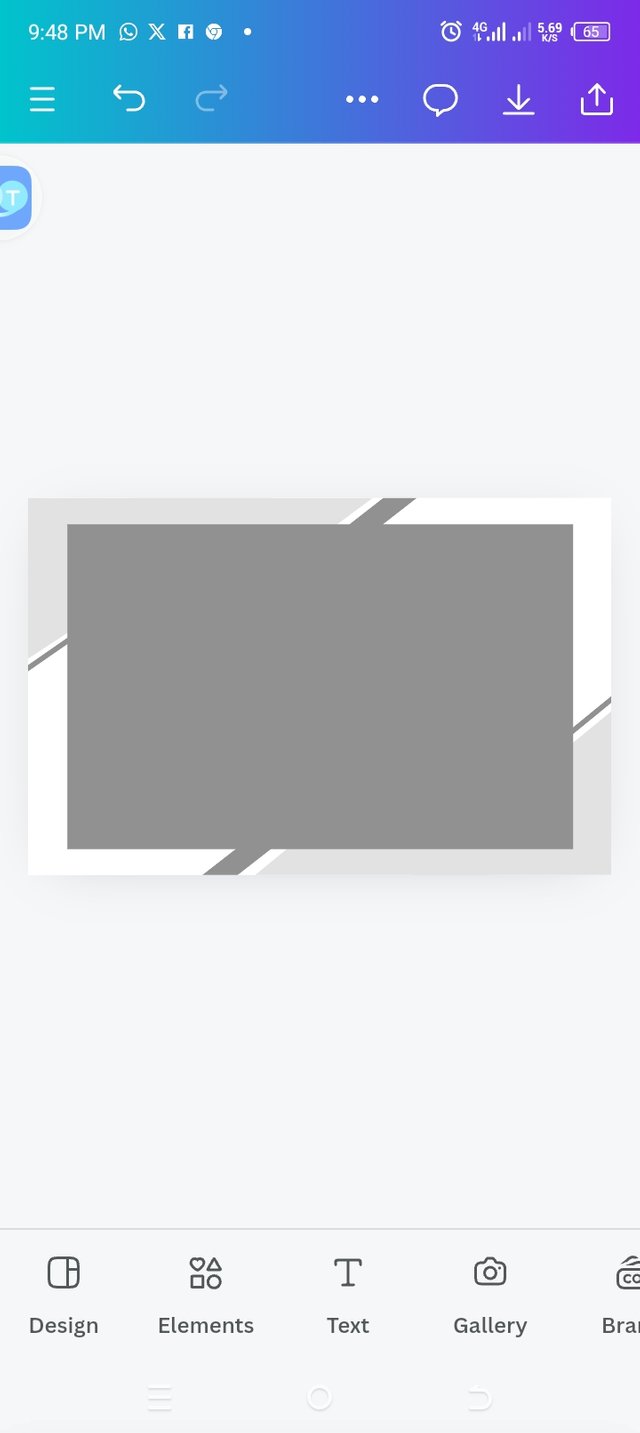 G G |
|---|
• Now, my workspace is ready for use. I clicked on the element icon to chose the right elements that I need to work with.
• I launched into the element section to select the various elements that I need.
• I chose different elements that suit the design I wish to come up with.
• I positioned each elements to the right place.
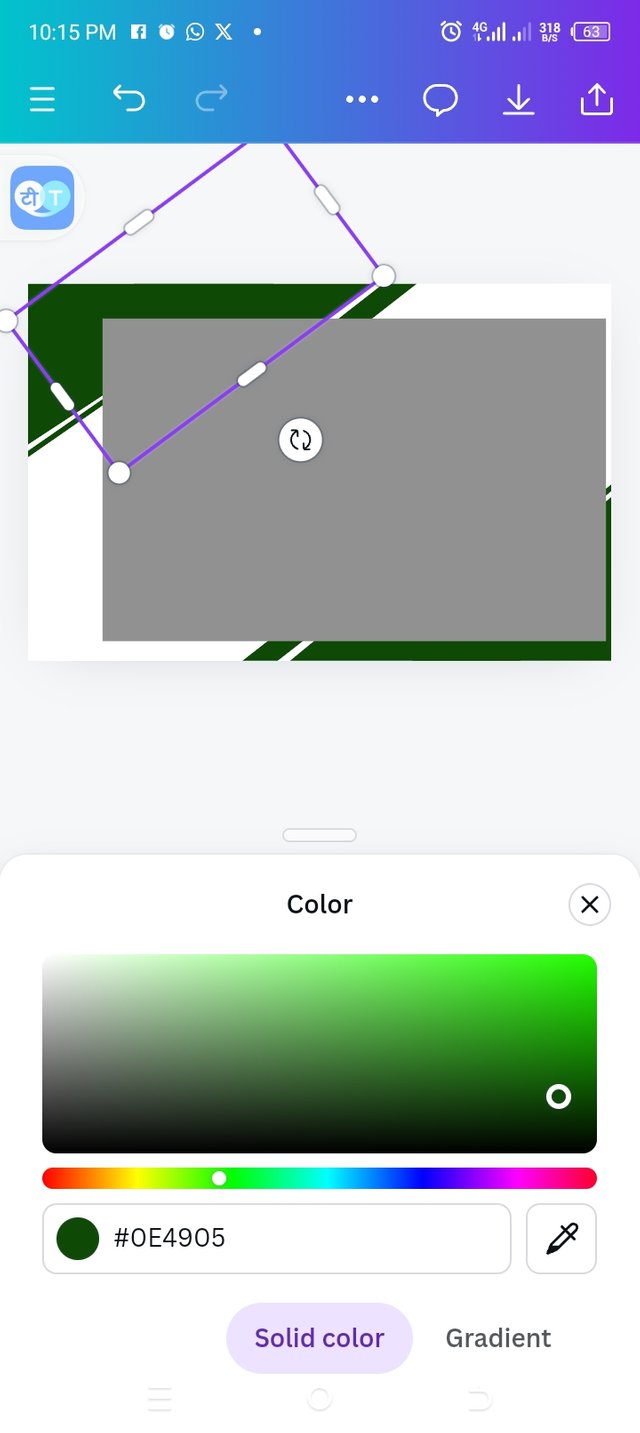
Step 3 : Adding colour to my elements
 H H | 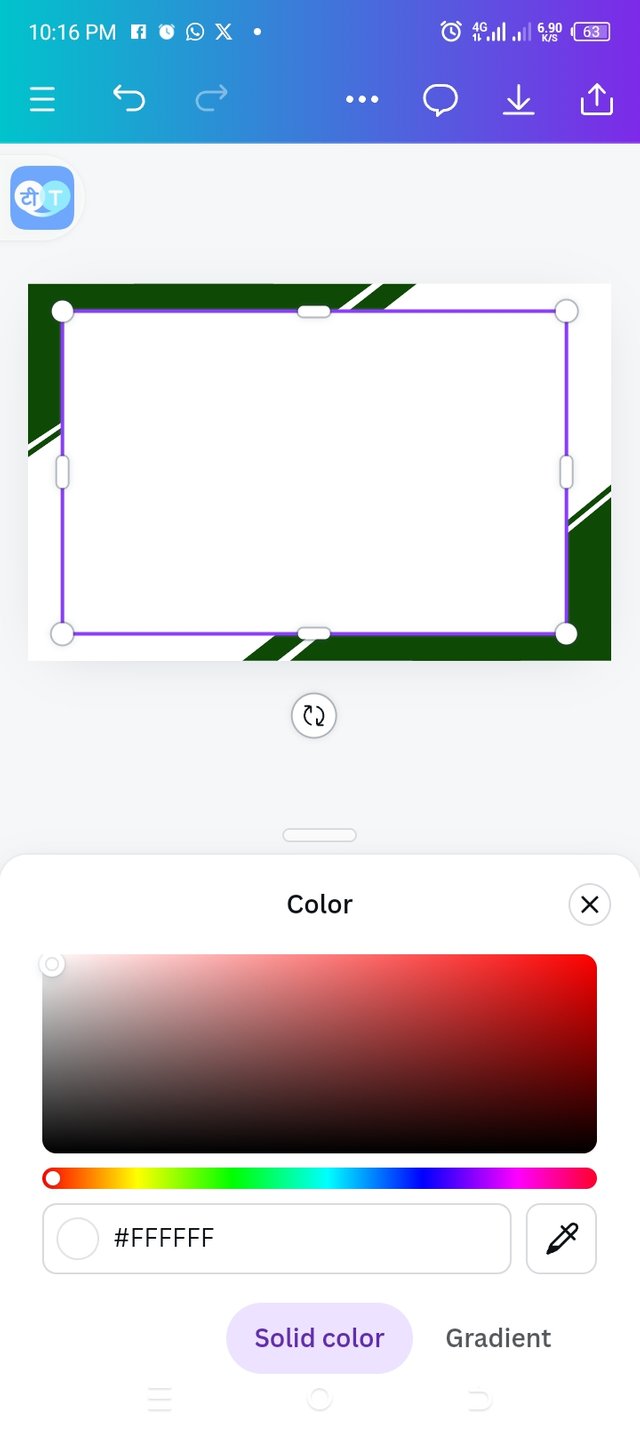 I I |
|---|
• I added color to my elements and I chose color green with hex code #0E4905
• The last element I added was given a different color from others. I chose color white with hex code #FFFFFF
• I finally draged the element to position it well.
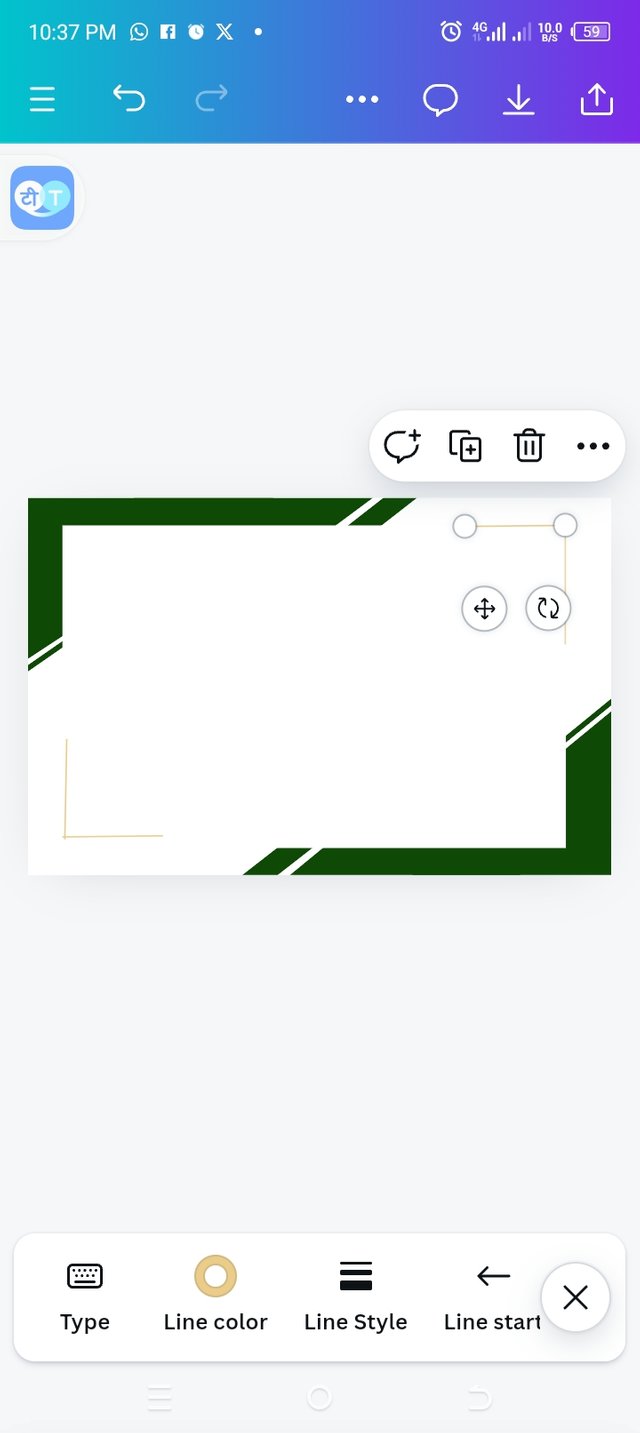
Step 4: Adding edge line and colour
 J J | 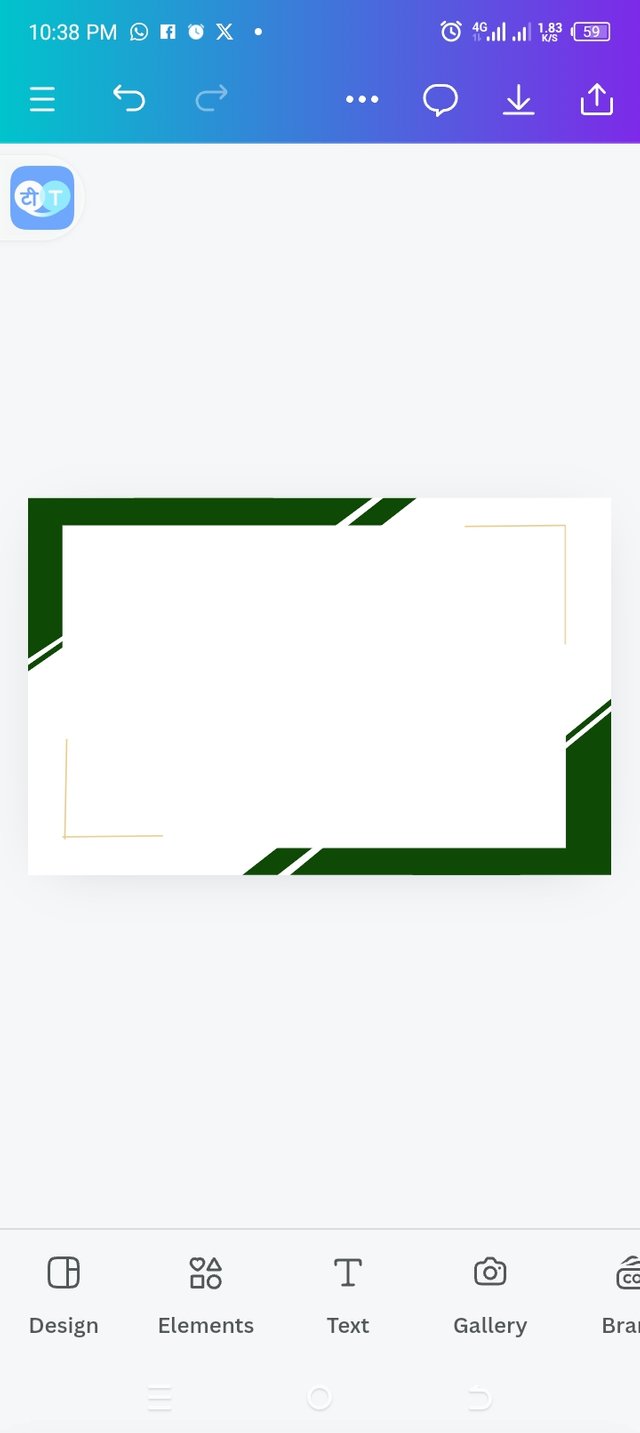 K K |
|---|
• Repeating the same process I used to add elements, I added a line to the edge of my square middle shape.
• I duplicated the line by clicking on the + sign to add it at the other ends of the square to have a nice design.
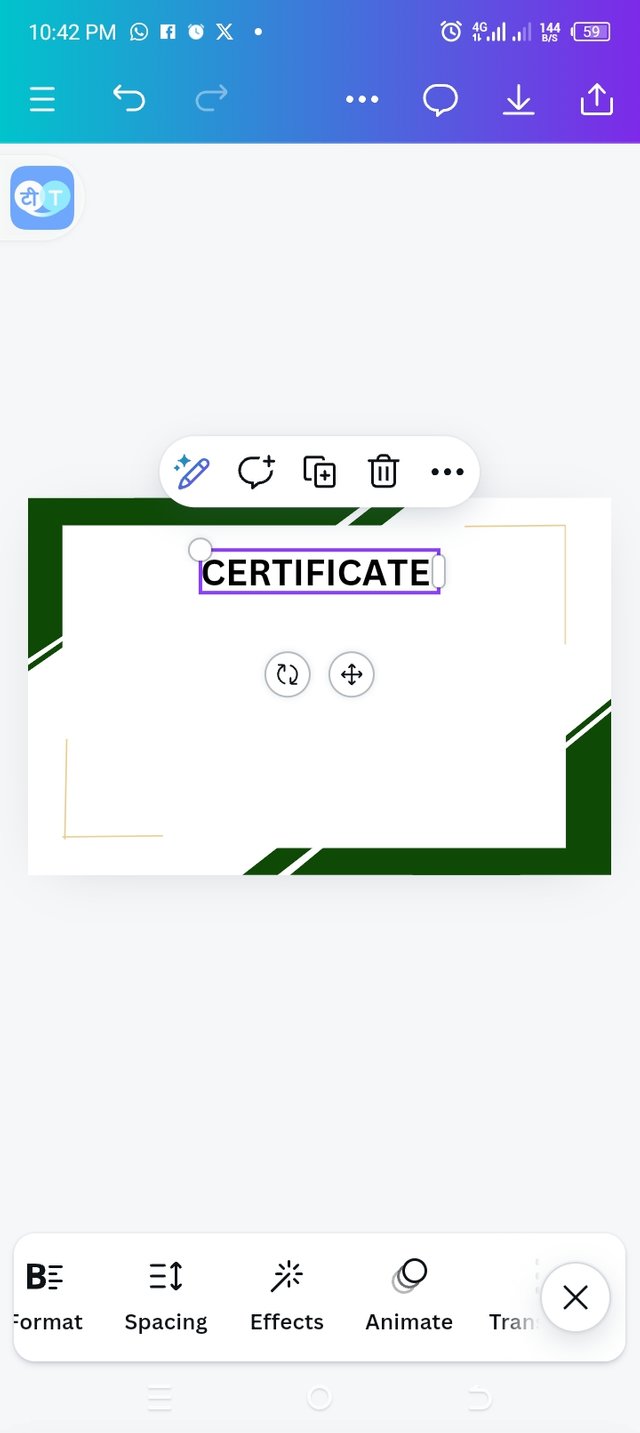
Step 5: Adding text and line
 A A | 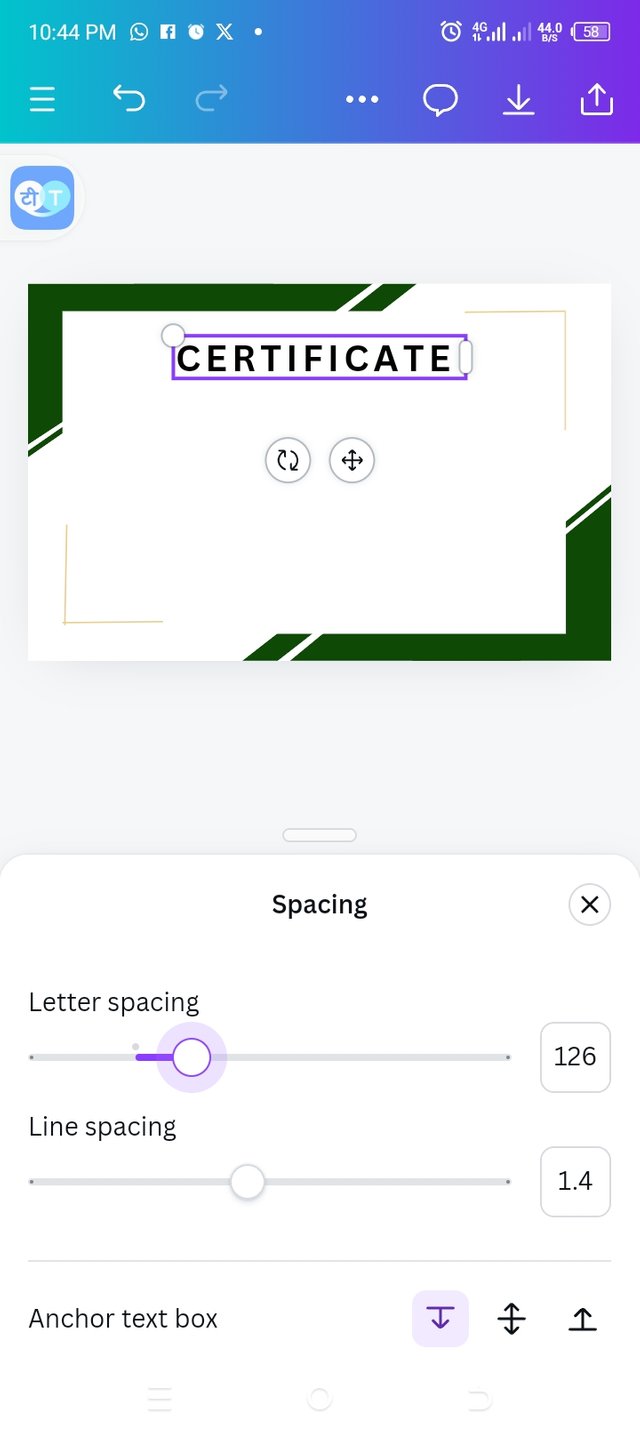 B B | 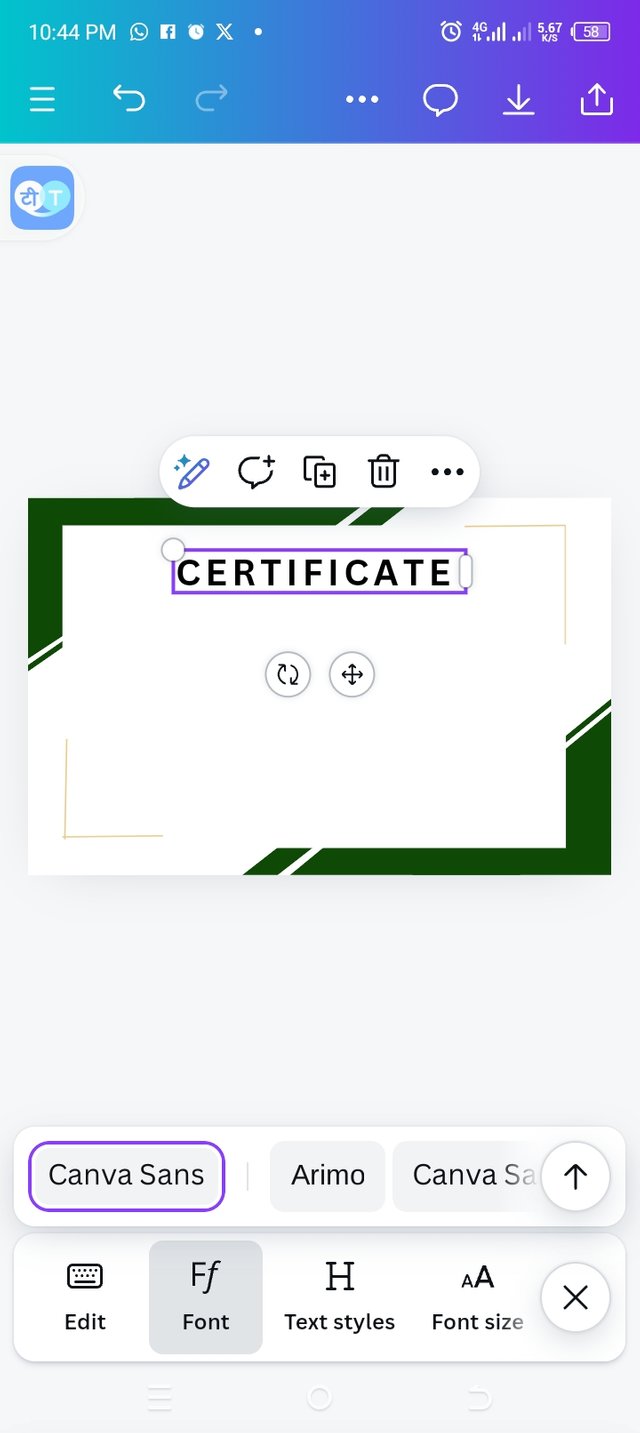 C C |
|---|
• clicking on the text icon, I added my first text which is "CERTIFICATE".
• I used the letter spacing to space out my text and it was set at 126.
• Then I maintained the fonts "canvas sans" for my first text.
 D D | 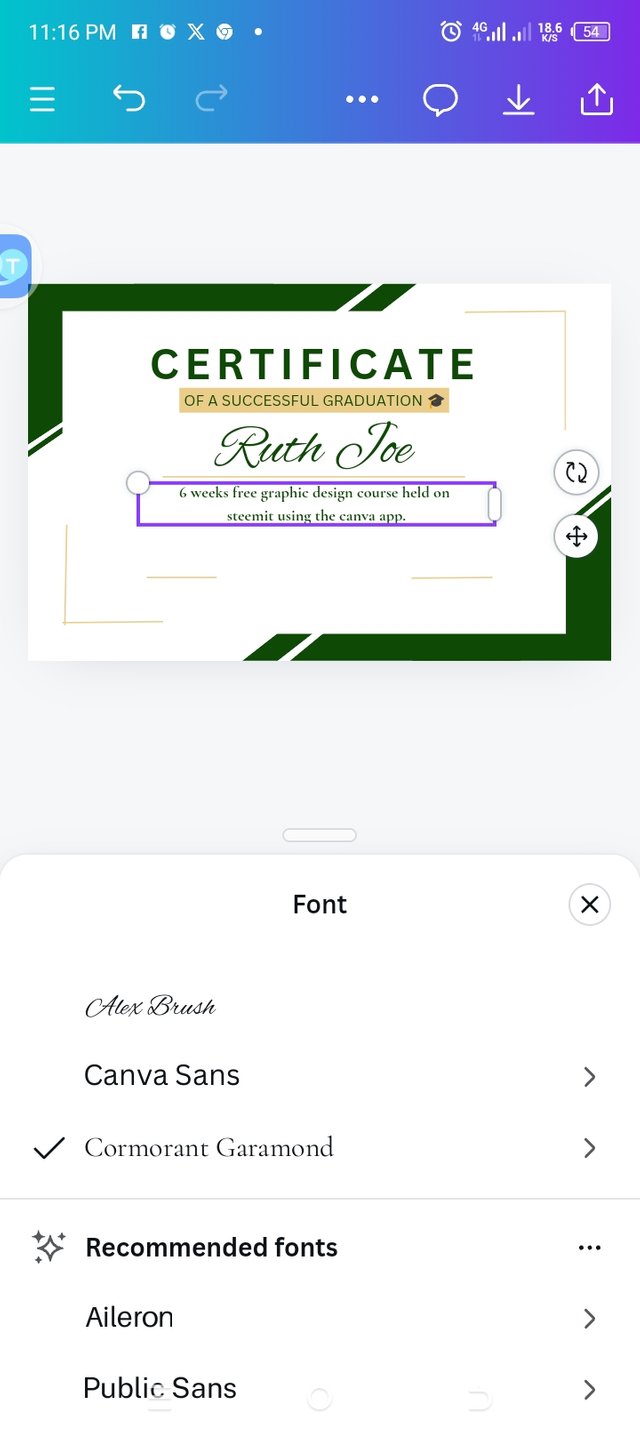 E E | 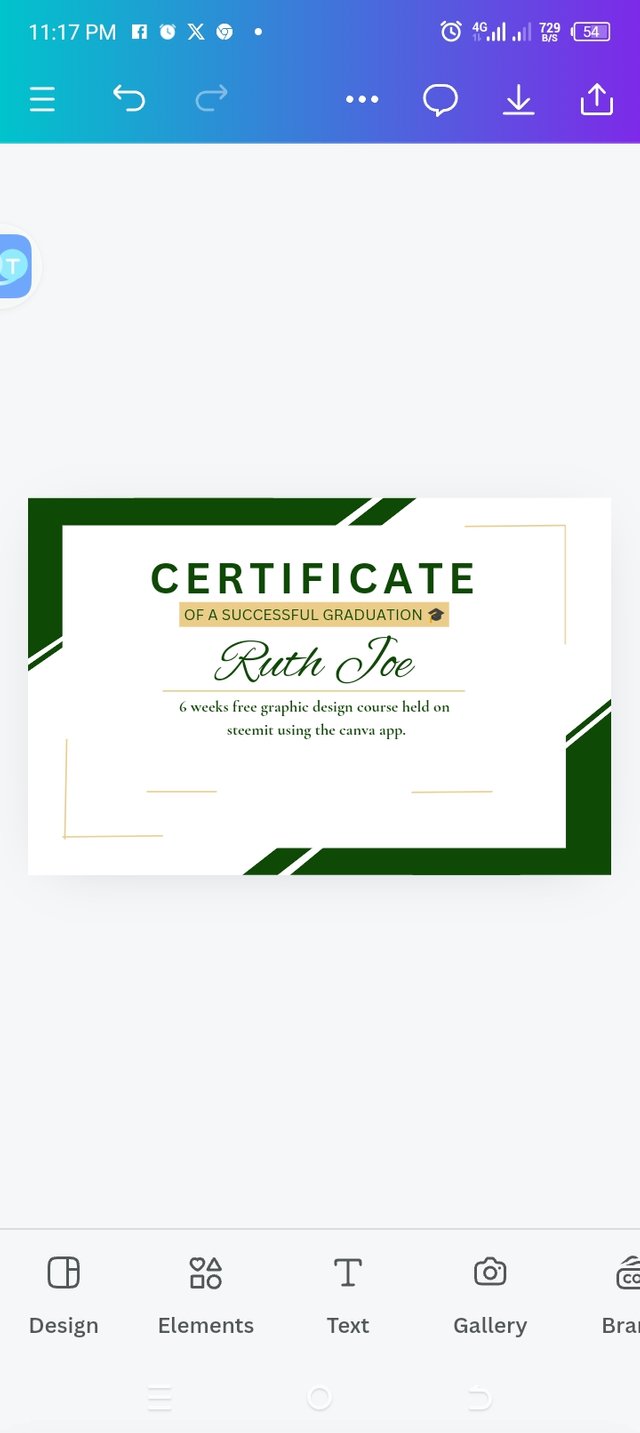 F F |
|---|
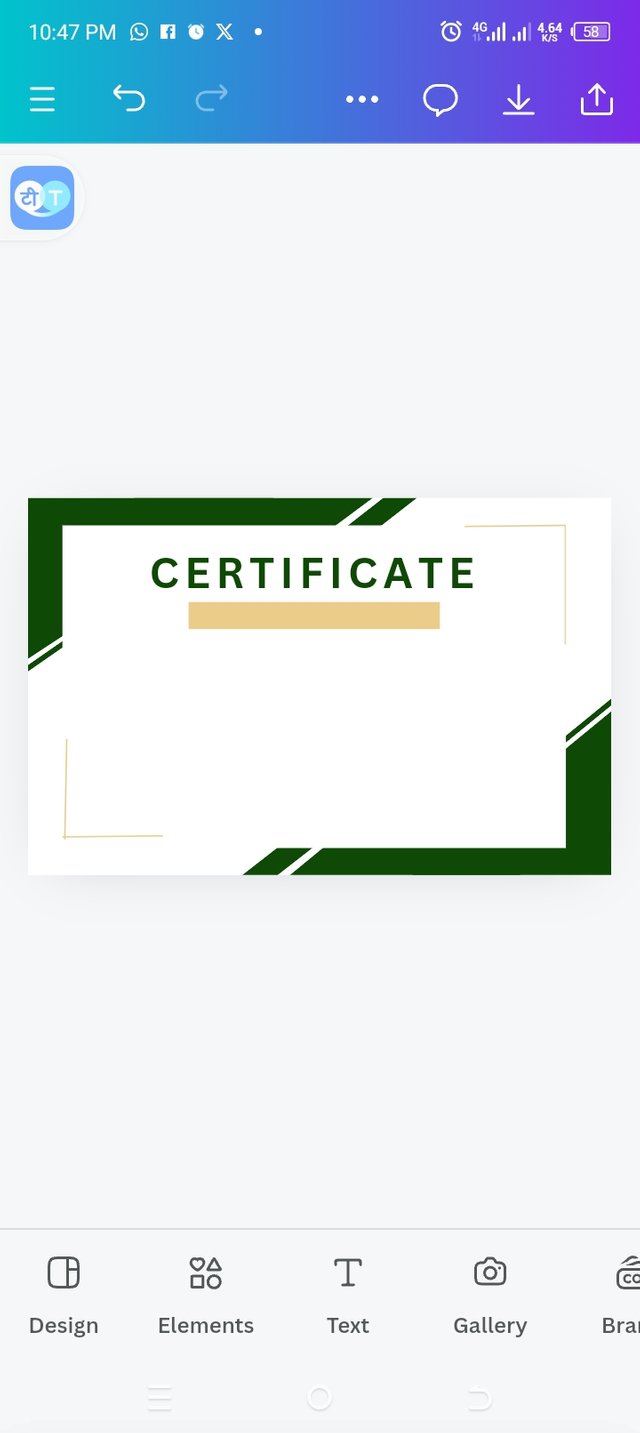
• I added an element right under the first text. I shaped it into a smaller size to fit in the provided space and then I positioned it well.
• I added more text and also chose different fonts for them. I made sure each text done is perfect for the design.
• I added more lines and set them to the right position.
Final step: Adding logo
 A A | 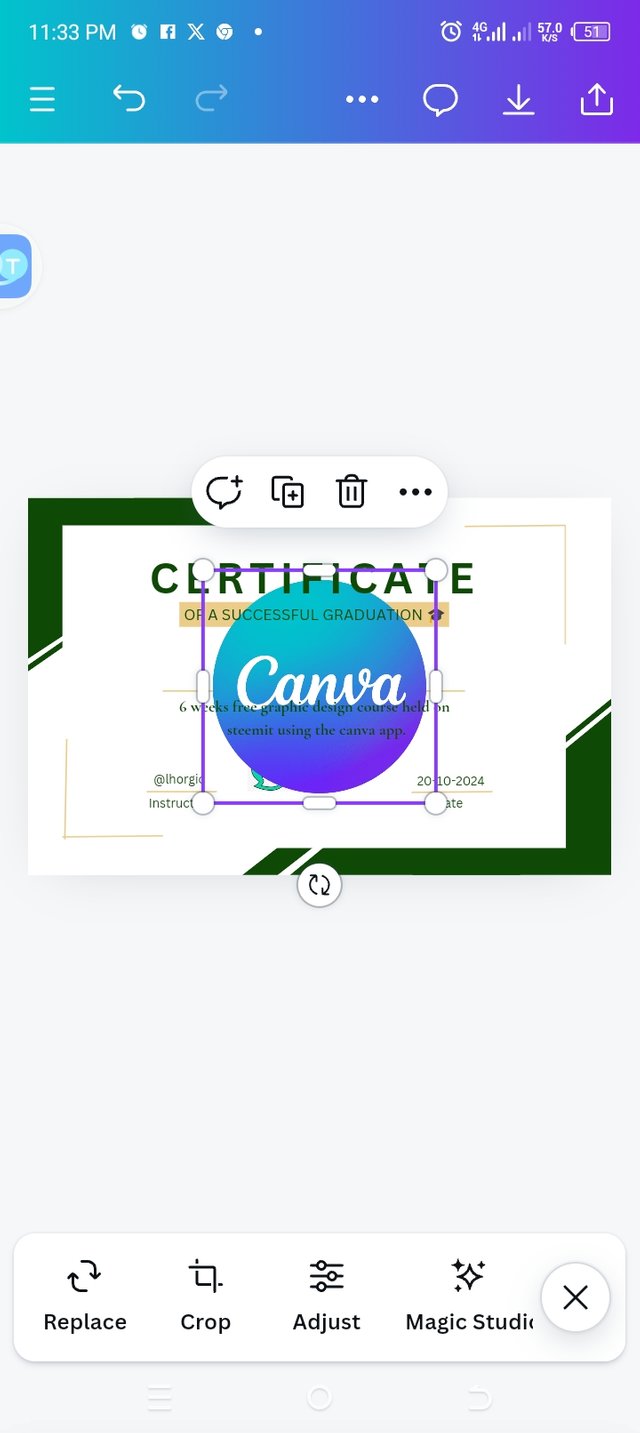 B B | C |
|---|
• Launching into my gallery by clicking on the gallery icon, I selected the right logo I needed which was the canvas logo and the steemit logo.
• I added them to page.
• I resized them and set them in the right places.
• I also added the last text which was the instructor's name and date.
• Then I have my final design ready!
| My final design |
|---|
The principles I used for my design |
|---|
• Edge to Edge: I was so particular about this principle. You can see that all text are well intact, so even if I decide to print, my texts are safe.
• Element spacing: I hope you can see that the elements I used in my design are not too spaced or jammed. My spacing also worked in my text too.
• Design Size & Dimensions: I chose to work with a landscape size of 17×11 because I have just few words to fill up in my design.
• Color combination: I have chosen three colors for my design and I am sure you can see that each color complement each other.
• Emphasis: The text and the colors applied shows the emphasis.
• Balance: I have balanced my design appropriately.
I hope it's not too late to invite my friends to join this contest @eveetim @malikusman1 @hisgeneral
Upvoted. Thank You for sending some of your rewards to @null. It will make Steem stronger.
Hello @ruthjoe thank you for participating in this week's lesson. We have assessed your entry and we present the result of our assessment below.
Feedback:
Let me start by appreciating you for coming this far with me on this six weeks course and also commending you for the effort put into this practical, I love the outcome of your step, your design looks cool.
Your design is cool, your certificate looks dope and of course it captures the vital information that it should contain. Opting for Certificate designs make the message about a successful completion of any program at all seamless and clear...weldone.
In all, you did beautifully well and I must commend you for a job weldone. Thanks for staying through the whole process, I hope we continue this journey together in the next season. I wish us the very best.
Regards
@lhorgic❤️