Making Kombucha at Home | Recipe + DIY Instructions
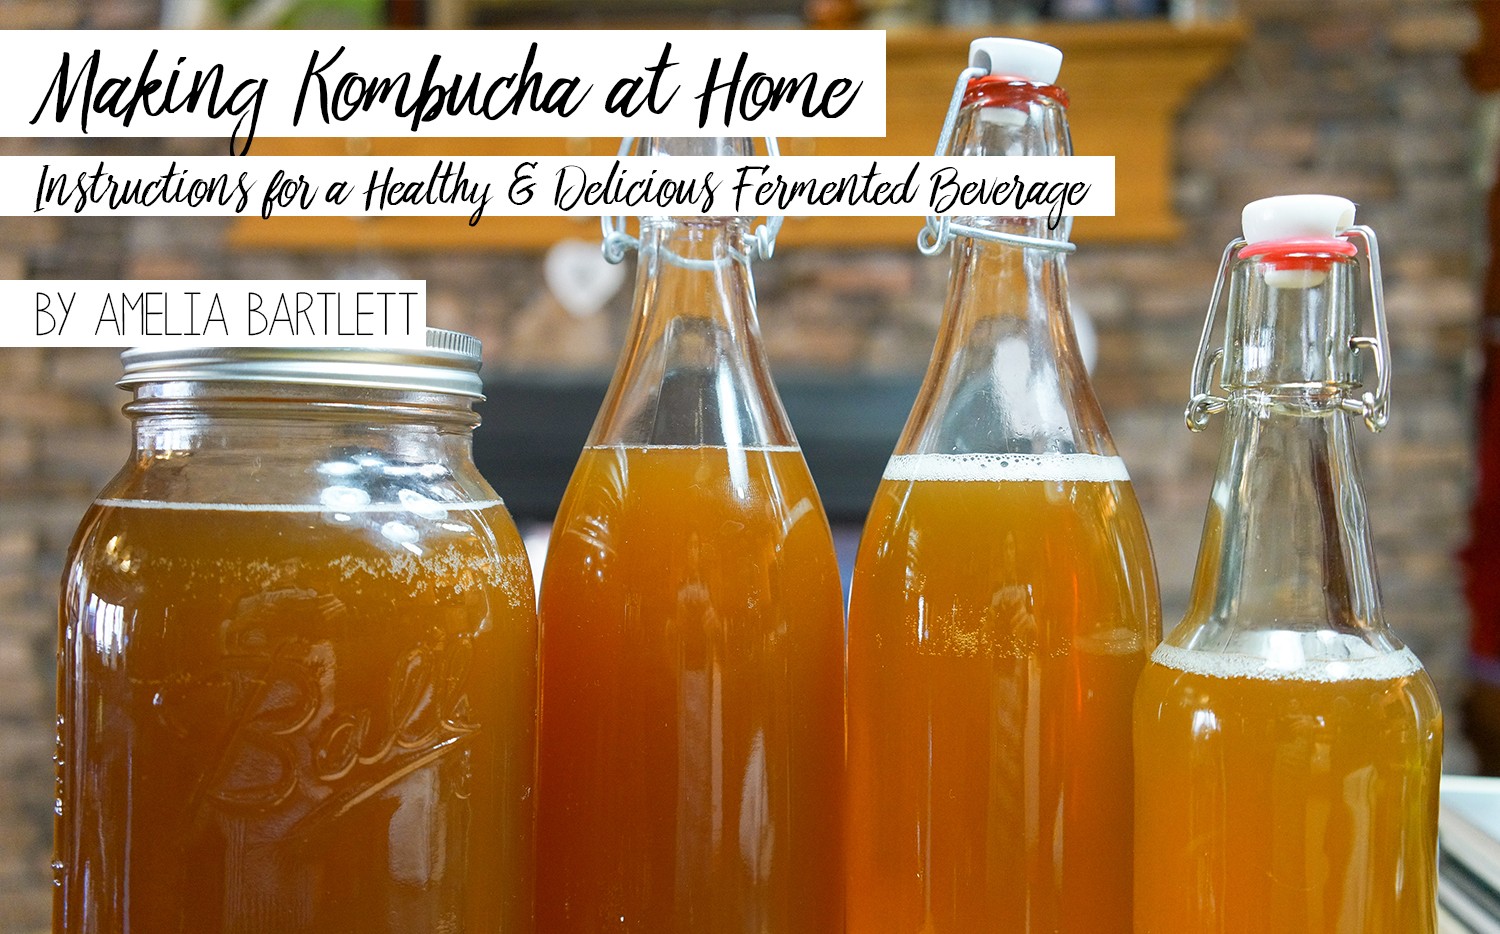
Note: If you're strapped for time and just want the no-frills recipe, scroll down to the recap at the bottom of this post and GET BREWIN'!
Making kombucha is one of my favorite weekly rituals.
I found myself purchasing way too many grocery store bottles and, at $3 - $5 each, I had to find a more budget-friendly option. Upon researching how to make Kombucha, I came across Cultures for Health and their free comprehensive eBook on Kombucha. From this book, I've learned, tweaked, experimented, and developed my own style for making kombucha.
If you're unfamiliar with the benefits of this often fizzy probiotic beverage, it's an old recipe that's known to be beneficial for your gut and digestive system, to boost the immune system (especially if it's steeped with more beneficial flavorings!), contains B vitamins and antioxidants, and is a fabulous replacement for high-sugar sweet teas and sodas.
This mini guide is a look into my kombucha practice. I encourage you to read-up on kombucha or ask questions in the comments if you want to learn more!
What I use when I make kombucha at home

- Large stock pot
- Measuring bowls
- Measuring spoons
- A reusable steeping bag
- Black tea
- White tea
- Sugar
- Towel because this inevitably gets messy!
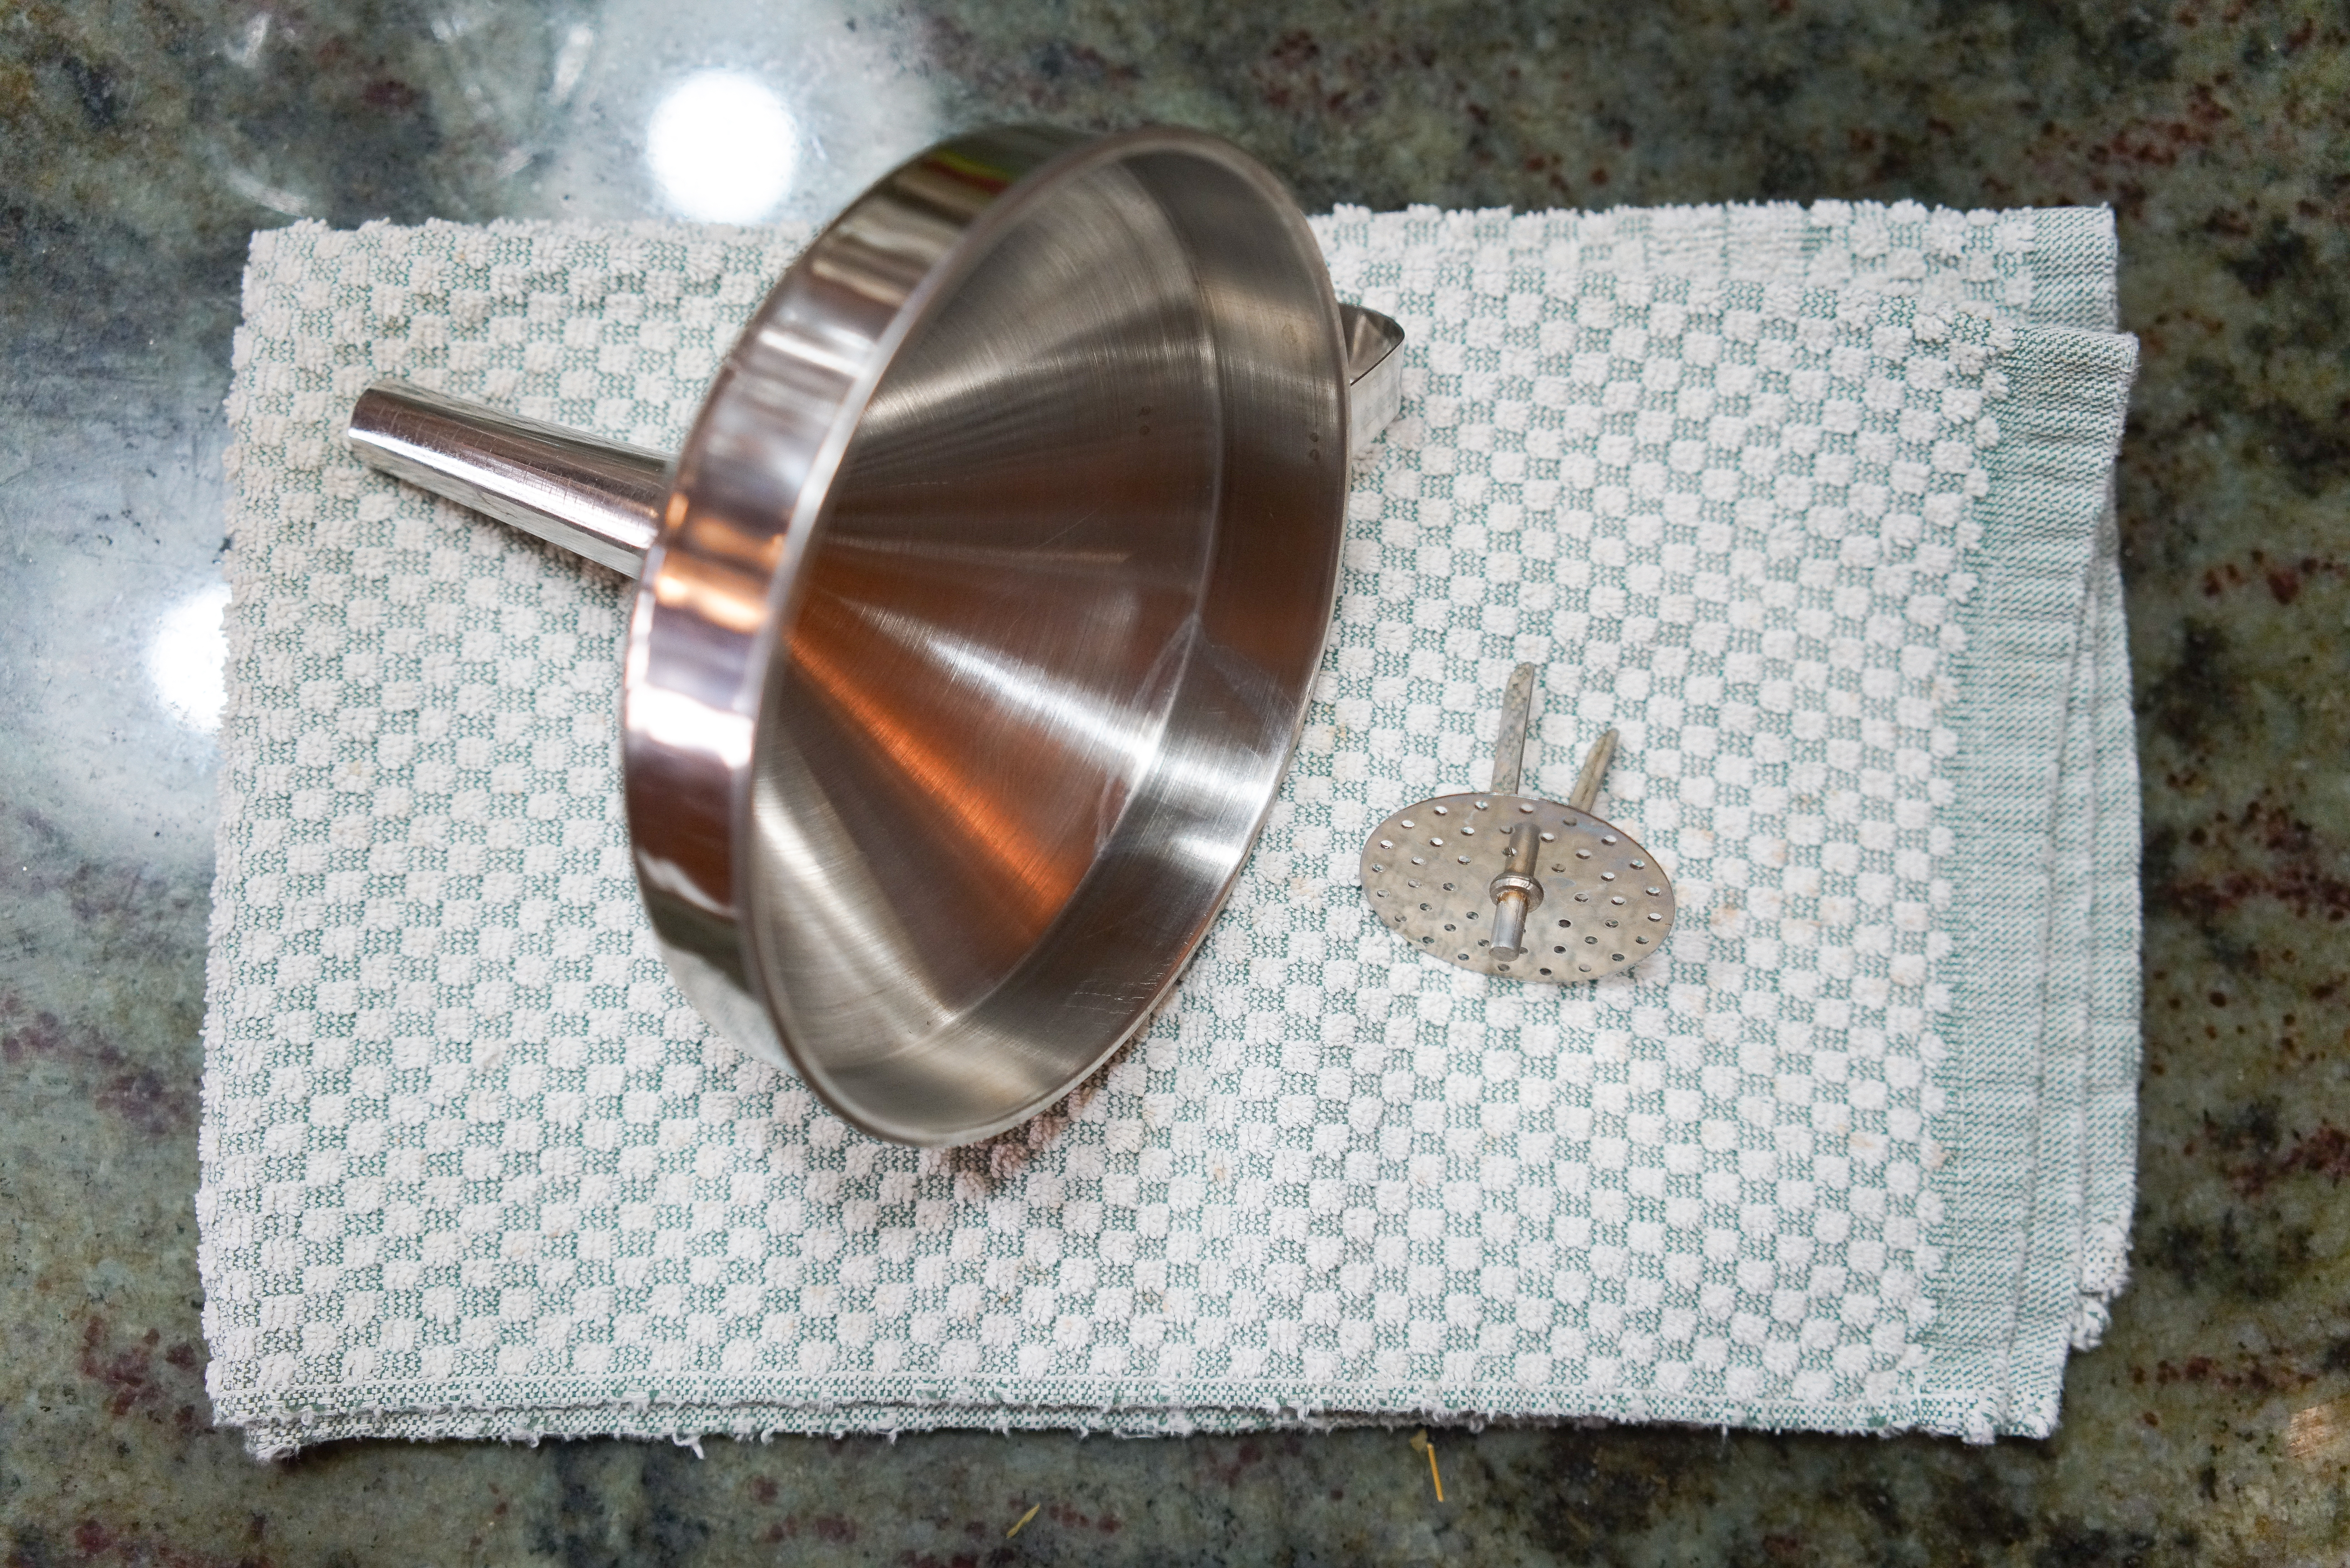
This week, I find myself out of white/unbleached sugar and had to use what I have in the house, which was brown sugar and powdered sugar. I also have a wooden spoon, an apron, and bottles in my charge but those are not pictured! Another tool that isn't pictured here but that I photographed separately is a funnel with a strainer insert. This keeps my drinking-kombucha from getting too much silt or herbal runoff into it.
What you'll also need is a SCOBY!
Symbiotic Culture of Bacteria and Yeast
This mother mushroom is the key ingredient to fermenting tea to become kombucha. SCOBY is a living organism and, like a mother, reproduces. The two easiest ways to come by a SCOBY: Get one from a friend or grow one from a store-bought kombucha.

To grow a SCOBY from a store-bought kombucha, purchase an unflavored all-black-tea (read the ingredients) kombucha that is UNPASTEURIZED. It may be called "raw." Drink most of the kombucha and leave about an inch or two of liquid at the bottom of the bottle. Cover gently with a towel and let sit a couple weeks on your counter.
A little disc-sized SCOBY should develop over time, and once that happens, begin making small batches of kombucha to grow her!
You can also purchase a dehydrated SCOBY from an organization like Cultures for Health and be in the kombucha game much faster!
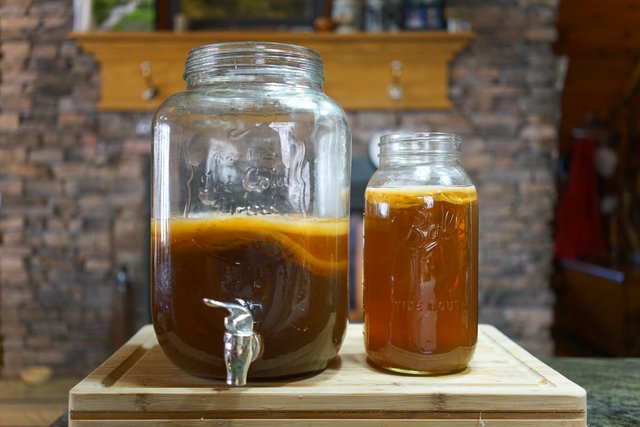
Once you've been growing a SCOBY for a little while (mine took about three months to mature but I could've been more attentive...), you will likely have a setup that looks like this:
kombucha ghosts
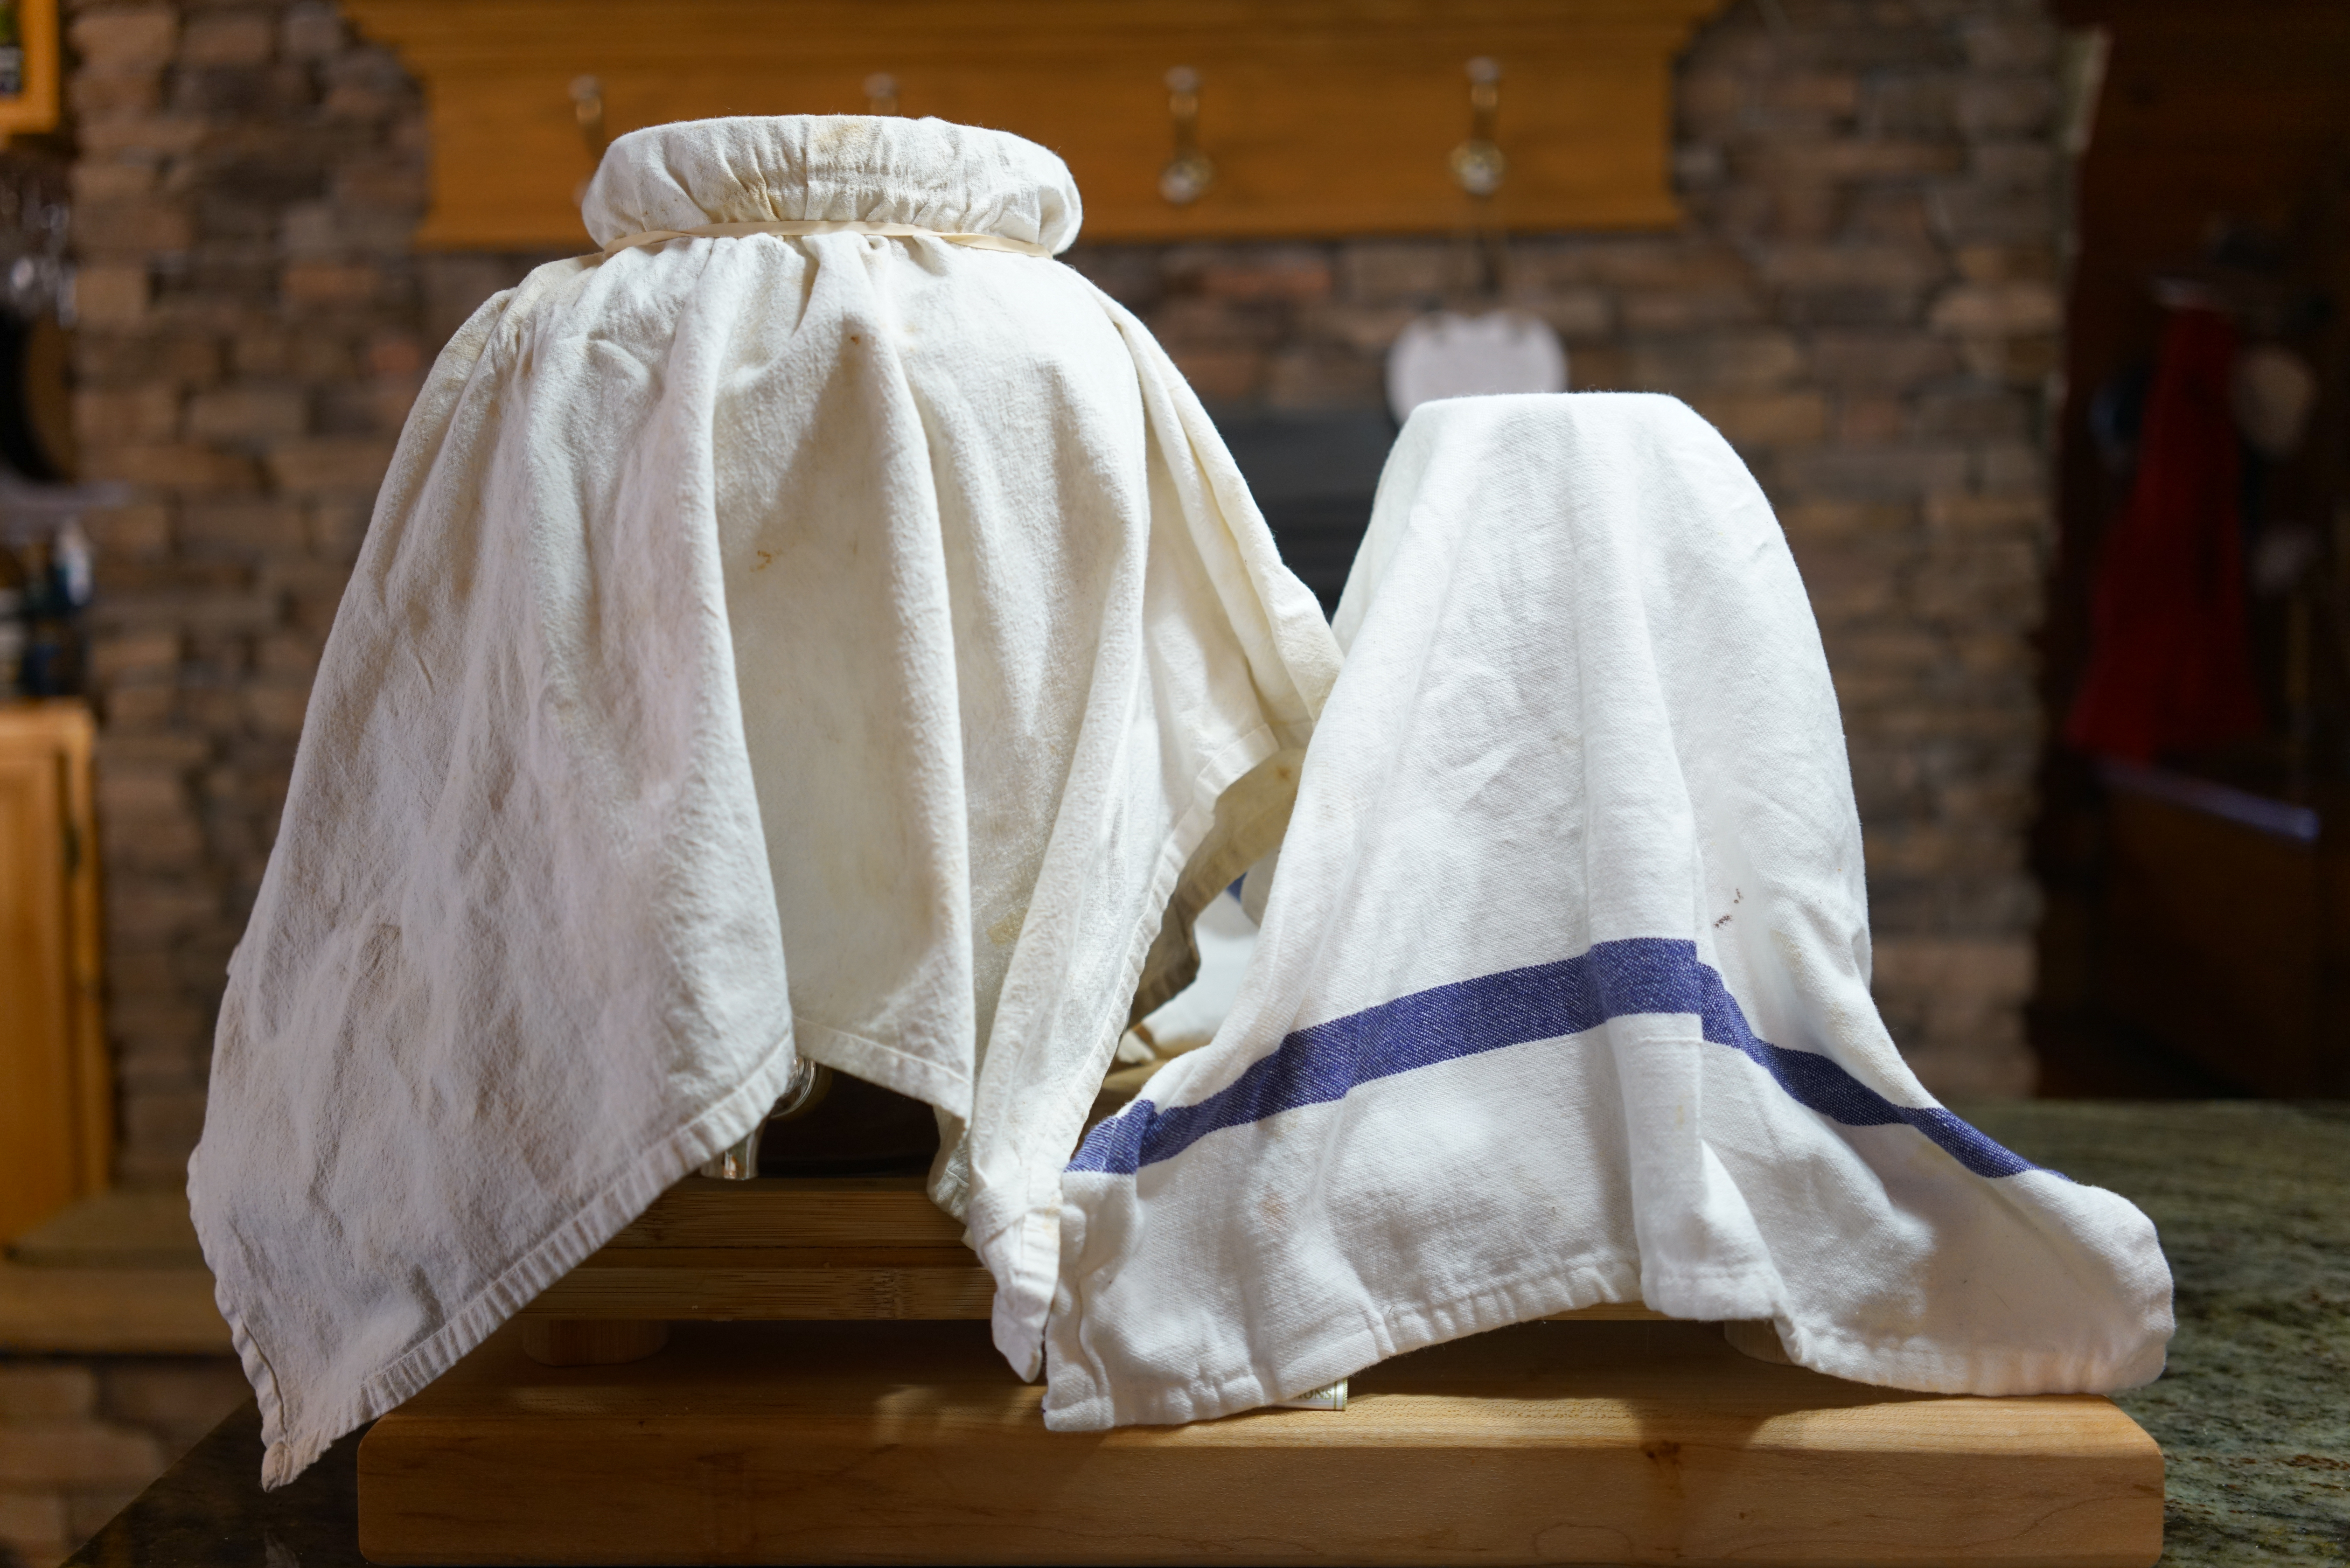
It's important to keep your kombucha covered during the fermentation process. I use a simple tea town with a rubberband around the container opening.
left: black tea | right: green tea
Basic guidelines for kombucha batch-making:
| Recipe Size | Water | Tea | Sugar | Starter Tea |
|---|---|---|---|---|
| one quart | 2 • 1/2 cup | 1 • 1/2 tsp or 2 tea bags | 1/4 cup | 1/2 cup |
| one half-gallon | 6 • 1/2 cup | 1 tbsp or 4 tea bags | 1/2 cup | 1 cup |
| 1 gallon | 13 cups | 2 tbsp or 8 tea bags | 1 cup | 2 cup |
Table from Cultures for Health
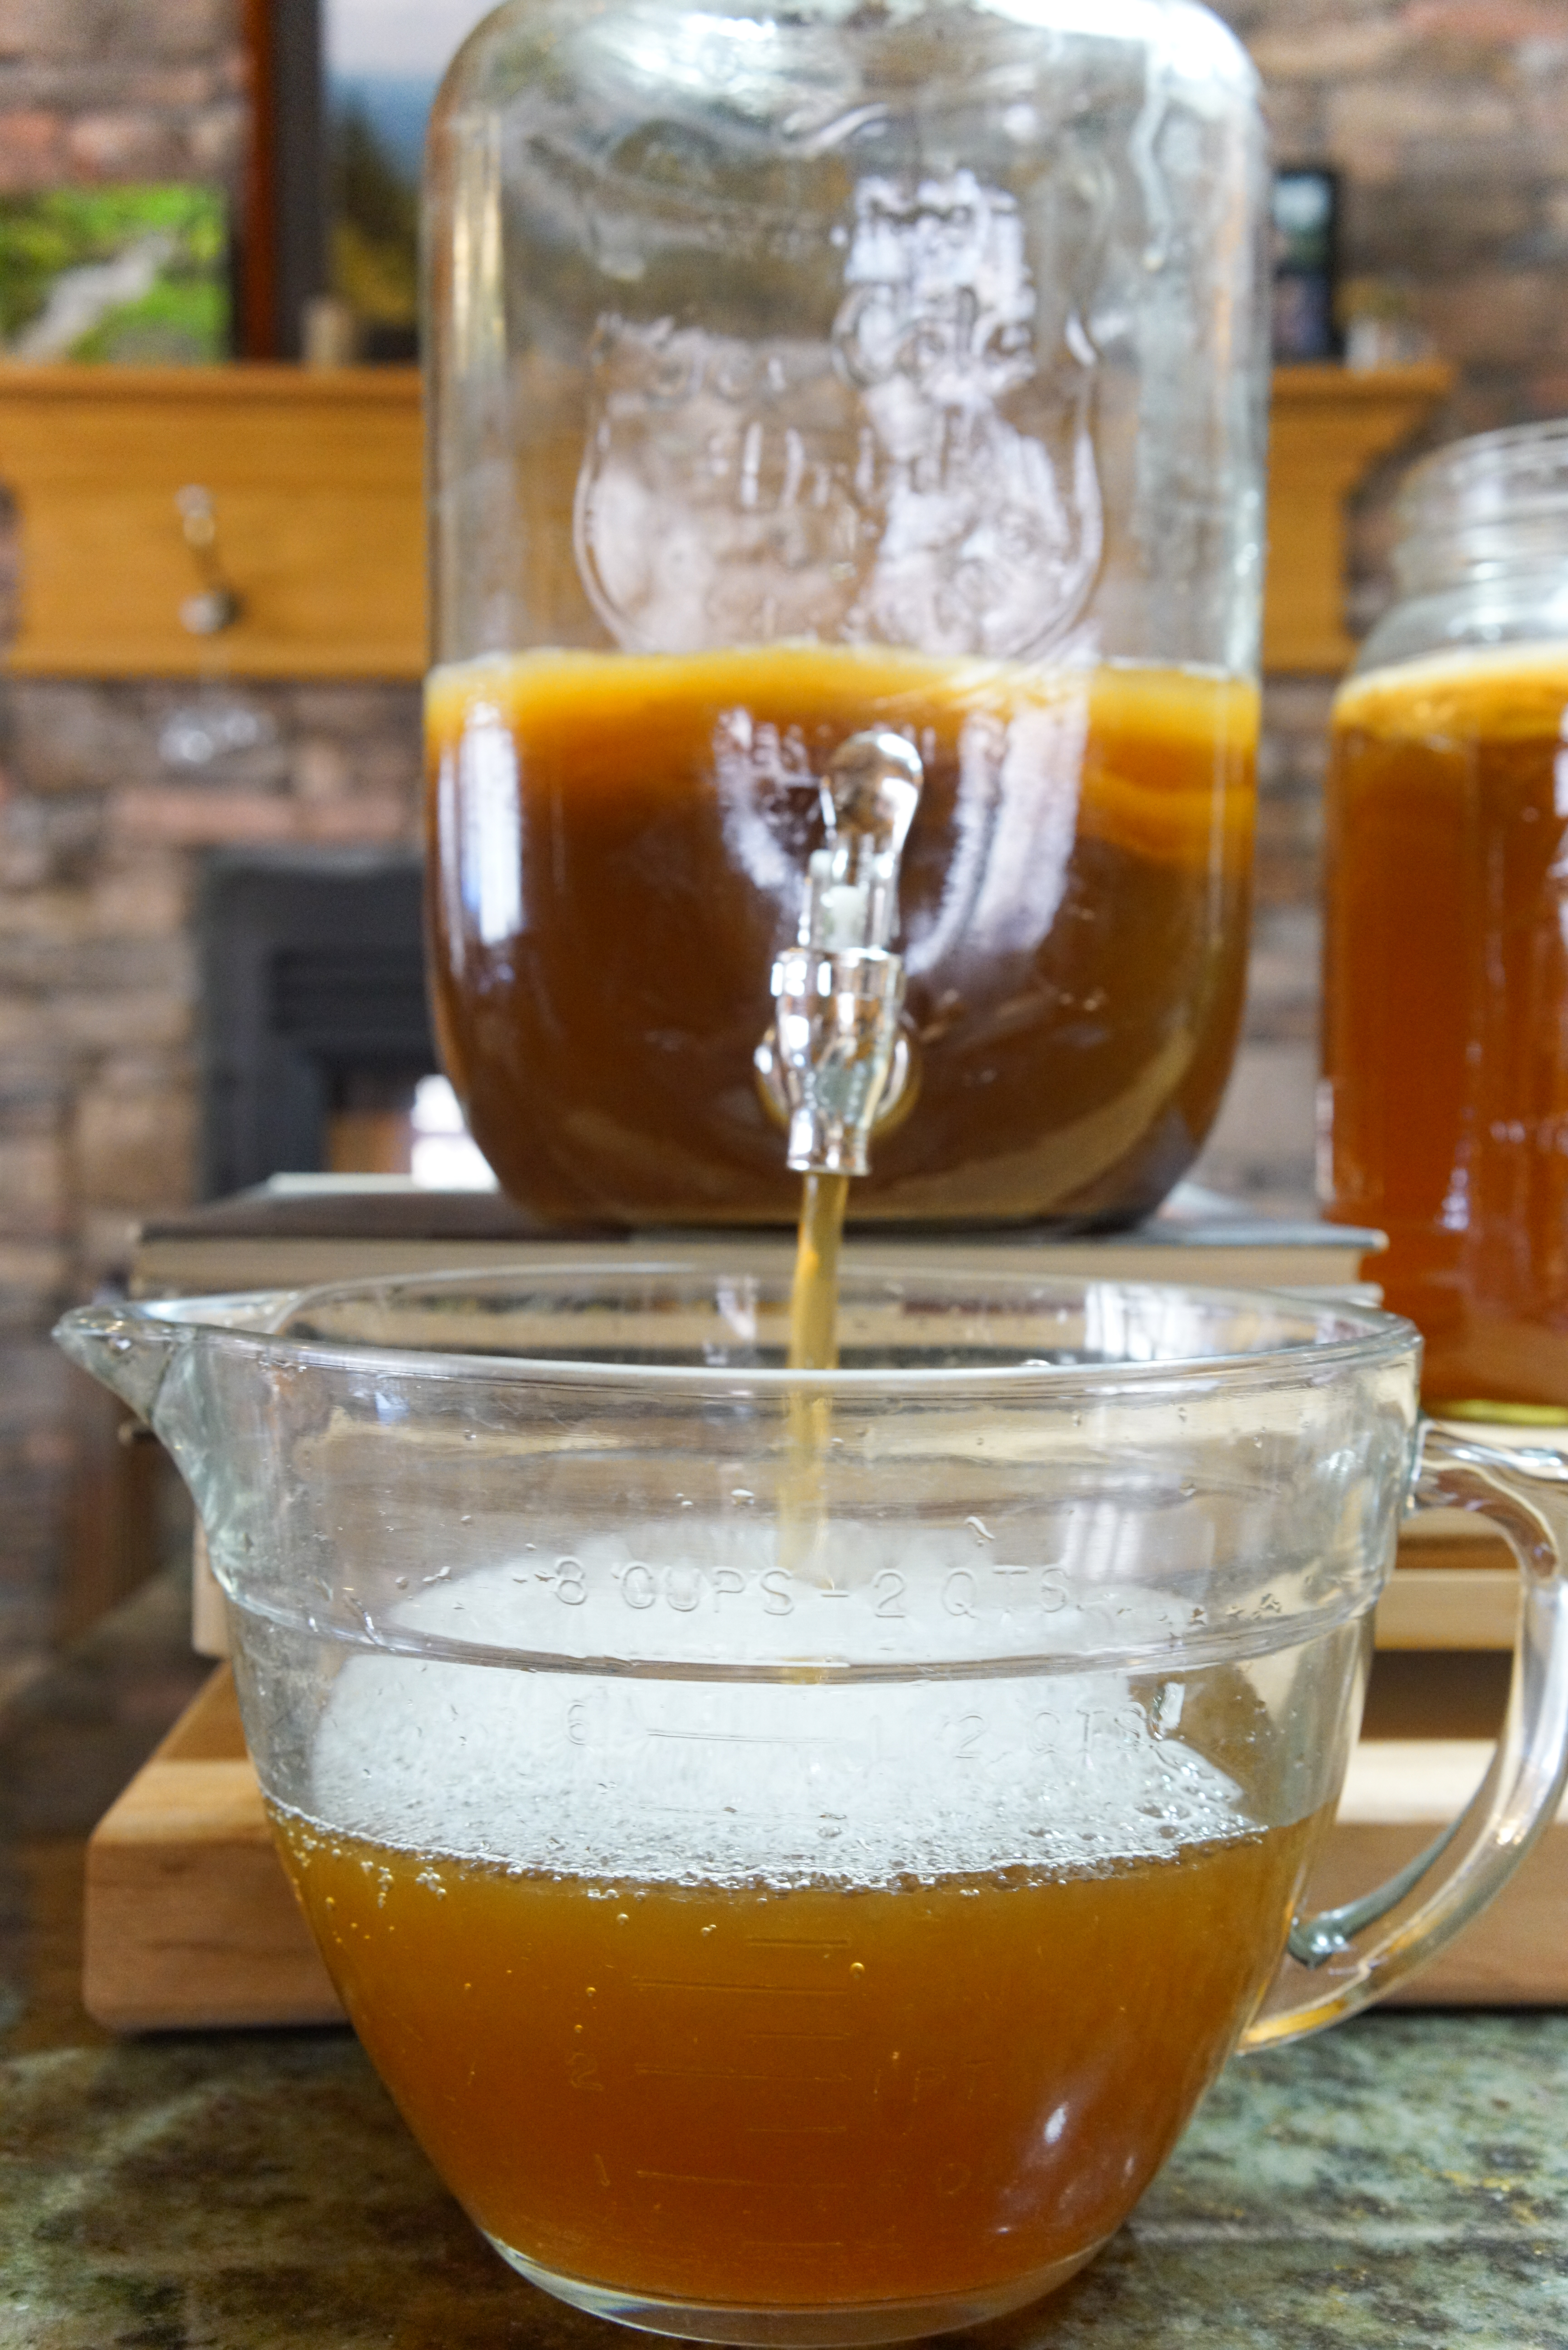
At this stage of my recipe, I've drained my current kombucha stores, reserved a bit of starter liquid, and am starting to brew my tea. The basis of kombucha is SUGAR TEA.
First, I brew my black tea in the stock pot and brew a 2:1 ratio of green:black tea in my small tea steeper.
I am experimenting with brewing tea concentrates (lots of tea in only a little water) so I simply add my remaining water when it's brewed, instead of brewing it all at once. In these photos, I brewed a concentrate of the green:black tea.
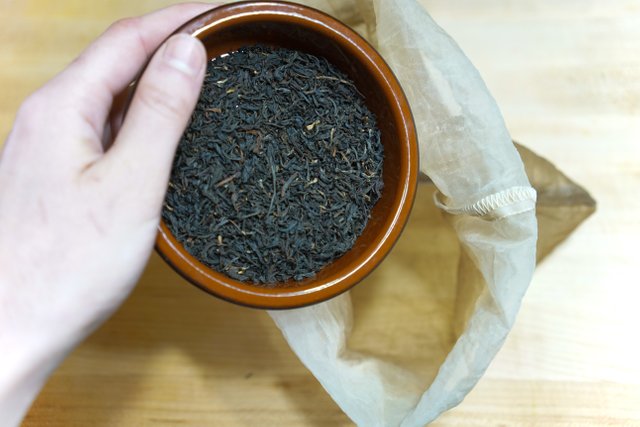
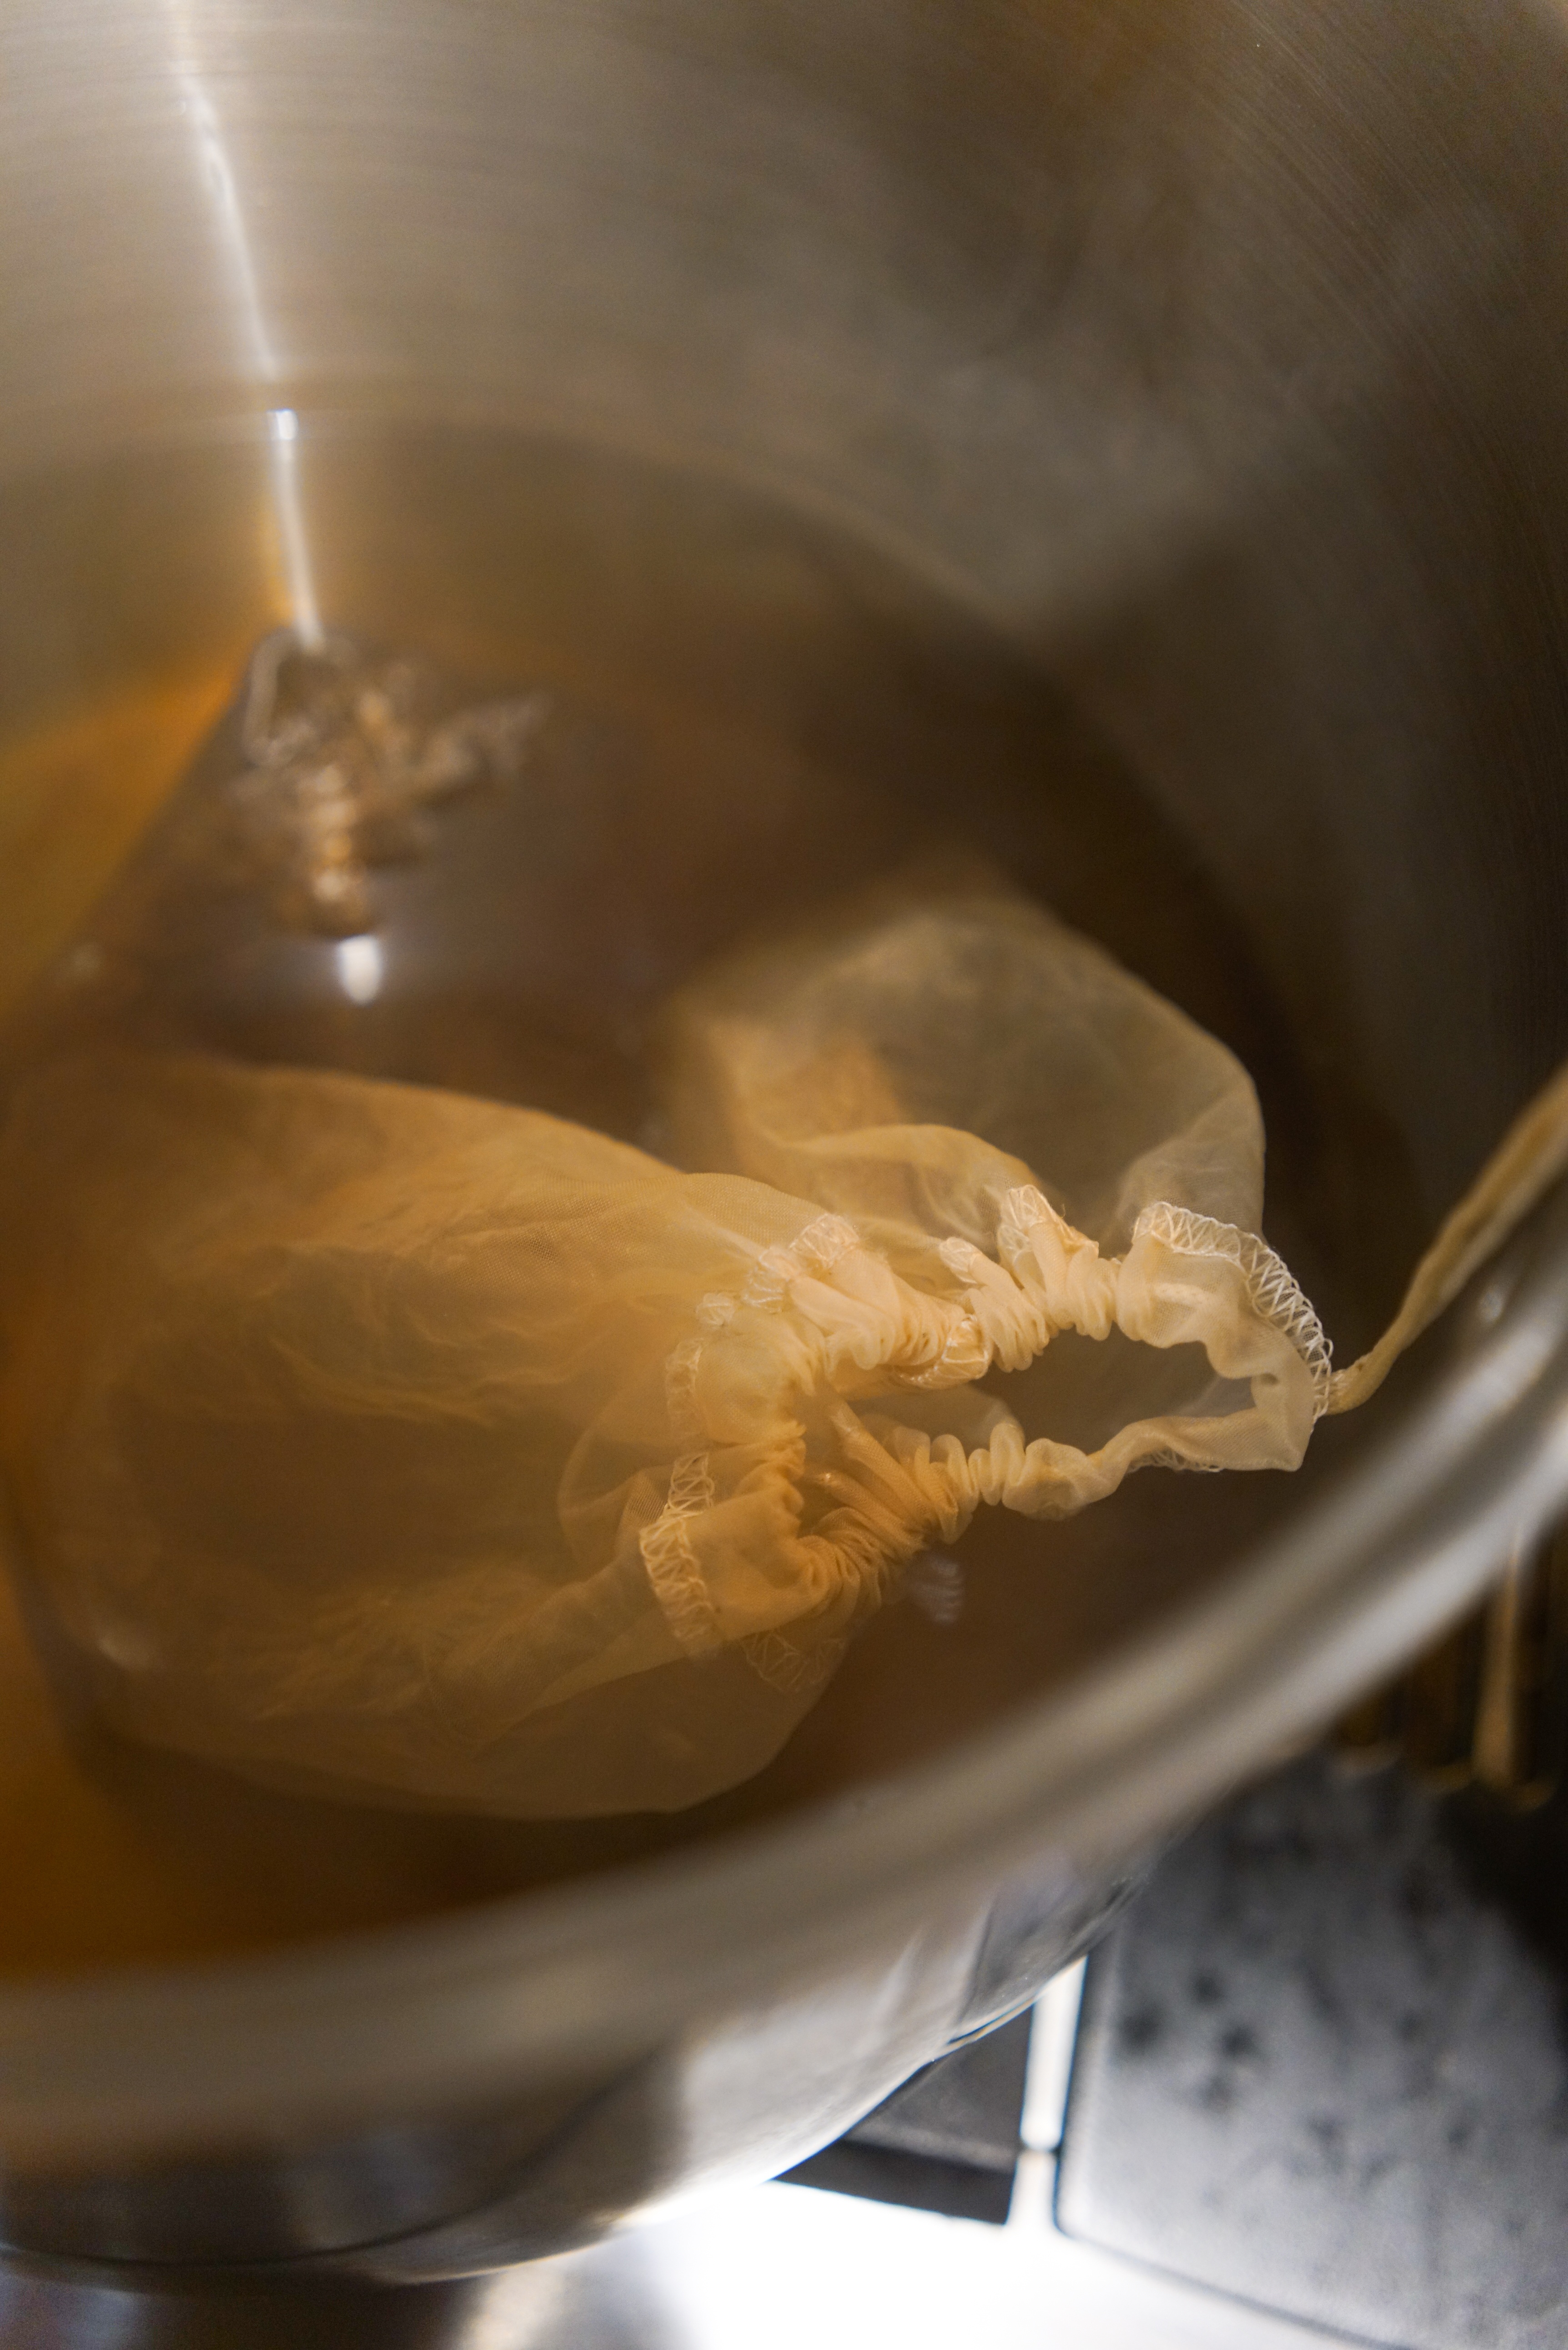
Why am I mixing green and black tea?
SCOBY prefers black tea over all others but can be "trained" to enjoy other teas. My green tea SCOBY is still in training, so supplementing with black tea ensures she stays healthy and nourished through the transition.
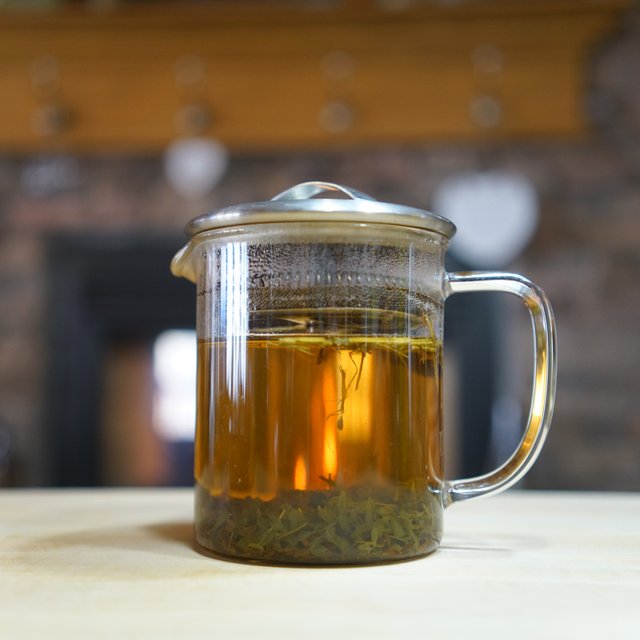
Boil water, remove from heat and steep tea for ten minutes, remove tea and allow to cool completely
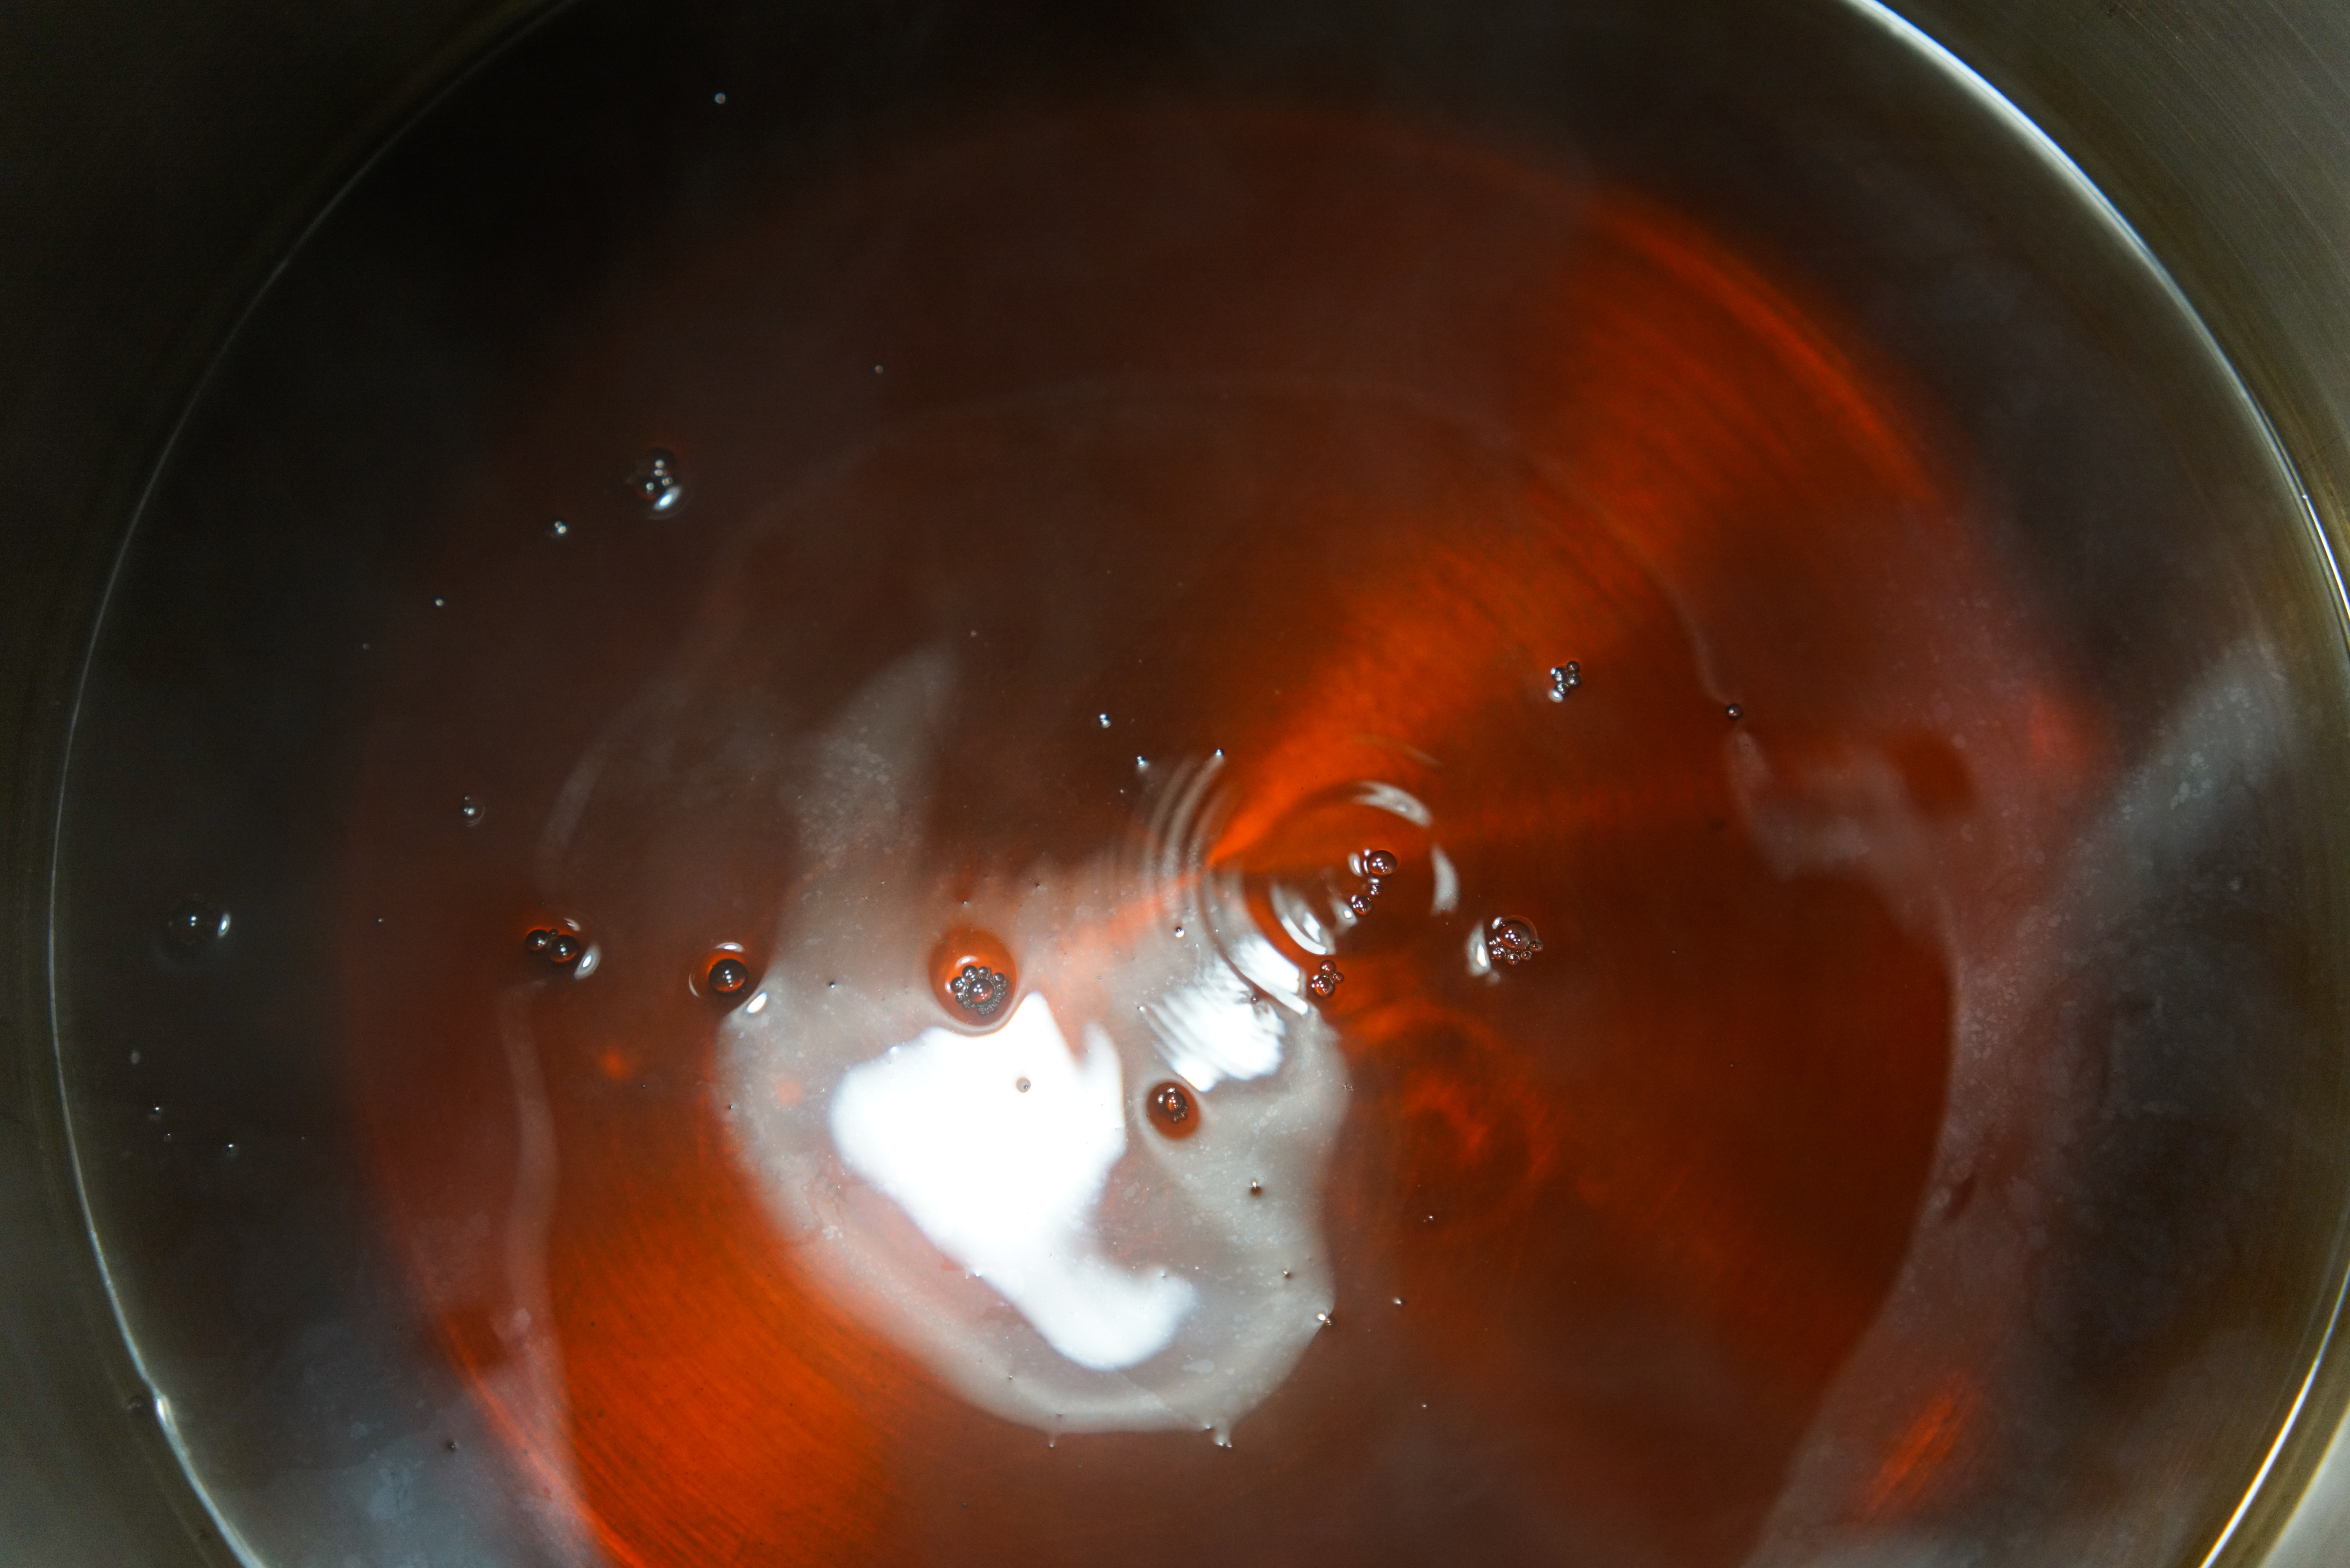
Right after you take your tea bags/tea steepers out of your boiling water, add your sugar to ensure it melts entirely! I do this slowly and stir the whole time, making sure all of the sugar is mixed in. Make sure to let your sugar tea cool completely as too-warm water can damage a SCOBY.

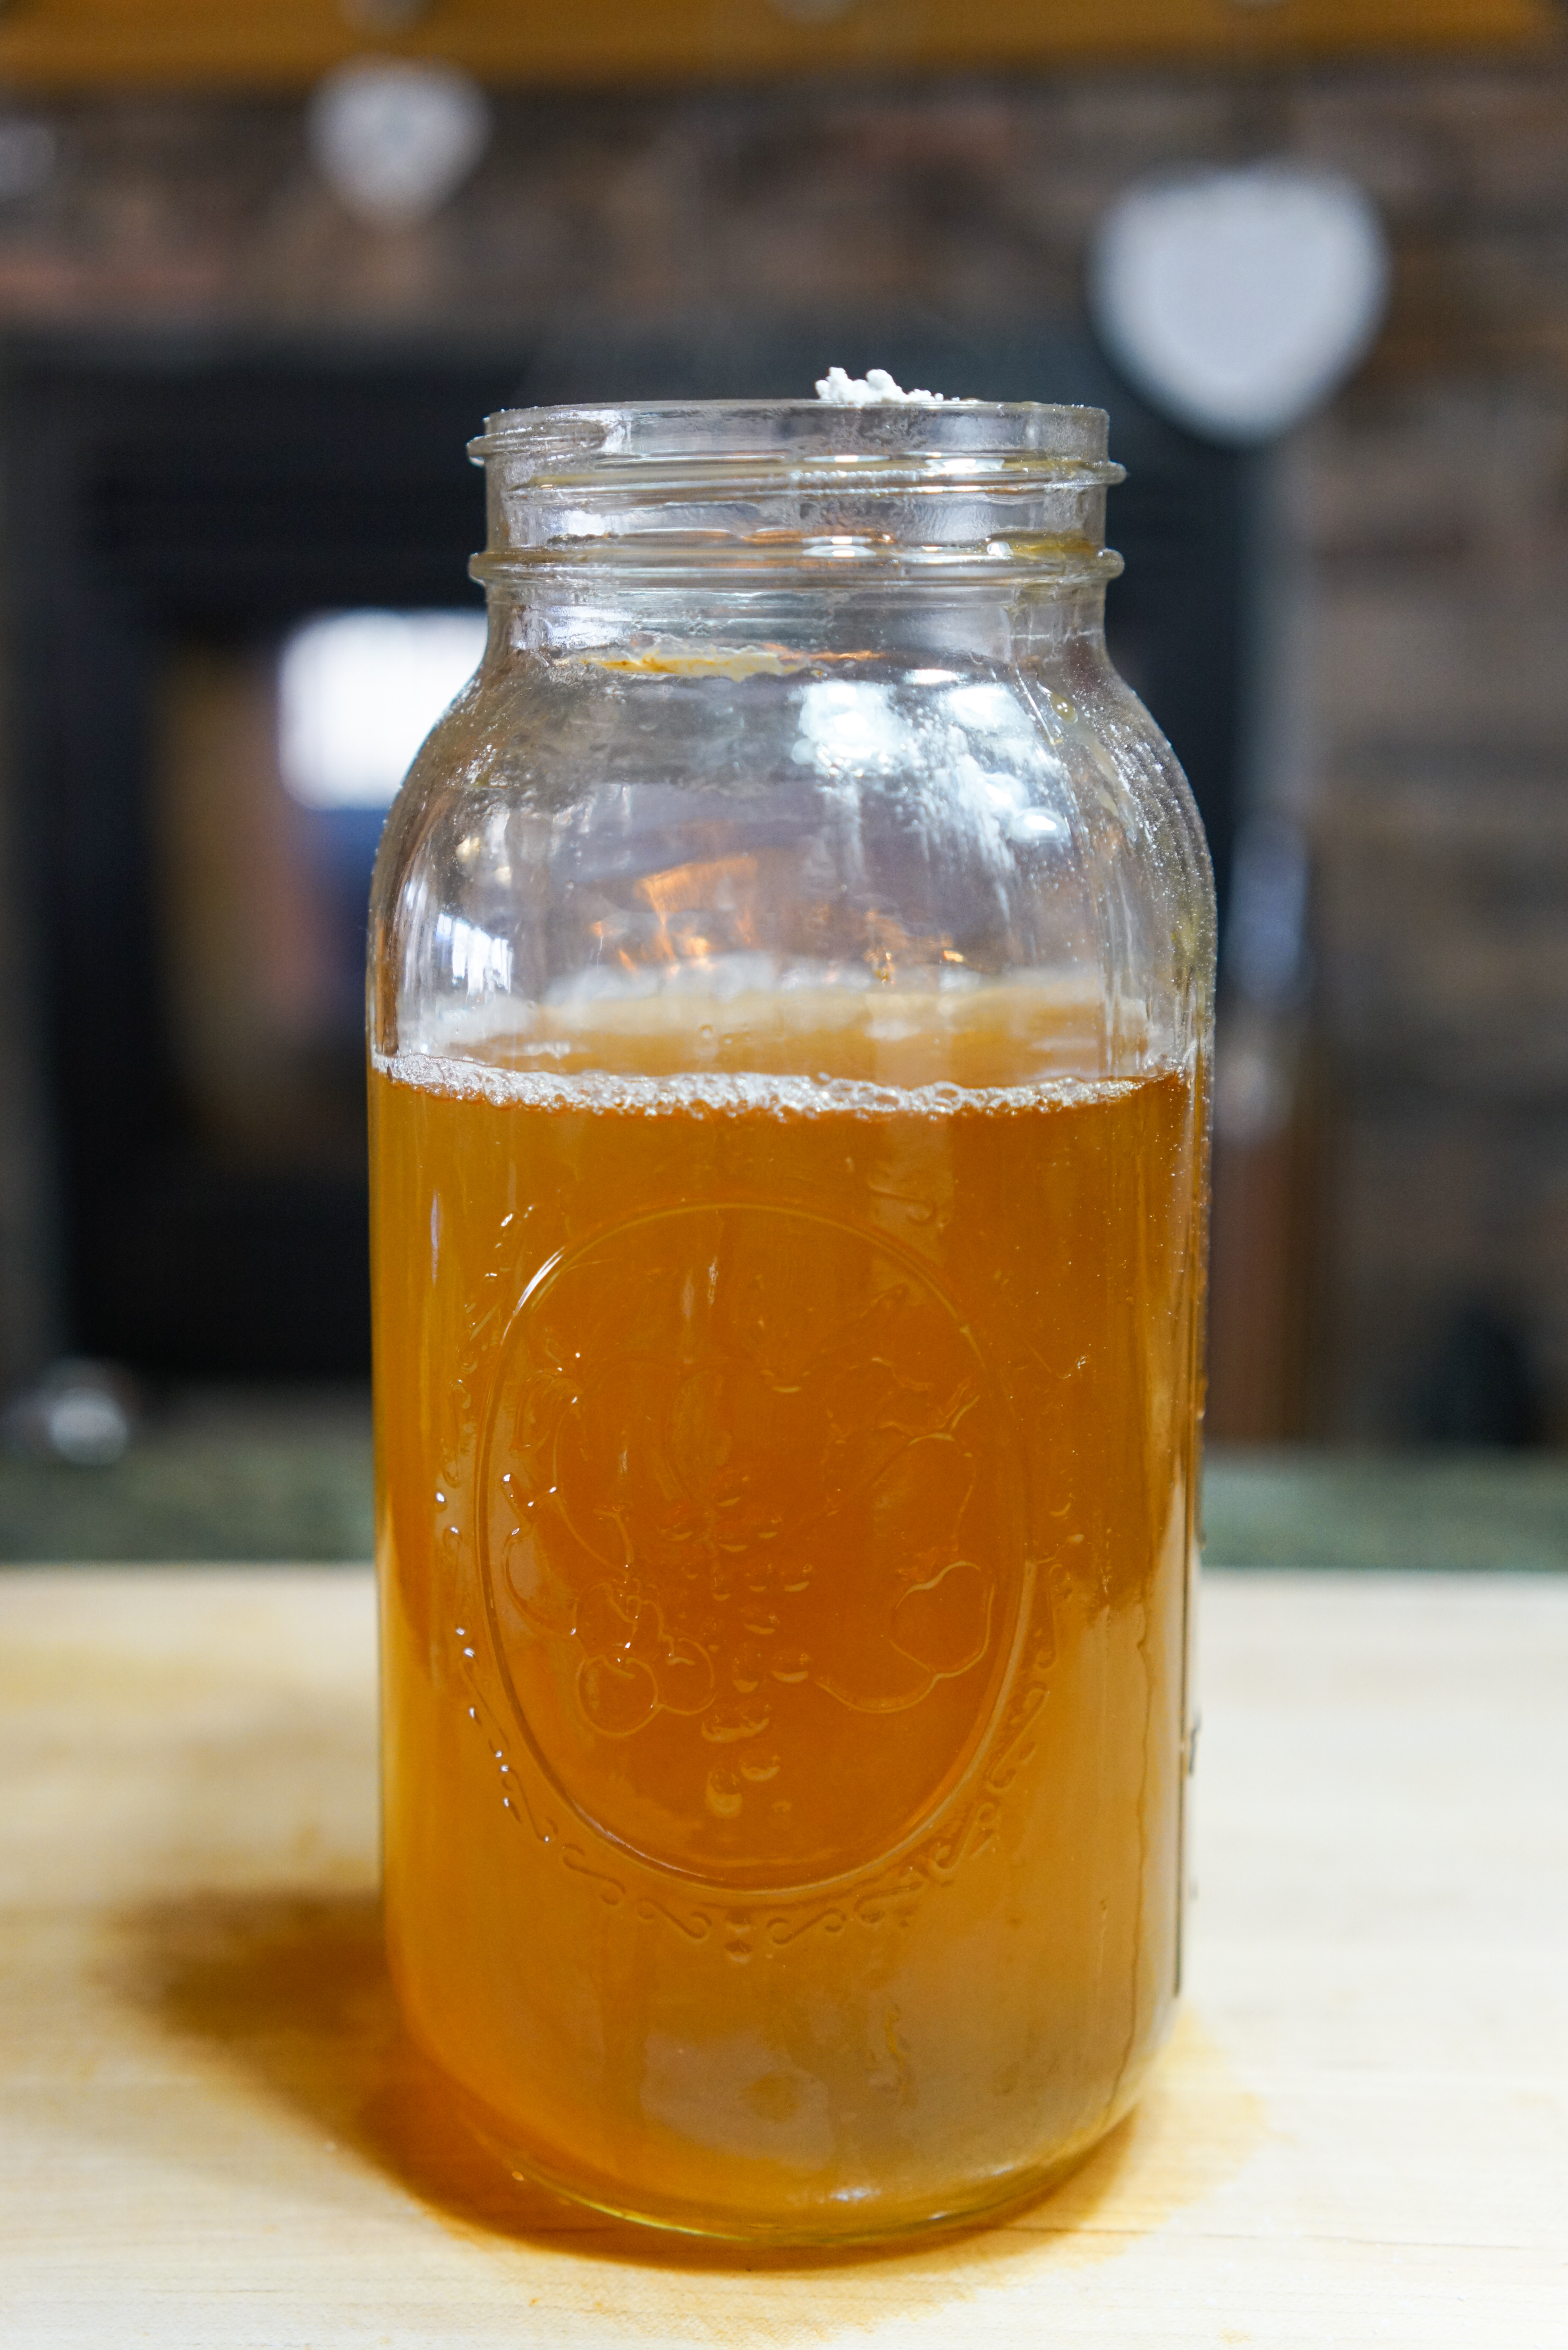

My green tea SCOBY awaits her fresh sugar tea patiently
Once your sugar tea has cooled and you've added it BACK into your SCOBY house (glass jar, ceramic crock, avoid metal containers), and added your starter tea (crucial) it's time to let time do the work.
7 - 14 days is the ideal kombucha fermentation period, but be willing to experiment!
I have found that the sweet spot for my batches, taking into account the ambient house temperature, how long it takes to ferment past being 'too sweet' but before being 'too vinegary', and my family's personal tastes is 11 days. This means I steep new sugar tea on Friday, pour and start over in two Tuesdays from then. (Then Tuesday to Friday!)
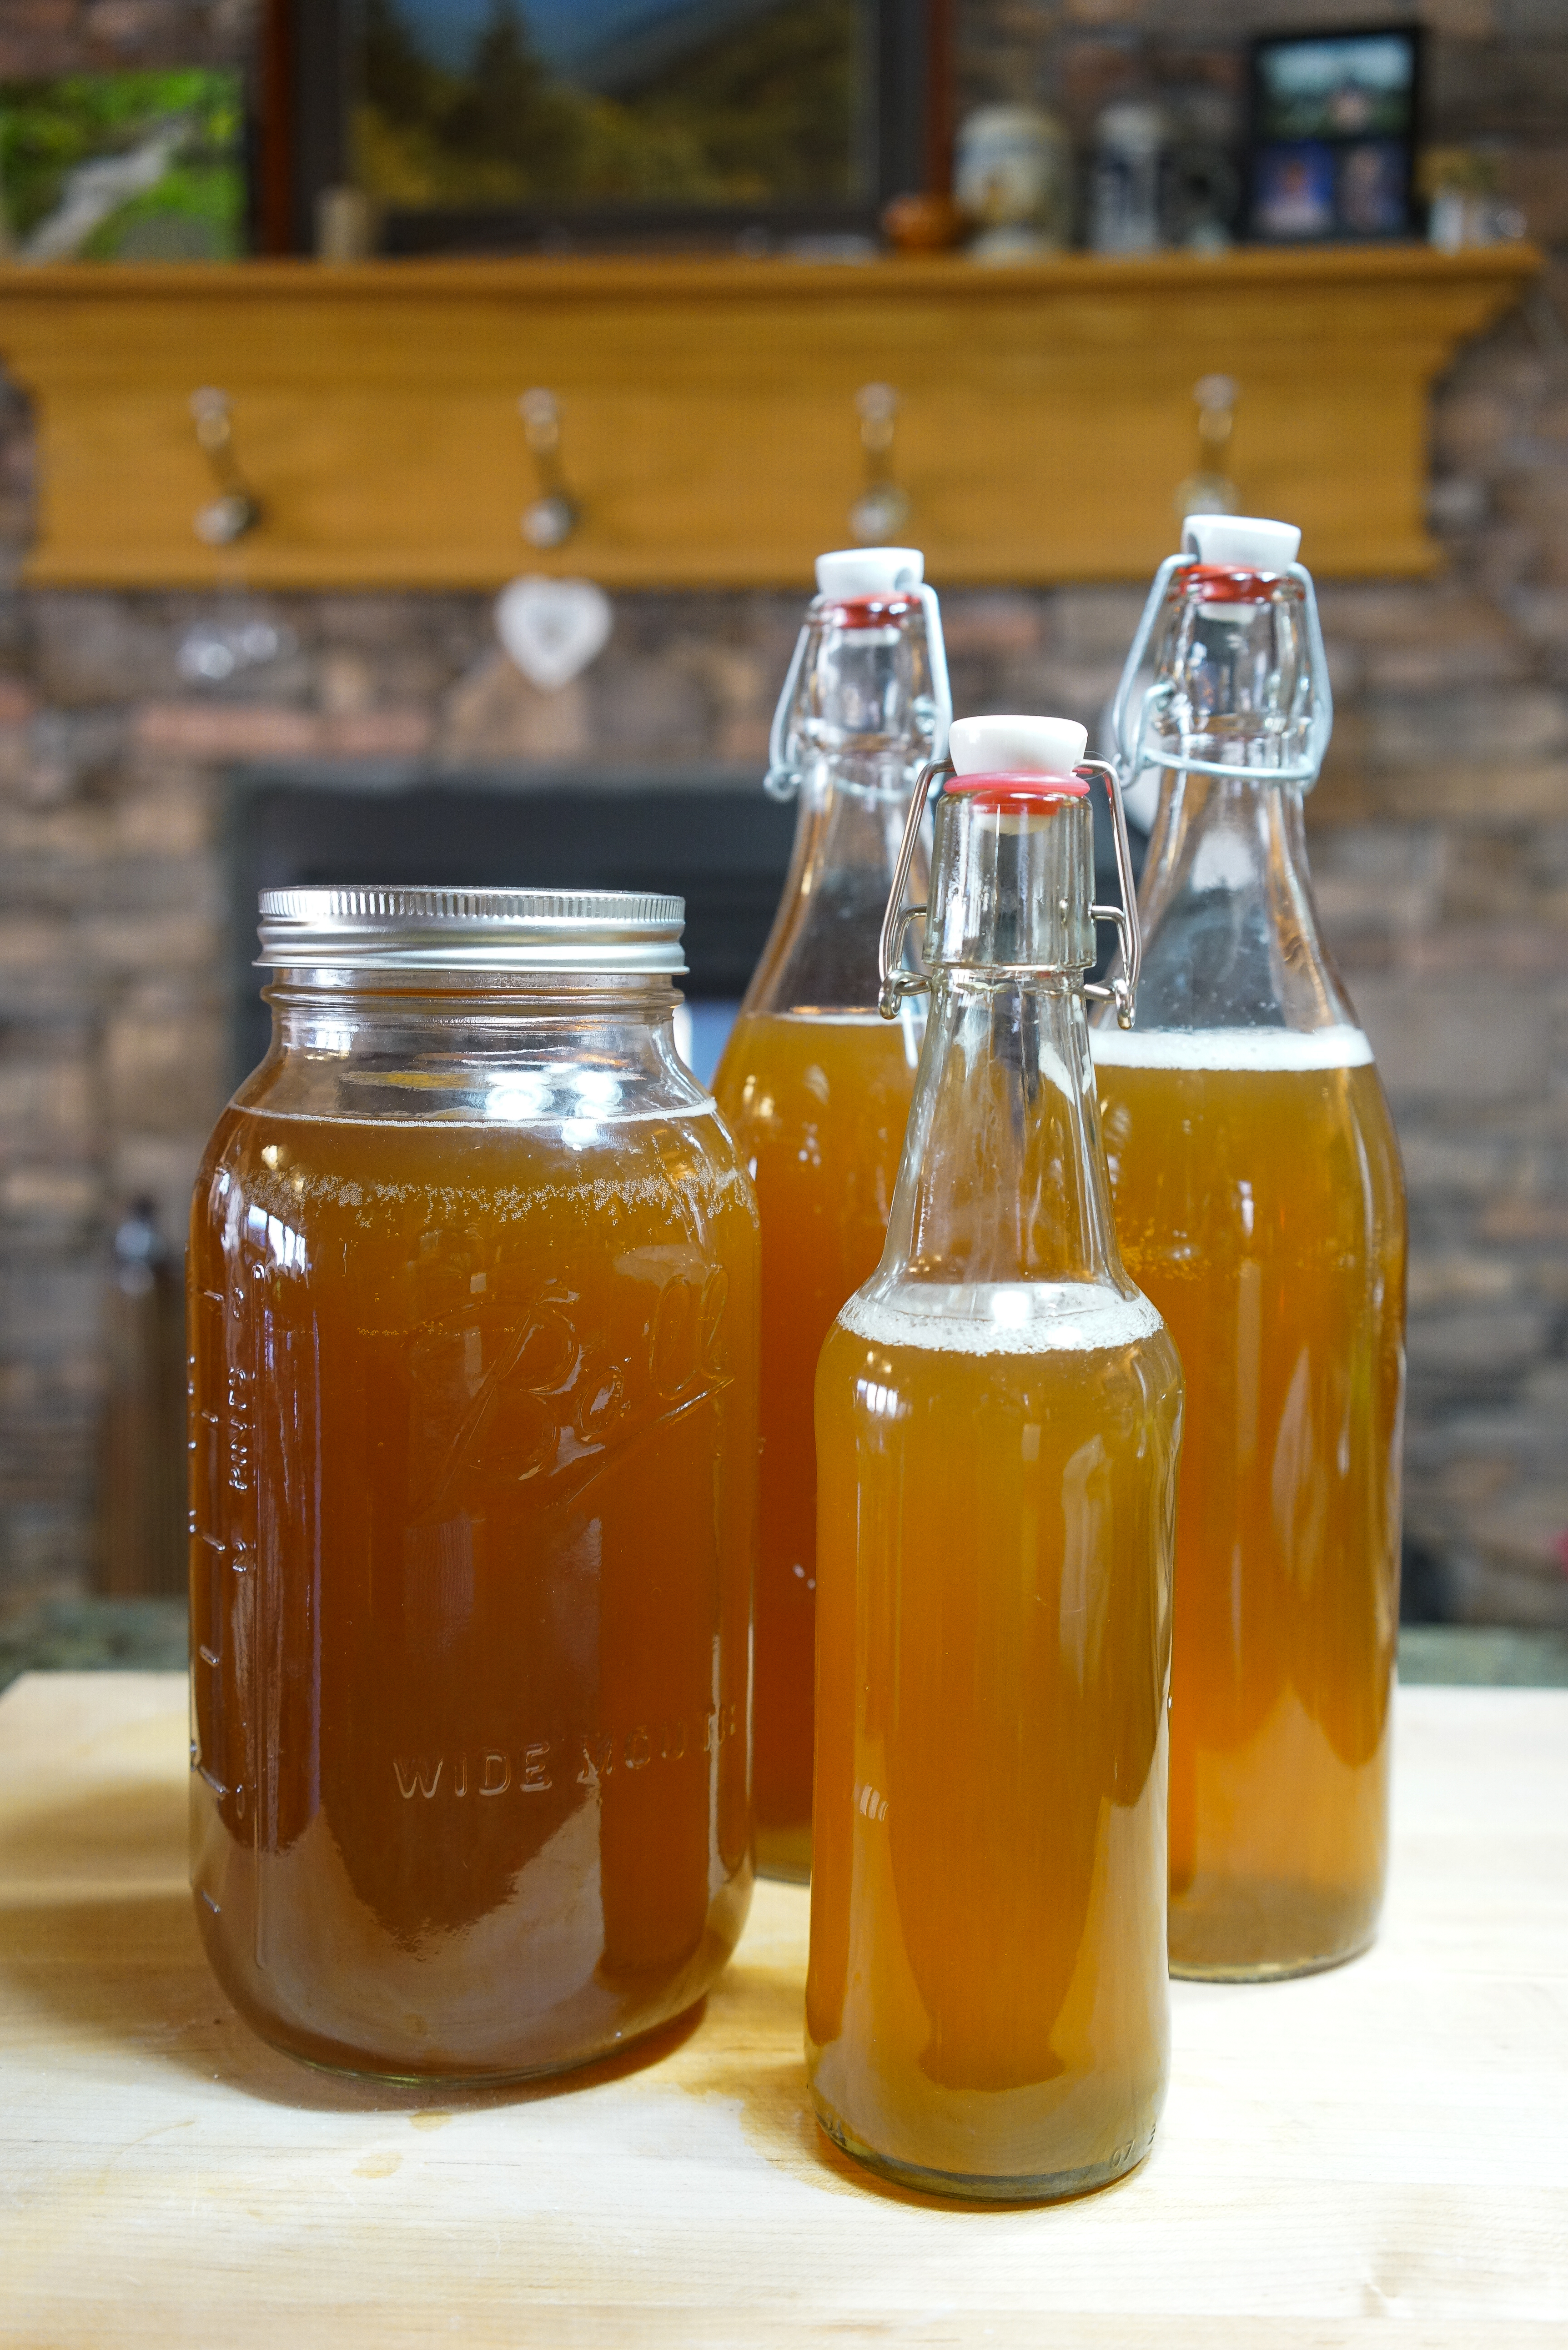
From today's batch, I poured FERMENTED kombucha - 14 cups black / 8 cups green. I poured FRESH sugar tea (to be fermented over the next 11 days) - 22 cups black / 8 cups green.
Now that I have FERMENTED kombucha, I'm going to flavor it.
Second-Fermentation
Second-fermenting kombucha increases fizziness (and alcohol content) and affords you the creativity of steeping new ingredients in your SCOBY-free kombucha to add delicious flavoring. I lean more toward fruity/herbal flavors. For this round, I made two different flavor pairings.

Blueberry Sage Black & Cranberry Rosemary Green
Depending on how fast the fruit (sugars) ferments inside the kombucha, I expected to pop the Grolsch bottles and strain them within 3 - 5 days. I HAVE had one explosion, but only because it froze and then unfroze. Otherwise, I've only ran into issues with dented mason jar lids (i.e. why I use swing top bottles).
Of course, you can enjoy your fermented kombucha straight from the tap!
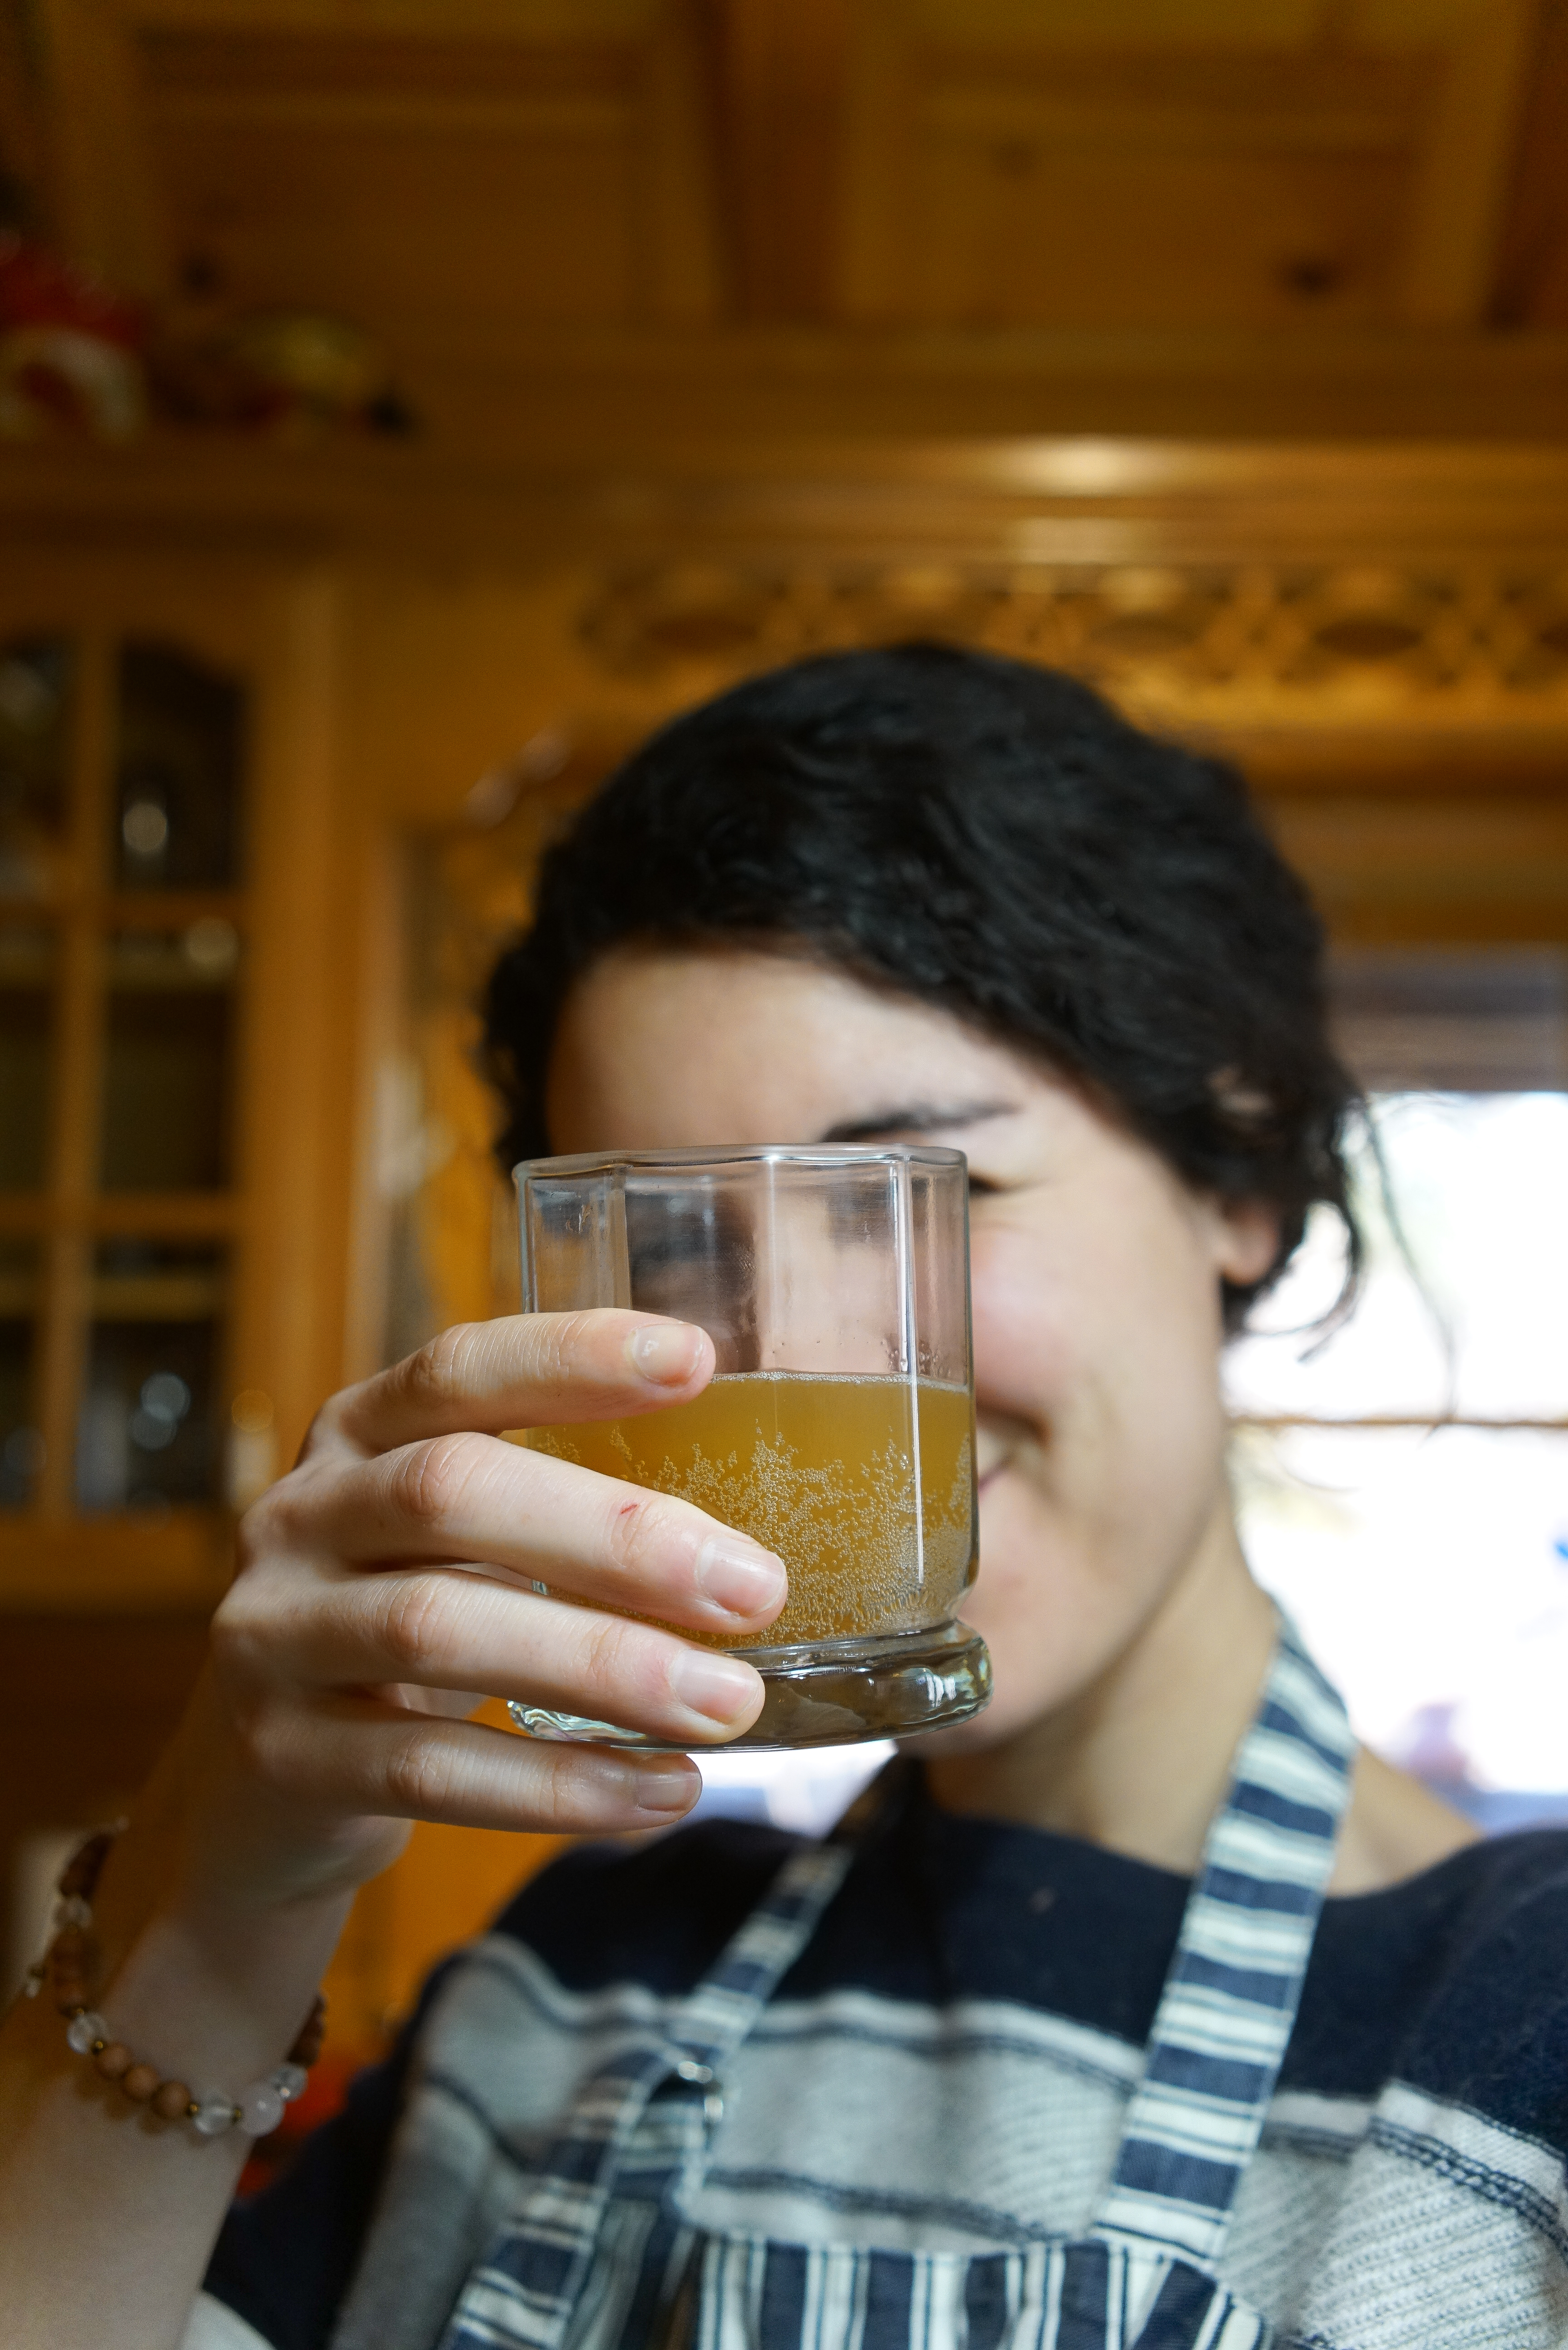
Which as you can see, I certainly did today. For those of you with self-control, allow your second ferment to take on the delicious flavors and enjoy refrigerated when ready. Sometimes, it may help your comfort level as a new kombucha-maker to 'burp' the bottles daily. This is not necessary and could impact the carbonation, but it ensures you won't have any bursts.
Kombucha Recipe Recap
You will need:
- Large stock pot
- Measuring bowls
- Measuring spoons
- A reusable steeping bag
- Black tea
- White tea
- Sugar
- Towel because this inevitably gets messy!
optional - Funnel w/ strainer
- Apron
- Wooden spoon
NOT OPTIONAL: SCOBY
- Grab a store-bought kombucha and grow your own
- Get one from a nice friend
- Order one online or at your health-food store
Use a ratio that works for your batch-size
| Recipe Size | Water | Tea | Sugar | Starter Tea |
|---|---|---|---|---|
| one quart | 2 • 1/2 cup | 1 • 1/2 tsp or 2 tea bags | 1/4 cup | 1/2 cup |
| one half-gallon | 6 • 1/2 cup | 1 tbsp or 4 tea bags | 1/2 cup | 1 cup |
| 1 gallon | 13 cups | 2 tbsp or 8 tea bags | 1 cup | 2 cup |
Boil your water, steep your tea off of the heat for ten minutes, stir in sugar, allow to cool
Combine cooled sugar tea, starter tea, and SCOBY in your chosen container and allow to ferment 7 - 14 days. Taste as you go to learn your preference!
If you already have a batch of kombucha from your SCOBY growth period or given to you by a friend, consider adding fruit, herbs, flowers, and spices to your fermented kombucha and store in a swing-top bottle or mason jar for 3 - 5 days.
Cheers!

I hope you have enjoyed this kombucha experience!
Do you have a favorite flavor or combination? Have you ever made kombucha before?

Hi, I'm Amelia! It's nice to meet you.
I'm a writer, minimalist, tiny home dweller, and maker living in East Tennessee, USA. My blog has lived at www.amelia-bartlett.com until I discovered Steemit, where I now post most of my work. To learn more about me, check out my introduction post, get up-to-date on my school bus tiny house conversion, and follow me for articles on slow living, sustainable fashion, self-expression, and quality curated resteems!
Proud member of

banner by @bearone

banner by @bearone


I just had my first brew ready today. It is so much fun.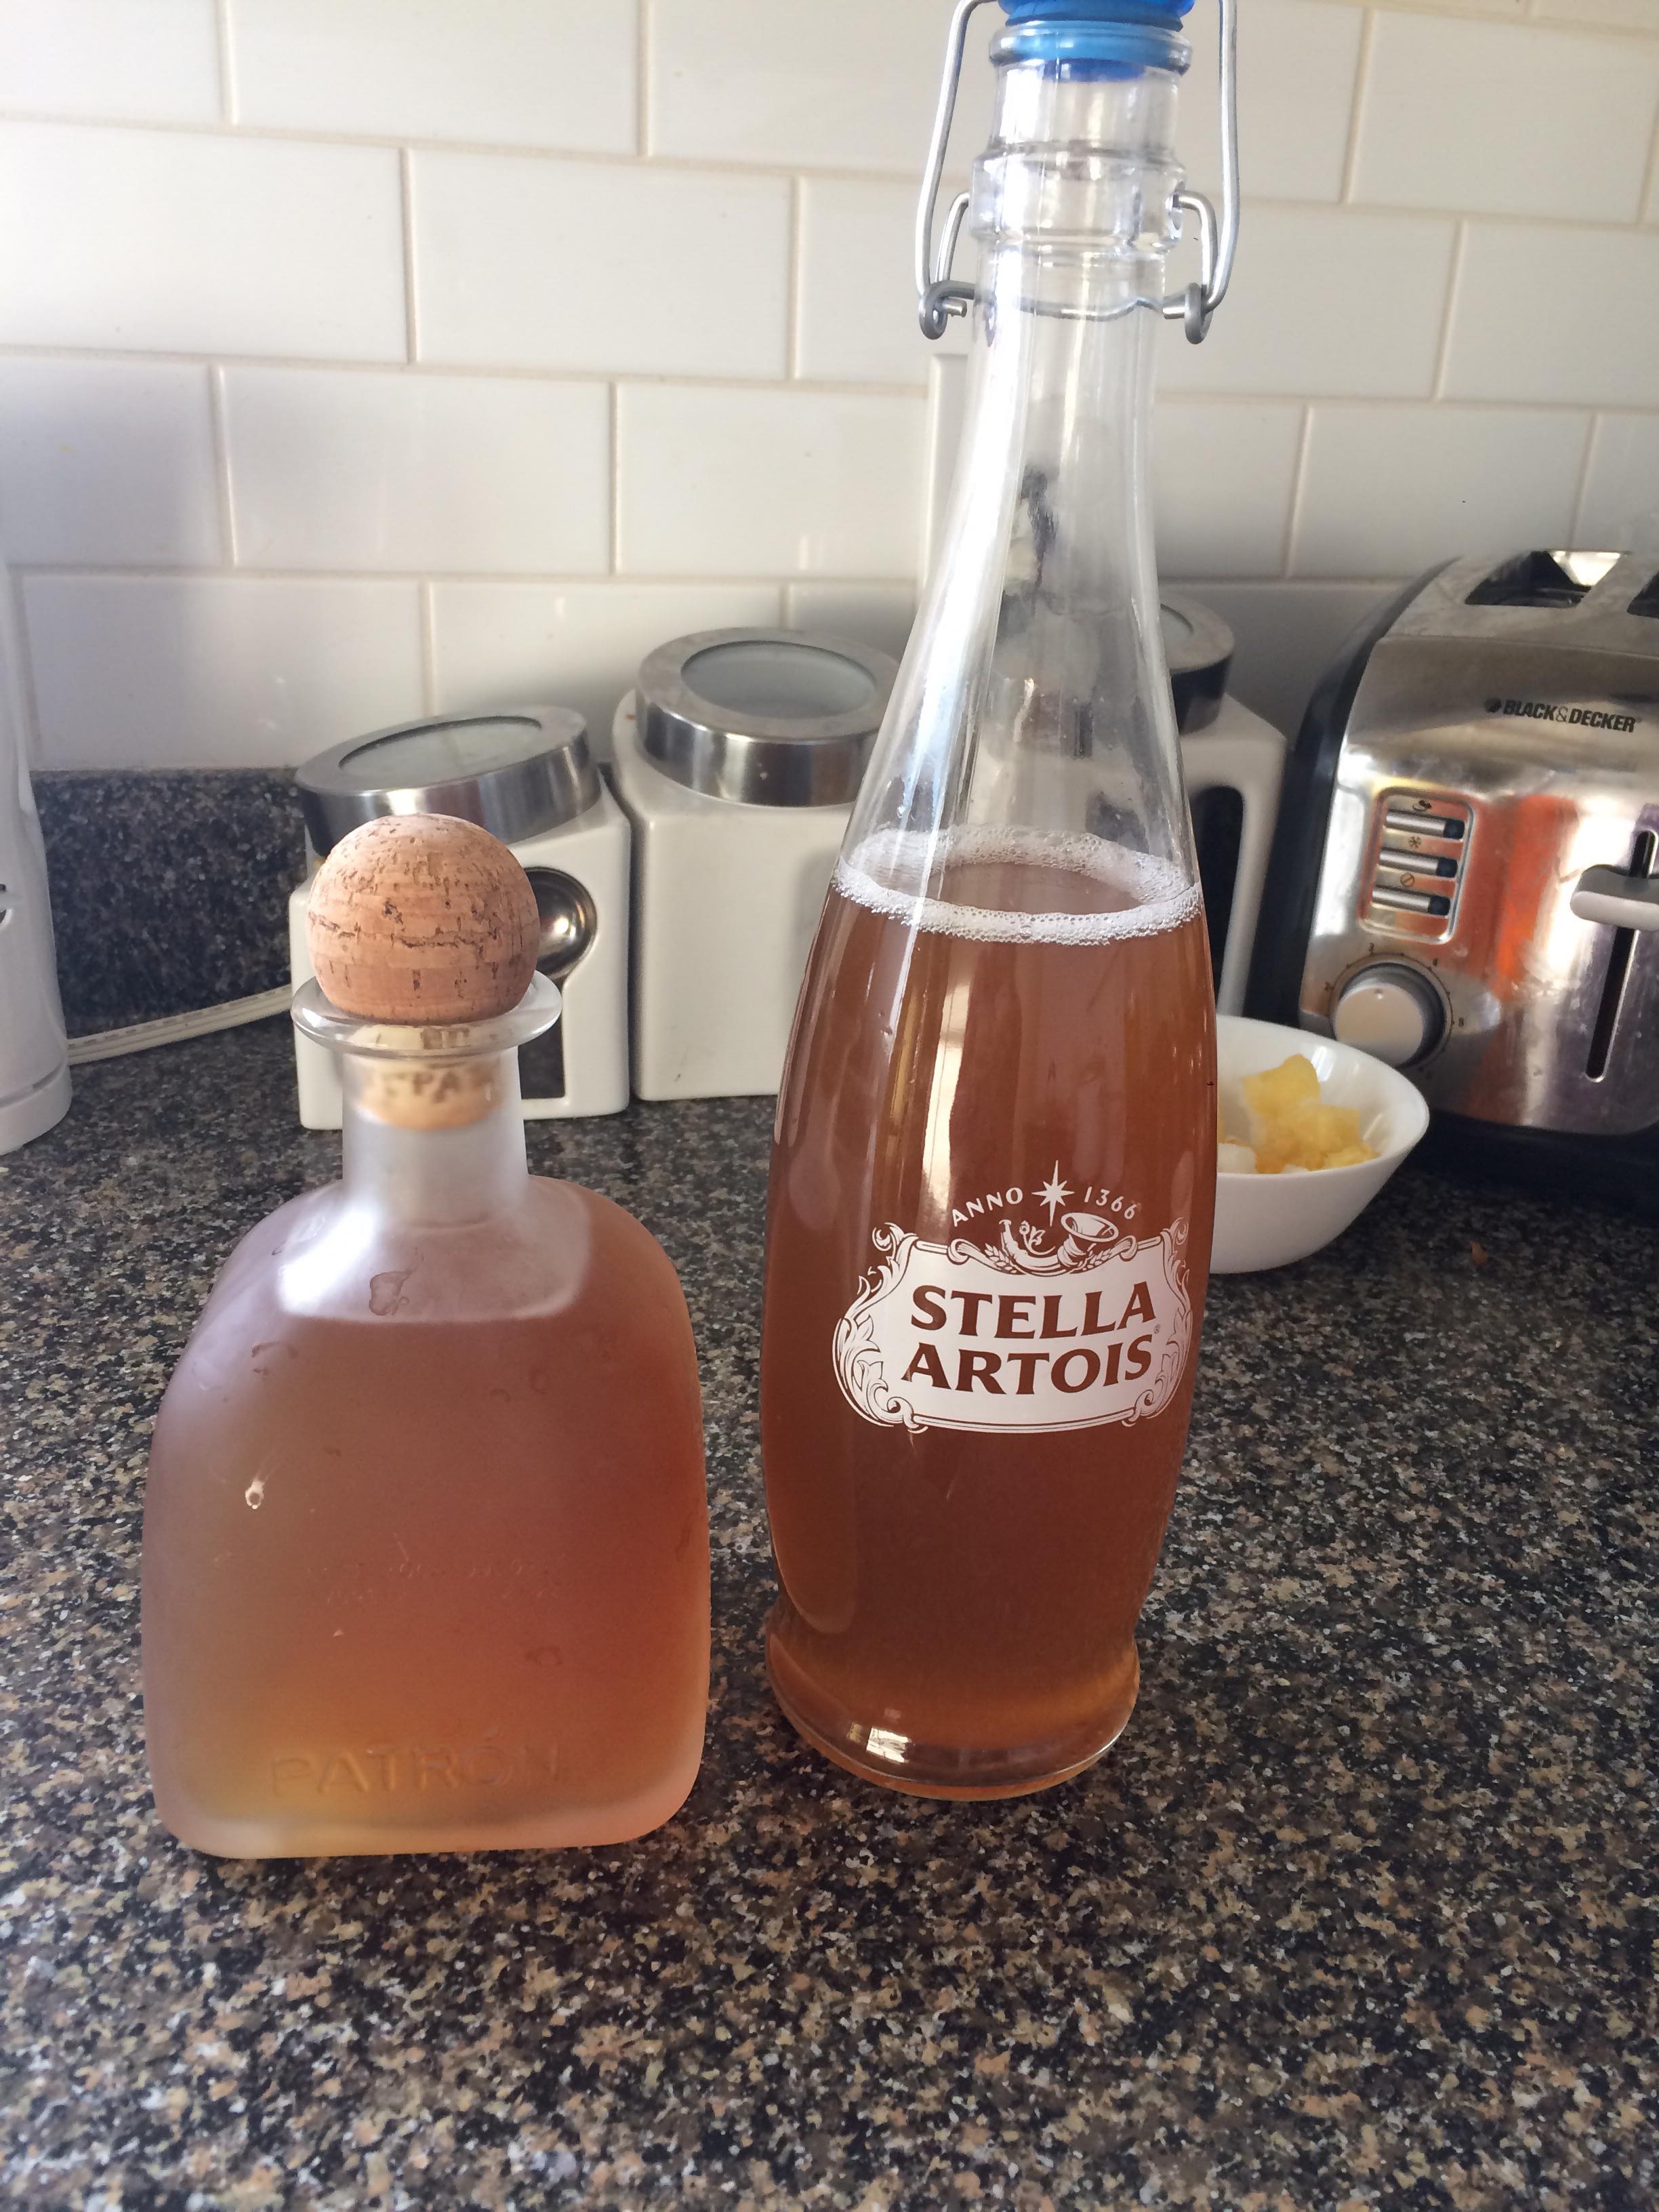
Look at those lovely bottles! That's a beautiful booch color. 😍
This looks super fun! I didn't realize it was so easy to make. ;)
Oh yes, when I discovered how easy homebrewing was, it killed my urge to buy store kombucha immediately. 😂 Granted, store-bought brews often have deliciously exotic flavors but I'm working up to that!
I used to make kombucha a lot, but I could never quite seem to get the flavors right. When we moved away, I got out of the habit, but you're making me want to get started again! Great instructions and photos!
Thanks for sharing and reminding me!
@byn
You're very welcome @byn. If you do start homebrewing again, I'll be following along to see your adventures!
That was brilliantly done. Beautiful images too. Overall, an impressive blog. I'm here for the resteems too ;-)
Thank you @misterakpan! It's my first attempt at photographing a recipe process and I was afraid I went overboard. I took over 100 photos 😂
Very good tutorial. I haven't brewed in a while. time to get back to it! Good to meet you! Following!
Looking Awesome! I have had luck with a mixture of black and green tea and even adding fruit tea to the mix! Following!
Yum! My green tea SCOBY is my favorite right now. Have you heard of Jun? It's like kombucha but made with green tea and honey. I'm going to experiment with this in the summertime!
I make Jun too, it has a different taste than regular Kombucha, I like to do a second ferment with ginger and it tastes pretty good.
The Scoby never looks very appealing haha
Thanks for the recipe. I'll refer back to it because it's always been something that I wanted to make
@gratefulforitall once you have a SCOBY of your very own, you will come to love and cherish its unique beauty. 😂
if you say so haha
This is exactly the way I teach how to cook: step by step with A LOT of pictures!
Lets share it!
Please post more & see may work here:
https://steemit.com/eatphotography/@meonline/6bhnk-full-hd-cooking-a-fresh-vegetable-quiche
Glad you enjoyed the post! It's my first recipe post ever and I really enjoyed it, I think I will do more!
Following you
Adrian
@meonline
You've done a really great job of outlying the step and making it super easy to follow. Great job at sharing such a quality post. This has inspired me to get back into brewing kombucha. Following
Thanks so much @mountainjewel for your kind words! Share your kombucha adventures in the future. I'm going to curate a post of my favorite recipe combinations so folks can get creative with flavors and infusions. And next up: Water Kefir!
@ameliabarlett this is great! Here in Norway is Really hard to find and super expensive, so you saved my economy now! Thank you 🙂
Aw that's a bummer to hear about Norway @lamexicana but I am excited to see your kombucha adventures come to life. I wish I could send you one of my SCOBYs but I don't think it would ship well. Good luck in your home brew!