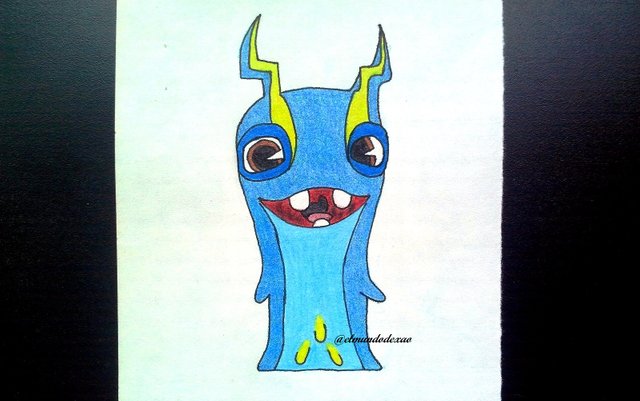
Hello welcome to my blog; I hope you are enjoying this weekend. Today I will add a new drawing to my practices and it is the Electroshock Slug that belongs to the element electricity.
The materials I used: white paper, pencil, 0.5 marker, eraser and colors.
I usually use video material or images to complement my learning, so at the end I leave the link I used this time.
Next I start the step by step of the drawing:
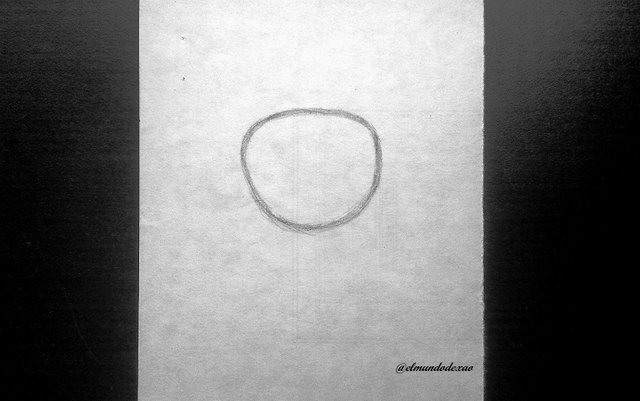
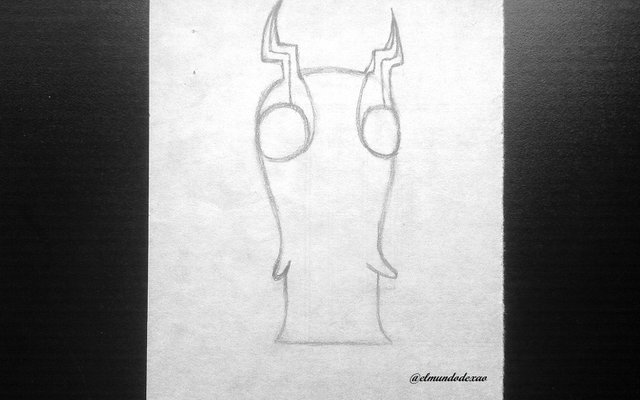
Step # 01: I will start making a figure as close as possible to a circle; it came out with the upper part a little flat but that does not matter since the idea is to position the silhouette so I will correct what is needed later; once the silhouette is drawn I realize that it should be a little higher so I increase its size in the upper part.
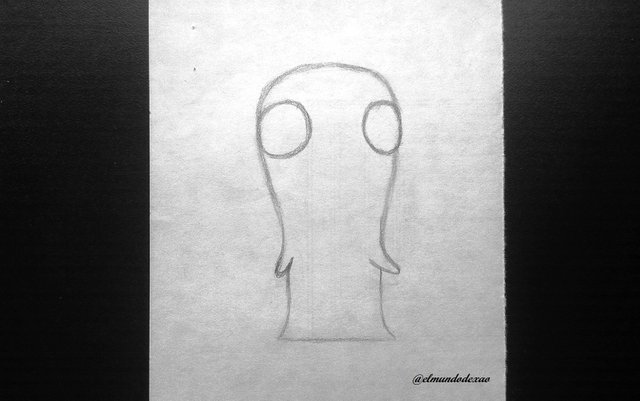
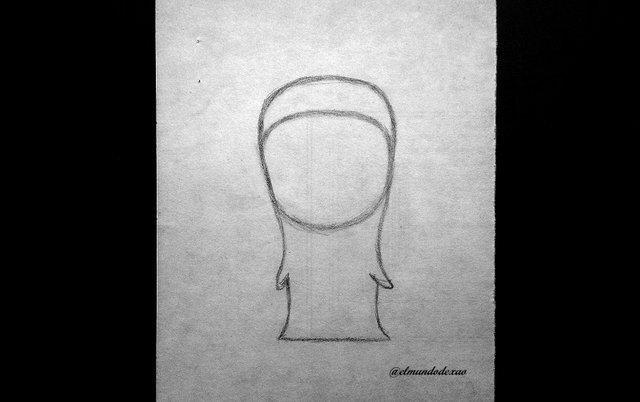 Step # 02: Once the silhouette is defined, I place the circumferences of the eyes to then make the horns and trace the stripes that are in the center of them.
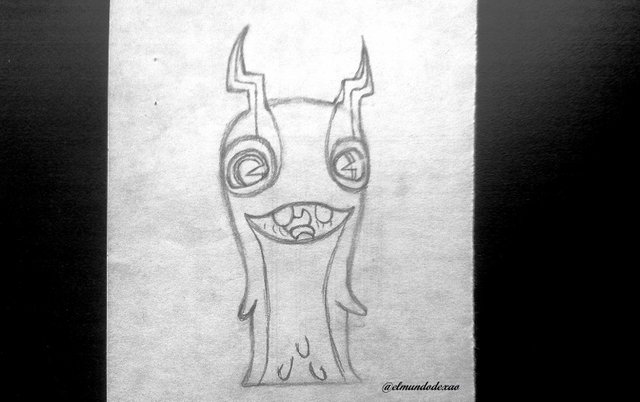
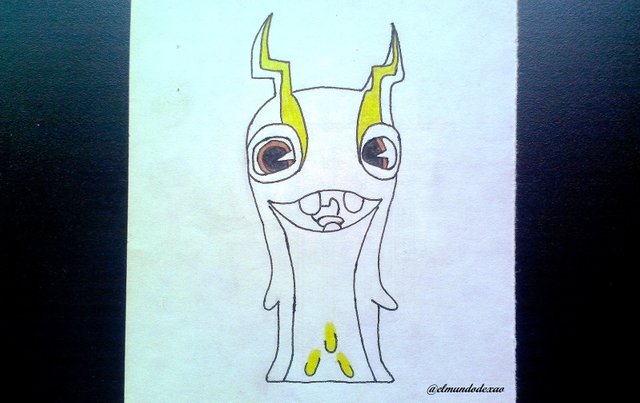
 Step # 03: Now I finish the eyes by drawing the pupils and all the inner part; then I draw the mouth by drawing an arched line below and a wavy line above; once the mouth is finished I use the tips of the sides of the mouth to draw two lines up to the feet to make the strip of the belly in which it has three spots in the shape of a triangle and thus I finish the sketch.
 Step # 04: The highlighting with a marker pen will be the next step and this way I can check if there is any detail missing; when I finish I erase all the graphite and I have finished the drawing.
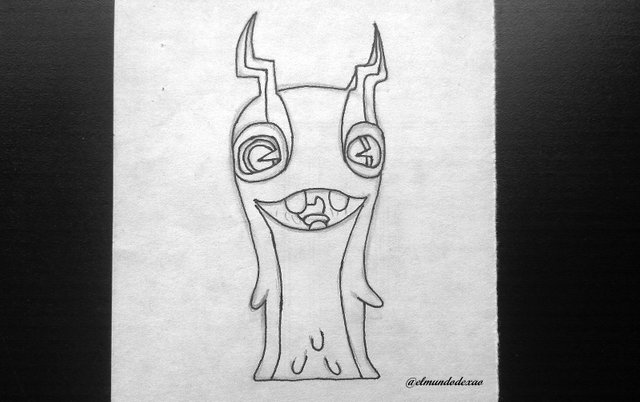
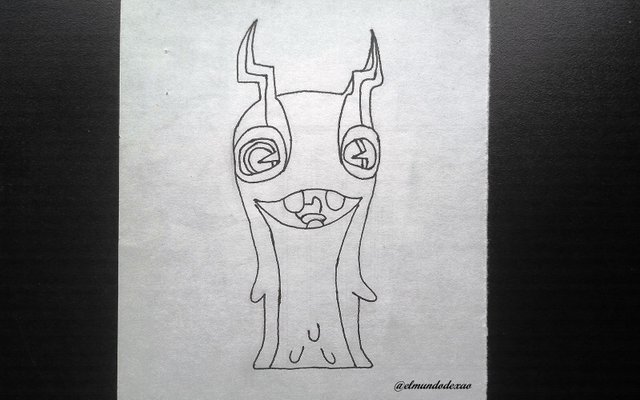 Step # 05: The colors that will represent this character are the following: for the inner part of the horns yellow as well as the three spots on the belly; as for the eyes they will be brown and the stripe under the mouth a light blue but for the eyes the border will be a slightly darker blue.
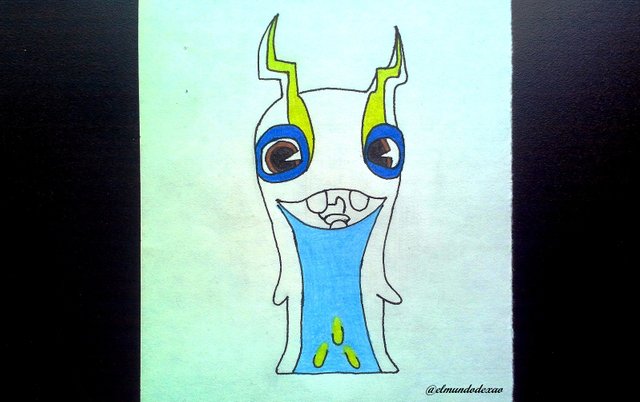 Step # 06: For the rest of the body I will place an intermediate blue between the two that I have already applied; as for the mouth carmine in the background blurred in the center with a little black, pink tongue and white teeth and so I end this publication. Well friends I hope you enjoyed this tutorial I say goodbye wishing you all a great day, afternoon or evening depending on where you are.
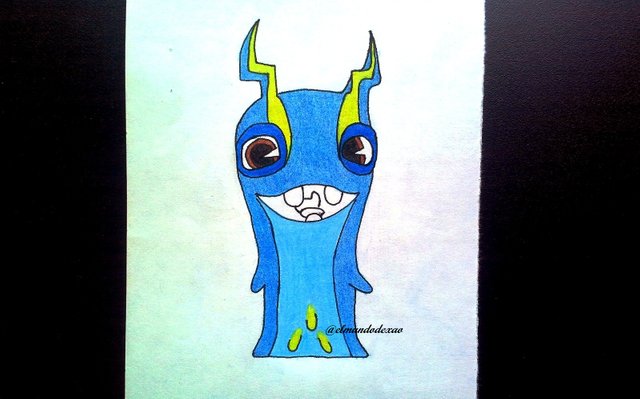

Photo Source: Own photos captured with a Síragon camera.
Modified size: With the Paint Program.
Thanks for visiting my Blog… AH! Don't forget to vote, reblogear, and comment.
Translated with:

www.DeepL.com/Translator (free version)

Dibujando a la Babosa Electroshock.
Hola bienvenidos a mi blog; espero estén disfrutando de este fin de semana. Hoy sumare un nuevo dibujo a mis prácticas y se trata de la Babosa Electroshock que pertenece al elemento electricidad.
Los materiales que utilice: Papel blanco, lápiz, rotulador de 0.5, borrador y colores.
Por lo general utilizo material de vídeo o imágenes para complementar mi aprendizaje por lo que al final les dejo el enlace que utilice en esta ocasión.

A continuación inicio el paso a paso del dibujo:
Paso # 01: Comenzare haciendo una figura lo más parecido a un círculo; me salió con la parte superior un poco chata pero eso no importa ya que la idea es posicionar la silueta así corregiré lo que haga falta más adelante; una vez trazada la silueta caigo en cuenta que debe ser un poco más alta así que aumento su tamaño en la parte de superior.

 Paso # 02: Definida la silueta ubico las circunferencias de los ojos para luego hacer los cuernos y trazar las rayas que están por el centro de estos.

 Paso # 03: Ahora termino los ojos dibujando sus pupilas y toda la parte interna; luego dibujo la boca trazando una línea arqueada abajo y una ondulada arriba; una vez terminada la boca utilizo las puntas de los lados de esta para trazar dos líneas hasta los pies para hacer la franja de la panza en la que lleva tres manchas en forma de triángulo y así doy por terminado el boceto.
 Paso # 04: El remarcado con rotulador será el paso siguiente y así verifico si falta algún detalle por hacer; al terminar borro todo el grafito y listo he terminado el dibujo.

 Paso # 05: Los colores que representaran este personaje son los siguientes: para la parte interna de los cuernos amarillo al igual que las tres manchas de la panza; en cuanto a los ojos serán marrones y la franja debajo de la boca un azul claro pero para los ojos el borde será un azul un poco más oscuro.

 Paso # 06: Para el resto del cuerpo colocare un azul intermedio entre los dos que ya he aplicado; en cuanto a la boca carmín en el fondo difuminado en el centro con un poco de negro, la lengua rosada y los dientes blancos y así doy por terminada esta publicación. Bueno amigos espero hayan disfrutado de este tutorial me despido deseándoles a todos que tengan un grandioso día, tarde o noche según donde se encuentren.


Fuente de Fotos: Propias capturadas con una cámara Síragon.
Modificado el tamaño: Con el Programa Paint.
Gracias por visitar mi Blog… ¡AH! No se olvide de votar, rebloguear y comentar.


