Let's do it...Do It Yourself👉Craft, Creativity, Drawing, origami, DIY, Recycling and more
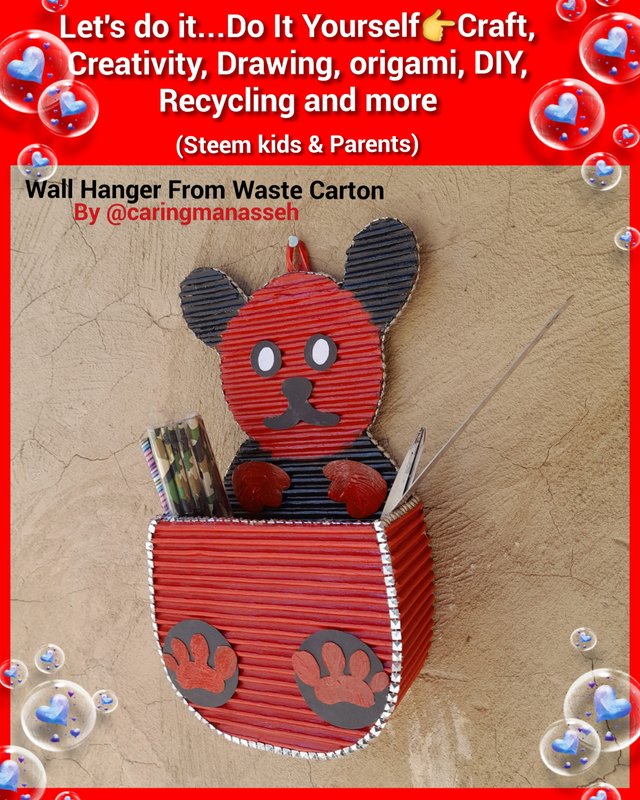
Edited using GridArt
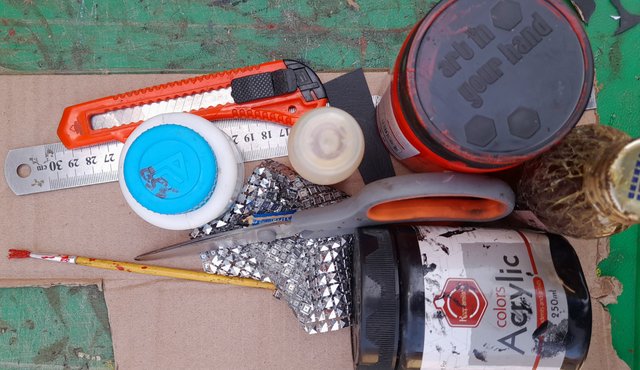
Materials For Construction
- Carton
- Pencil
- Eraser
- Acrylic colours
- Black embossed paper
- Brush
- Scissors
- Ruler
- Cutter
- White paper
- Crystal fabric mesh
Step 1
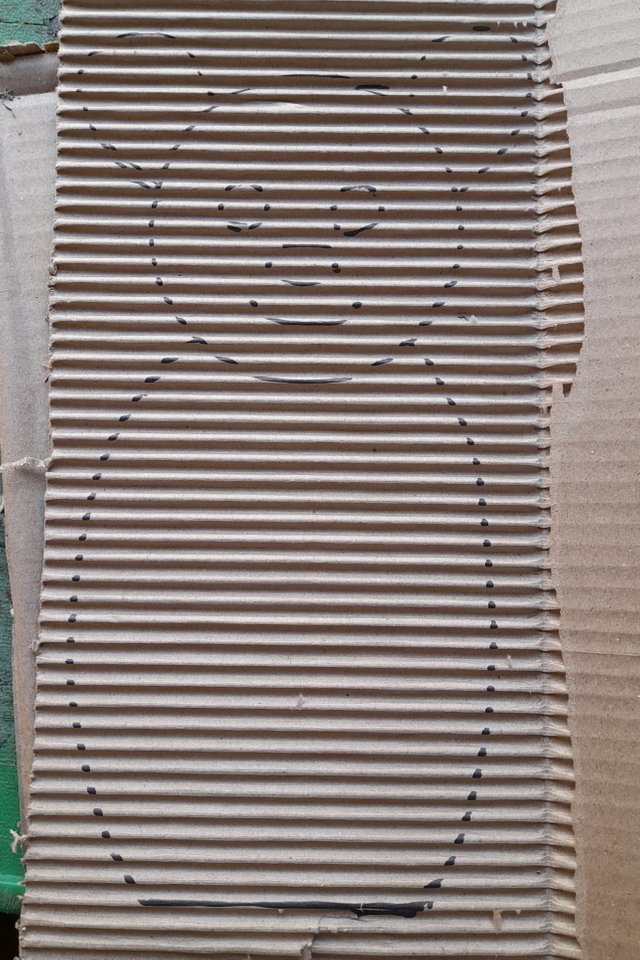
I peeled one side of a carton and used it to draw a dog which I started from the head. I drew a big circle which serves as the head. I then drew the two ears, the two eyes nose and the mouth. Lastly, I drew the body of the dog.
Step 2
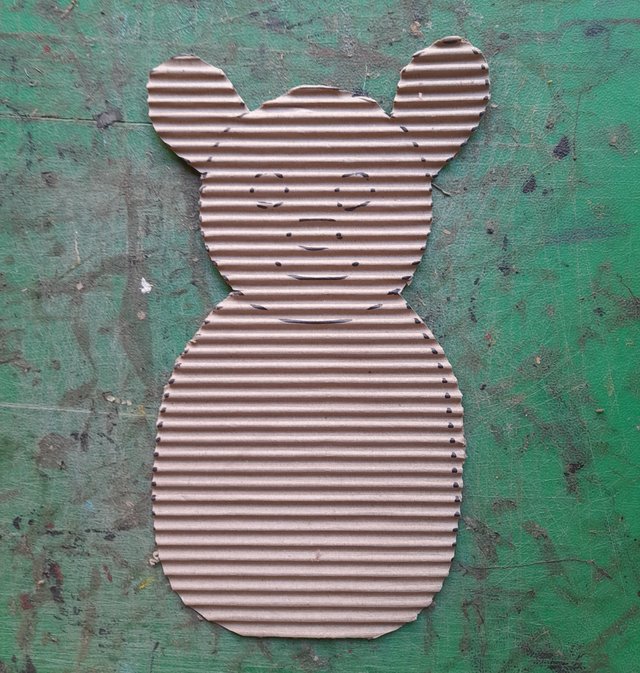
I cut out the dog I drew in Step 1 above using scissors.
Step 3
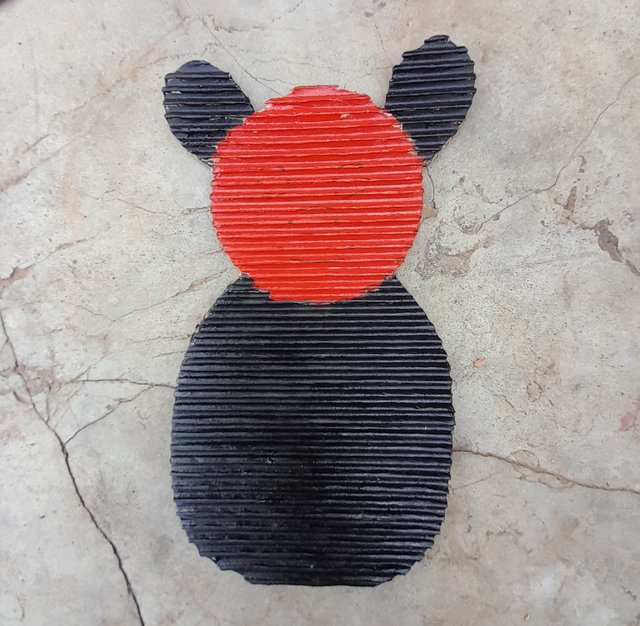
I coloured the dog. I used black acrylic colour for the ears and the body of the dog while I used red acrylic colour for the face of the dog.
Step 4
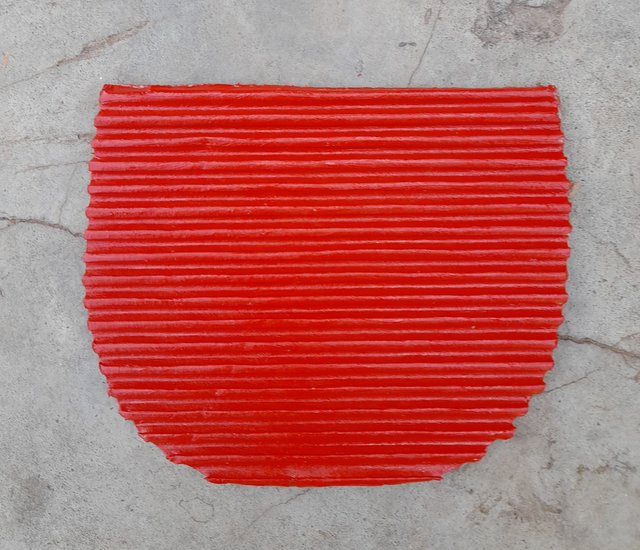
I drew the body of the dog on another peeled carton and cut it out using scissors. After the cutting, I coloured it red using an acrylic colour.
Step 5
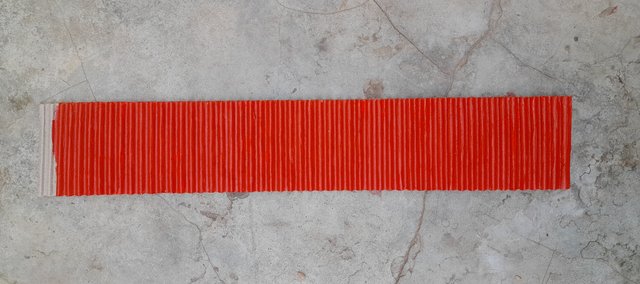
I cut a rectangular carton measuring 7cm wide by 40 cm long. After I cut the carton, I peeled one side of It and coloured it red using an acrylic colour.
Step 6
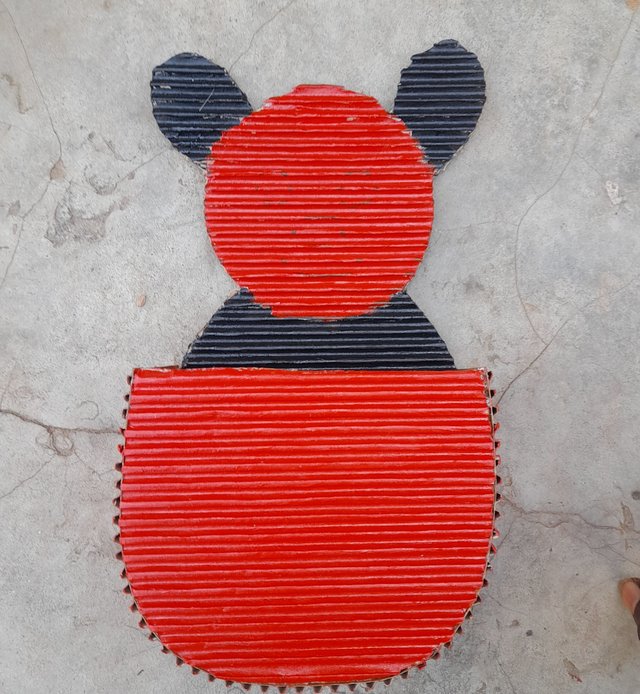
I gummed the 7cm by 40cm long paper on the half-body of the dog using an evostic gum and after that, I gummed it on the body of the dog I made in step 1 above using an evostik gum. I also added a top bond to it to make firm and able to hold items that are a little bit heavy.
Step 7
I drew two small circles on black embossed paper and cut them out. I also drew two smaller circles on a white plane paper, cut them out and then gummed each on the small black circles to form the eyes of the dog. I also drew the nose and mouth on black embossed paper and cut it out. Finally, I gummed both the eyes and nose on the face of the dog.
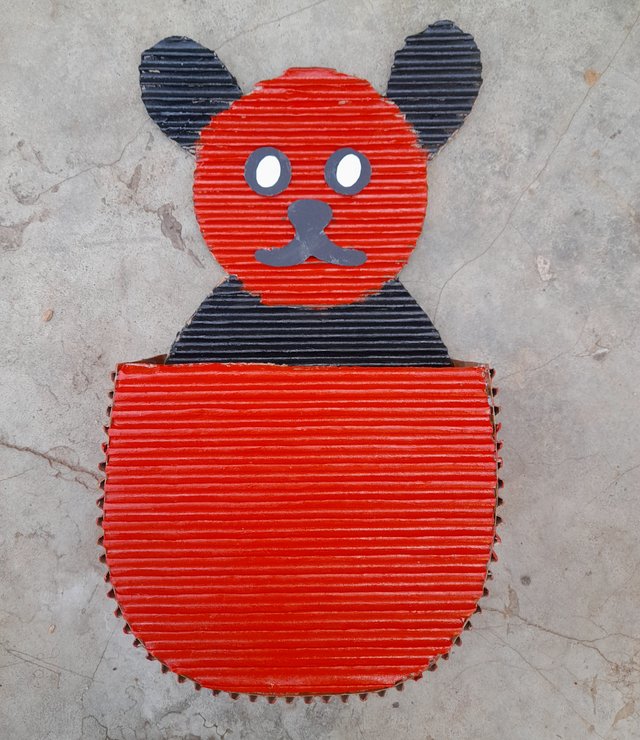
Step 8
I drew the feet of the dog and coloured it red using acrylic colour. I also cut two small circles from black embossed paper. I gummed the feet of the dog on the small circle and gummed on the wall hanger.
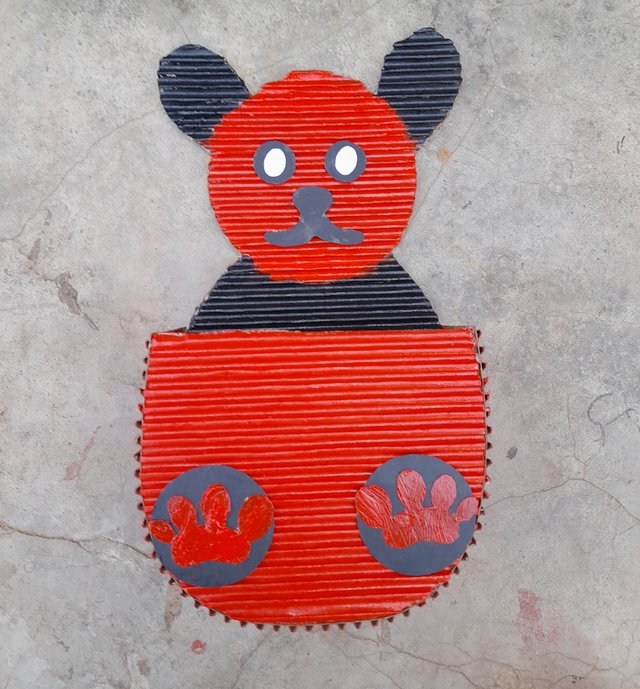
Step 9
I drew the hands of the dogs cut them out and coloured them red. After that, I gummed it on the hanger.
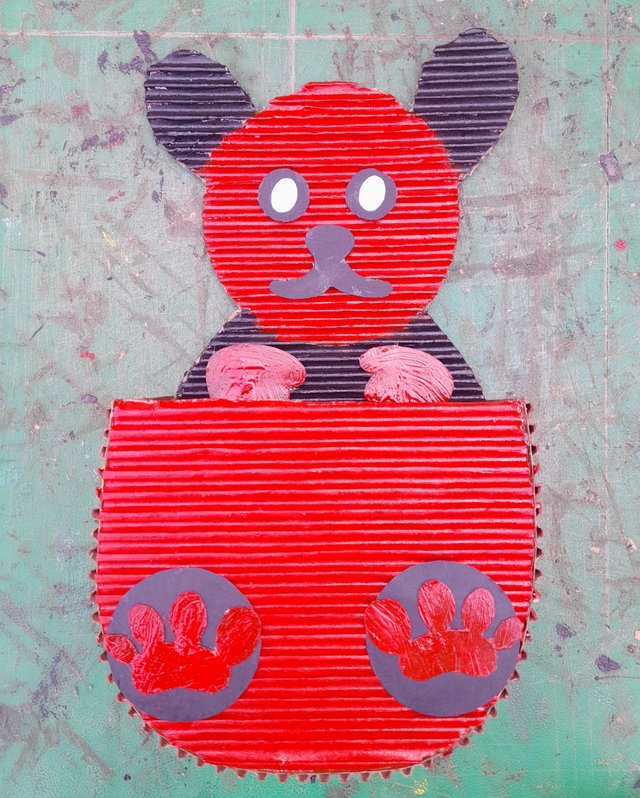
Step 10
I cut one line of Crystal fabric mesh and have it gummed at the edge of the wall hanger using evostic gum and adhesive to give it a beautiful look.
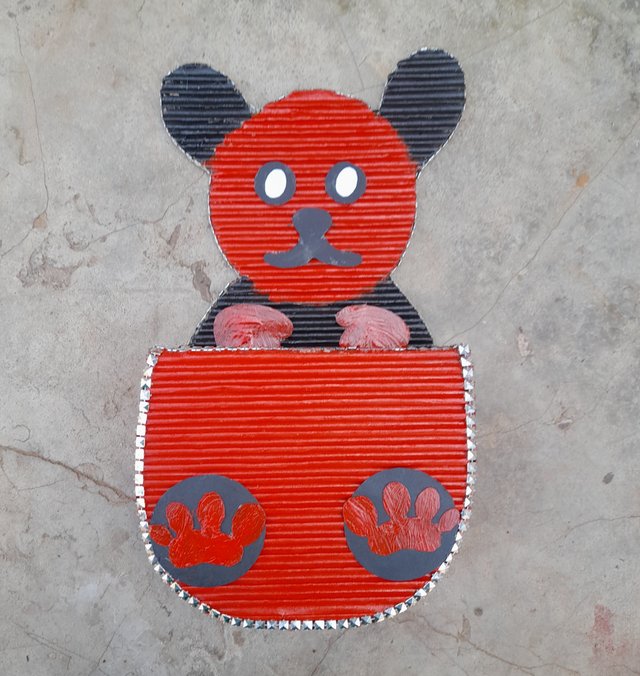
Step 11
I cut a red ribbon, folded it and gummed at the back of the wall hanger using evostic gum and top bond. The ribbon will be used to hang the craft on the wall. This brought me to the end of my craft construction.
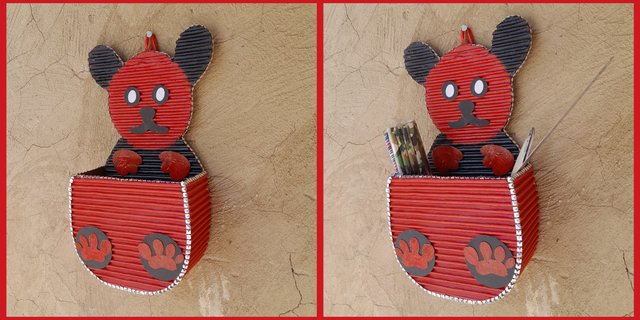
Edited using GridArt
My Selfie
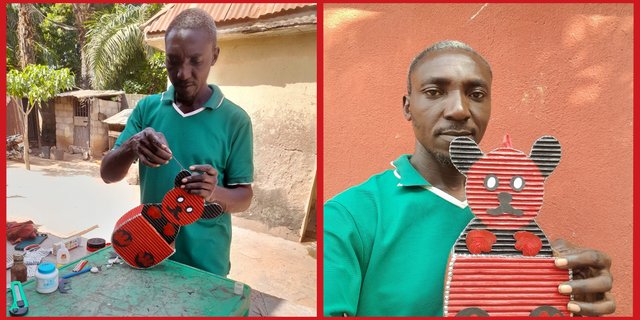
Edited using GridArt
Conclusion
Friends, I appreciate your visit to my blog and the support given. God bless you all. I want These personalities in the Steemit community to also show their skill in the contest:
@zisha-hafiz
@enrisanti
@imranhassan
Cc
@mesola
10% beneficiary support to @steemkidss
X Share (Twitter)
https://x.com/Manasseh3600/status/1859622446195740712?t=RNhVF9ENJAllSNoYMF4FRQ&s=19
You are such a talented person, I wish you success in your participation and more grace to you
Thank you
You are welcome
Thank you for publishing an article in the Steem Kids & Parent community today. We have assessed your entry and we present the result of our assessment below.
MODs Comment/Recommendation:
You're definitely back again with your creativity. I always love seeing your works. I hope you get support from the bigger team.
Remember to always share your post on Twitter. This POST LINK is a guide to that effect.
Thank you sir for your assessment and comment.
Congratulations!!! because your post has been upvoted by Team 7 using steemcurator09. Keep up the good work and keep making quality posts. Curated By <@lhorgic>
Thank you for the support
Wow such a beautiful craft!! It's really creative and useful. I also enhances the beauty of your wall.. keep it up friend
Thank you
I was really impressed by watching your wall craft stand. The steps you have shown so clearly and anyone can try this. Thanks for inviting me in this contest and I also dare to participate with all you of you skilled peoples here is my entry link - Let's do it...Do It Yourself👉Craft, Creativity, Drawing, origami, DIY, Recycling and more
Thank you ma'am