"SEC20/WK4: Graphic Design Hands - On practical 1"
Greetings To All Friends! |
|---|
Welcome On My Post |
|---|
 |
|---|
How are you? I hope you are all well. First of all, I thank sir @lhorgic who arranged this course and explained to us about this course with very easy steps. So I am very thankful to ma'am as a junior student because of this course I have learned many things.
As designing is very important nowadays, you can create different types of poster and thumbnails for yourself and your clients. We need to design everything we do. Unfortunately, earlier I couldn't create thumbnails on Canva, but now I learned from this course and created a thumbnail which I am going to share with you.
I used Canva but I didn't know about its features and options. Such as what transparency does and what it does. After giving it different colors, you have to circle something, secure shape, besides you told about the positions such a backwards photo looks like. This is a very interesting course. I am very happy to participate in this course. Check out my post step by step and tell me how I made this thumbnail.

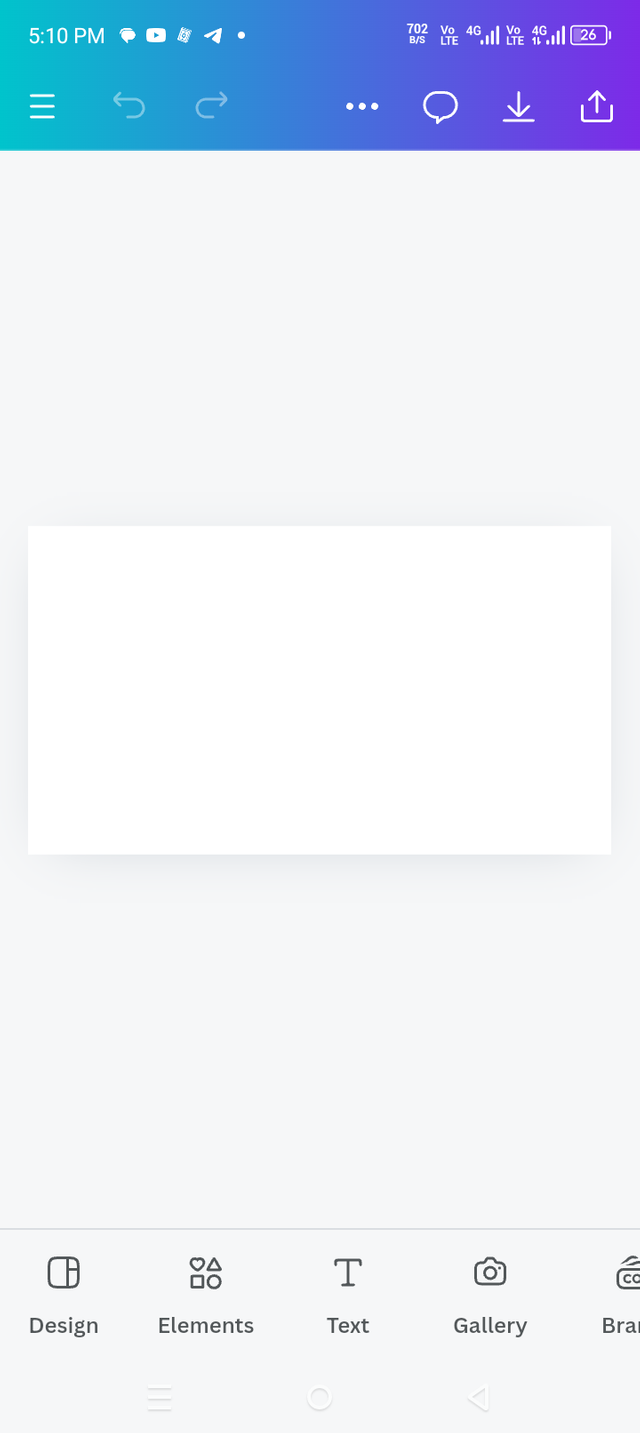
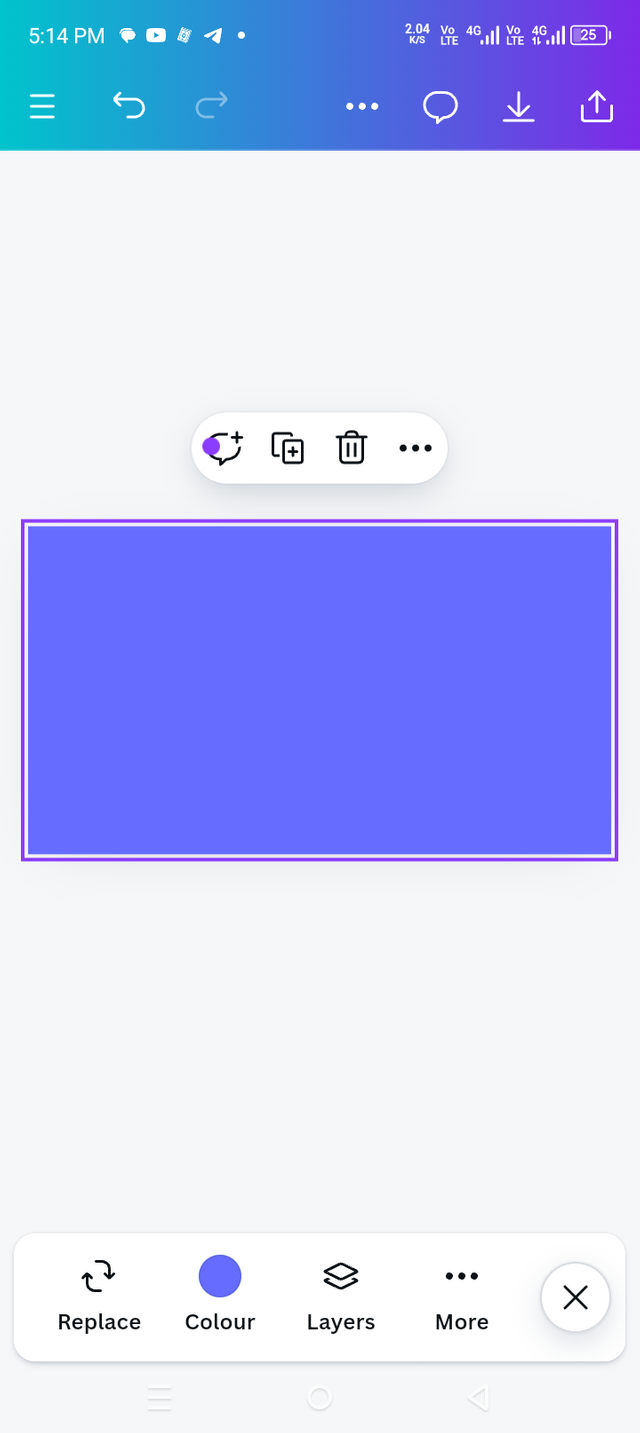
Step 1 |
|---|
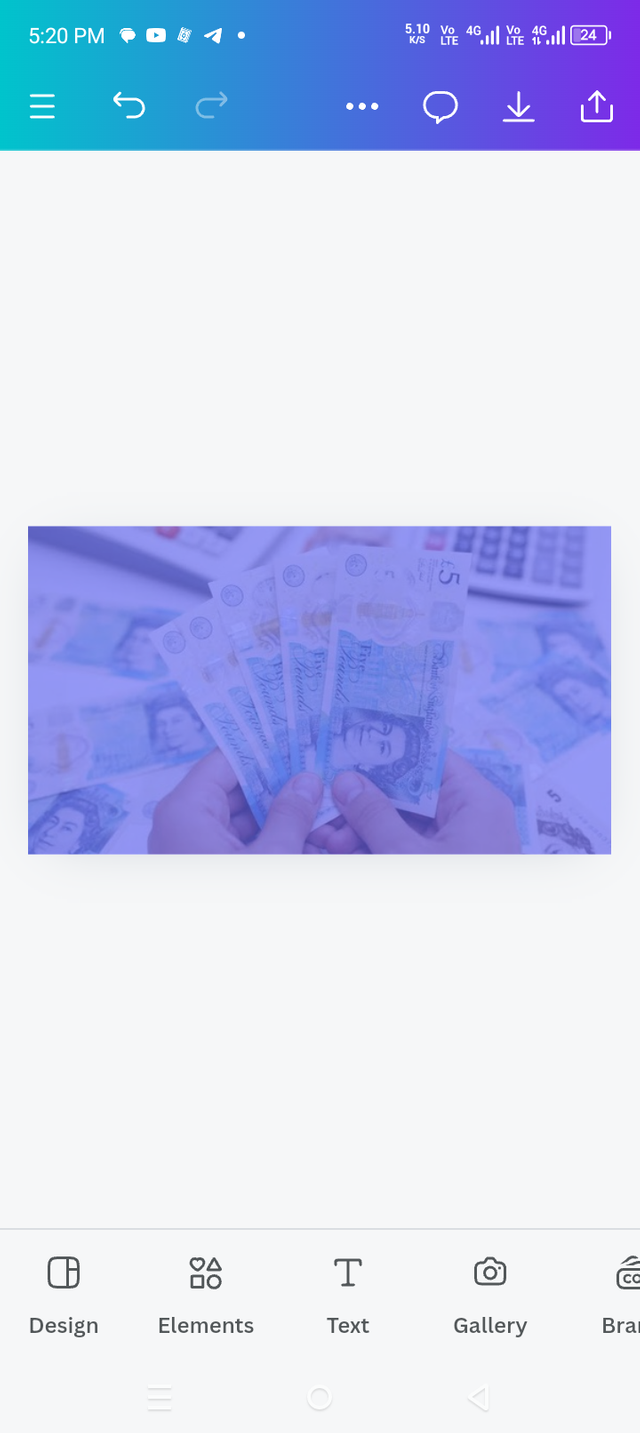
In first step, I took a blank thumbnail and colored it. As you can see in the picture.
 1 1 | 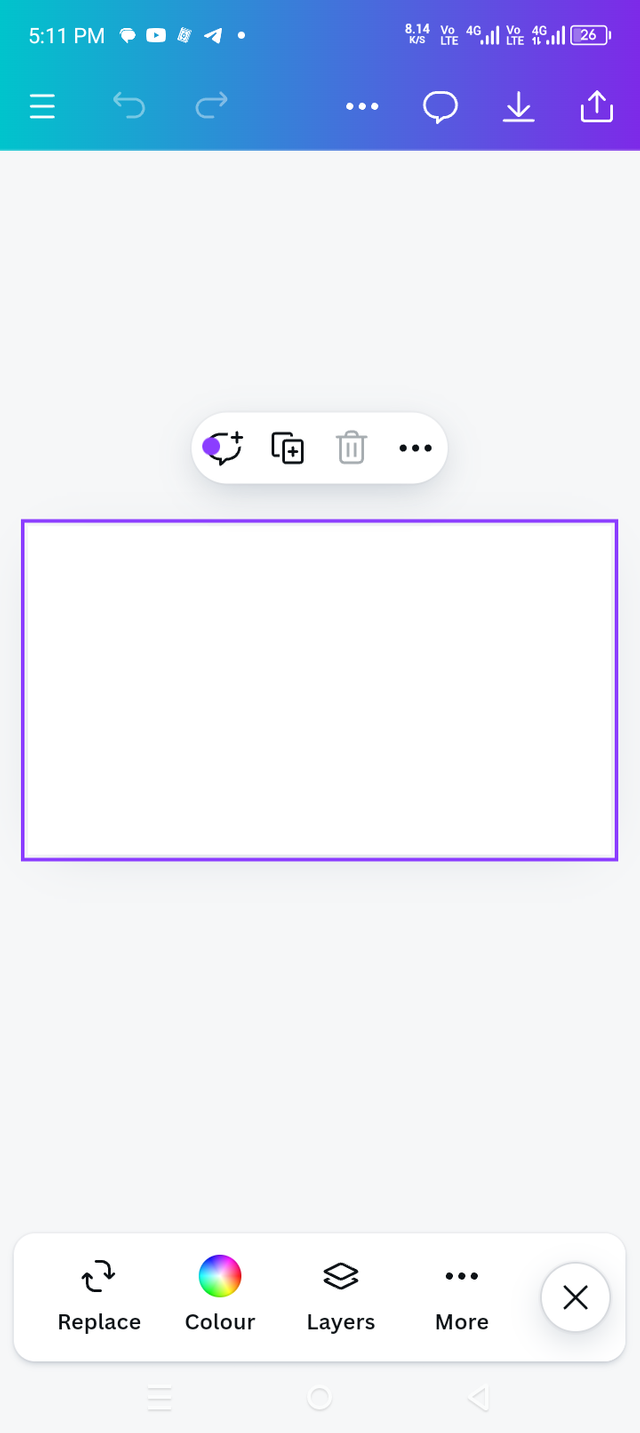 2 2 | 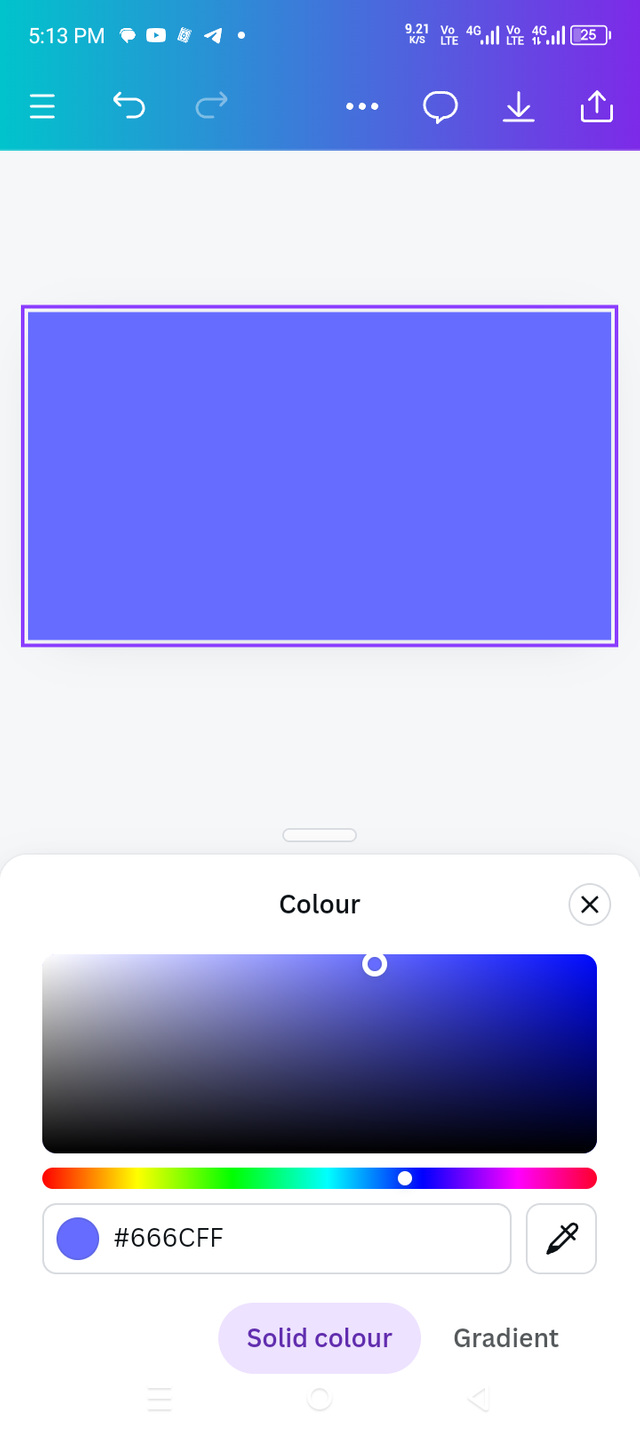 3 3 |
|---|
Step 2 |
|---|
In second step, I clicked on the gallery and after clicking selected a photo in it and then I click on add to page.
 1 1 | 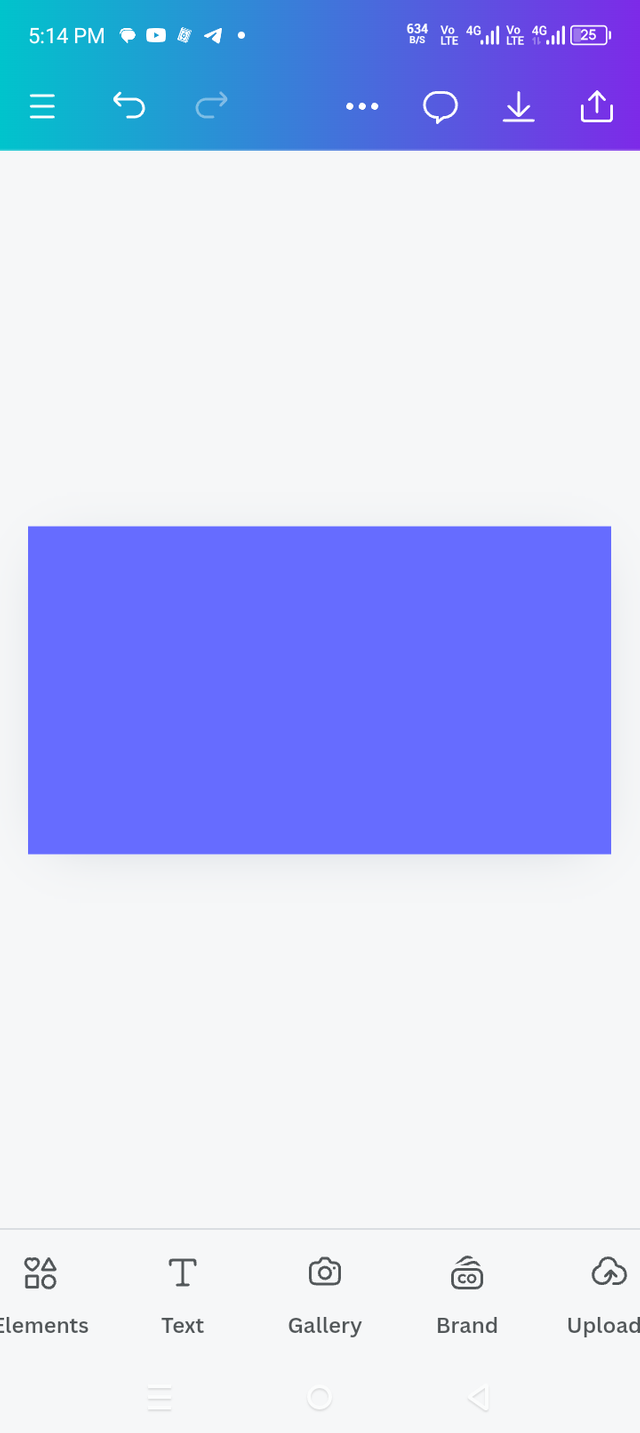 2 2 | 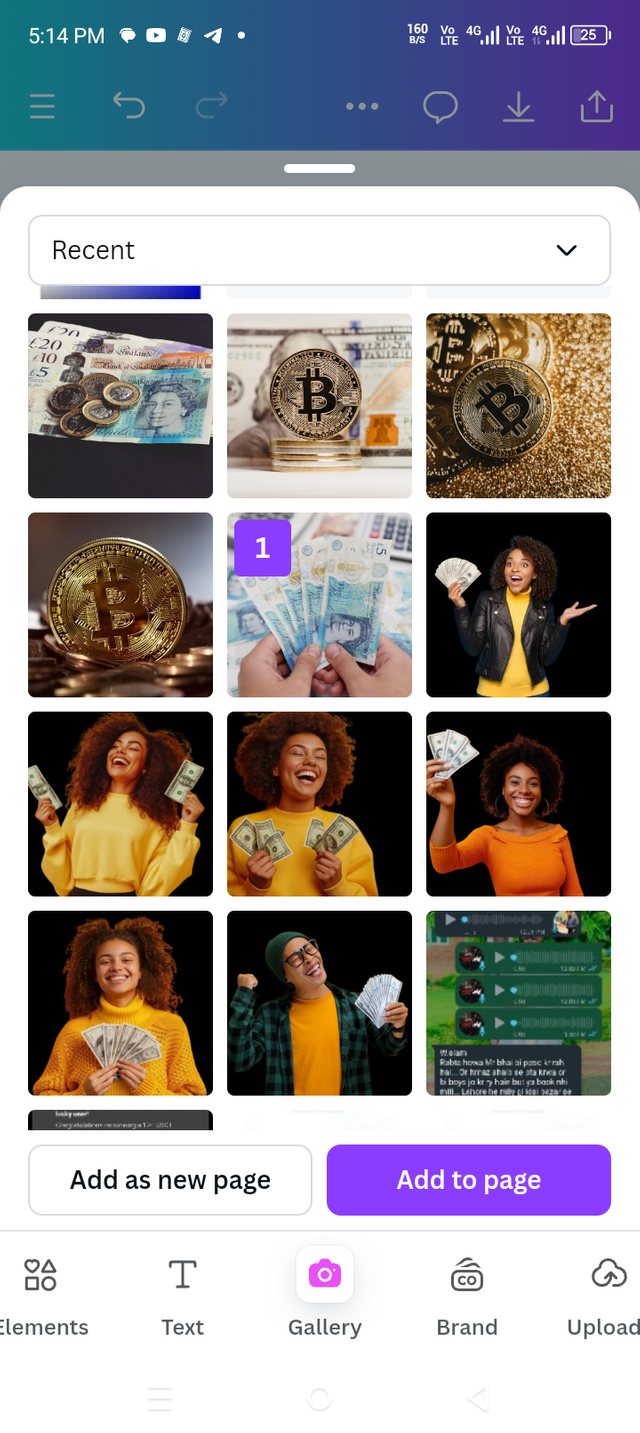 3 3 |
|---|
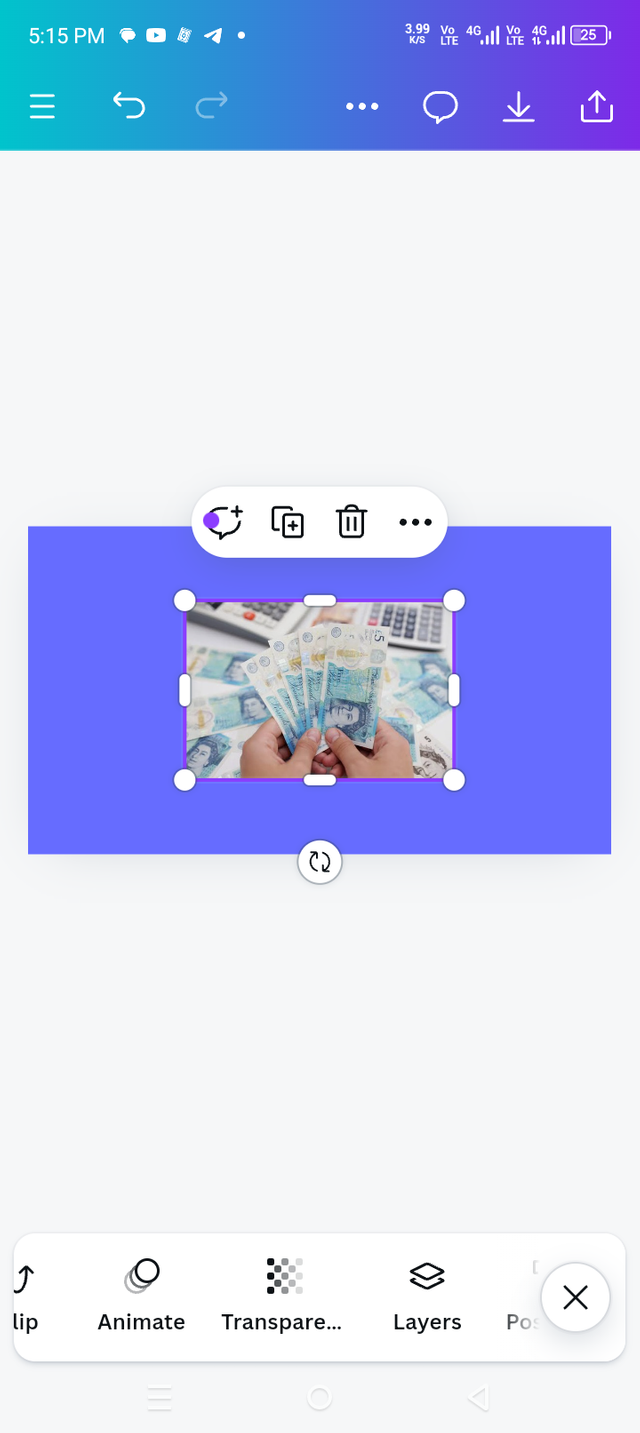
Step 3 |
|---|
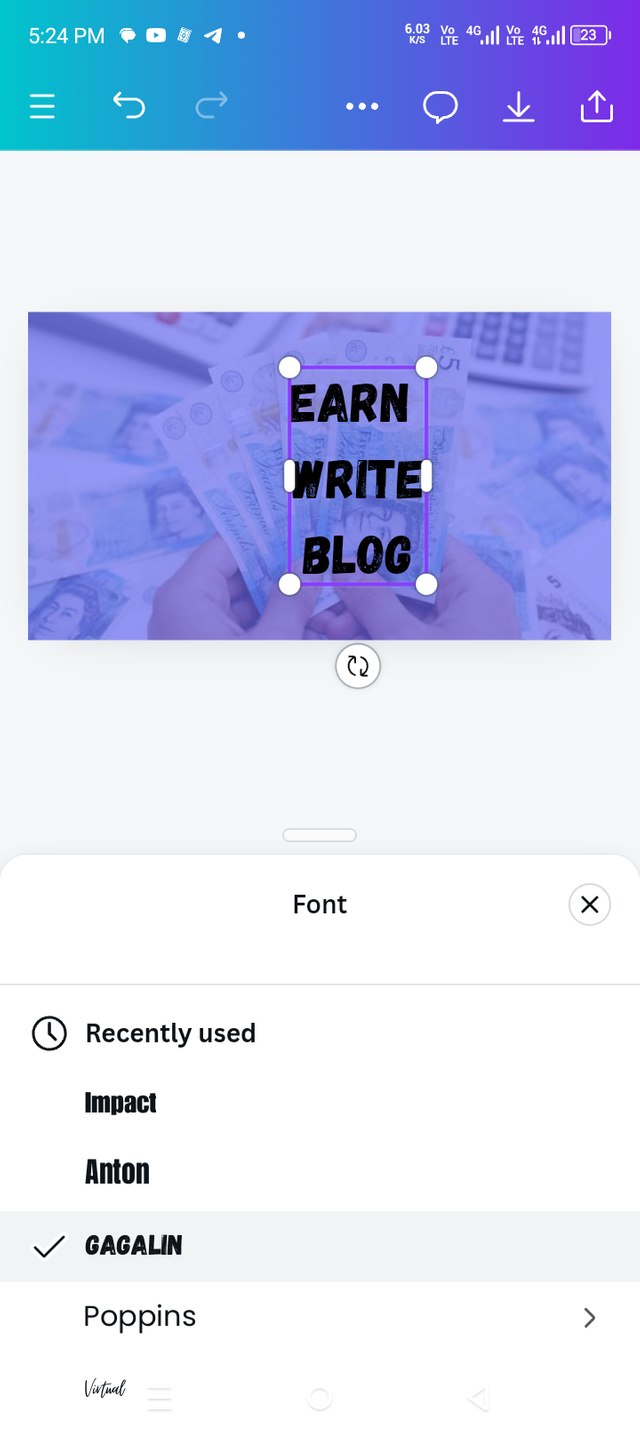
It was a new thing for me that I got to learn which is transparency. I had no idea what transparency was before. Today I found out in a very good way. What is the function of transparency and how it use.
 1 1 |  2 2 | 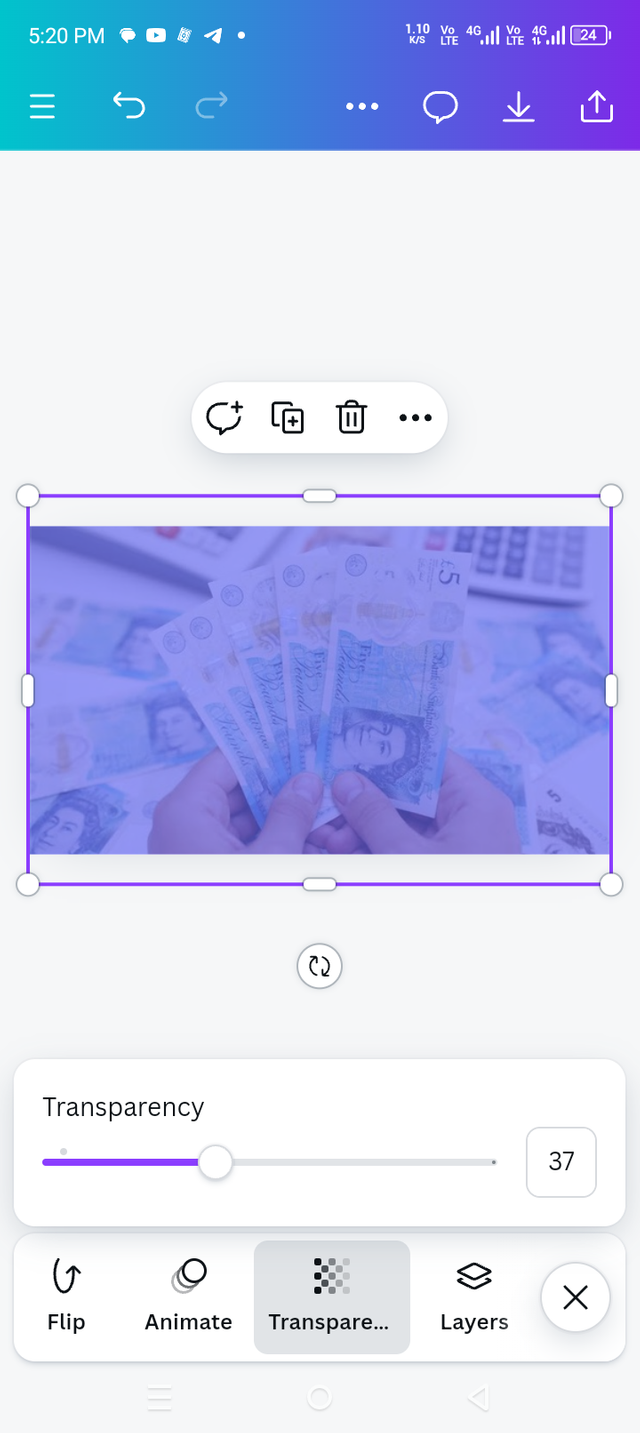 3 3 |
|---|
Step 4 |
|---|
In the fourth step, I clicked on the text and wrote text on it.
 1 1 | 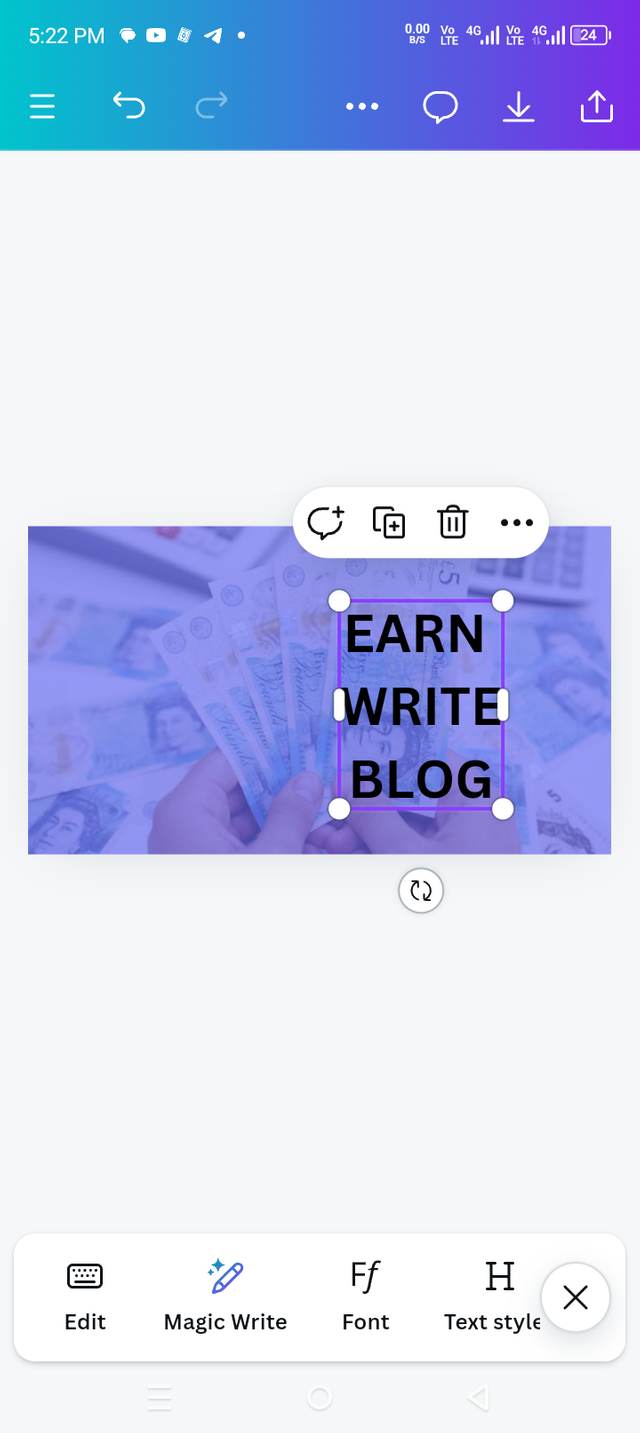 2 2 |
|---|
Step 5 |
|---|
In this step, I changed the font size of my written text and put them on the left side.
 1 1 | 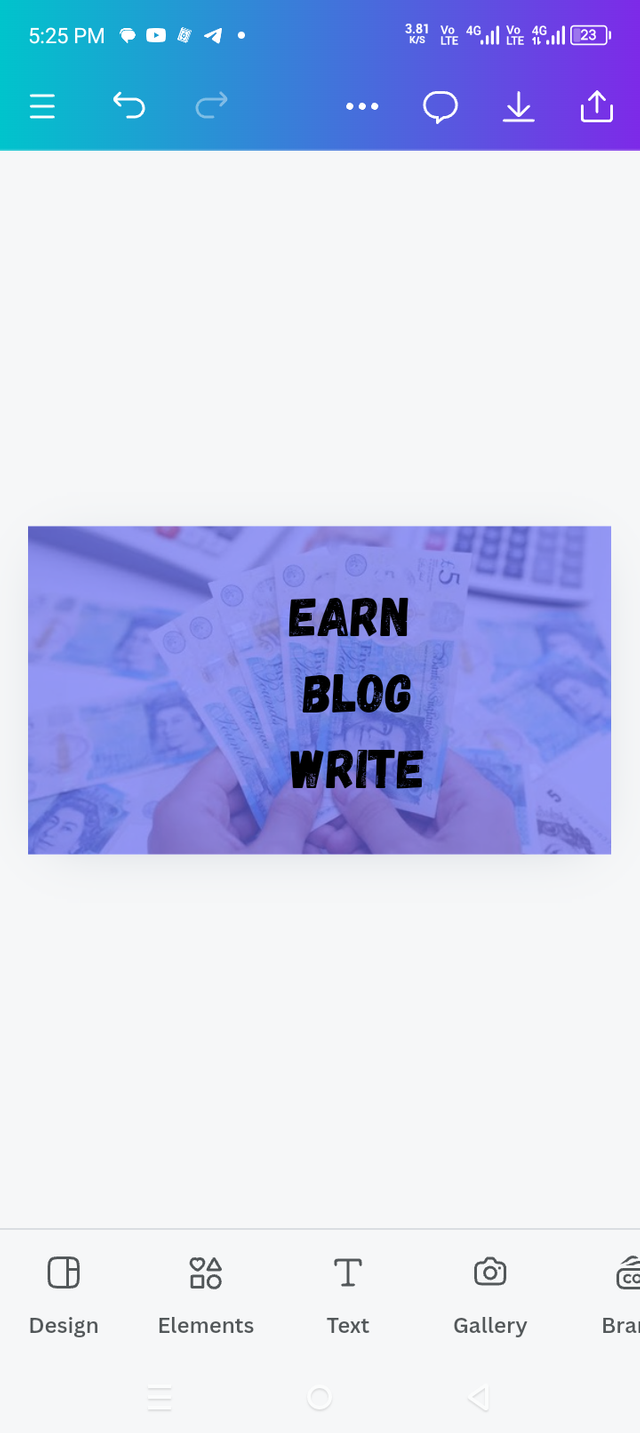 2 2 | 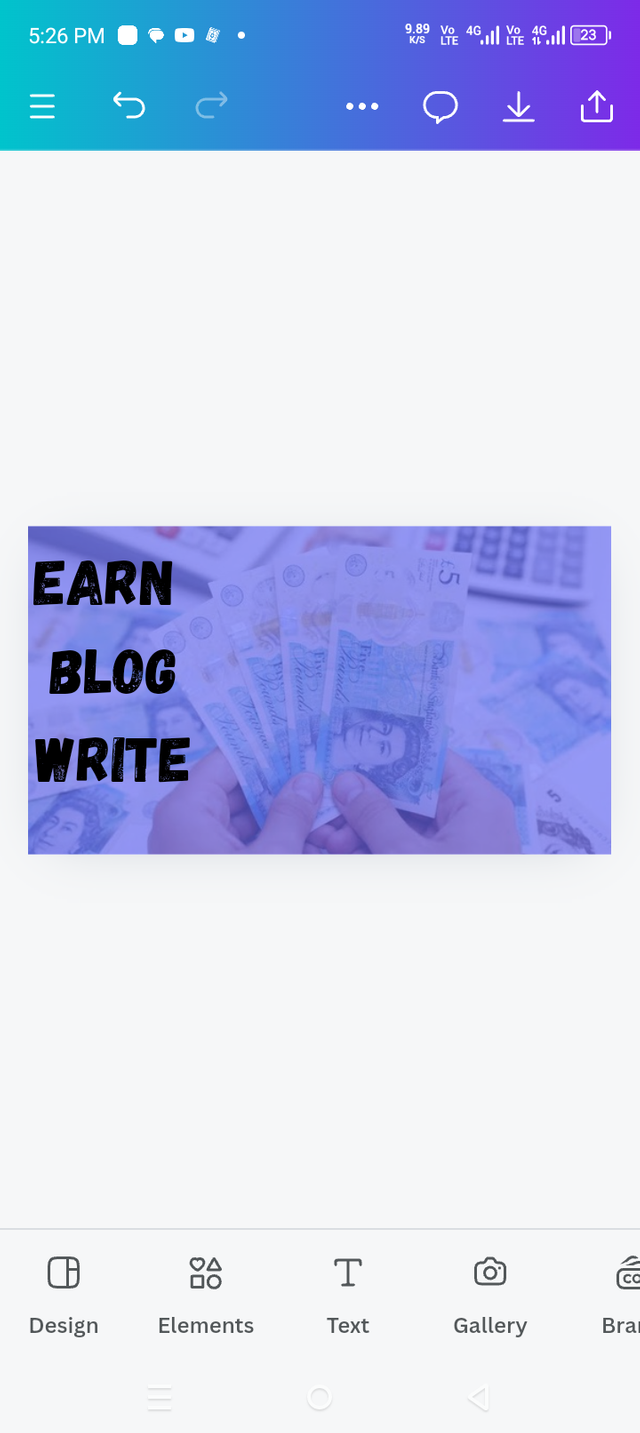 3 3 |
|---|
Step 6 |
|---|
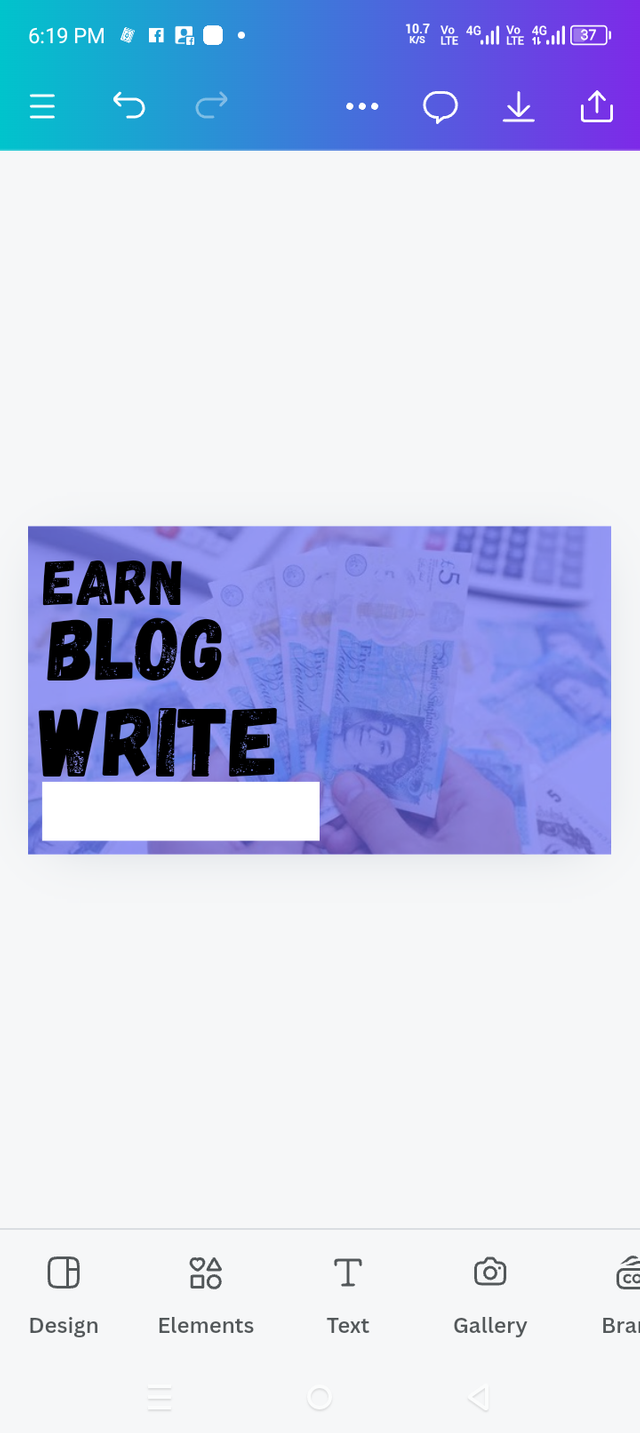
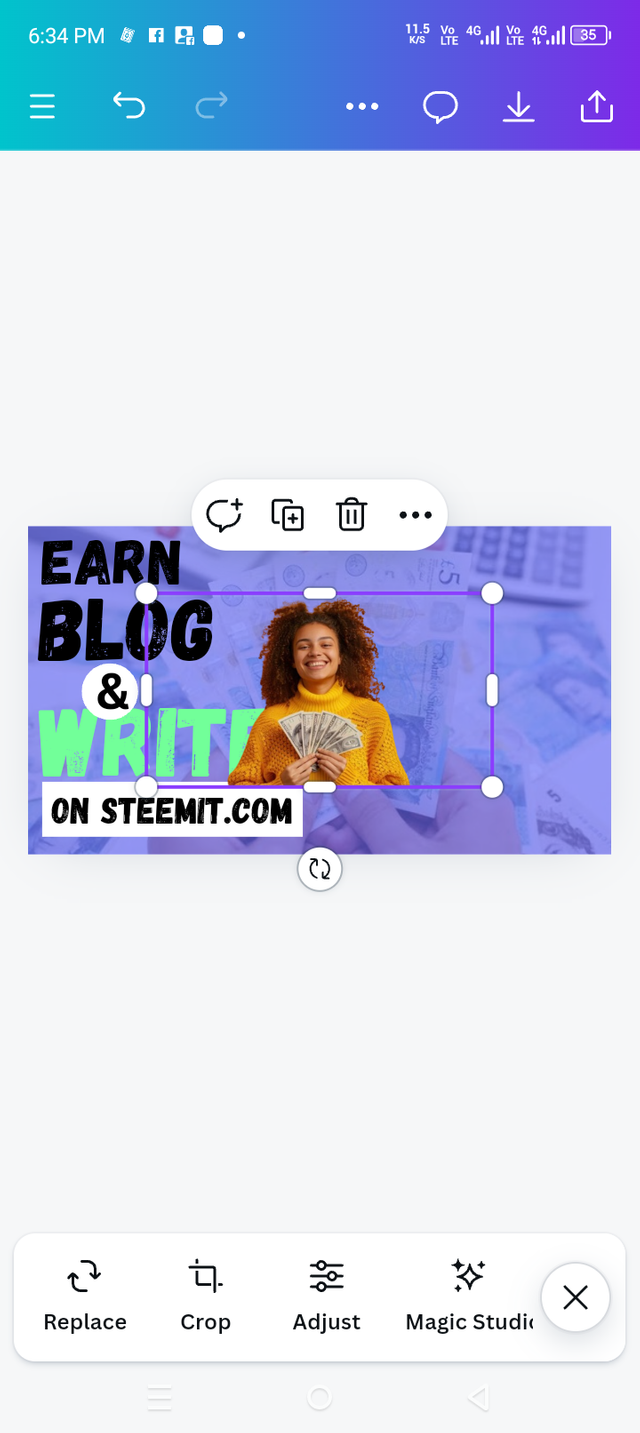
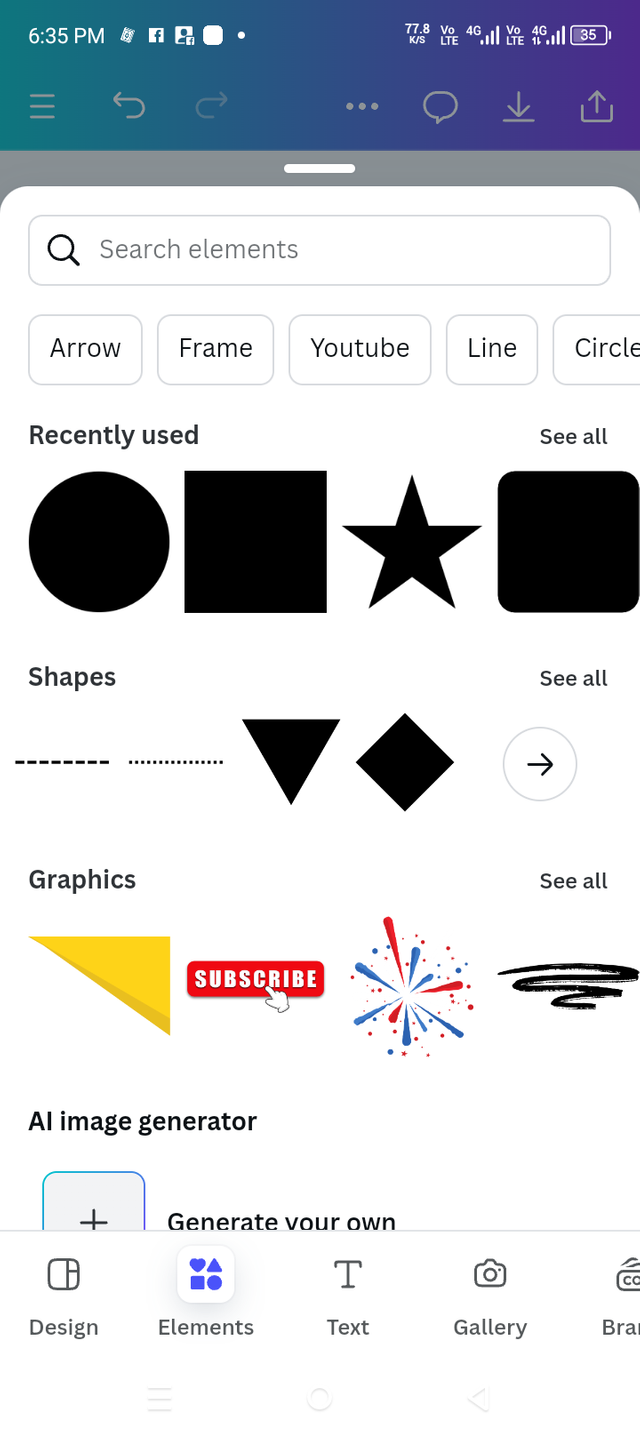
Now with the text written, I click on the element and select the square circle in it. Now why is this necessary? You will find out in the next step.
 1 1 | 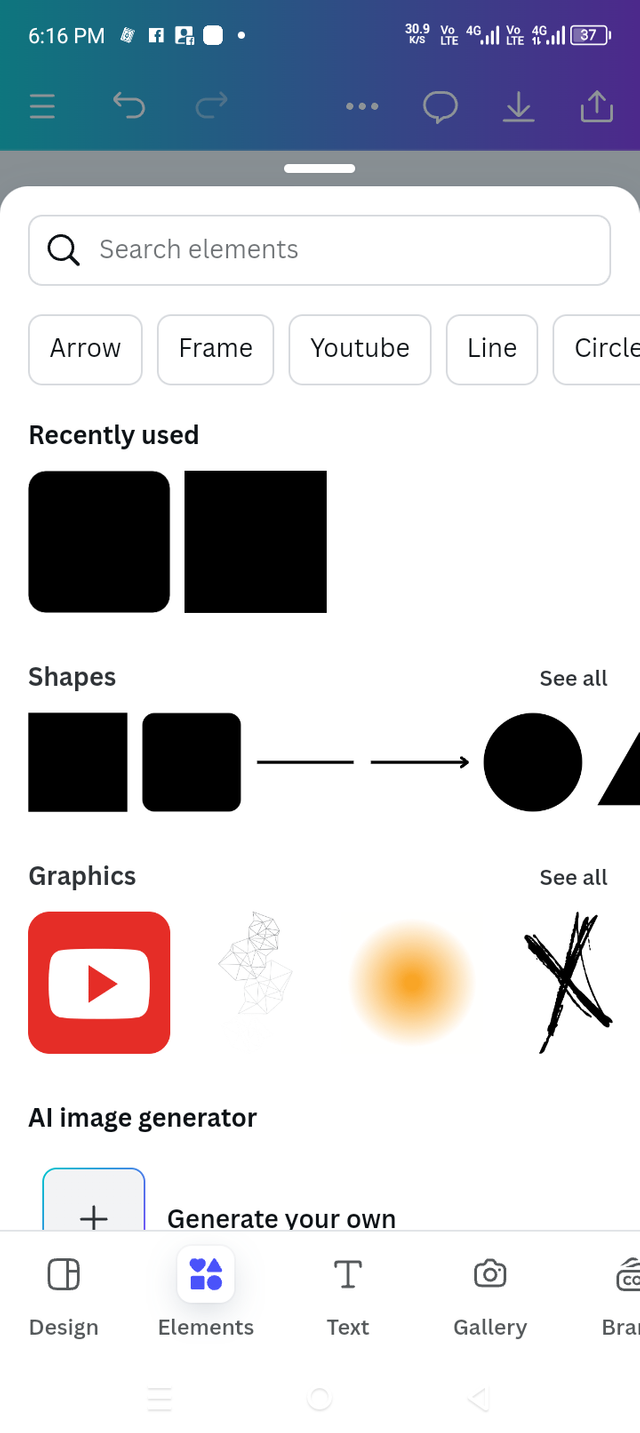 2 2 |  3 3 |
|---|
Step 7 |
|---|
In this step, I color the Write and give my square circle a horizontal shape according to my opinion. And wrote ON STEEMIT.COM.
 1 1 | 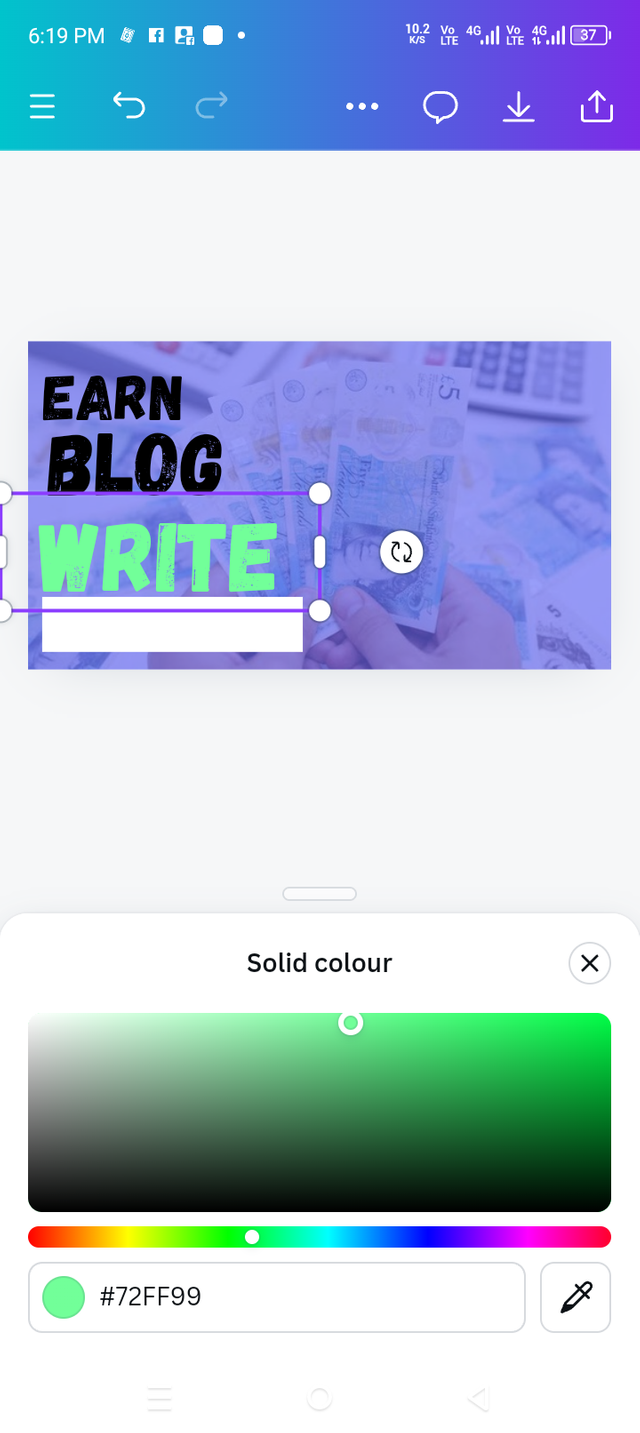 2 2 | 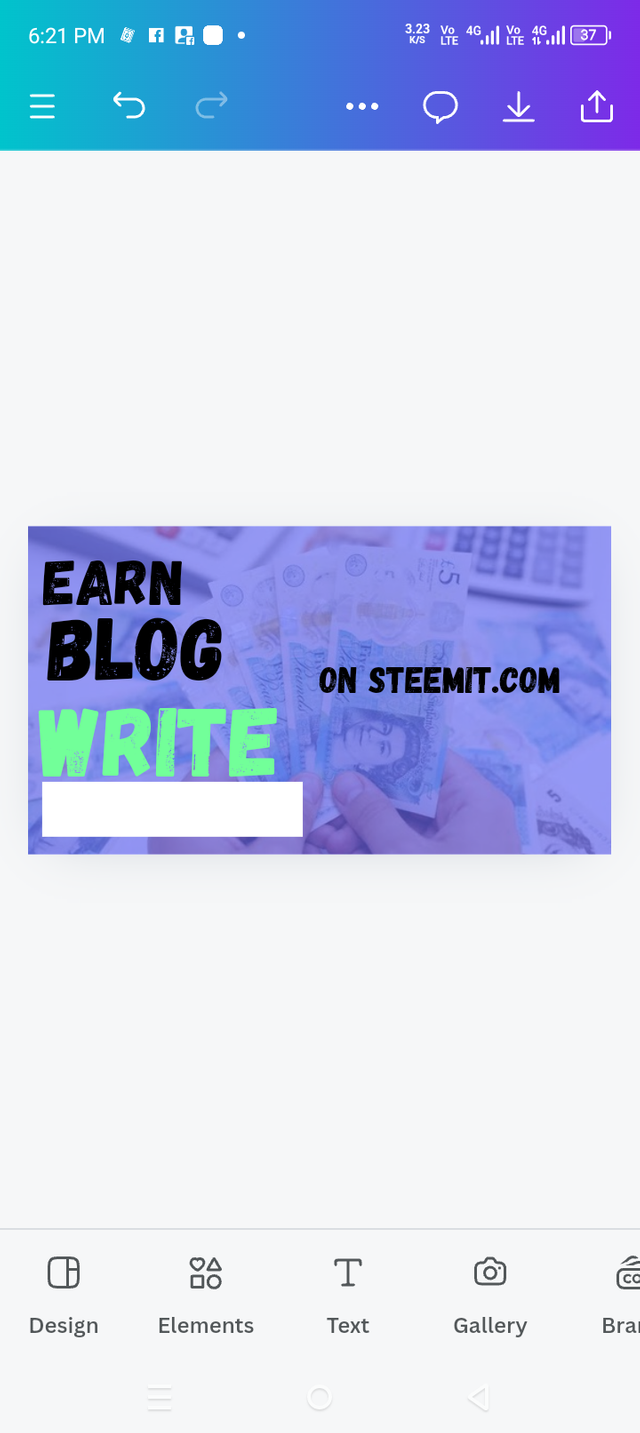 3 3 |
|---|
Step 8 |
|---|
 1 1 | 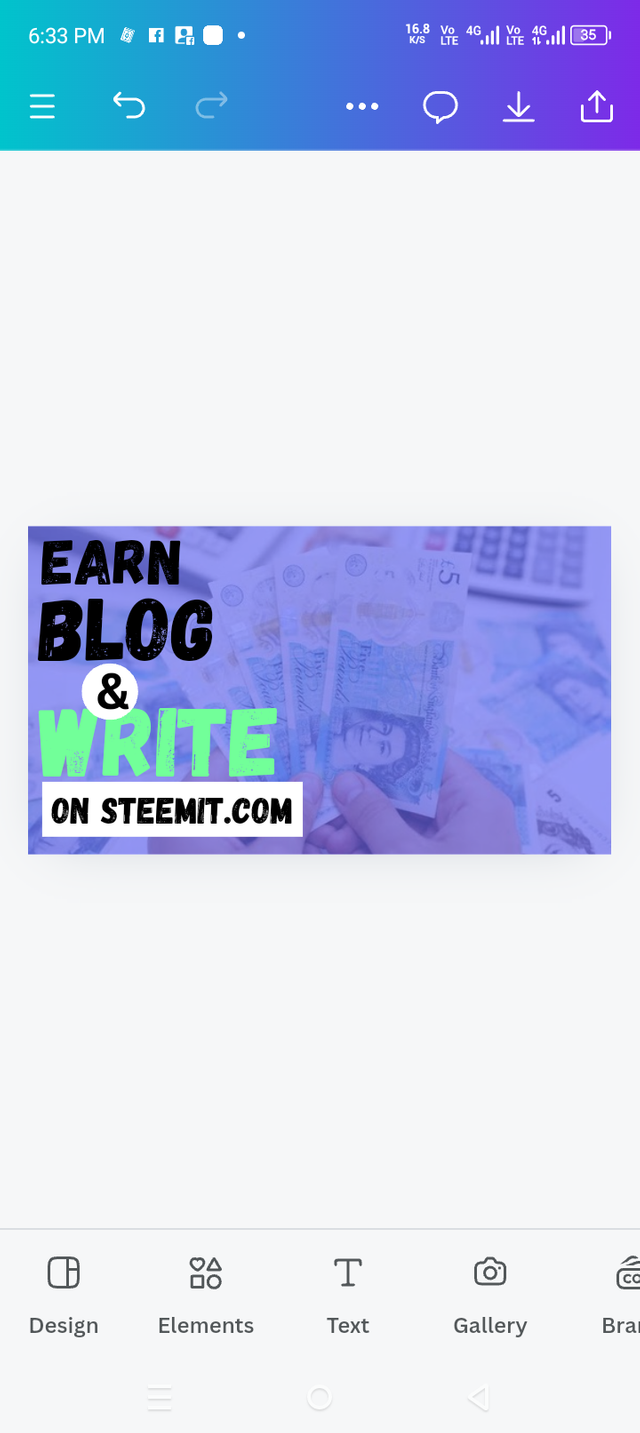 2 2 |
|---|
Step 9 |
|---|
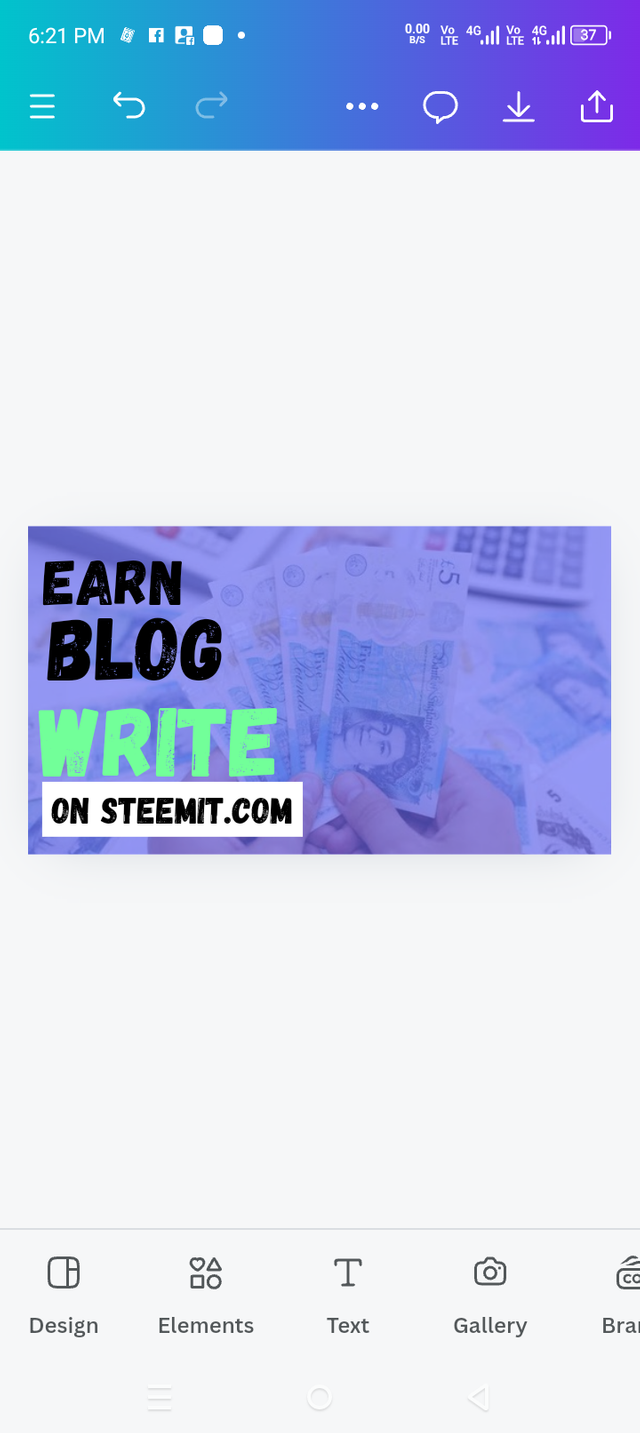
In this step I uploaded a photo which you gave us different photos. But I liked this photo and I selected this photo according to my opinion and then set it.
 1 1 | 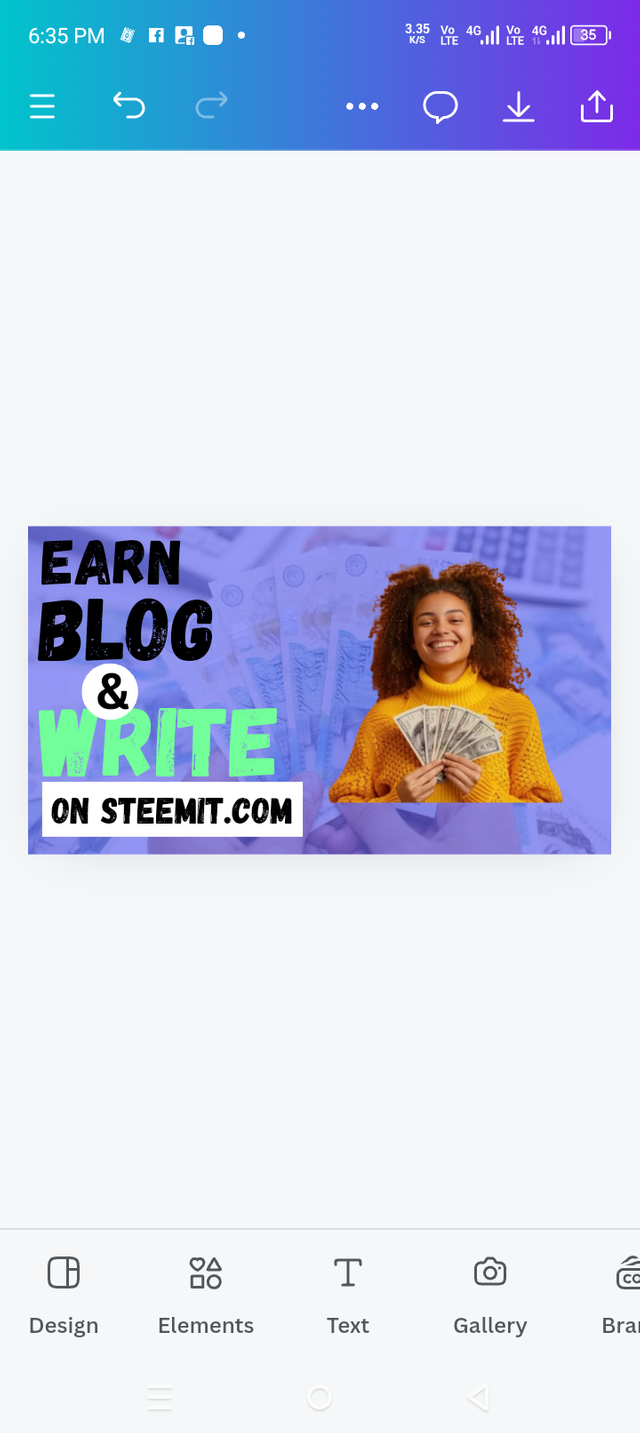 2 2 |
|---|
2nd Last Step |
|---|
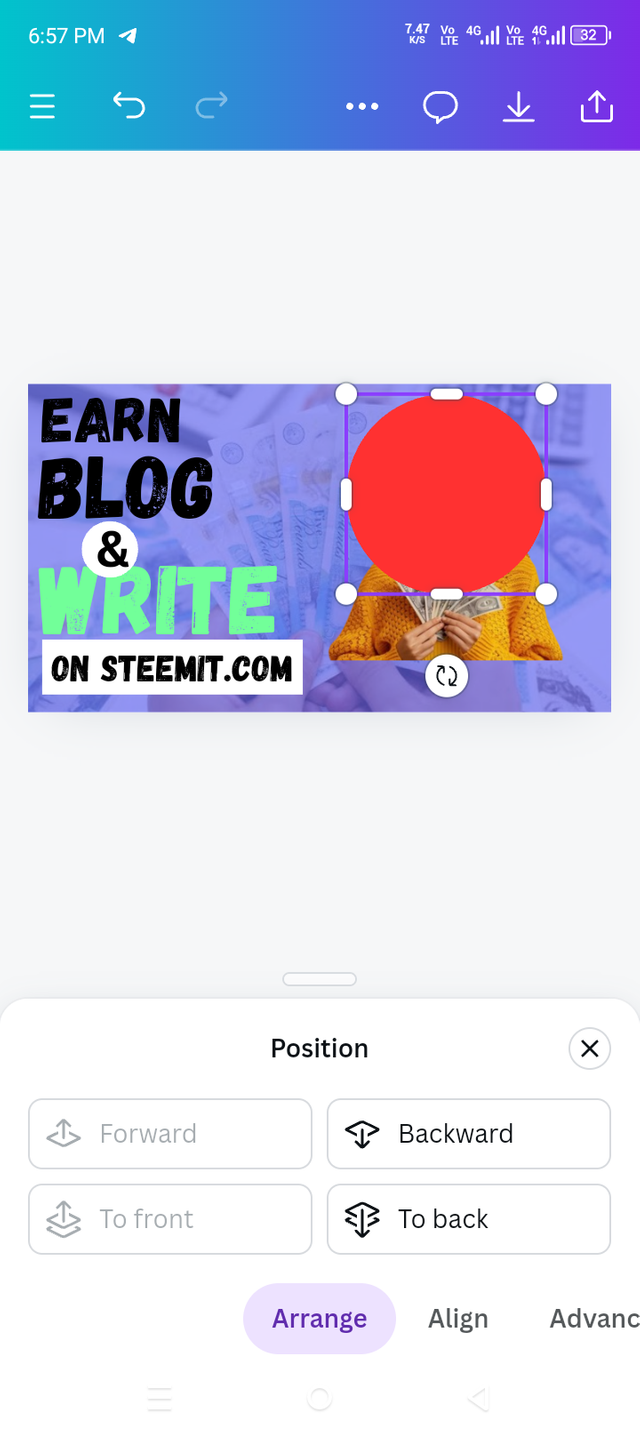
In this step, I clicked on the Element and took a circle.
 1 1 | 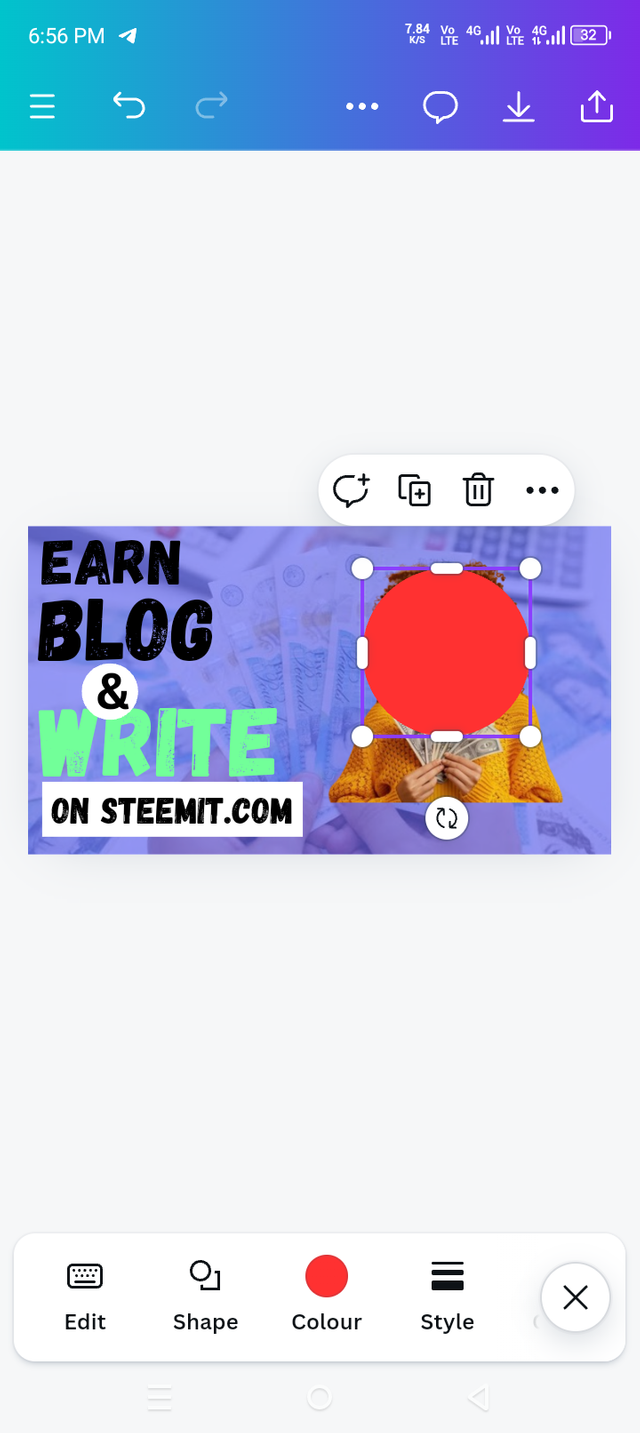 2 2 |
|---|
Last Step |
|---|
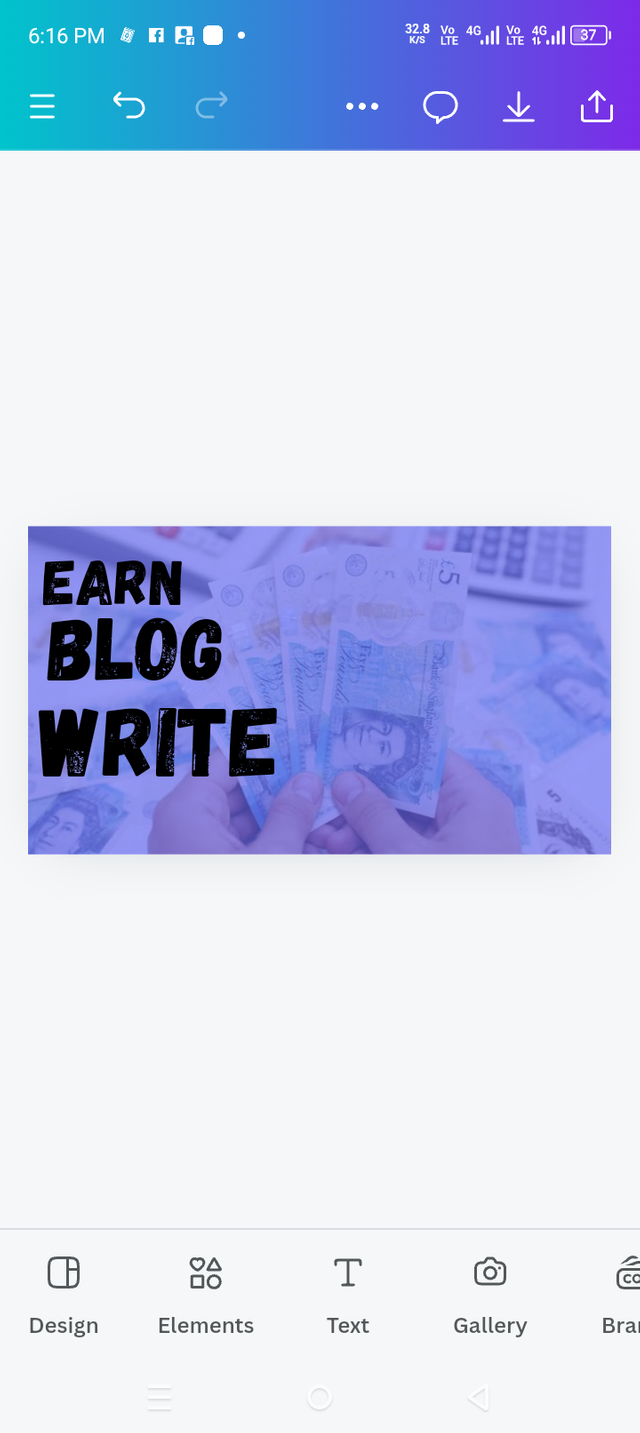
After taking the circle, I color it and then I go into position. This was also a new point for me. I did not know about this point before. I clicked on position and then various options came up. I clicked backward.
 1 1 | 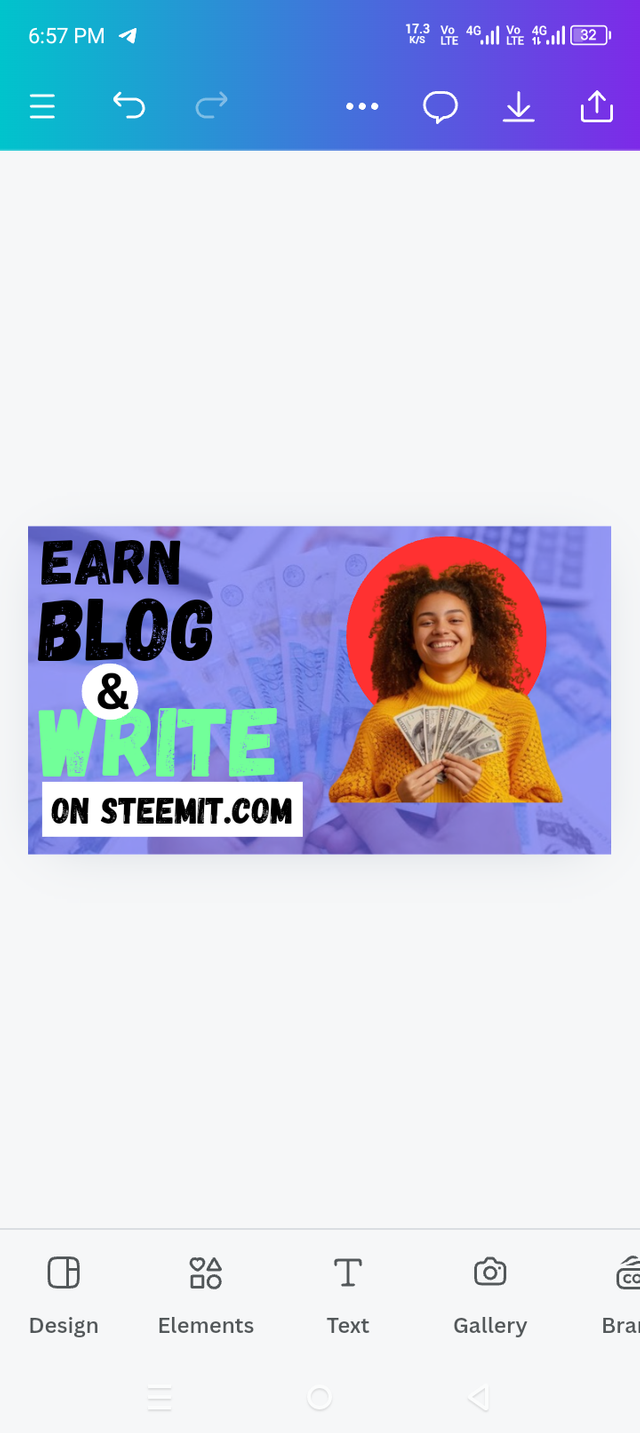 2 2 |
|---|
♥️ Finally ♥️ |
|---|
|
|---|
Invite friends! |
|---|
@aaliarubab, @suryati1 and @missyleo
Best Wishes 😍 Always be happy. |
|---|

Terimakasih teman sudah mengundang saya di kontes yang sangat menarik ini, semoga beruntung
0.00 SBD,
0.01 STEEM,
0.01 SP
Most Welcome Dear
Upvoted. Thank You for sending some of your rewards to @null. It will make Steem stronger.
This post has been upvoted/supported by Team 5 via @httr4life. Our team supports content that adds to the community.
Thank you 💕😊 so much for your support