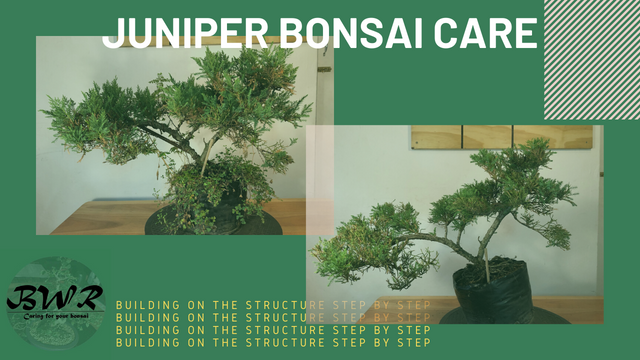
Juniper Maintenance: Taking care of a young talent competition tree, two year after initial styling.
Like may other countries we are now under a full lock down for the next 21 days. I am trying to make the best of this time by working on as many of my trees as possible. My goal is to have worked on all of my trees by the end of the three weeks. I will keep you updated on the progress and post some of the trees like this Juniper that I worked on yesterday.
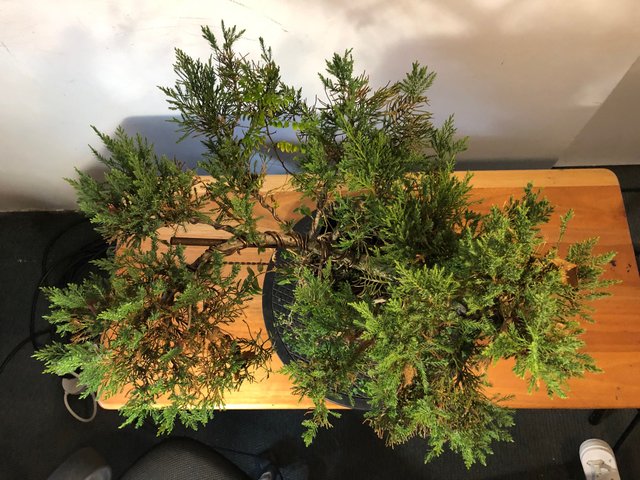
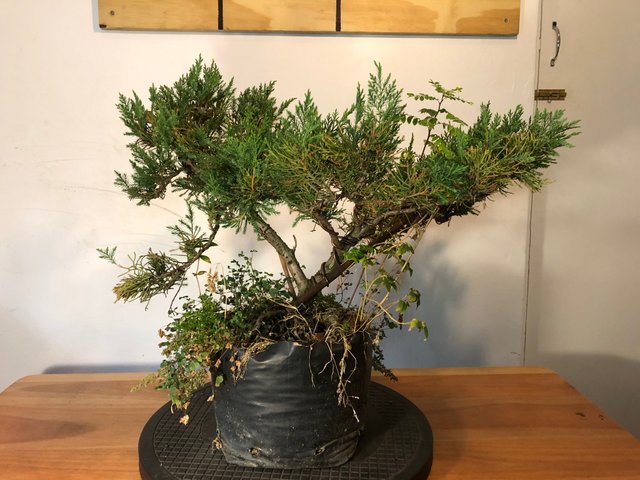
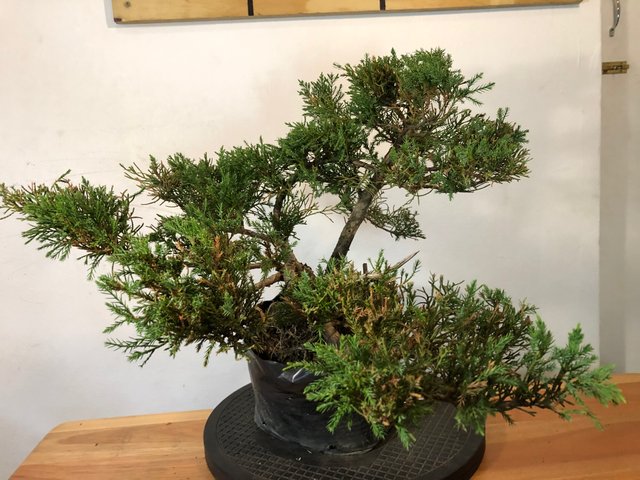
The Juniper is one of five competition trees that I have styled over the years and as all things go this was one of the first ones that I could actually continue working on after the initial styling. Here is the tree before I did any work on the tree.

Now that you have met my bushy little friend lets get into what I did on the tree:
- Removed all the weeds
- Trimming back the long shoots
- Romoved all the wiring
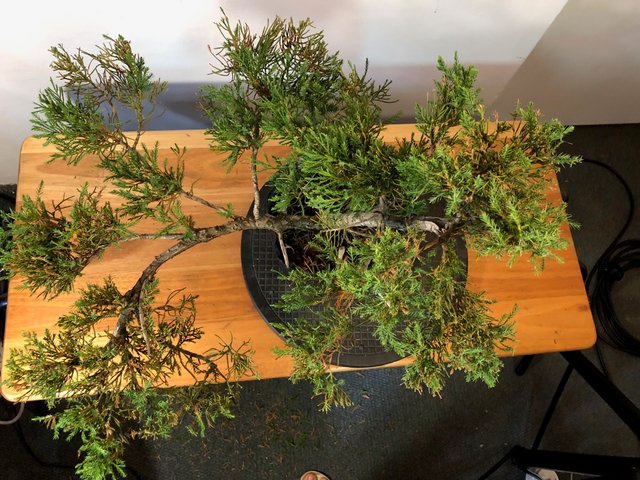
Here's a time-lapse of this process:
Removing the weeds
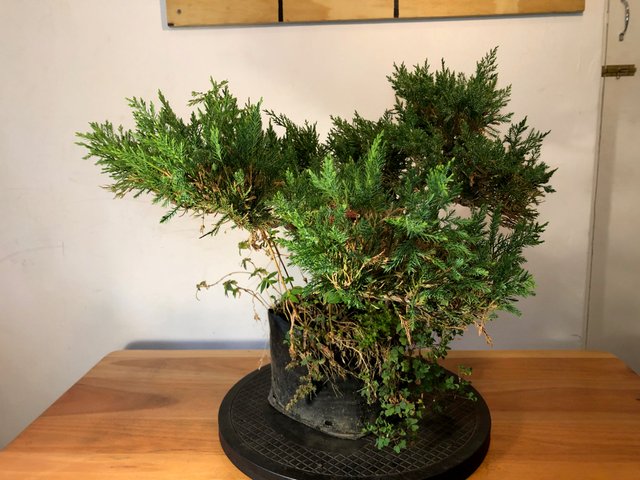
I removed the weeds from the growing medium like I always do before working on any of my trees. With this tree it was slightly more difficult than usual. The tree has roots that are above the ground and weeds grow in between the surface roots and intertwine with the roots. When I remove the weeds I try and get the weeds out with their roots still attached to control the next flush of weeds that will be growing in the container. If you break off the roots of the weeds they grow back faster. I also try and only pull out the weeds and free all soil that gets stuck in the roots of the weeds.Trimming back the long shoots
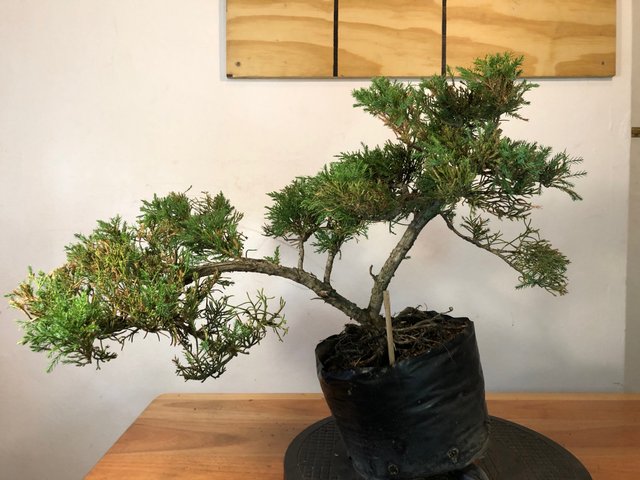
This will be the fifth time that I have trimmed back this tree. I trimmed the tree back in early January to encourage back budding. The foliage on the tree is coming along nicely and has filled up the branches. There are a few areas on the tree that still need to fill up and than there is also the one branch that I am busy growing in. It is the first branch on the left side of the upright trunk that I want to grow in. This area is currently filled with a branch that bends around from the other trunk just to give you the illusion that a branch is growing in that place. If you look at the tree from the front you cannot see where the branch originates. If you look from the other angles you can see that it comes from the second trunk. This branch will be removed as soon as the young shoot in that area is strong and big enough to take over.Romoved all the wiring
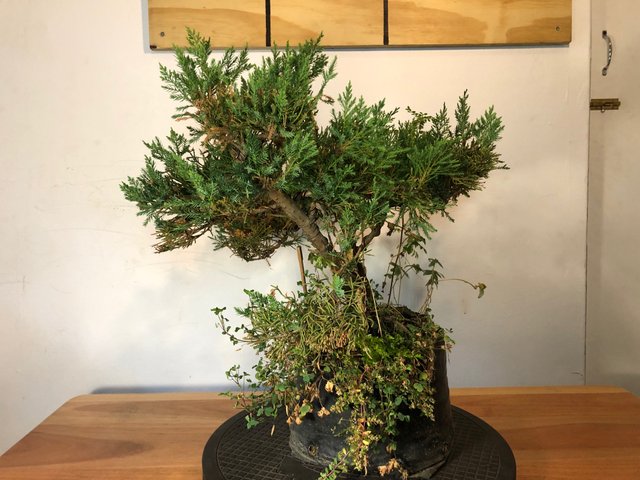
I left the wire on this tree longer then usual as the tree was weak and needed to regain it's vigor. The first few months were just spent making sure the tree will survive the initial styling by placing it in a shaded area and feeding it regularly. After the tree started to show signs of growth I felt it to grow wild. It took the tree a while before it started to bulge up around the wire. This is why it took me almost two years before I removed the initial wire. When I took the wire of the branches did not even shift or move out of place. This is important as it will save you from wiring the tree again.
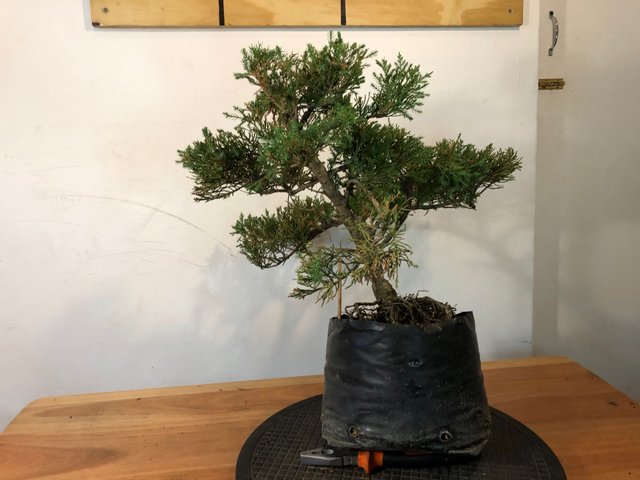
Here is the tree after I was done working on it:
Thank you for taking the time to read my blog. Please feel free to leave your questions and comments in the section provided below.
 | This post have been upvoted by the @UpvoteBank service. Want to know more and receive "free" upvotes click here |