STEEMIT GIRL! Week #71 Begins👉Let's do it...Do It Yourself👉Craft, Creativity, Drawing, origami, DIY, Recycling and more
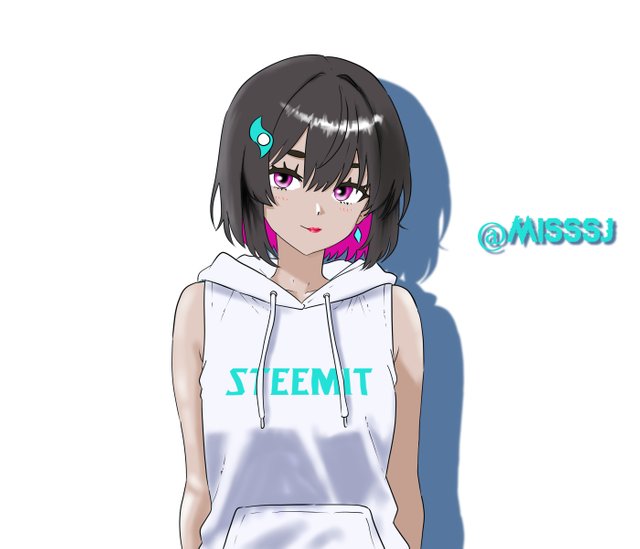
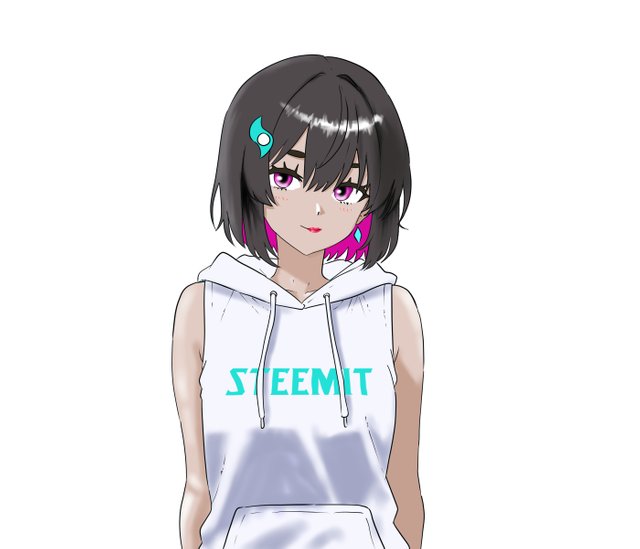
Hey there it's your girl misssj here on steem for ladies and i just wanted to drop my latest artwork after a long long break from steemit. I portray a young lady wearing a hoodie that has a print of steemit on it, and to go along with that i added a hair clip that is shaped like the steemit logo.
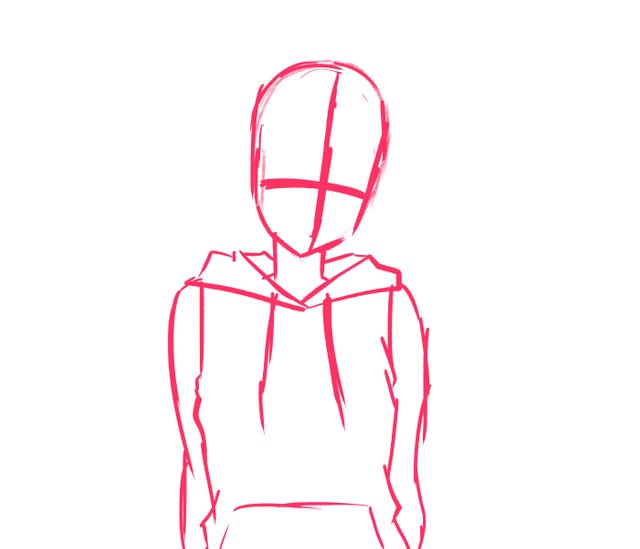
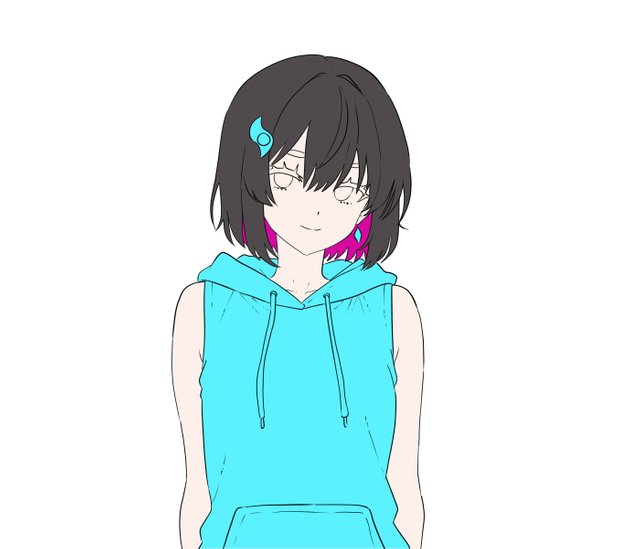

Step 1: Getting the Sketch Ready (Draft Time!)
Every masterpiece starts with a sketch, right? Well, for me, that’s always the first step, and it’s honestly the most fun (but also the most nerve-wracking). I usually sketch my characters freehand on paper and then scan them in, but in this case, I started directly in my drawing app. I wanted to keep it chill, so I used a soft brush for the sketch lines nothing too hard or firm. This gives me flexibility and a smooth, sketchy feel that I can later refine.
Looking at the draft , you’ll notice I was pretty loose with the lines at this stage. I wasn’t concerned with perfection; I just wanted to get her figure, her posture, and that overall vibe of the Steemit girl across. At this point, I knew I wanted her to have that friendly, yet confident feel to her. I mean, she’s got that Steemit aura, right? So I gave her that cool, chill expression that reflects a personality you'd want to follow on social media.
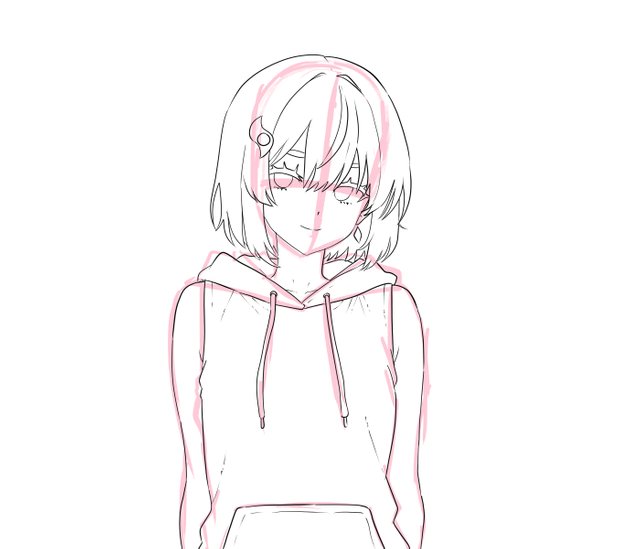
Step 2: Lining It All Up (Line Art)
After I got my basic sketch down, I started creating the clean line art . This is the moment where I focus on defining the details and eliminating any messy strokes from my initial draft. The process is like peeling off the extra layers to get to the good stuff. I used a hard brush this time to make the lines crisp and smooth, which is super important because these lines will serve as the foundation for everything else.
During this step, I paid extra attention to the details of her face (eyes, mouth, and brows), because a character’s expression tells a lot about their personality. You’ve got to make sure it’s just right, or else your character might look a little... off. I also worked on her hair to make it flow just right. You know, those little details like the curls, volume, and texture? Yeah, that took a minute to get right, but it was all worth it.
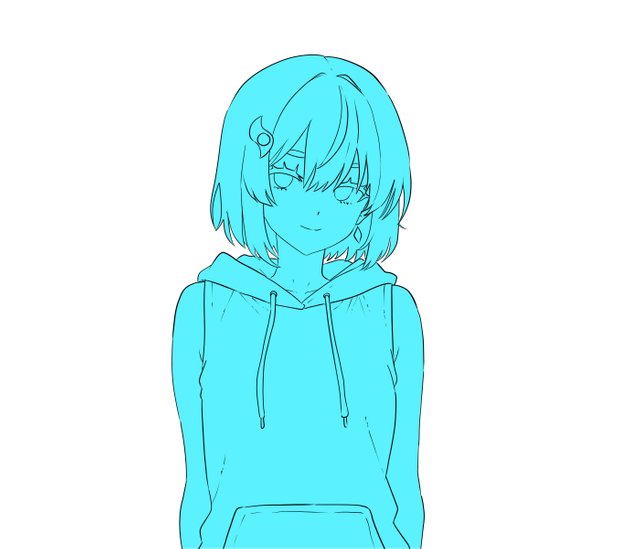
Step 3: Filling in the Base Colors
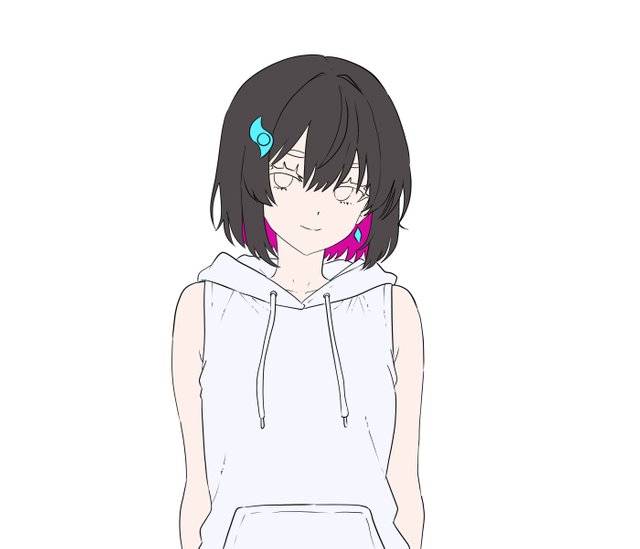
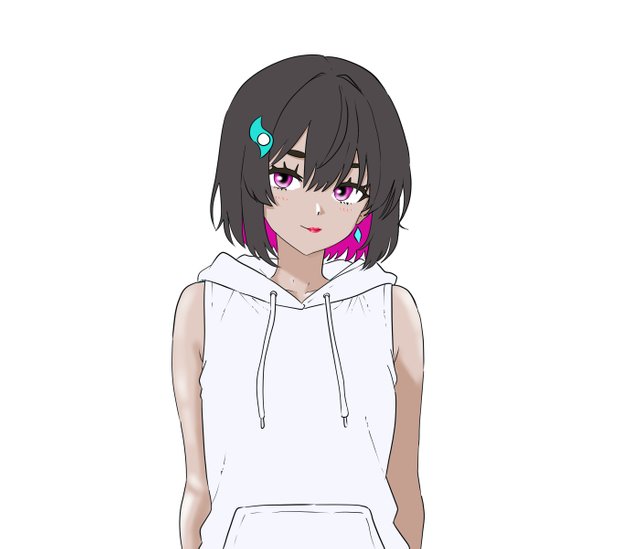
Now comes the fun part—filling in the colors! I took the line art and started blocking in the base colors for her skin, hair, clothes, and accessories (third image). I wanted her to have a soft, glowing look, so I picked light pastel shades to match that calming yet vibrant vibe. I used a flat brush to quickly fill in the big areas, and you know, it feels like magic to see the image start to take shape.
At this stage, I didn’t focus on shading just yet. I wanted to make sure I had all the colors in place before diving deeper into the finer details. It’s like laying the foundation of a house before you go all out with the interior design!
Step 4: Adding Shadows and Highlights (Coloring Vibes)
Alright, let’s get some depth into this girl! I moved on to adding shadows and highlights (fourth and fifth images), which is one of my favorite things to do in digital art. This step is where the magic happens—shading really brings the character to life! I used a soft brush and played around with darker tones for the shadows and lighter tones for the highlights. The shading not only adds dimension but also gives a realistic look to the hair and skin.
This is where I get to experiment with the lighting, too. For the Steemit girl, I imagined her standing under a soft light, which is why I kept the shadows subtle but effective. I also gave her a slight glow around the skin for that fresh, youthful look (a little extra but totally worth it!).
Step 5: Rendering the Final Details (Finishing Touches)
After all the coloring was in place, it was time to really polish everything up. I worked on refining her outfit and added little details like the glow around the hair, highlights on her eyes, and those super cute sparkles that make her look even more charming (sixth and seventh images). Rendering is all about layering and blending different effects to make the image pop.
For me, this step is when I start seeing my character come to life. I love adding soft lighting effects around the character to enhance the atmosphere, and for the Steemit girl, I gave her that warm, welcoming aura that you feel when you open your favorite social media app.
Step 6: The Final Render (Ta-da!)
And voilà, we’ve got our final version (eighth image)! All the hard work and little details have finally come together. I’m really happy with how this one turned out—her expression, her pose, and the whole vibe just feel like everything’s aligned.
There you have it! From sketch to finished piece, that’s the process of how I create my digital art. I hope you enjoyed the breakdown! Let me know what you think about this Steemit girl in the comments, and if you want more of these behind-the-scenes looks, just hit me up!
Keep creating and stay inspired! ✨
Thank you for participating…..
Welcome back, missj! Very exciting to see your amazing artwork after your hiatus from Steemit. The Steemit girl you created is amazing.
Vote @pennsif.witness for growth across the Steemit platform through robust communication at all levels and targeted high yield developments with the resources available. Vote here
thank you so much
اپ کی بنائی ہوئی ڈرائنگ بہت خوبصورت ہے مجھے اینیمی کریکٹرز بہت پسند ہیں۔
Hello dear friend, thanks for showing us your digital work.
That's really creative of you to make such a cute girl, that is advertising steemit 🤣.
Success in your entry.