Show us your Skills by Creating any Craft with Paper
Greetings friends!!
This is @urmilanath650 from @bangladesh
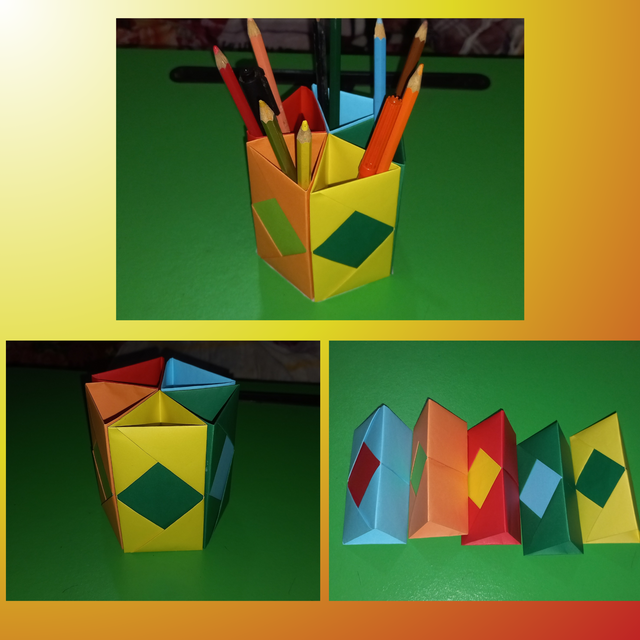
Hope all of my steemian friends are so well by the mercy of Almighty and so am I. I am here today to share a beautiful and creative papercraft with you by taking part in the organized by dear @shiftitamanna. I would like to thank her for organizing such a contest that helps us reveal our creativity with papers. I would like to invite @rosselena @watii and @blessedlife to participate in this nice contest. Today I am going to share a nice pen and pencil stand made up with color papers.

- Orange color paper
- Yellow color paper
- Green color paper
- Sky blue color paper
- Red color paper
- Hard paper
- Scale
- Pencil
- Scissor
- Glue

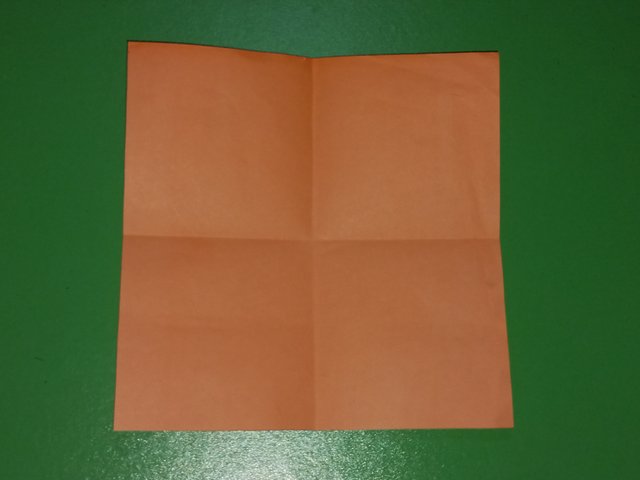
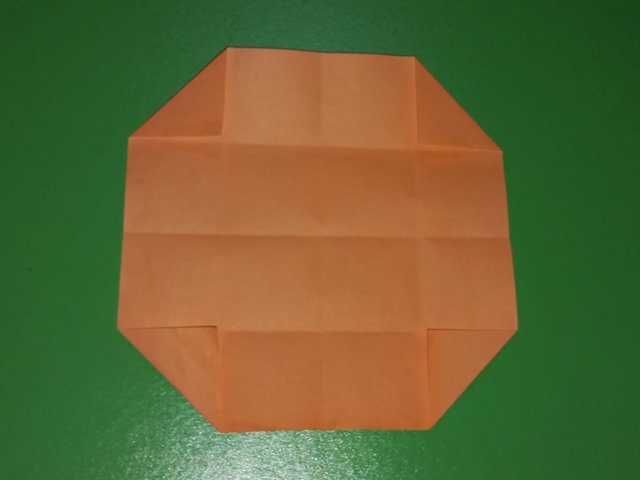
Take an orange color paper and measure a square of 20*20 cm. Cut the square shape according to the measurement lines. Fold the paper at middle positions from the two sides. Again fold the four sides' equal folded potions at the middle positions. Open all the folds to get a 16 square structure.
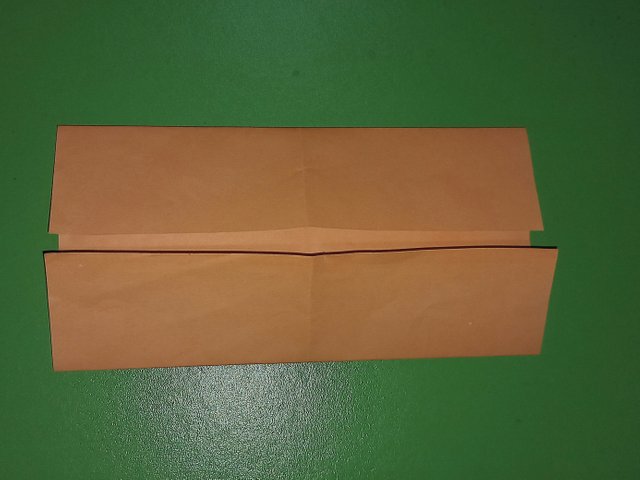
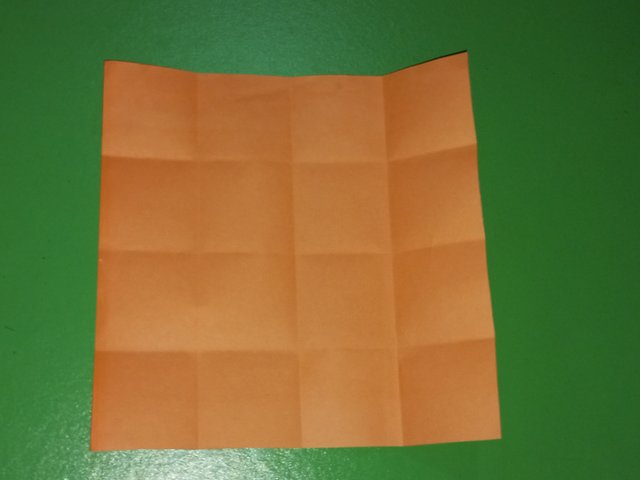
Now fold the four corners of the large square upto the lines of the four corner squares. Fold the paper's two equal parts at middle positions again. Then invert the paper and fold the paper's other two equal parts at middle positions. Several rectangular shapes are formed now. These folds are overlapped with the previous folds of step 1.
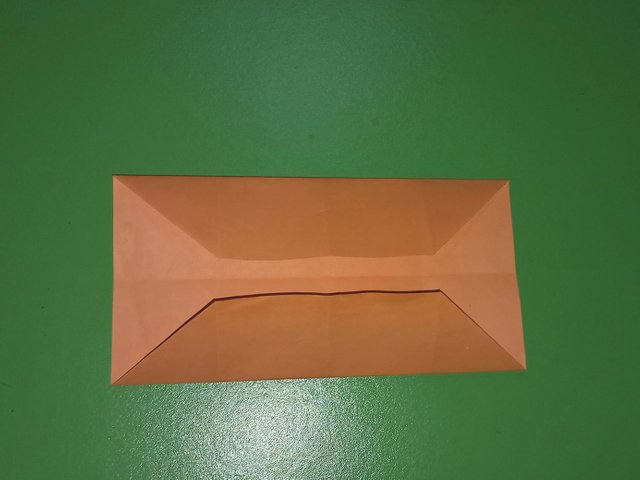
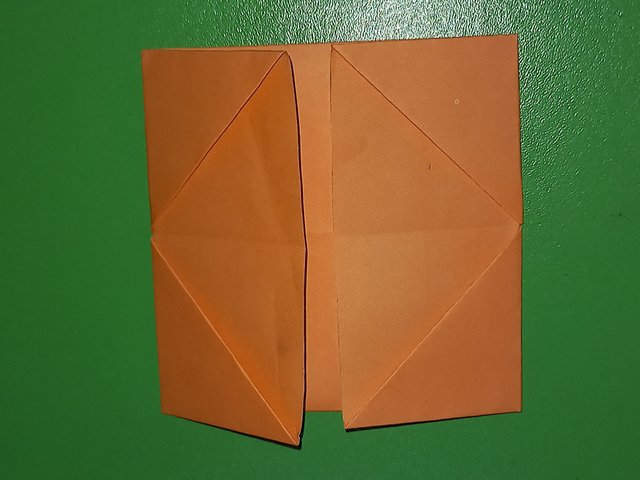
Next cut a rectangular hard paper according the same measurement of the orange color structure. Attach a same size green color paper on the hard paper. Then insert the paper into the foldings of the two rectangular shapes of the orange paper; that gives a structure of three rectangles and two triangles at the top and bottom.
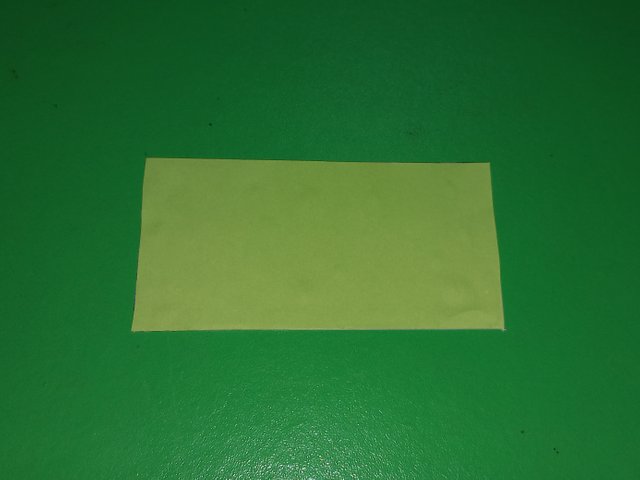
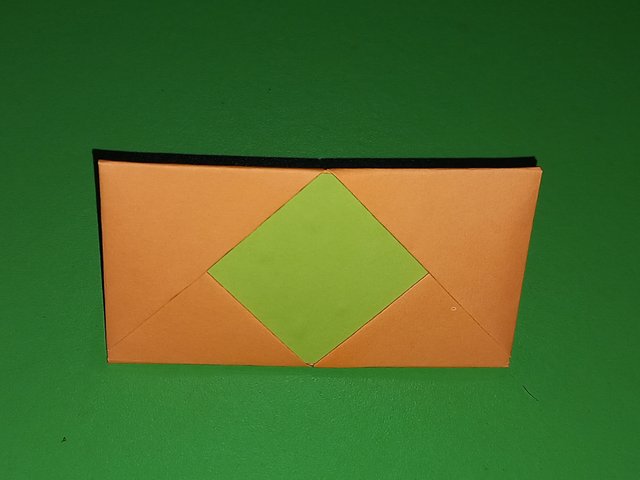
Make five same structures of different colors by following the step 1 to step 3. Then attach these structures using glue.
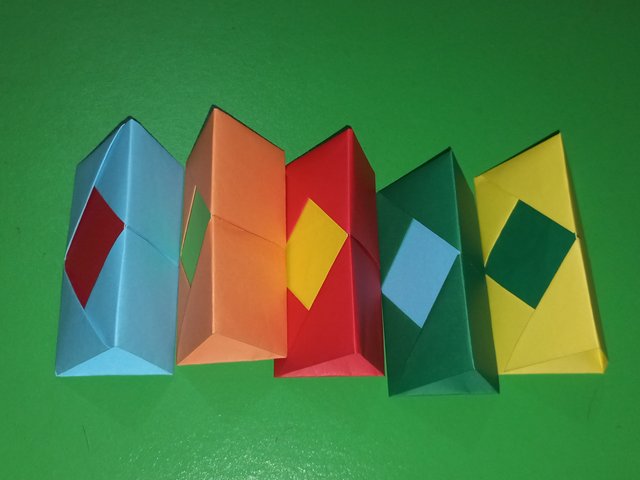
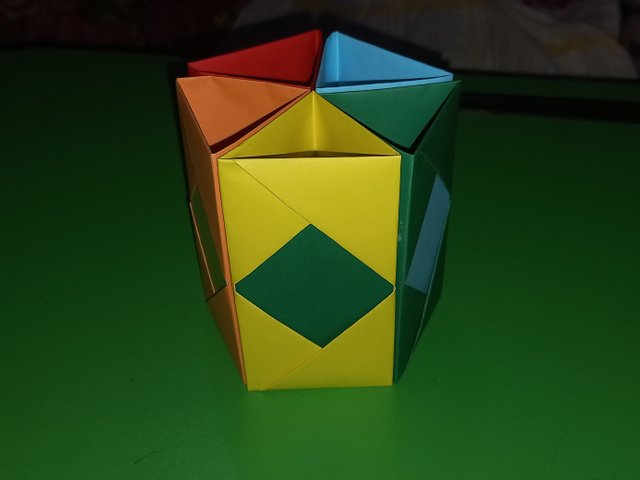
After that measure the bottom shape of the joint structure by placing this on a hard paper and cut this shape. Attach the hard paper with the bottom of the structure. Now the pen stand is prepared.
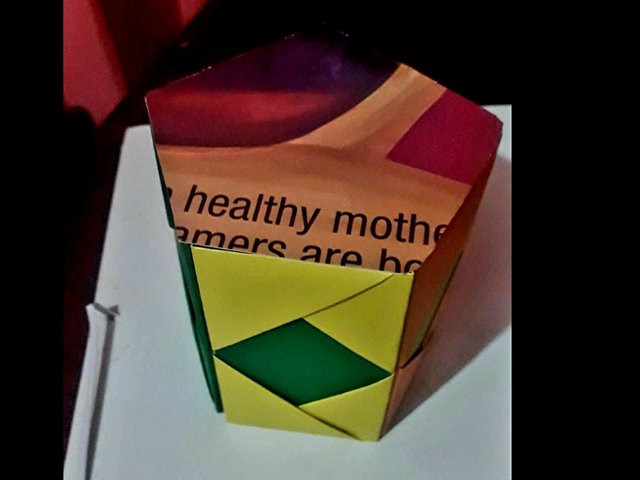
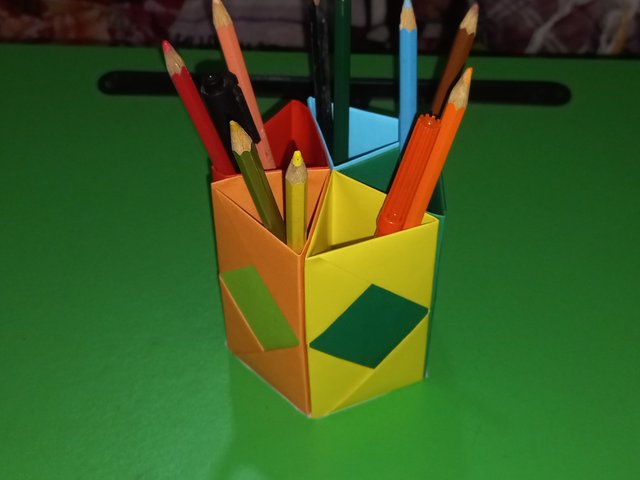

I have explained the details of this beautiful pen/pencil stand in the above five steps. I have got this craft idea from a youtube video. Hope you all understand and find the craft useful. You can keep this nice thing on your table for holding pen/pencils. Your satisfaction is my pleasure. Ending here for today...
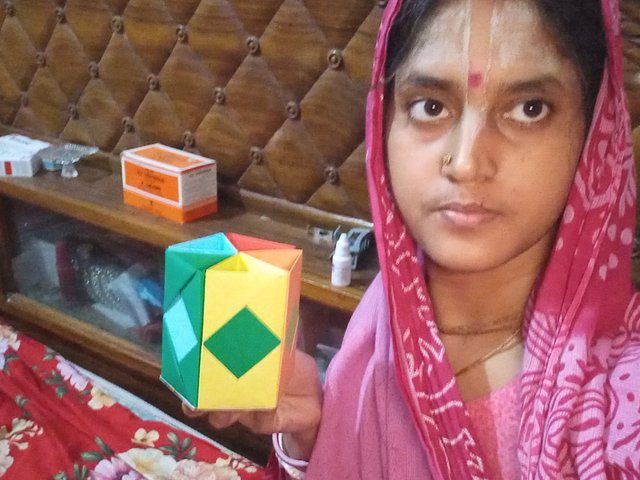

x share https://x.com/urmilanath55/status/1869033990294012050
Terimakasih sudah mengundang saya sahabat
Hola amiga muchas gracias por la invitación interesante como creaste con solo papel este lindo porta lápices me encantó además con tu explicación lo haces ver muy sencillo de realizar
Muchas gracias por compartir tu talento te deseo mucha suerte
Thank you so much friend.. 💗
Hola. Tu trabajo con papel me pareció muy lindo, me gusta el juego que hiciste con los colores, puedo darme cuenta de una secuencia.
Además de linda, es una manualidad muy útil para organizar los lápices.
Gracias por la invitación. Te deseo éxito
thank you friend